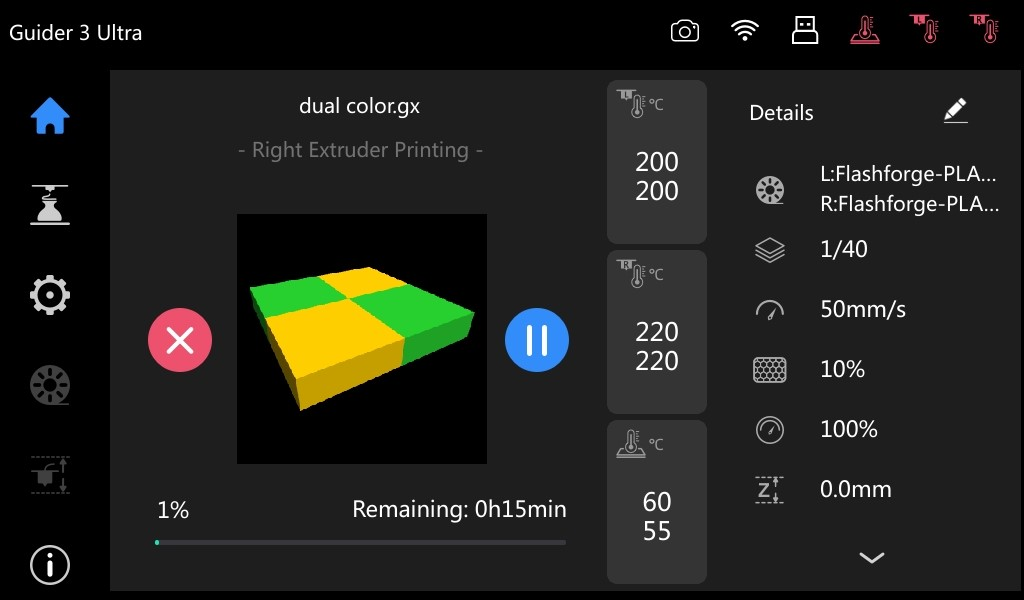
Guider 3 Ultra supports multiple file transfer methods, such as transfer via slicing software, transfer via cloud, and transfer via USB flash drive. Below, we'll outline the steps for transferring and printing models using a USB flash drive.
Note: Ensure all preparations for printing are made before using a USB flash drive to transfer data. If unsure about pre-printing preparations, please refer to the Preparation Before Printing Section.
¶ 1. Transfer Data to a USB Flash Drive
Insert a USB flash drive into the computer, select and copy the file, paste the copied file onto the USB flash drive, and then safely unplug the USB flash drive.
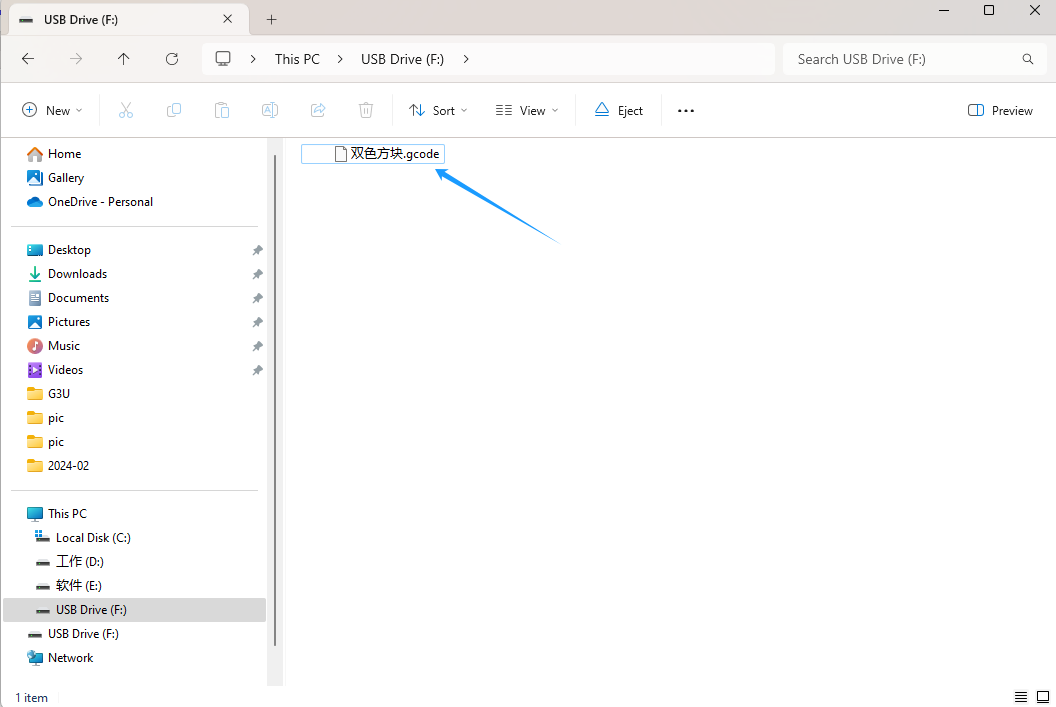
Note: Data transferred from the USB flash drive to the printer must not be in STL, 3MF, or other formats; it must be a .gx or .gcode file processed after slicing.
¶ 2. Transfer Data to the Printer and Start Printing
1. Insert the USB flash drive containing the copied file into the USB port on the printer, ensuring the USB flash drive icon is displayed in the printer's status bar.
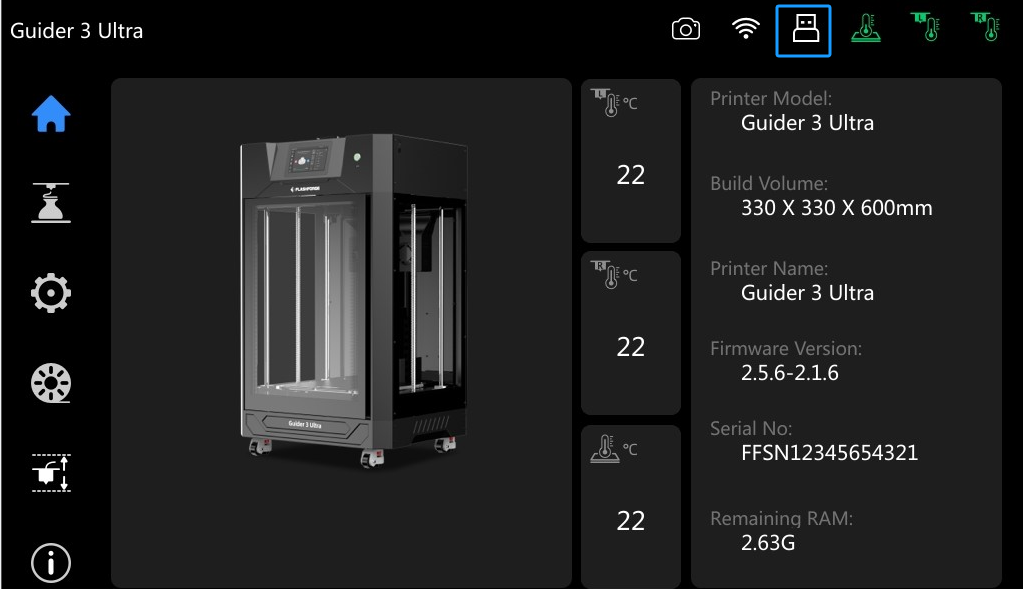
2. On the main interface, click [![]() ] to enter the printing interface, and then select [
] to enter the printing interface, and then select [![]() ]. Select the file you want to print.
]. Select the file you want to print.
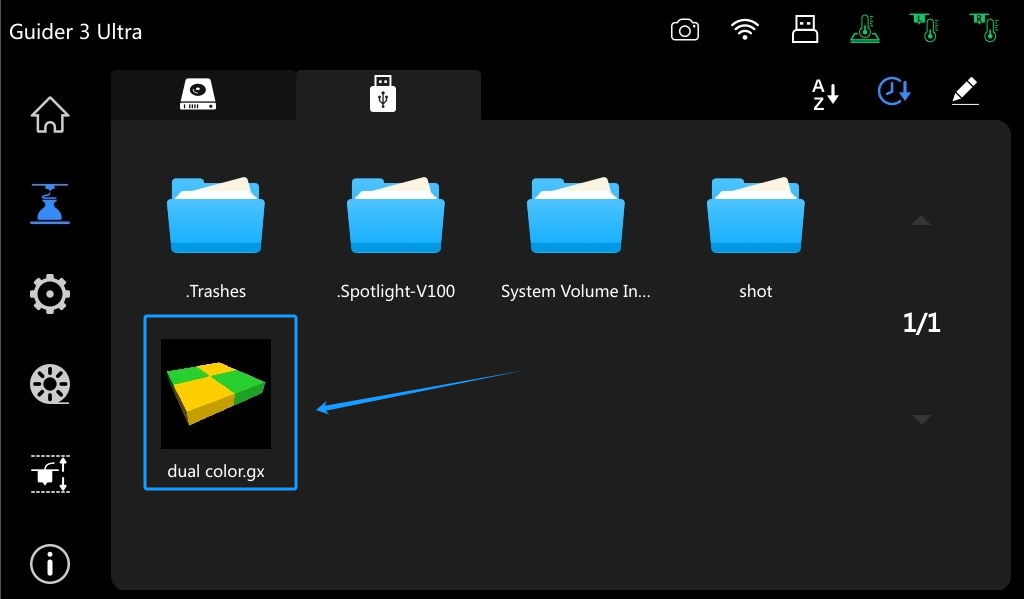
3. Click [![]() ]. The printer will automatically copy the model file for printing and then perform homing, preheating, and other preparation jobs. Once preheating is completed, the printer will start printing.
]. The printer will automatically copy the model file for printing and then perform homing, preheating, and other preparation jobs. Once preheating is completed, the printer will start printing.
Note: Before printing, ensure pre-printing preparations such as calibration and filament loading are completed.
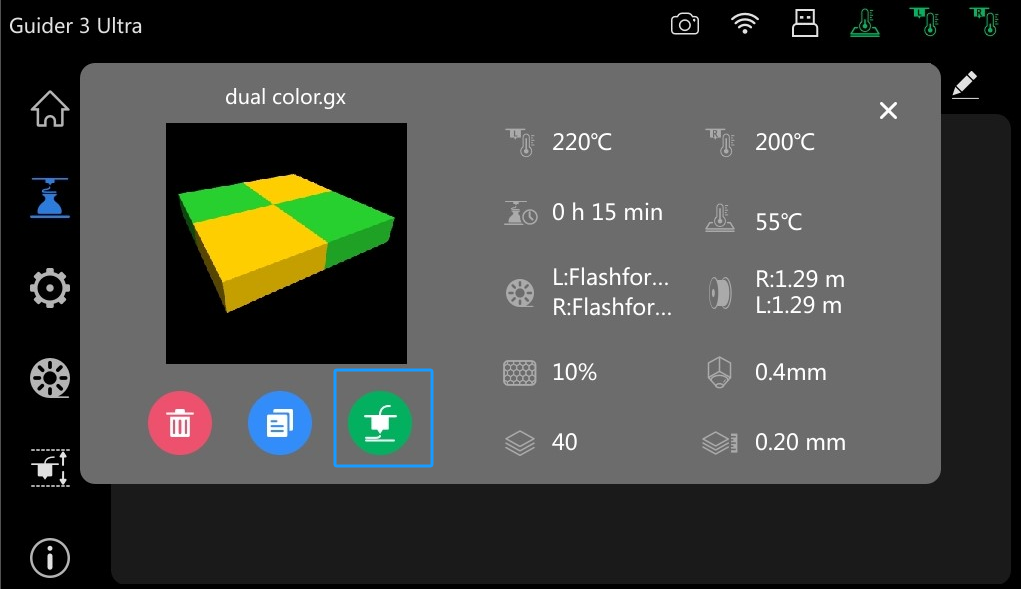
4. During the preheating process, the USB flash drive can be removed without affecting printing.
