Before the first print, it is necessary to prepare the printer by tasks like loading filament, calibration, and installing the build plate. Below are detailed explanations for each preparation step.
¶ 1.Loading Filament
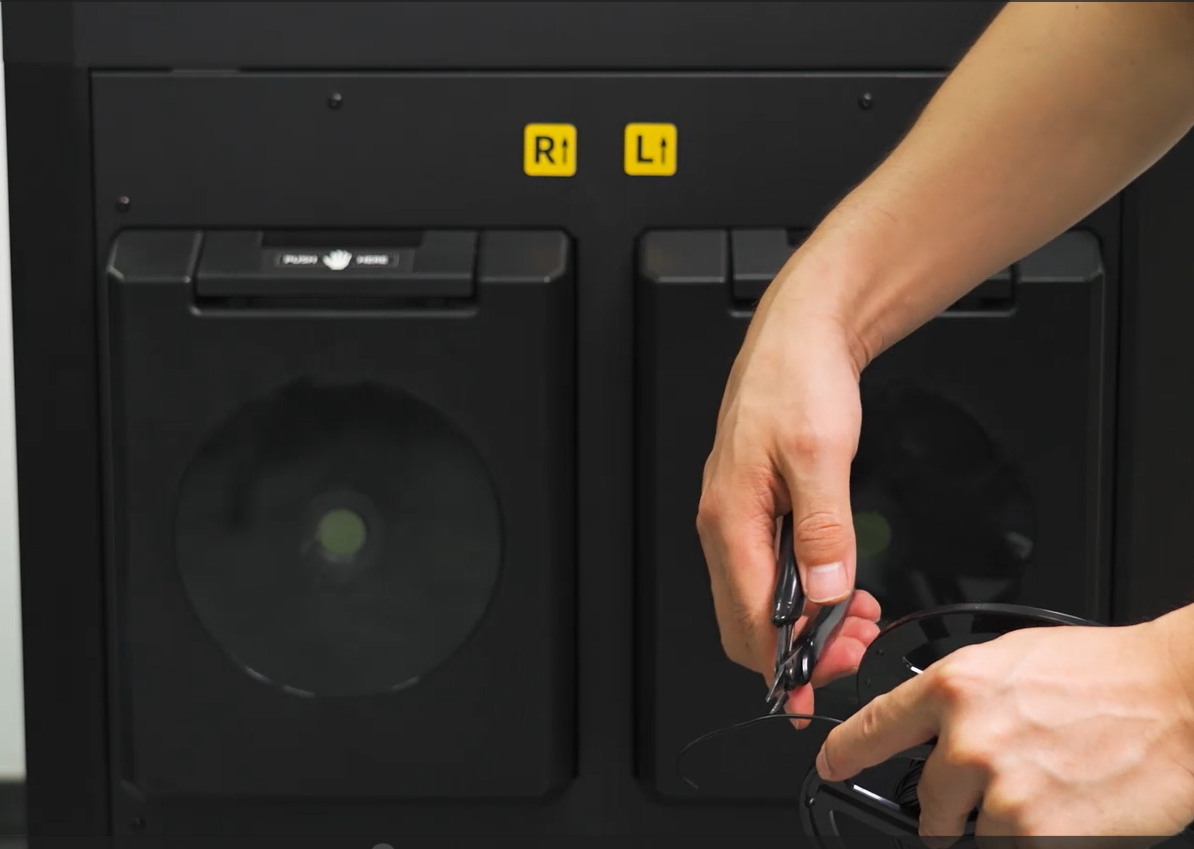
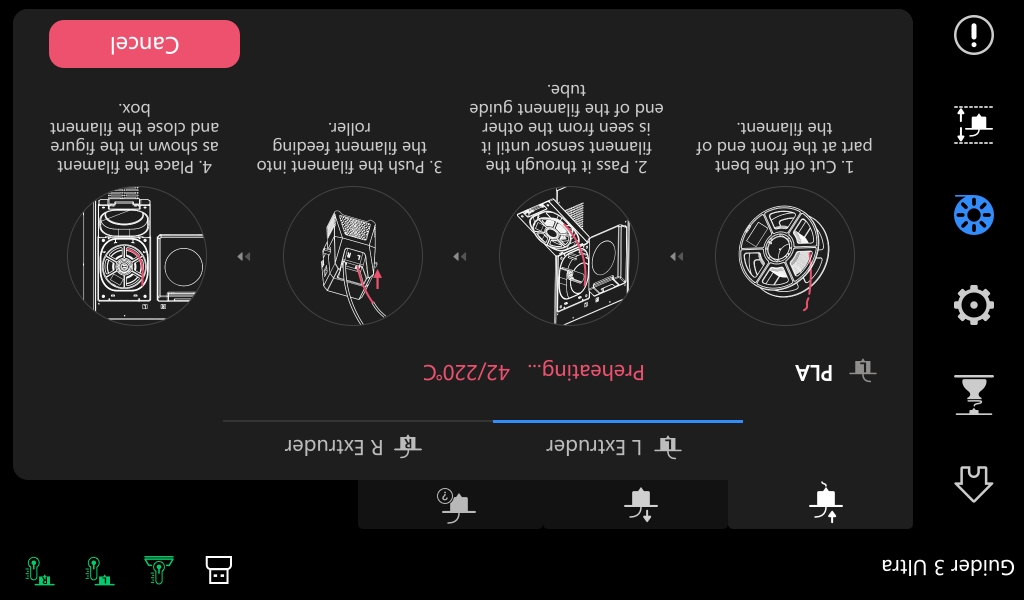
1. After unpacking the new filament, use diagonal pliers to trim the bent part at the front end.
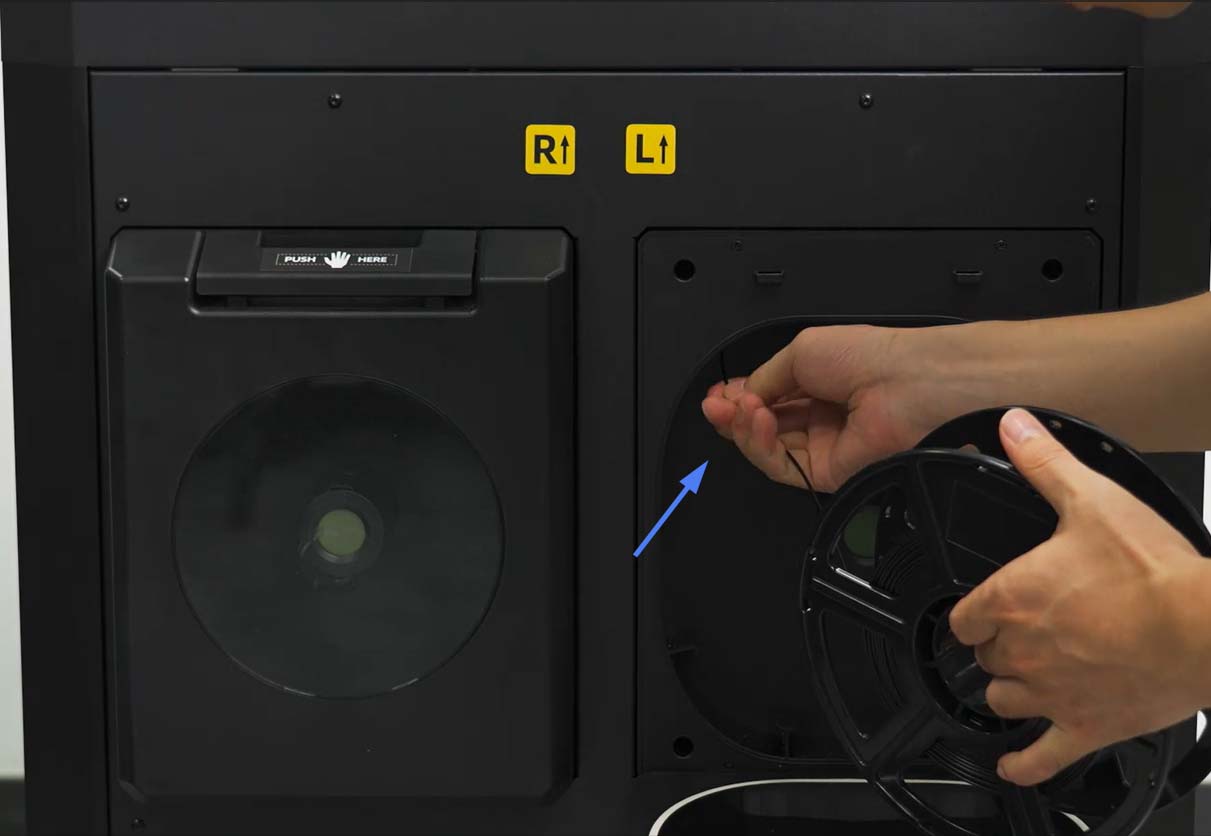
2. Open the filament chamber and manually thread the filament through the corresponding filament sensor at the top of the chamber until it is visible from the other end of the guide tube. (Note the label indicating the corresponding extruder and hole position).
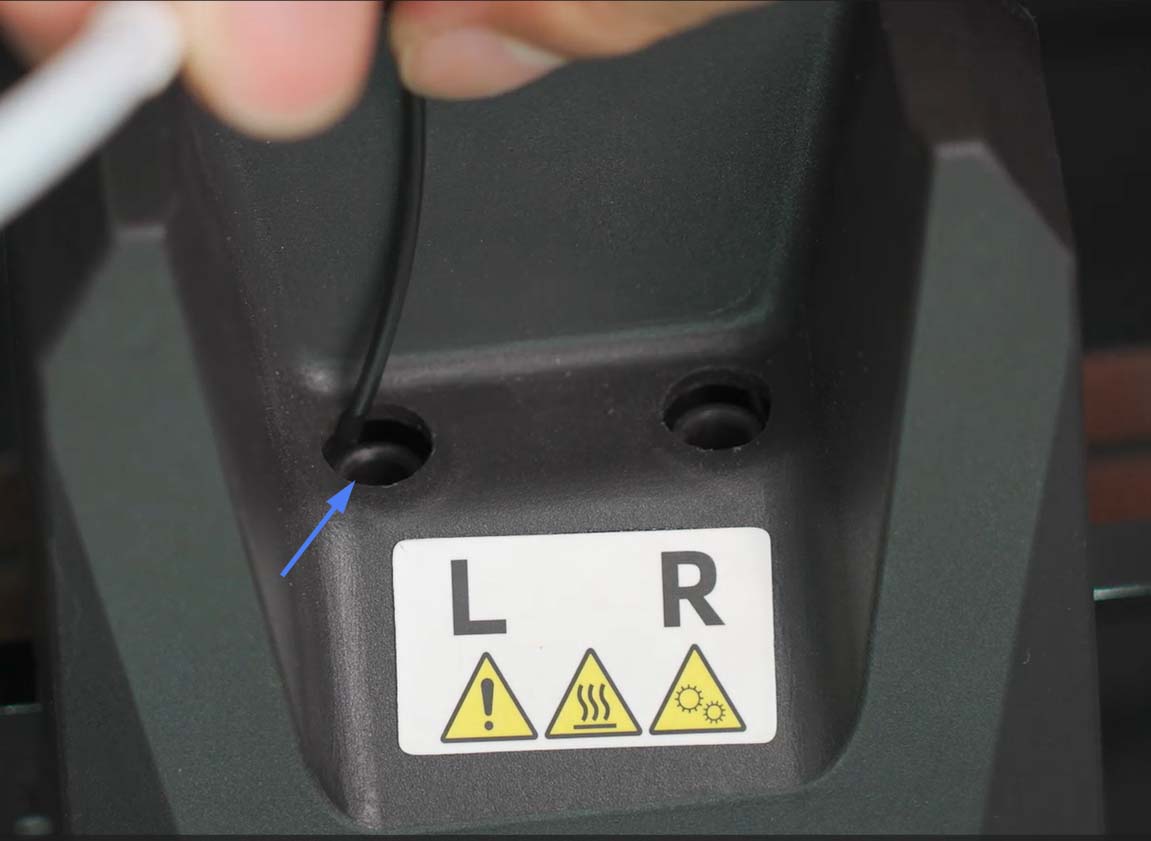
3. Insert the filament extended from the guide tube into the corresponding inlet, push it into the feed roller until you feel some resistance, or press the feed handle to push the filament into the feed roller to lock it in place.
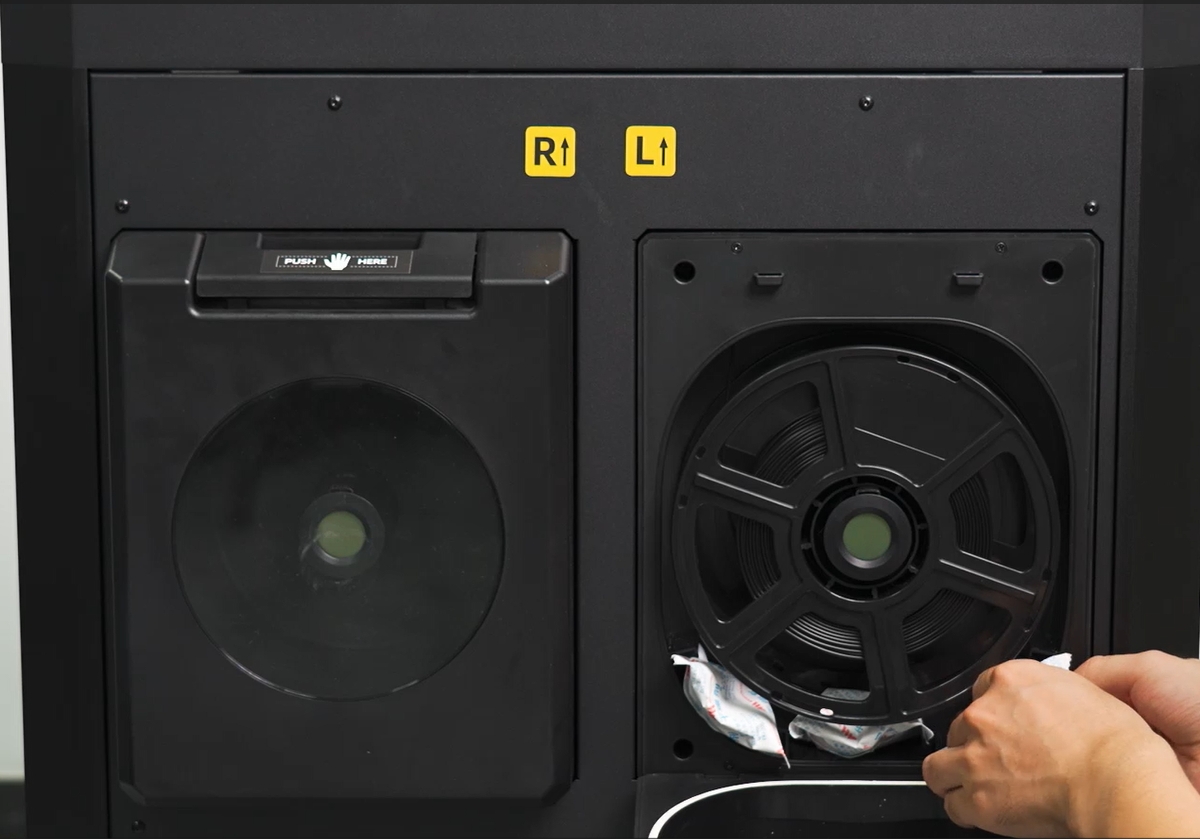
4. Then, place the filament into the filament chamber, and place the provided desiccant in the slot, with each chamber capable of holding 3 packs of desiccant. [Note: For smooth rotation of filament, please place the filament corresponding to the left nozzle in a clockwise direction, and place the filament corresponding to the right nozzle in a counterclockwise direction].
Note: After placing the desiccant, it is recommended to replace it every 2 weeks.
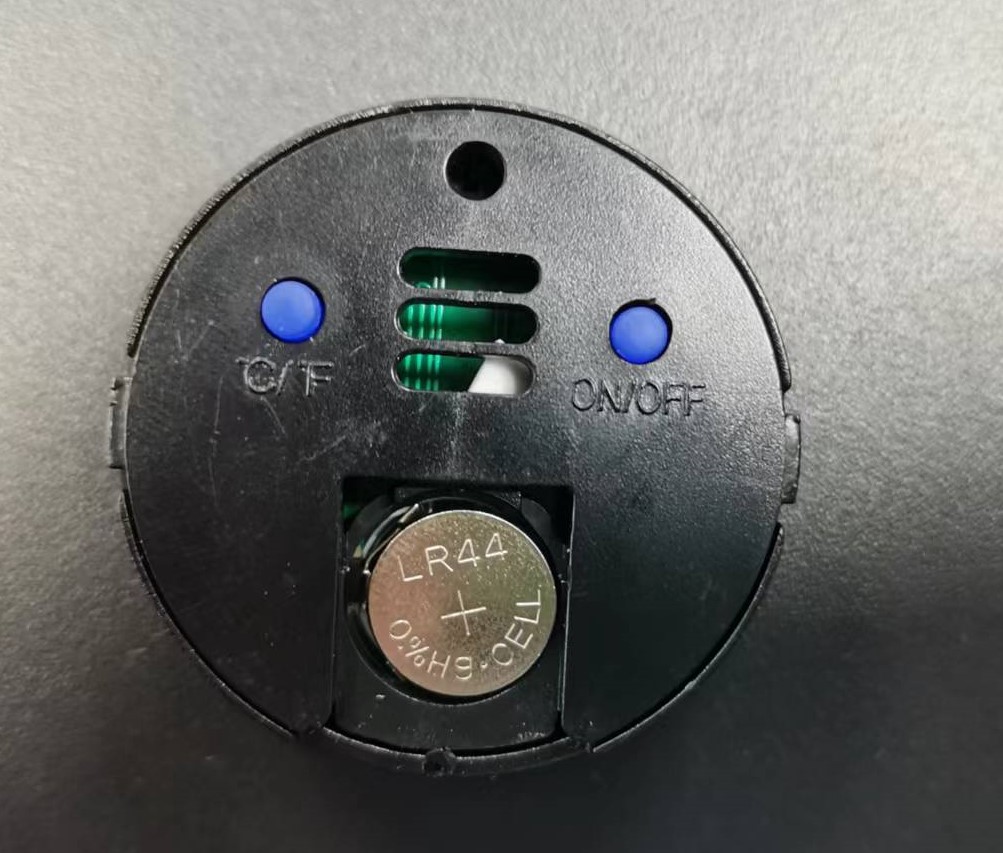
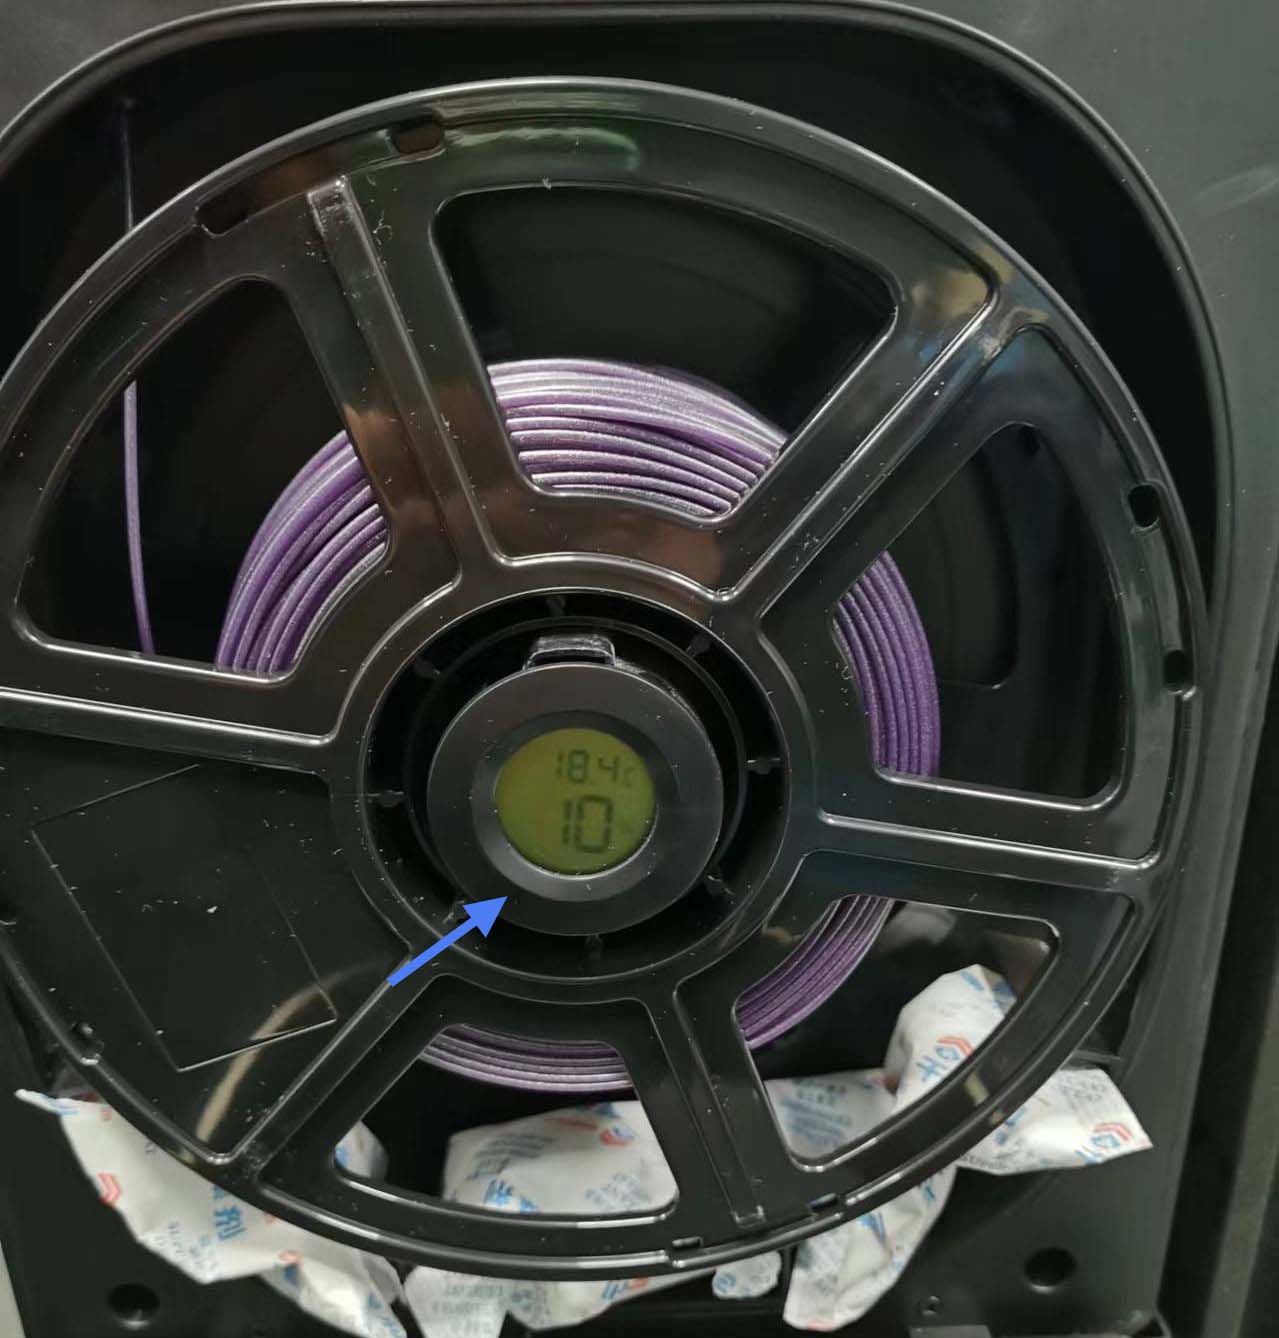
5. Remove the digital hygrometer, install the LR44 button battery, close the cover, turn on the switch, then place the hygrometer in the filament chamber, and finally close the filament chamber cover.
Note:
a. Please observe the humidity reading. When the stable humidity reading is below 15%, the print quality is better. Especially when printing with dual extruders, ensure that the humidity is below 15%. If the humidity is above 20%, please replace the desiccant.
b. Due to air transport safety issues, the button battery needs to be purchased by the user.
6. After loading filament and desiccant, select [![]() ] on the main interface to enter the filament loading and unloading interface as shown below.
] on the main interface to enter the filament loading and unloading interface as shown below.
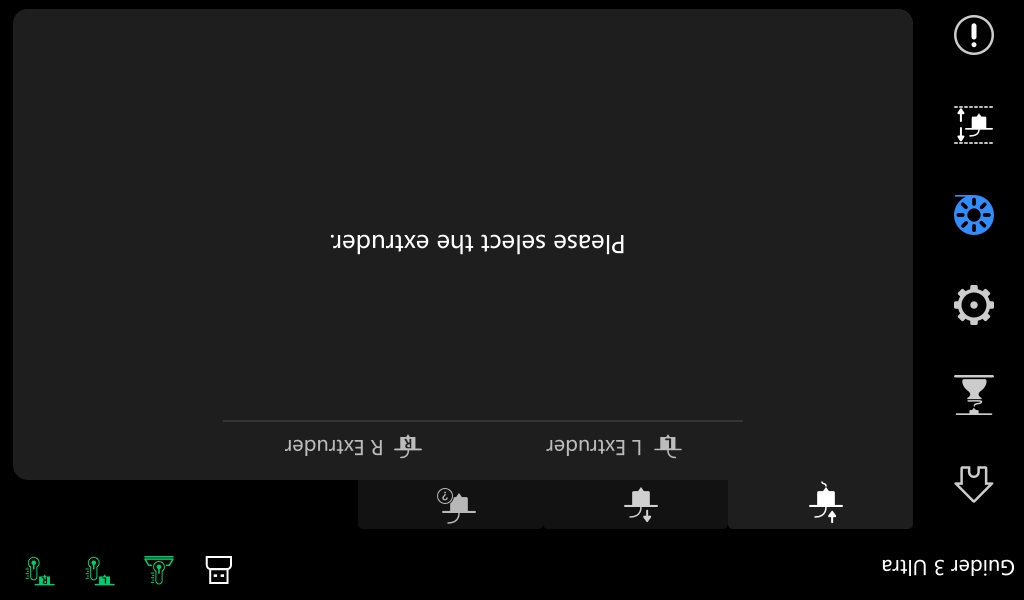
7. Click [![]() ] then select [L Extruder], select the filament to be loaded, and click [Start].
] then select [L Extruder], select the filament to be loaded, and click [Start].
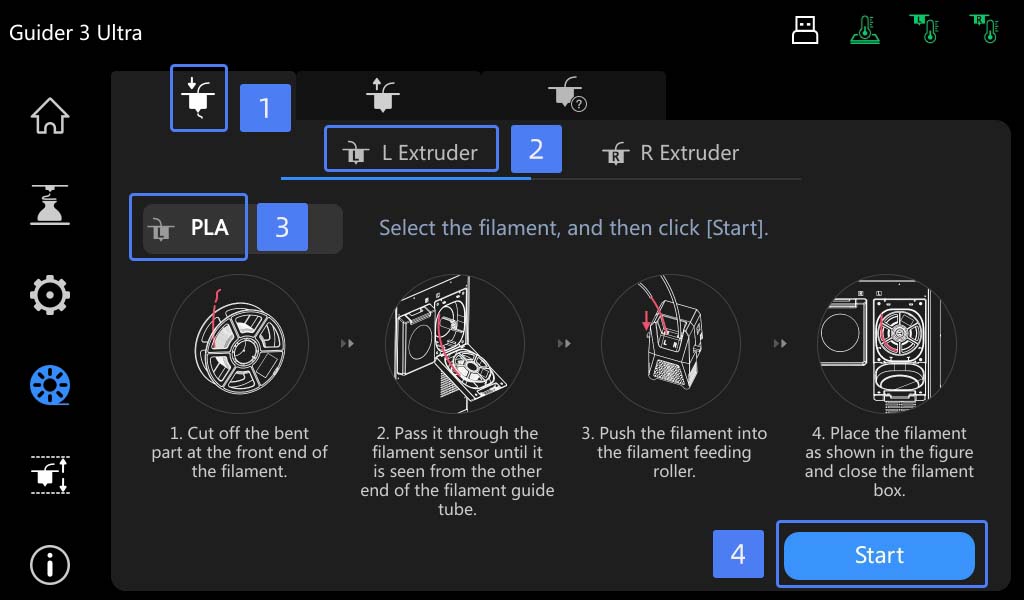
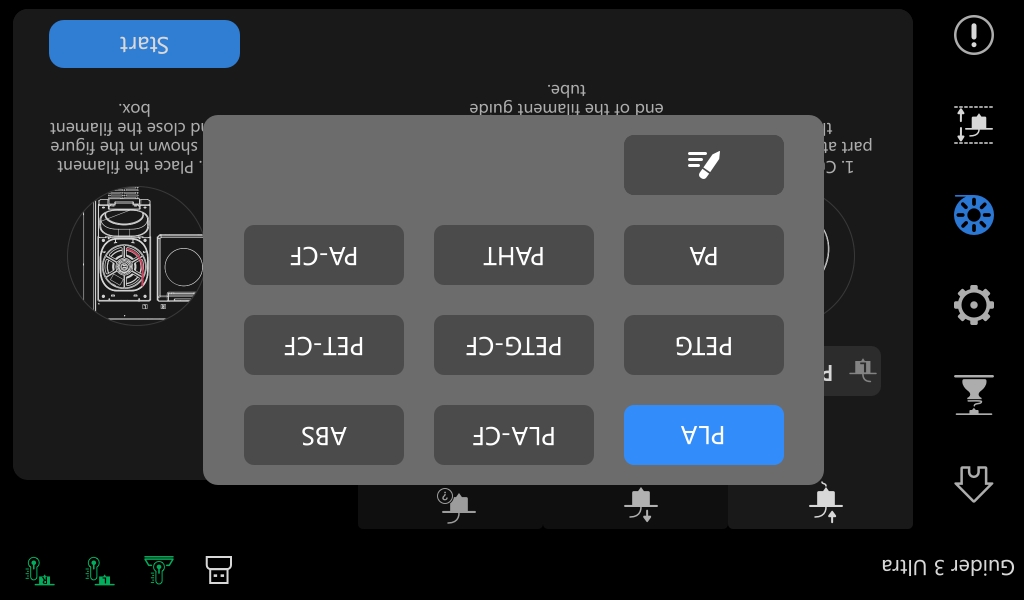
Choose Filament
8. After clicking [Start], the extruder starts heating up until it reaches the target temperature.
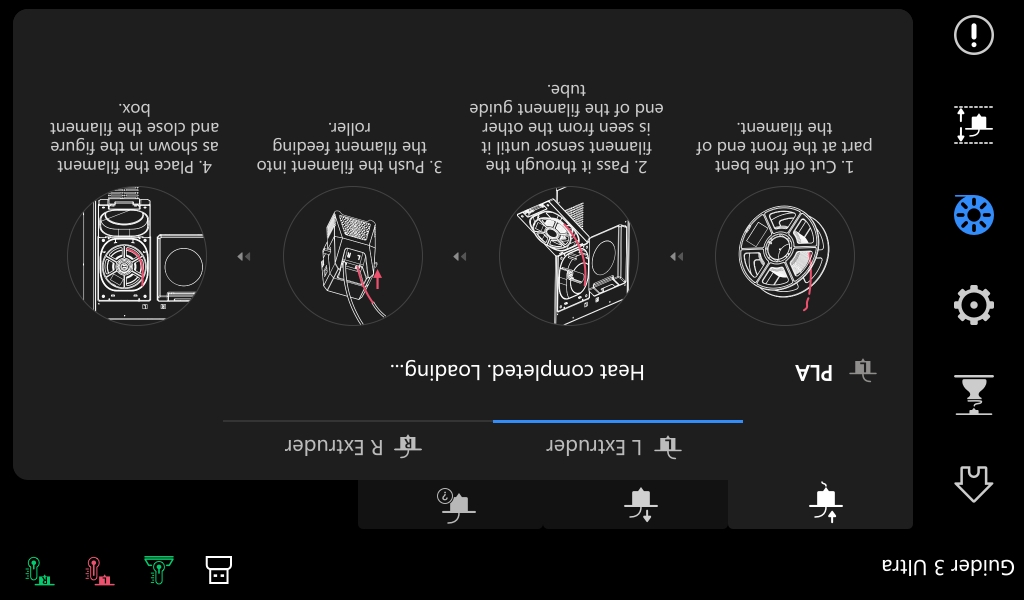
9. Once it reaches the target temperature, the printer starts feeding the filament. The screen will display as shown below.
10. After it automatically feeds the filament for a period of time, it will stop automatically and display "Load finished.". Filament loading is completed when there is a large amount of filament flowing out of the nozzle.
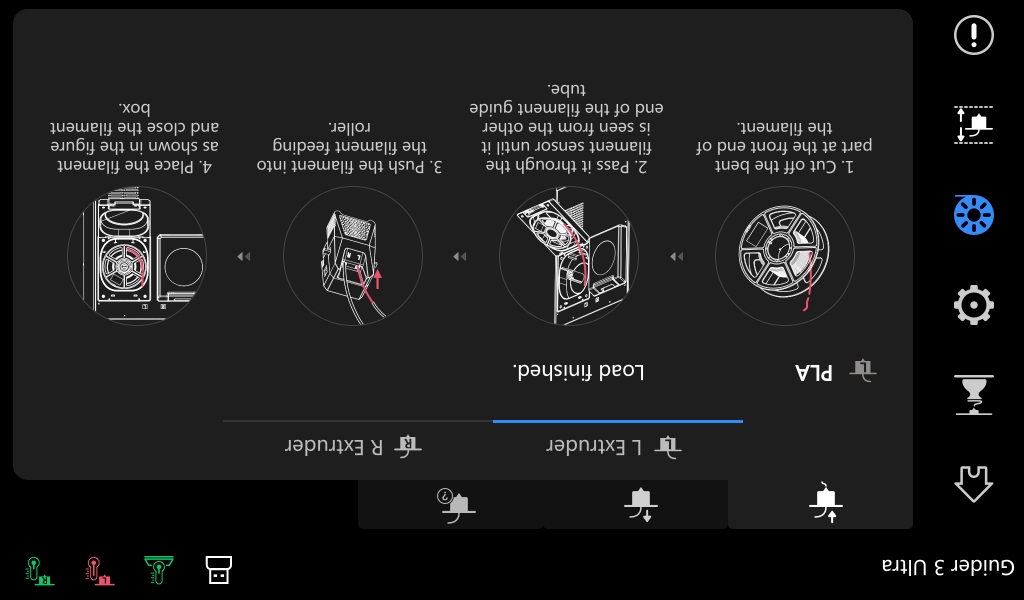
11. After the left-extruder filament loading is completed, select [R Extruder] and repeat steps 7-10 to complete filament loading for the right extruder.
¶ 2.Placing the PEI Flexible Sheet
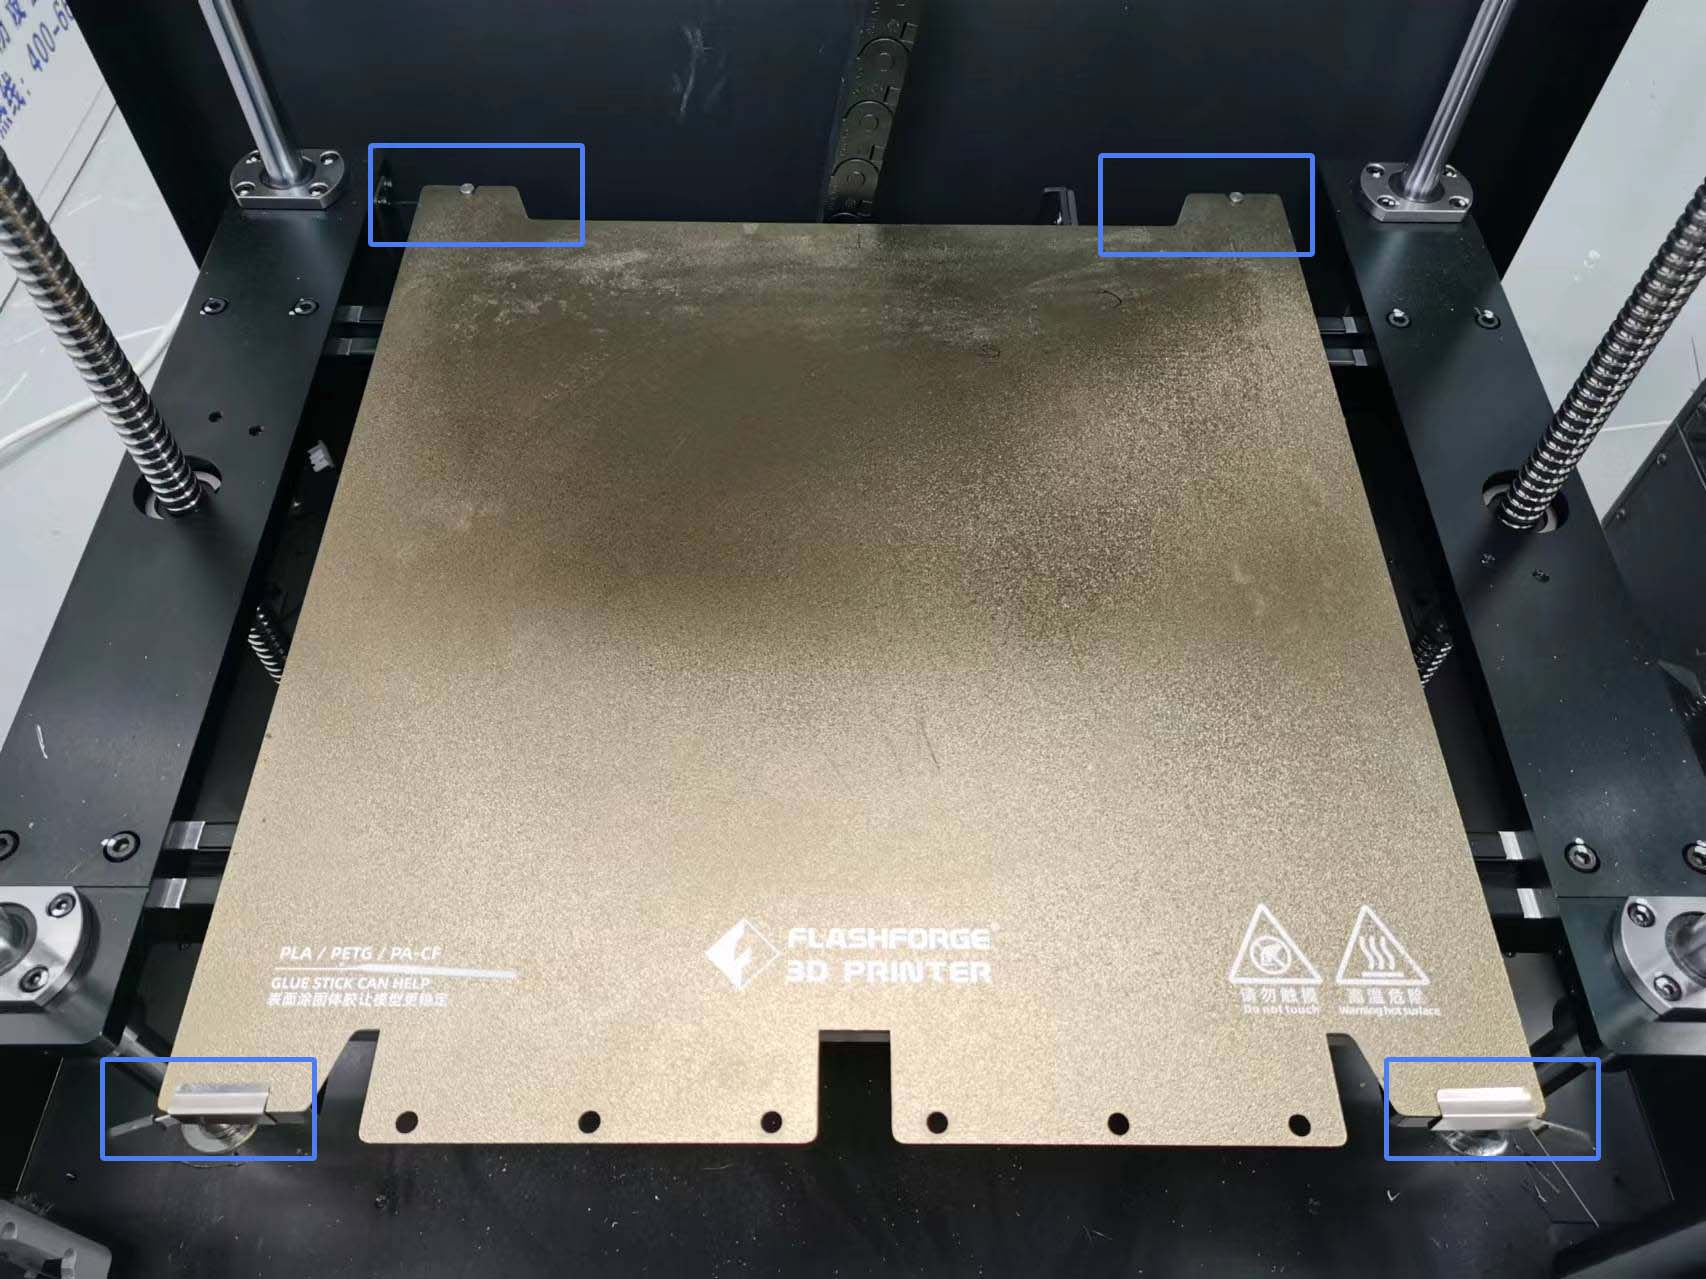
The yellow PEI sheet is pre-installed. To prevent loosening during transportation, please ensure the rear end of the sheet is locked onto the positioning column and the front clamps are securely fastened.
¶ 3.Calibration
Before calibration, please ensure the build plate is securely placed without any falling or warping, and confirm there are no filament residues or other foreign objects at the tip of the extruder.
1. Z-axis calibration. Select [![]() ] on the main interface to enter the calibration interface.
] on the main interface to enter the calibration interface.
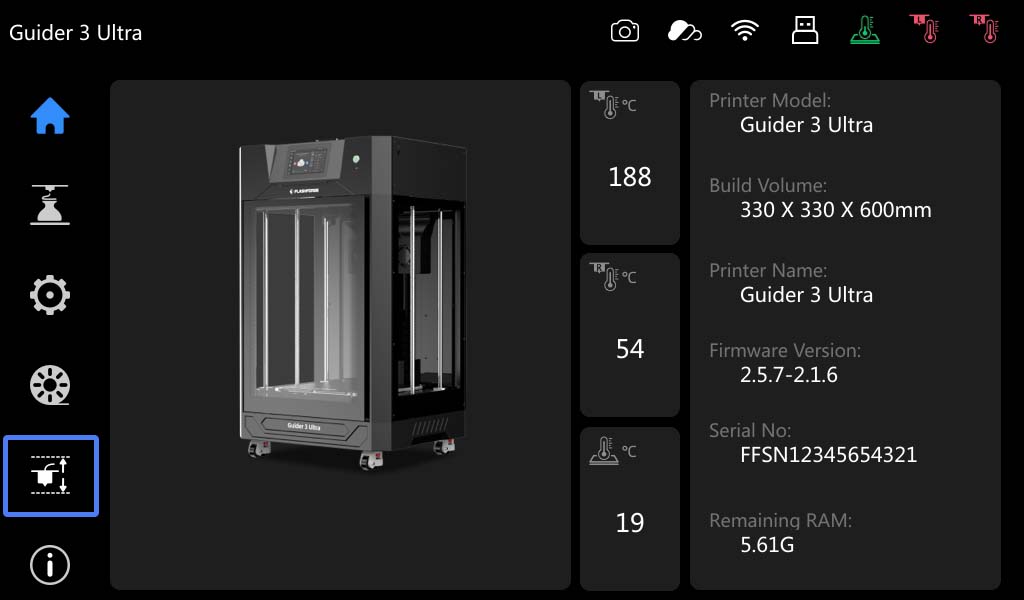
2. Click [![]() ] to enter "Auto Z-axis Calibration", and then click [Start]. The printer will automatically calibrate the Z-axis distance between the extruder and the bed, as well as the height difference between the left and right nozzles.
] to enter "Auto Z-axis Calibration", and then click [Start]. The printer will automatically calibrate the Z-axis distance between the extruder and the bed, as well as the height difference between the left and right nozzles.
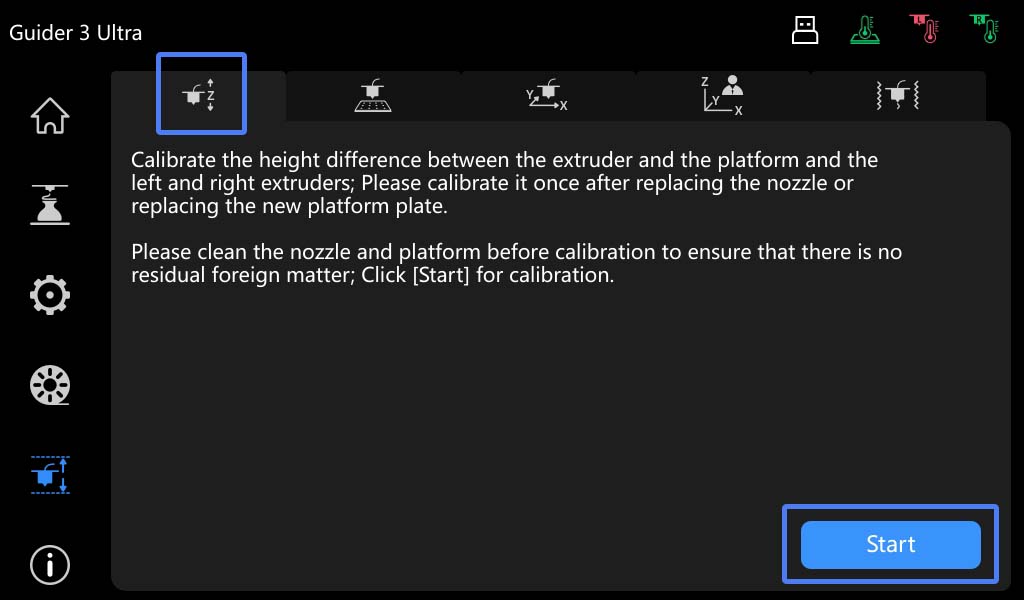
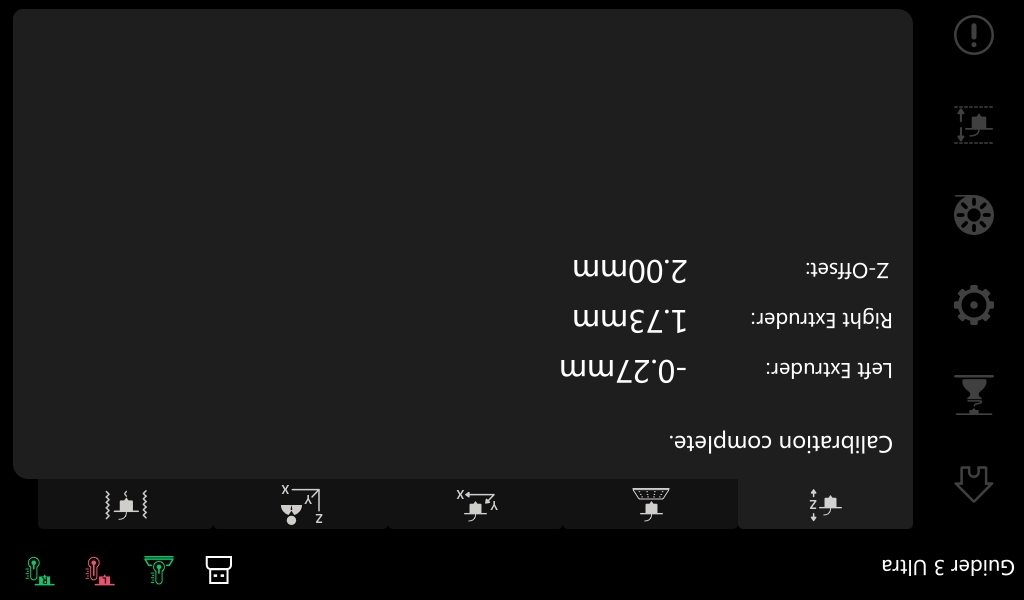
3. After clicking [Start], the printer will automatically complete the Z-axis calibration for both extruders, which takes 1-2 minutes. Please wait patiently. Once Z-axis calibration is completed, the screen will display as shown below.
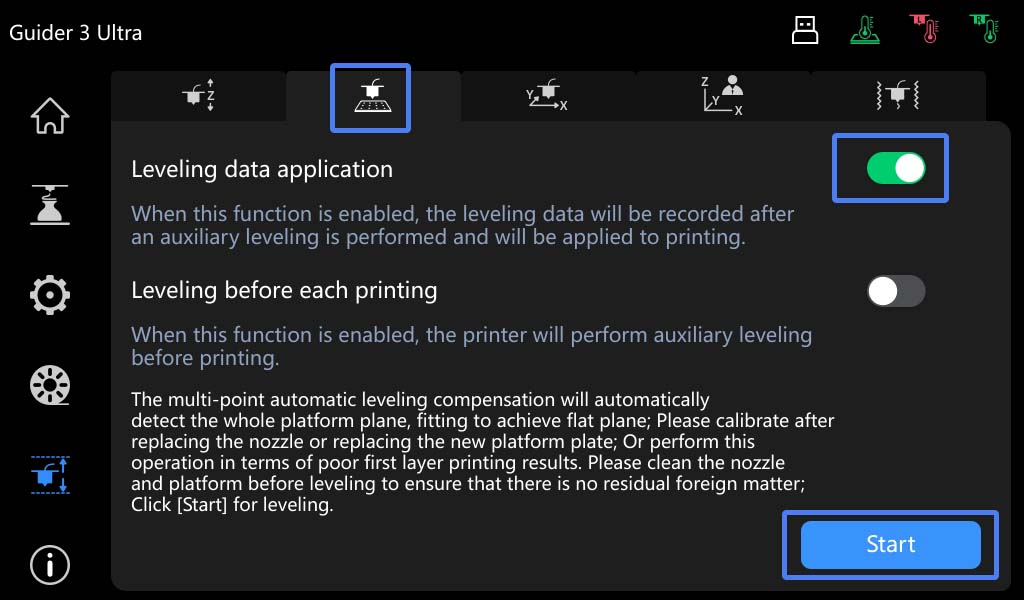
4. Leveling. After completing Z-axis calibration, click [![]() ] and then enable [Leveling data application] before clicking [Start].
] and then enable [Leveling data application] before clicking [Start].
Note: [Leveling before each printing] can be unchecked. If you require real-time data before each print, you can enable this option.
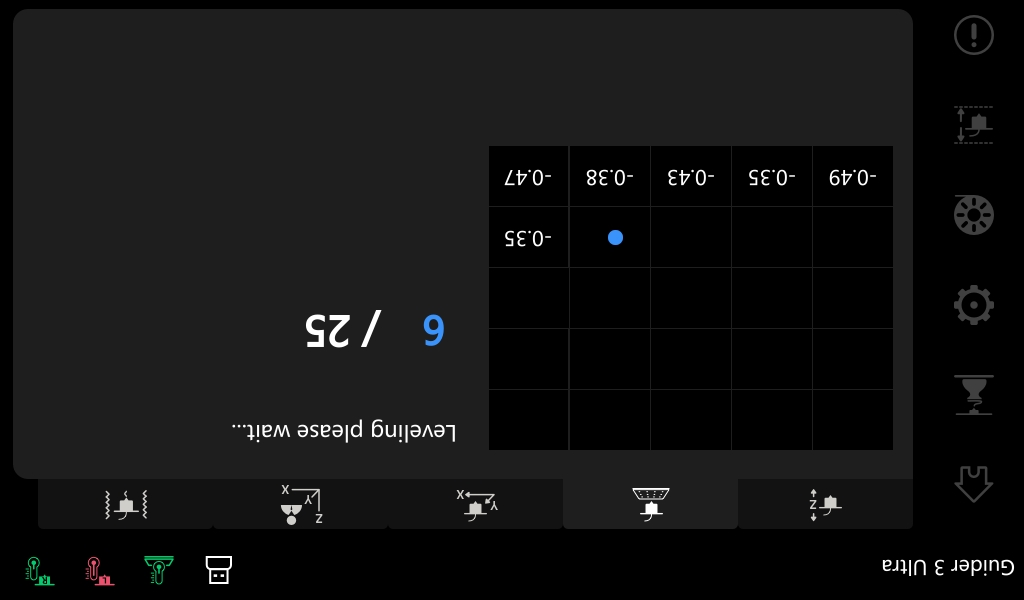
5. After clicking [Start], the printer will test 25 points in sequence. The screen will display as shown below.
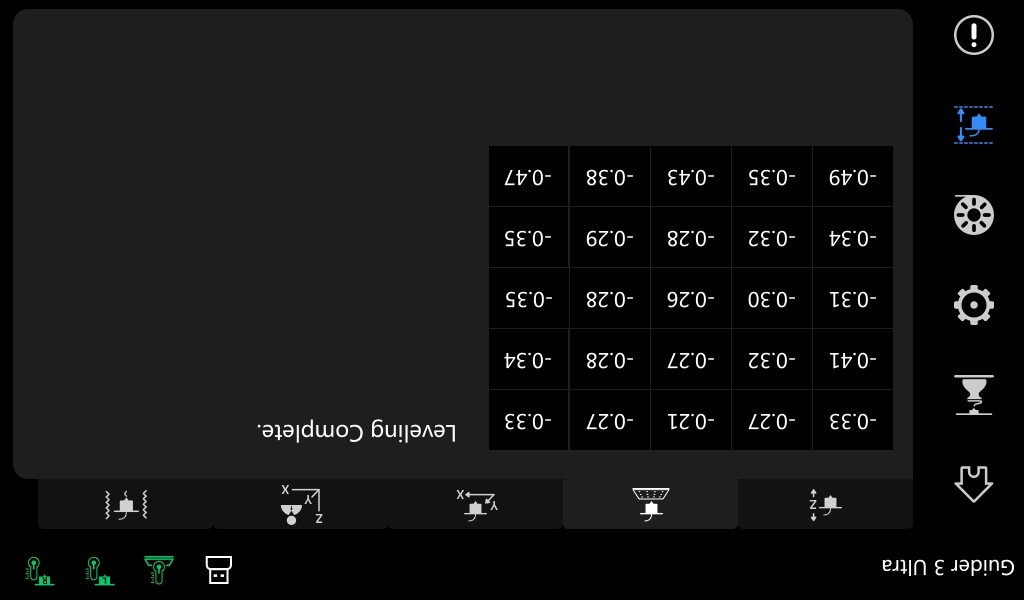
6. Once the printer finishes testing all points, the screen will display as shown below, indicating bed leveling is completed.
7. XY calibration. XY calibration is usually necessary for dual-extruder printing to avoid poor print quality due to X/Y-axis offset. Too much offset can cause model collision faults. This step can be skipped for single-extruder printing.
Click [ ], then click [Start], and the printer will automatically heat up.
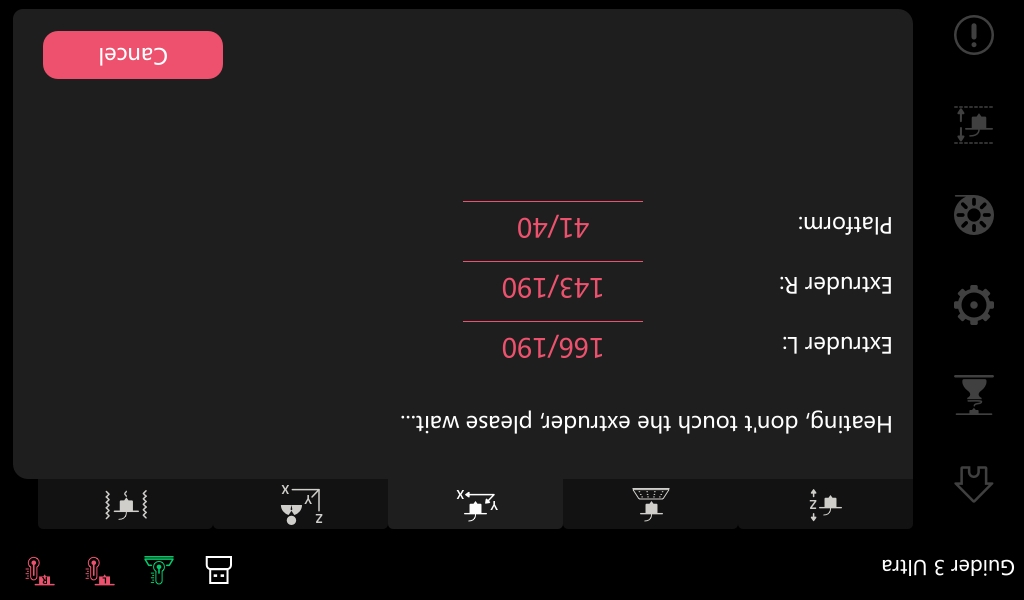
8. Once the target temperature is reached, the left and right nozzles will each print a test line in the X- and Y-direction, as shown below:
Note: This works by adjusting the lines printed by the right extruder to align with those printed by the left extruder.
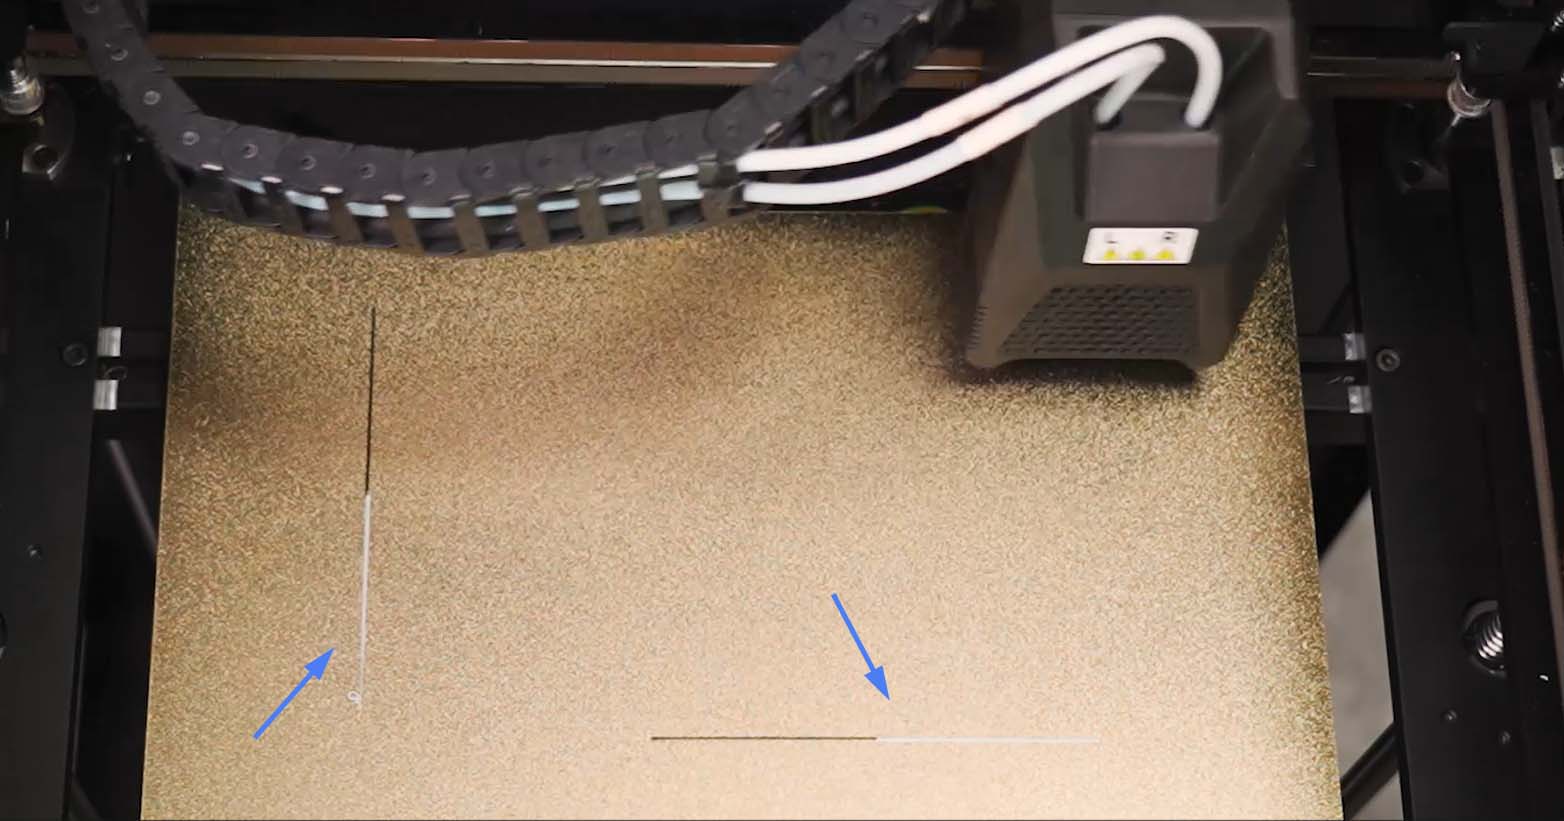
9. After printing is completed, measure the deviation distance between the two lines in the same direction with a ruler. Compare the printed test lines with the examples on the screen. Adjust the XY spacing of the right nozzle according to the prompts.
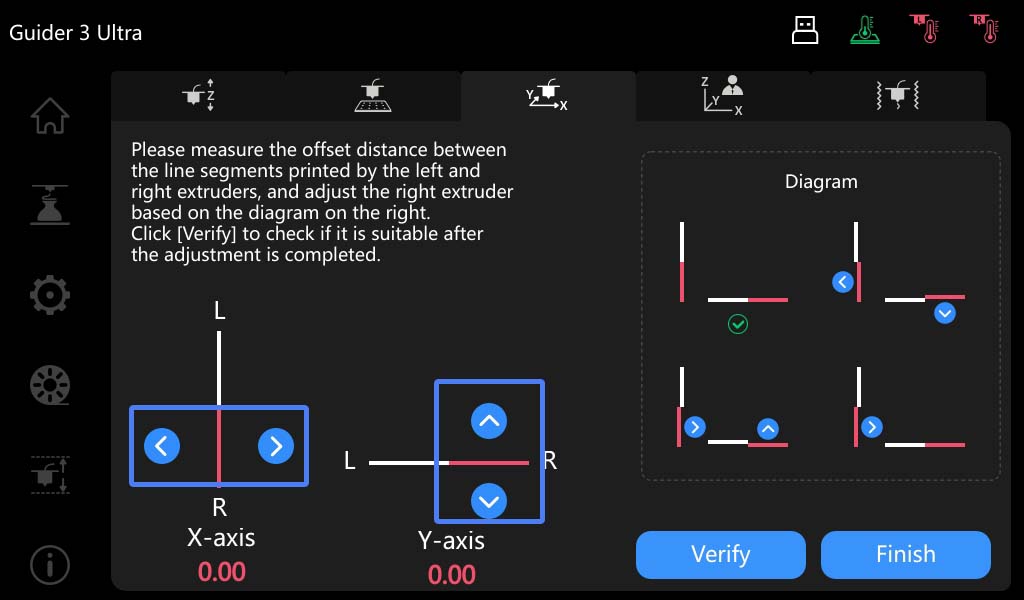
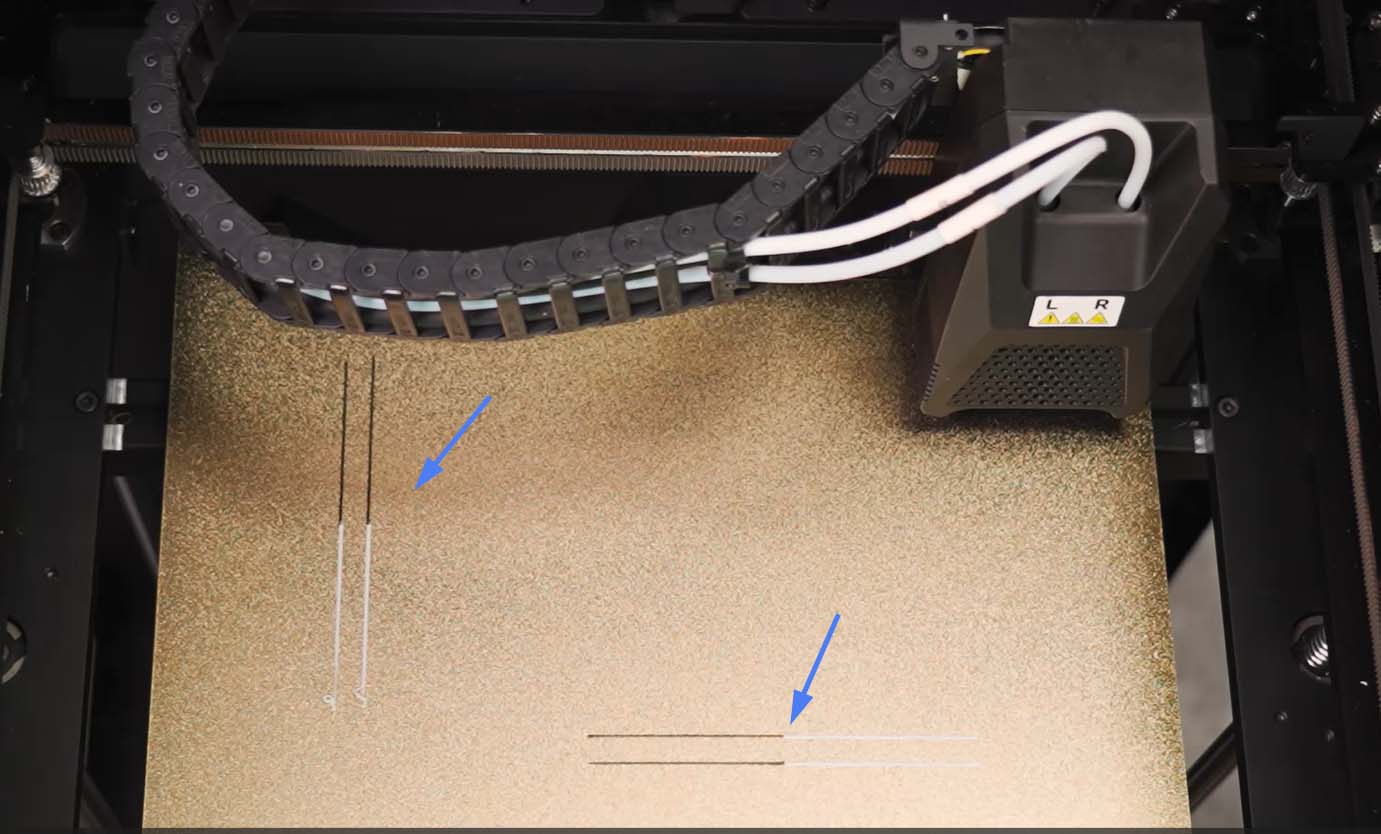
10. After adjusting is completed, click [Verify]. The printer will reprint lines. Once the two lines align with each other, click [Finish] to save the data and XY calibration is completed.
11. Vibration test. Click [ ] and click start.
When conducting the vibration test, note the following: 1. Make sure all four casters are securely locked before testing. 2. Do not operate or collide with the printer during calibration. 3. Vibration and noise during calibration are normal. 4. Once calibration starts automatically, it cannot be canceled.
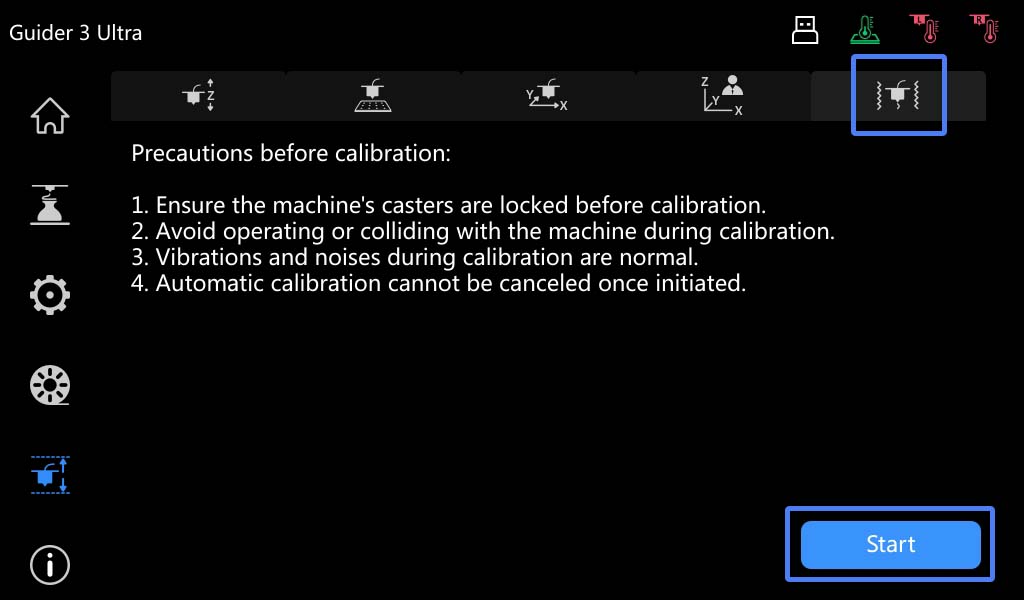
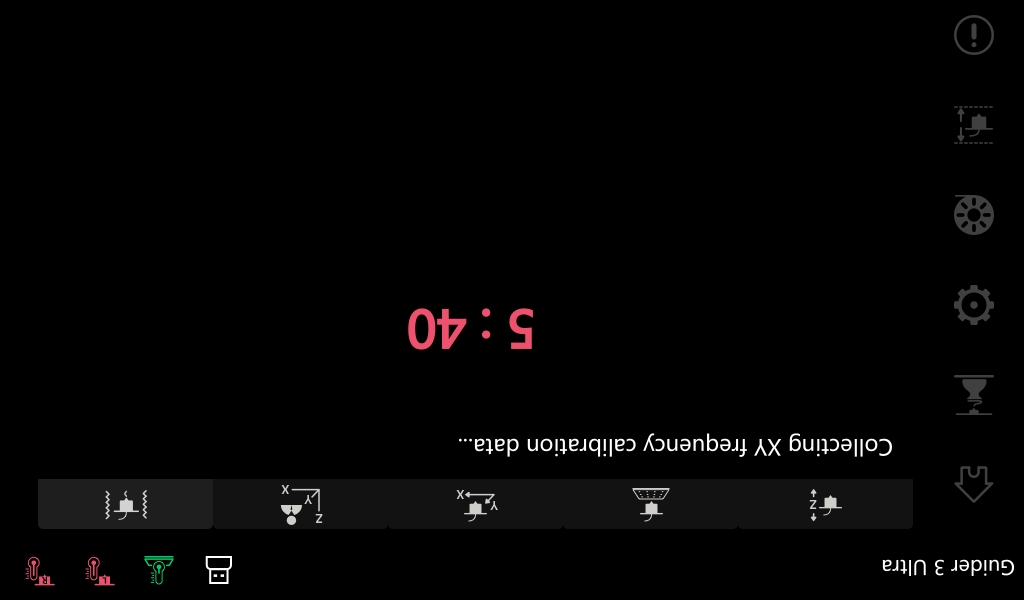
12. When calibration starts, the X and Y-axis motors will run at different frequencies. The screen will display as shown below.
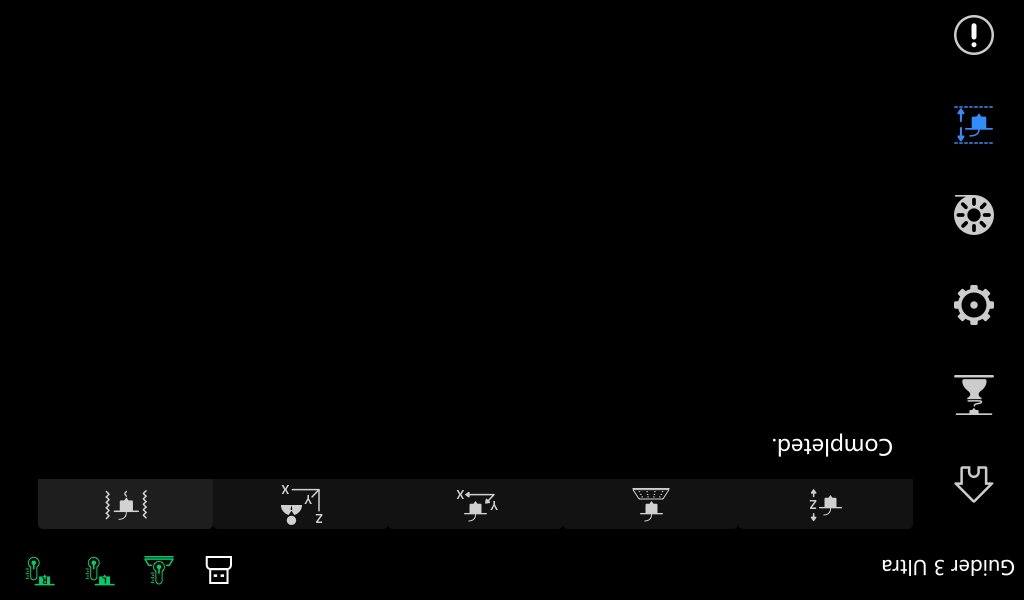
13. Once the countdown ends, vibration calibration is completed. The screen will display as shown below.
Now, all preparations before printing are completed. You can now try printing the printer's DEMO files.