Step into the unboxing journey of Adventurer 5M Pro.
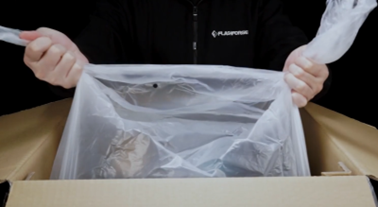
¶ Step 1: Unboxing Your Printer
After opening the box, remove the upper foam and fixing cardboard. Remove the printer from the box by using the two plastic handles as shown below and place it on a flat surface.
¶ Step 2: Accessory Removal
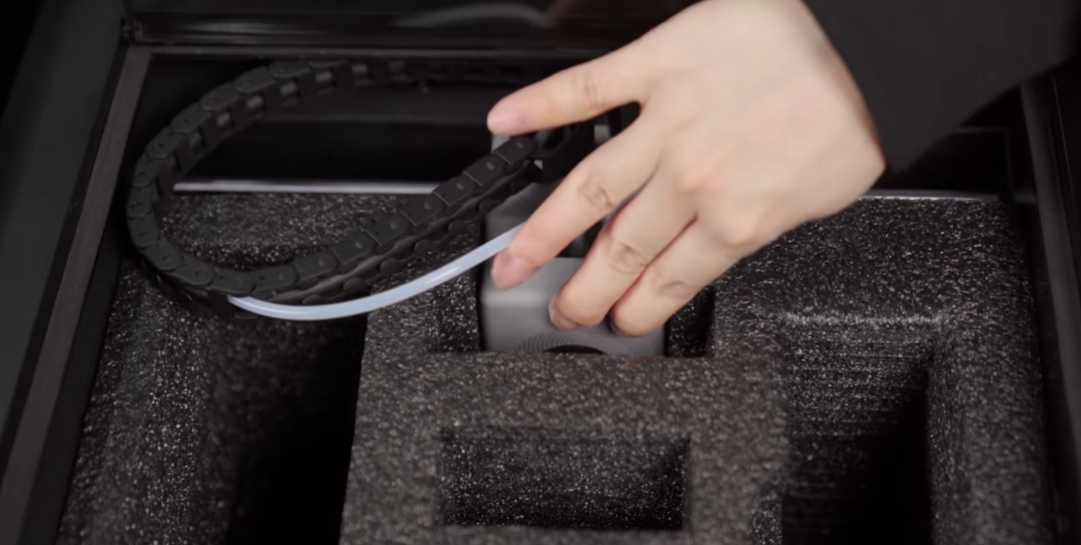
Remove the filament, power cord, screen and accessory box from the chamber protective foam. Remove the inner protective foam from the extruder.
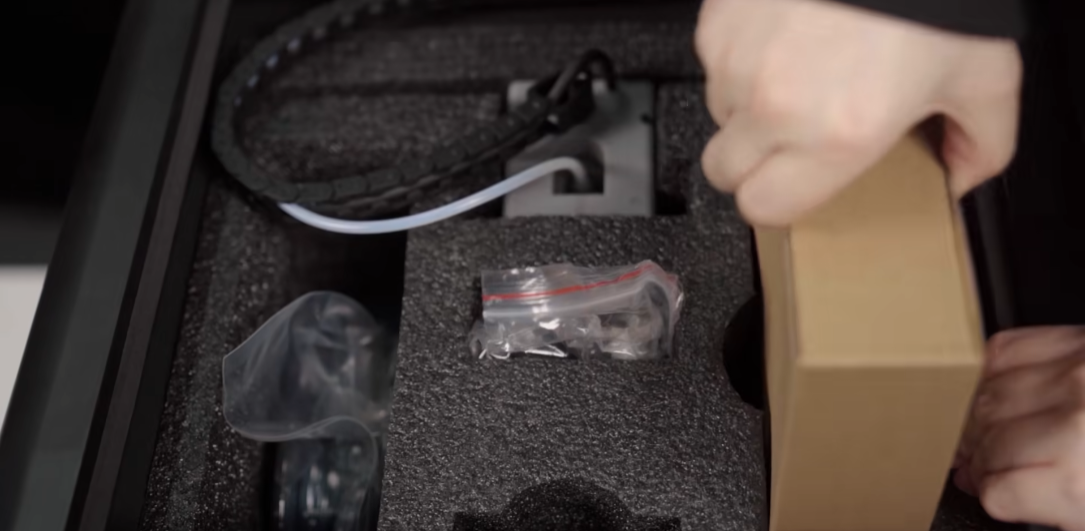
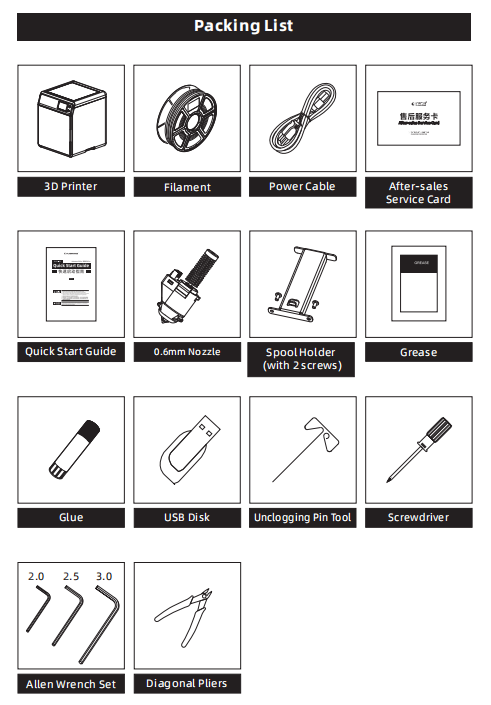
Below are accessory box contents for Adventurer 5M Pro :
Learn more about the accessories here.
¶ Step 3: Protective Foam Removal
a) First remove the foam, as shown in the figure.
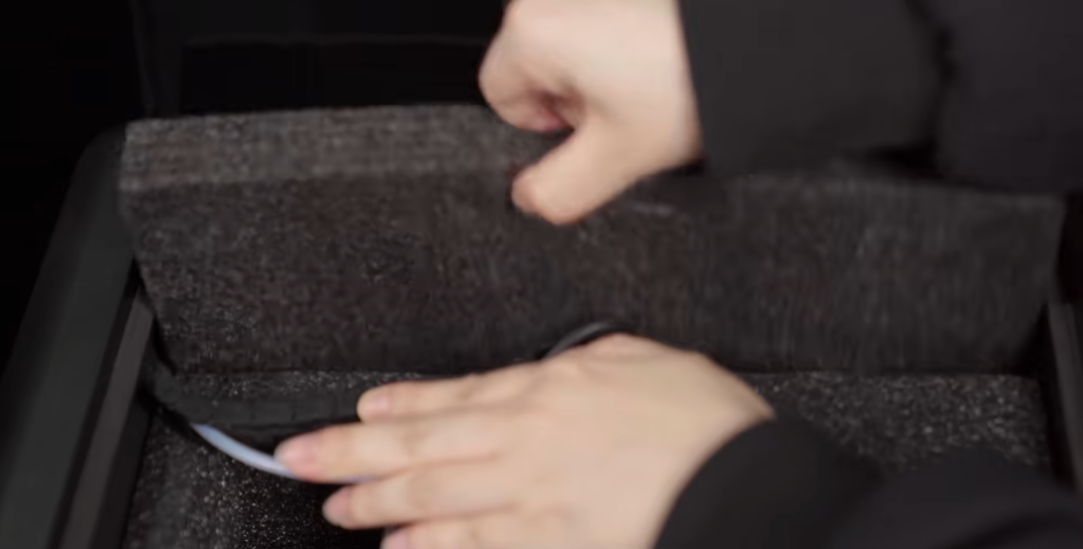
b) Push the nozzle as shown and remove the protective foam.
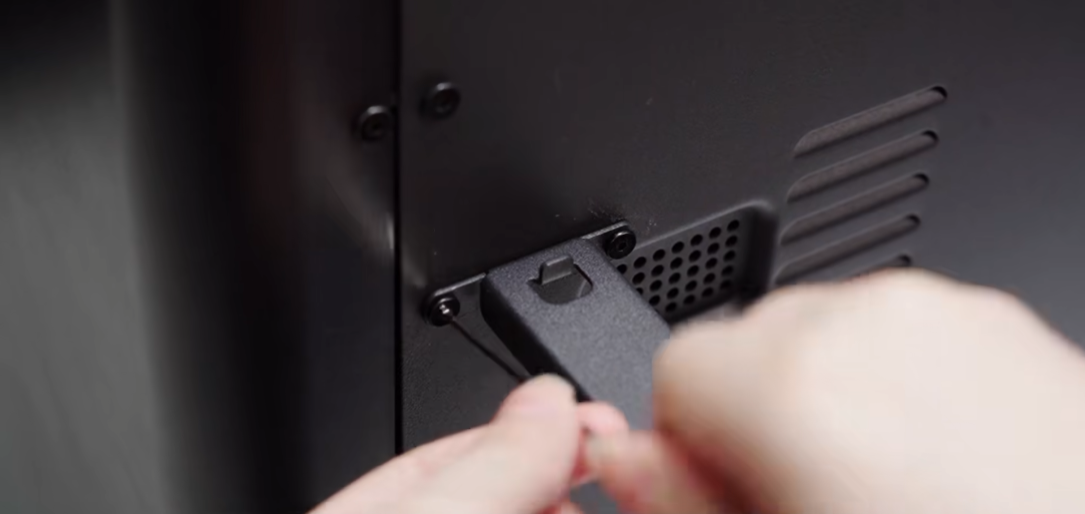
¶ Step 4: Spool Holder Installation
Take out the spool holder and screws from the accessory box. Install the spool holder on the back panel of the printer.
Note:
1. Use a 2.0 Allen wrench for installation.
2. The protruding part of the spool holder should face upward during installation. Do not install it upside down.
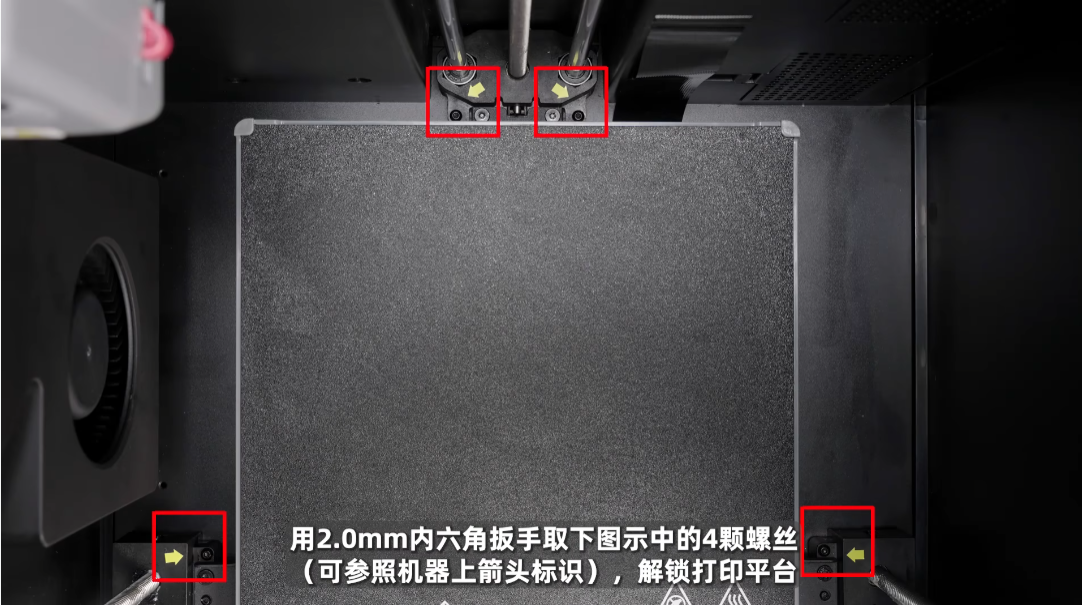
¶ Step 5: Bed Fixing Screw Removal
Use a 2.0 Allen wrench to remove the four screws marked as shown below.
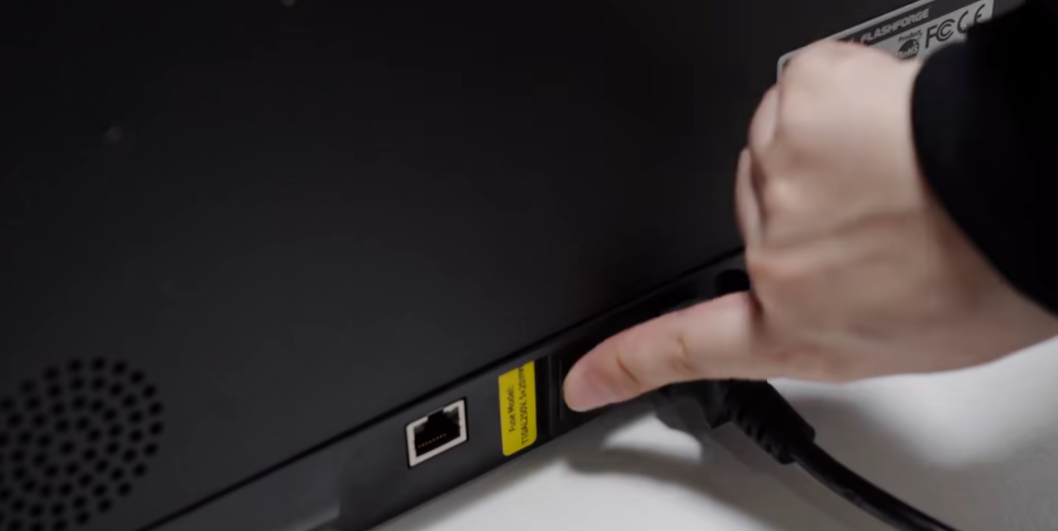
¶ Step 6: Power Connection
Power on the printer, press the power switch, and the screen lights up. Unboxing is completed.
¶ Unboxing Video
Watch the full unboxing video on YouTube: