¶ Clean after each print
¶ Cleaning the Build Plate
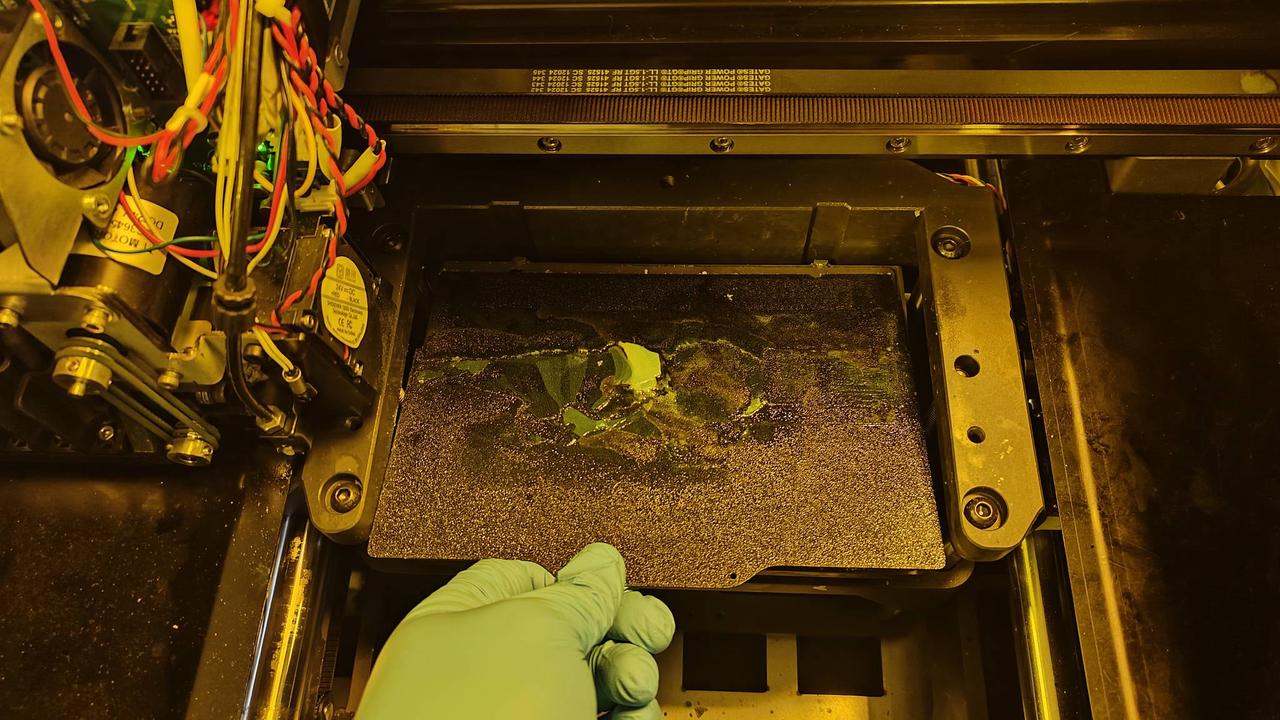
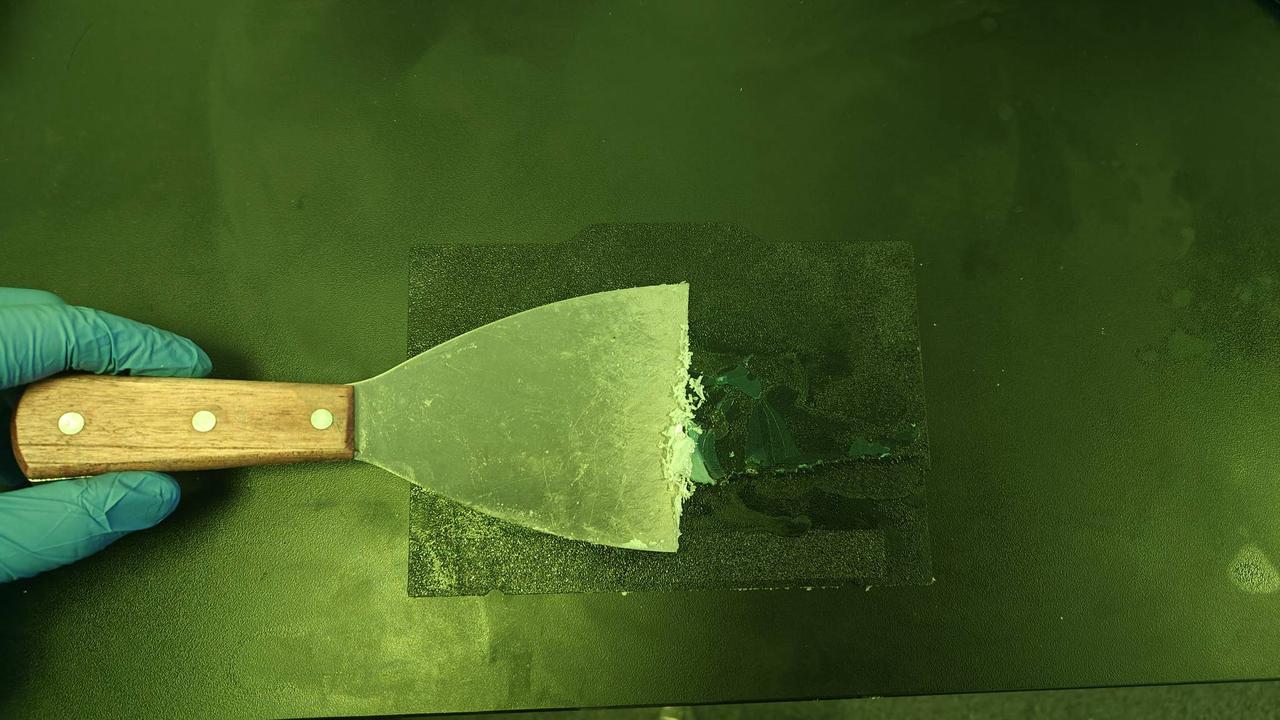
1. Remove the build plate from the printer and use a scraper to remove any resin residue from the surface. Wear cut-resistant gloves during operation and always point the scraper away from your body to avoid injury from slipping.
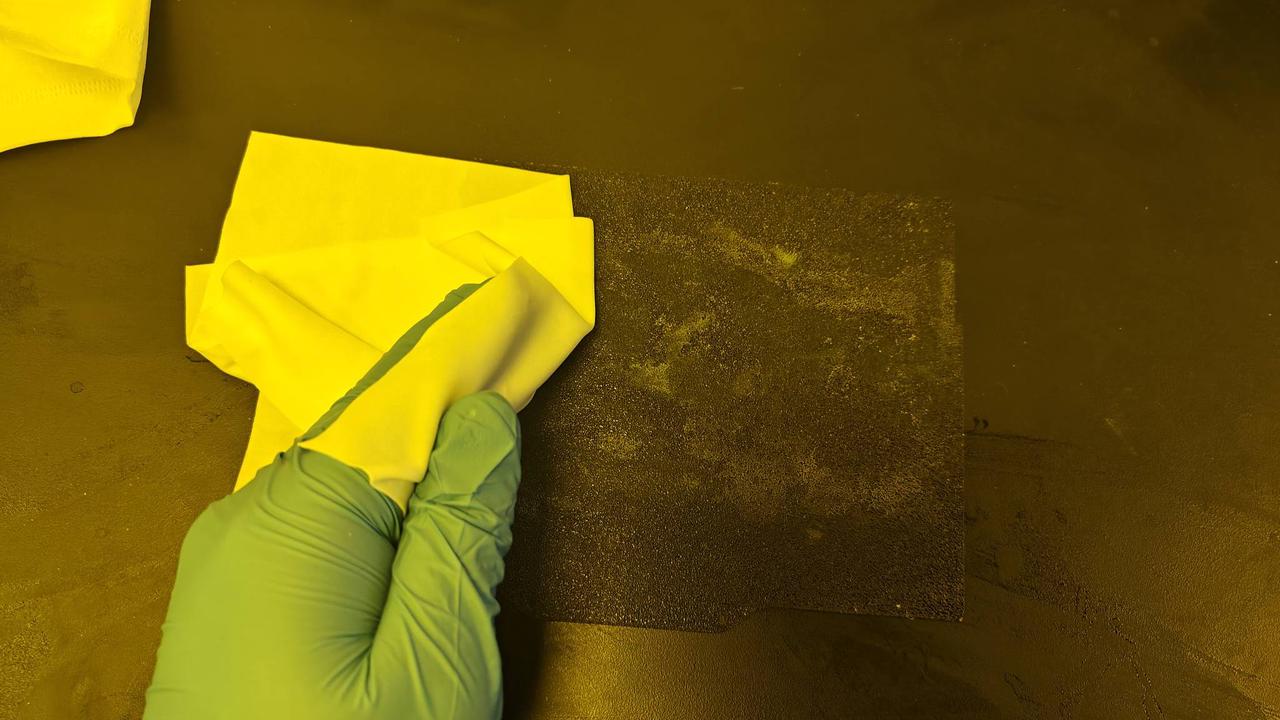
2. Wearing nitrile gloves, thoroughly moisten a lint-free cloth with isopropyl alcohol (IPA) at a
concentration of 70% or higher.
3. Wipe the entire build plate surface thoroughly until no oil, stains, or residue marks remain.
4. Allow the IPA to evaporate and the build plate to dry completely before reinstalling it for use.
¶ Cleaning the Planarizer
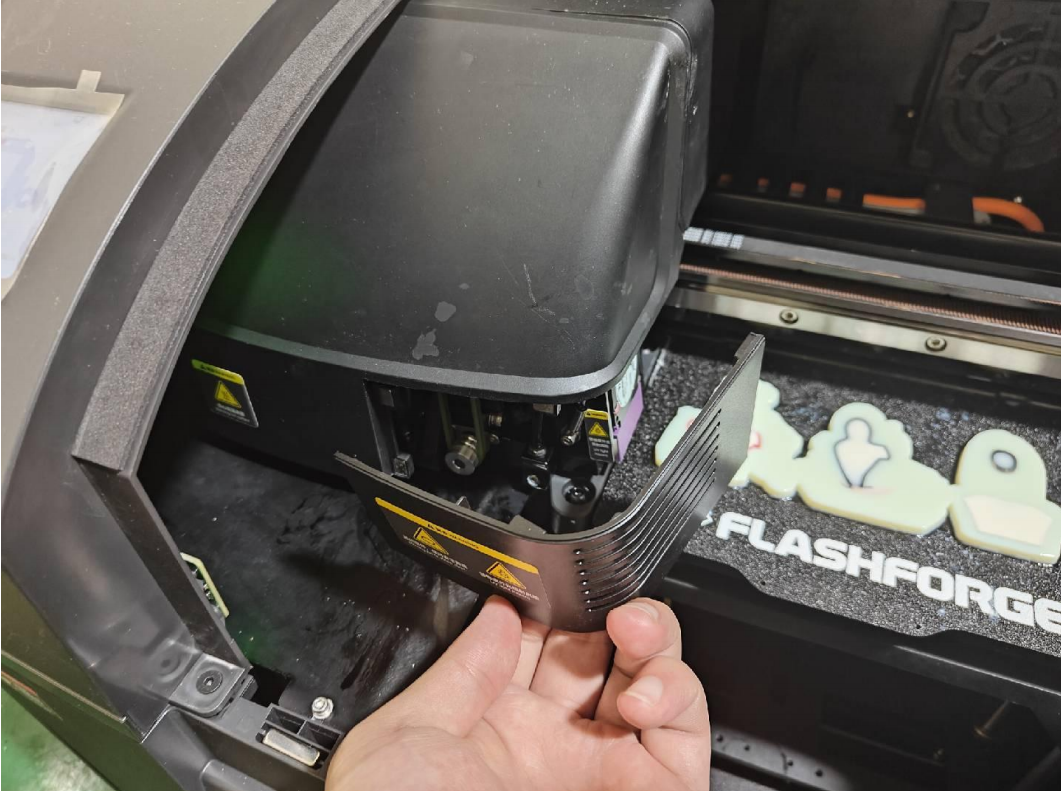
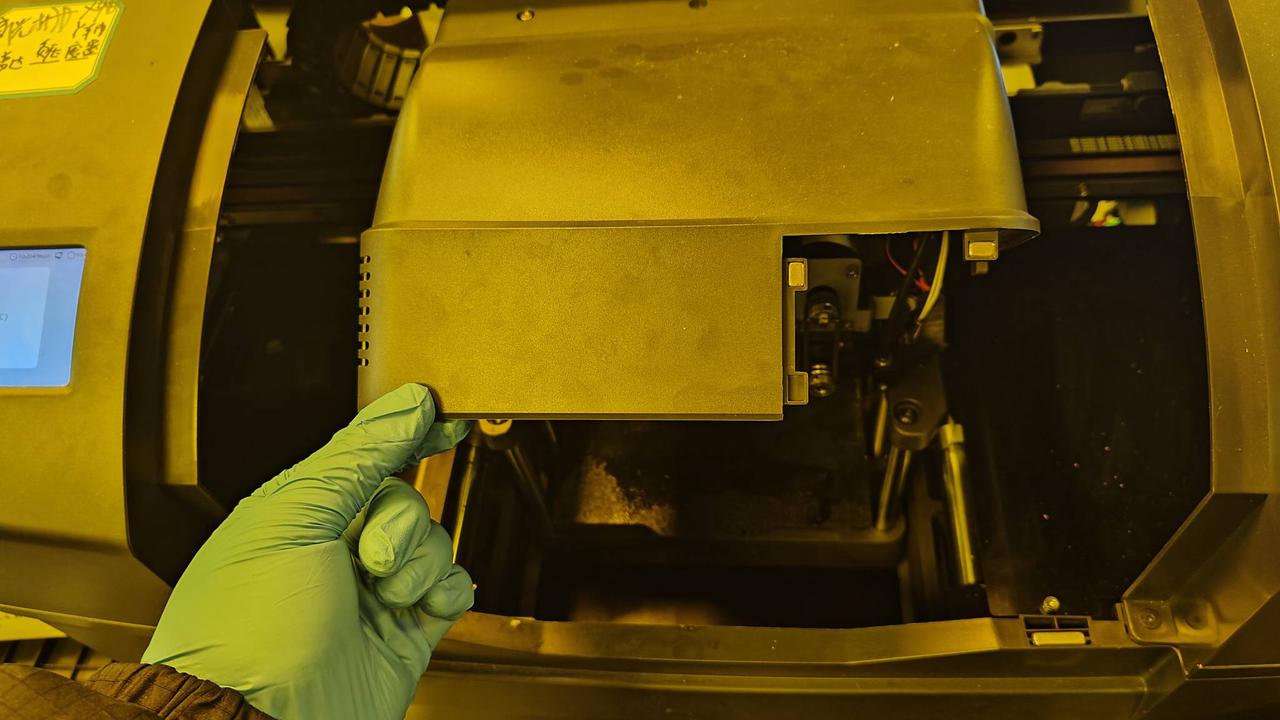
1. Remove the side cover of the printhead carriage as shown, then locate and lift the UV module.
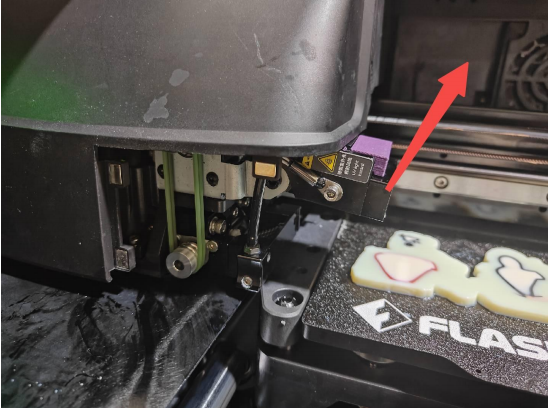
2. Wearing nitrile gloves, thoroughly moisten a lint-free cloth with isopropyl alcohol (IPA) at a concentration of 70% or higher.
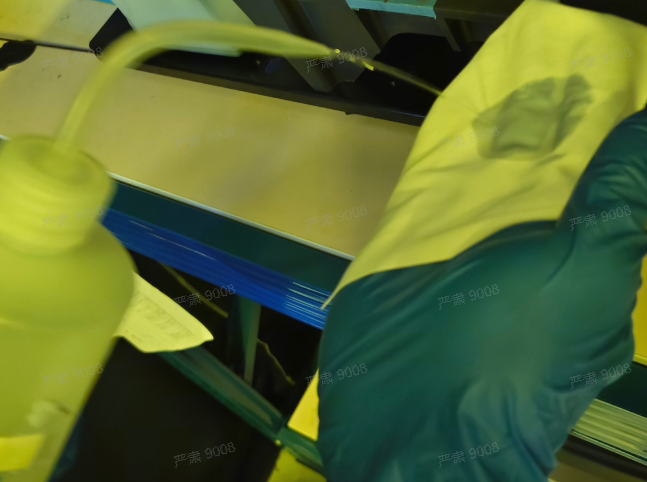
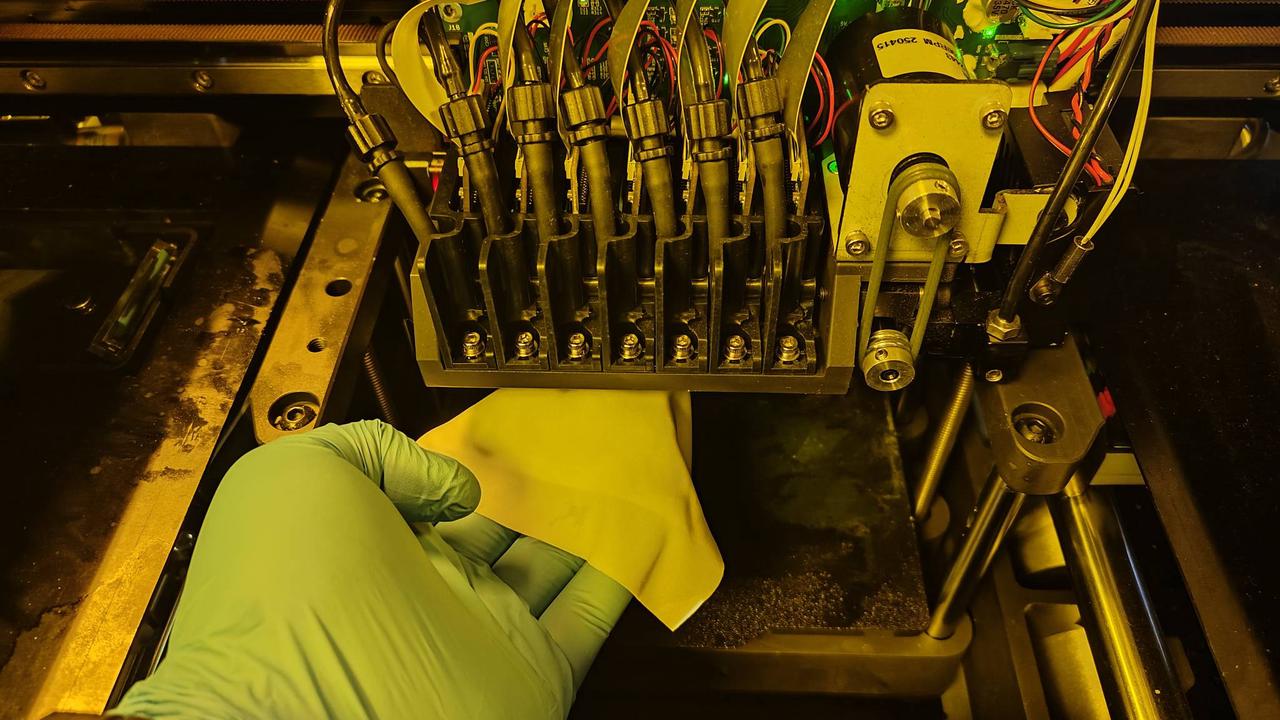
3. Wipe the area beneath the planarizer.
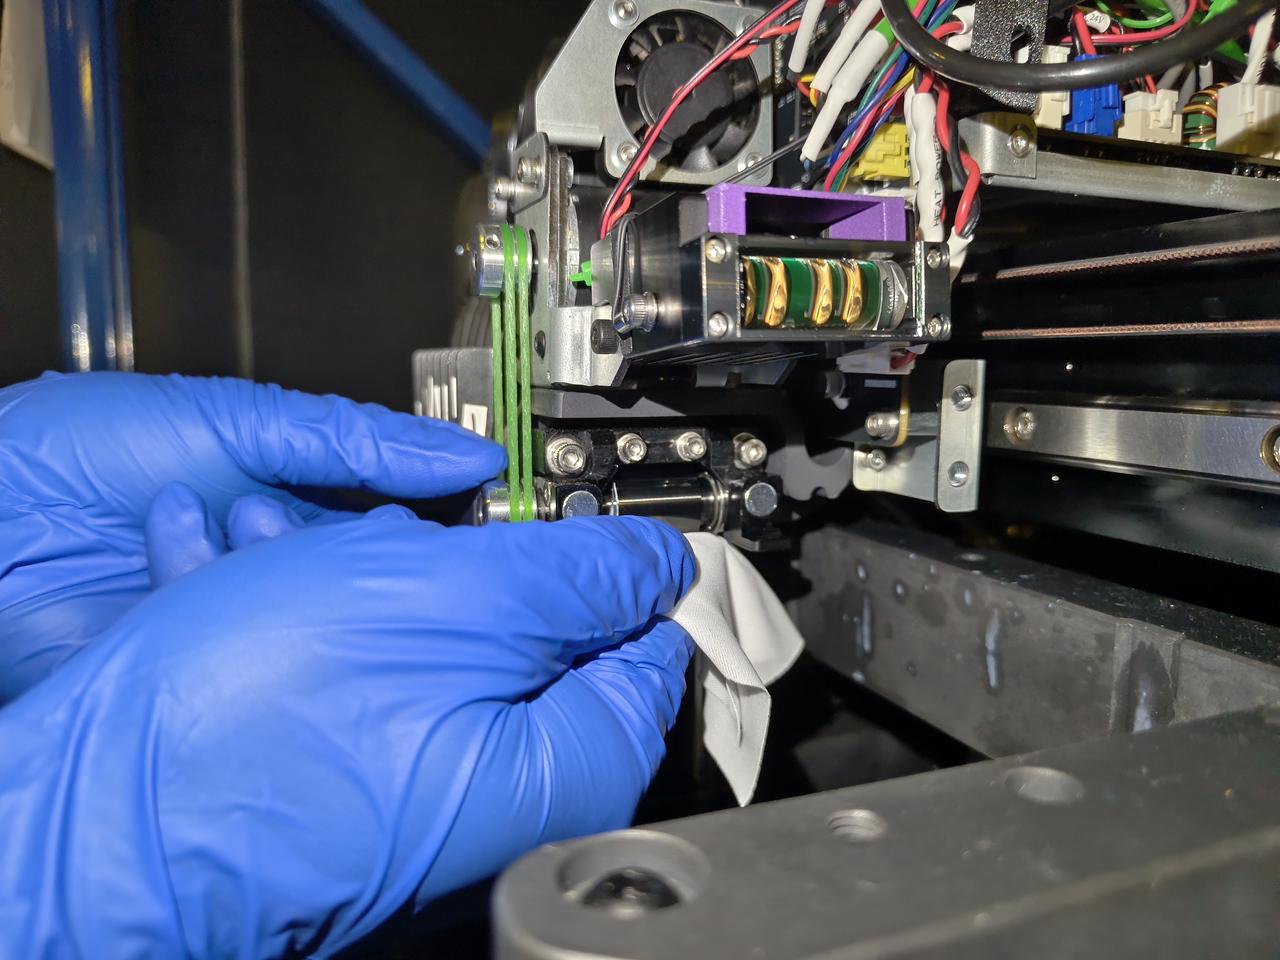
4. After cleaning, return the UV light source to its original position and reattach the side cover of the device.
¶ Cleaning the UV Light Source
1. Remove the side cover of the printhead carriage as shown and locate the UV module.
2. Wearing nitrile gloves, thoroughly moisten a lint-free cloth with isopropyl alcohol (IPA) at a concentration of 70% or higher.
3. Wipe the UV light source with the lint-free cloth.
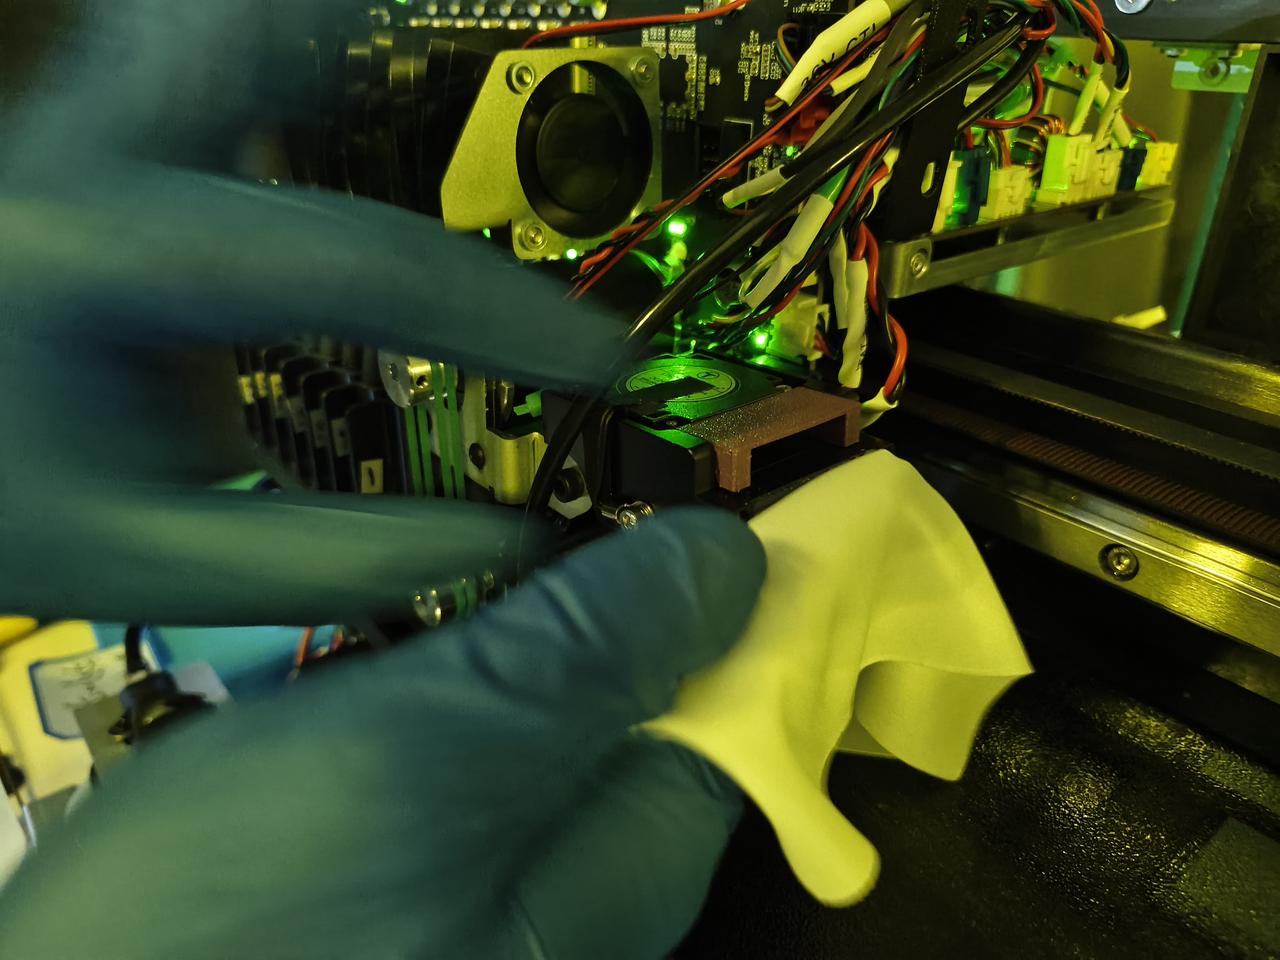
4. After cleaning, return the UV light source to its original position and reattach the side cover of the device.
¶ Cleaning the Printhead (Light Cleaning)
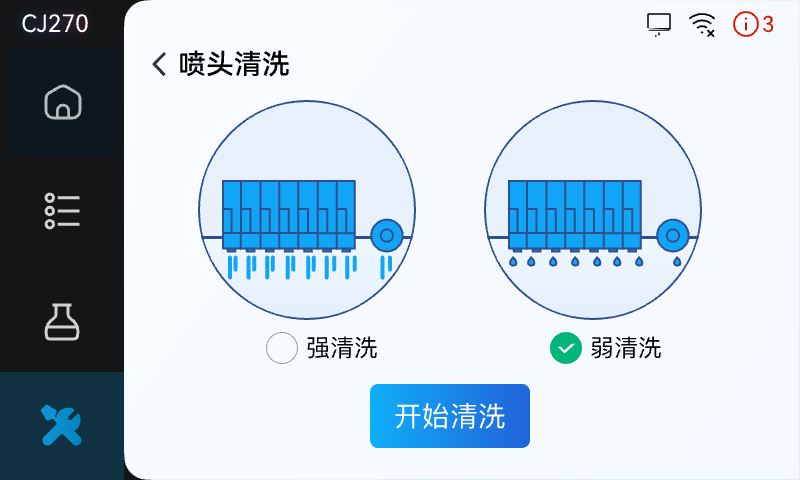
1. Tap [Printhead Clean] in the Device Operation & Usage Info interface.
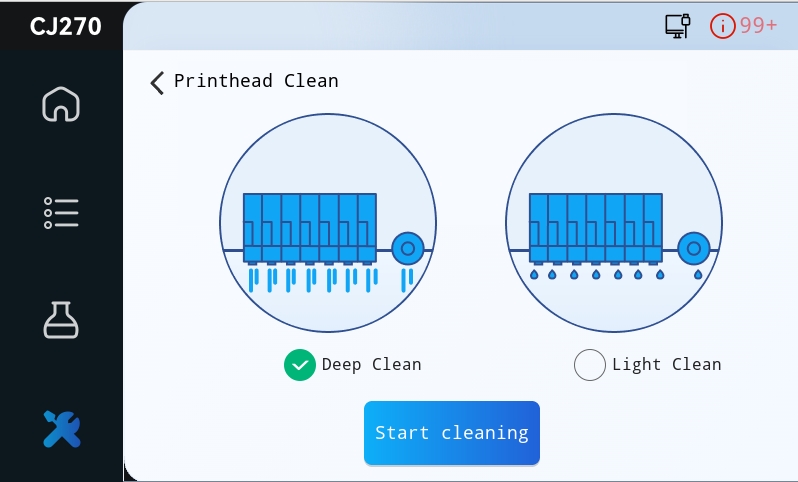
2. Select [Light Clean]. The device will automatically run the cleaning cycle. Wait until it completes.
¶ Daily Cleaning
¶ Cleaning the Waste Collector
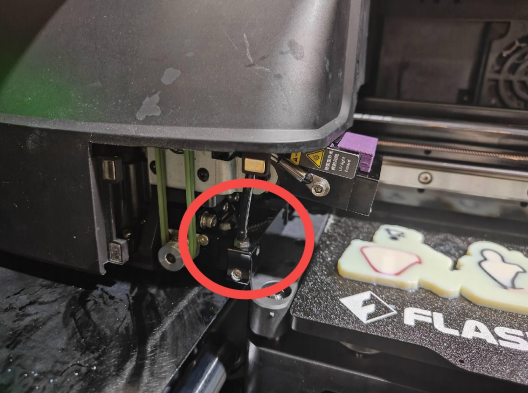
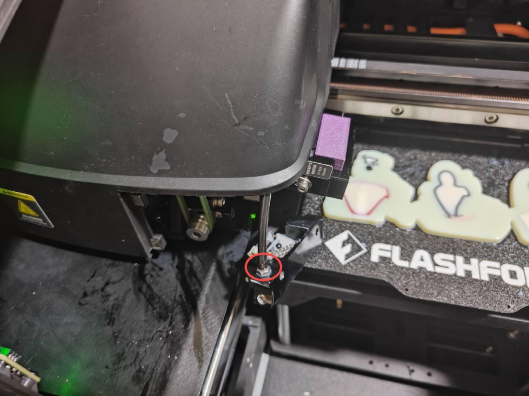
1. Tap [Roller & Waste Clean] in the Device Operation & Usage Info interface, then follow the on-screen instructions or the steps below.
2. Remove the side cover of the printhead carriage as shown and locate the UV module.
3. Remove the waste collector (magnetically attached) from the quick-release position shown, then disconnect the waste umbilical (quick-connect fitting).
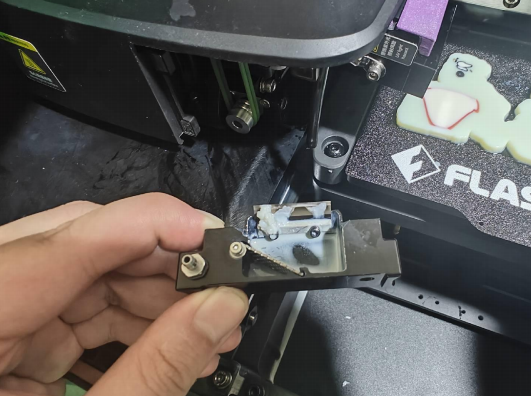
4. Clean the waste collector thoroughly. You may wipe it with paper towels or rinse it with isopropyl alcohol or water. Make sure to wipe it completely dry after cleaning.
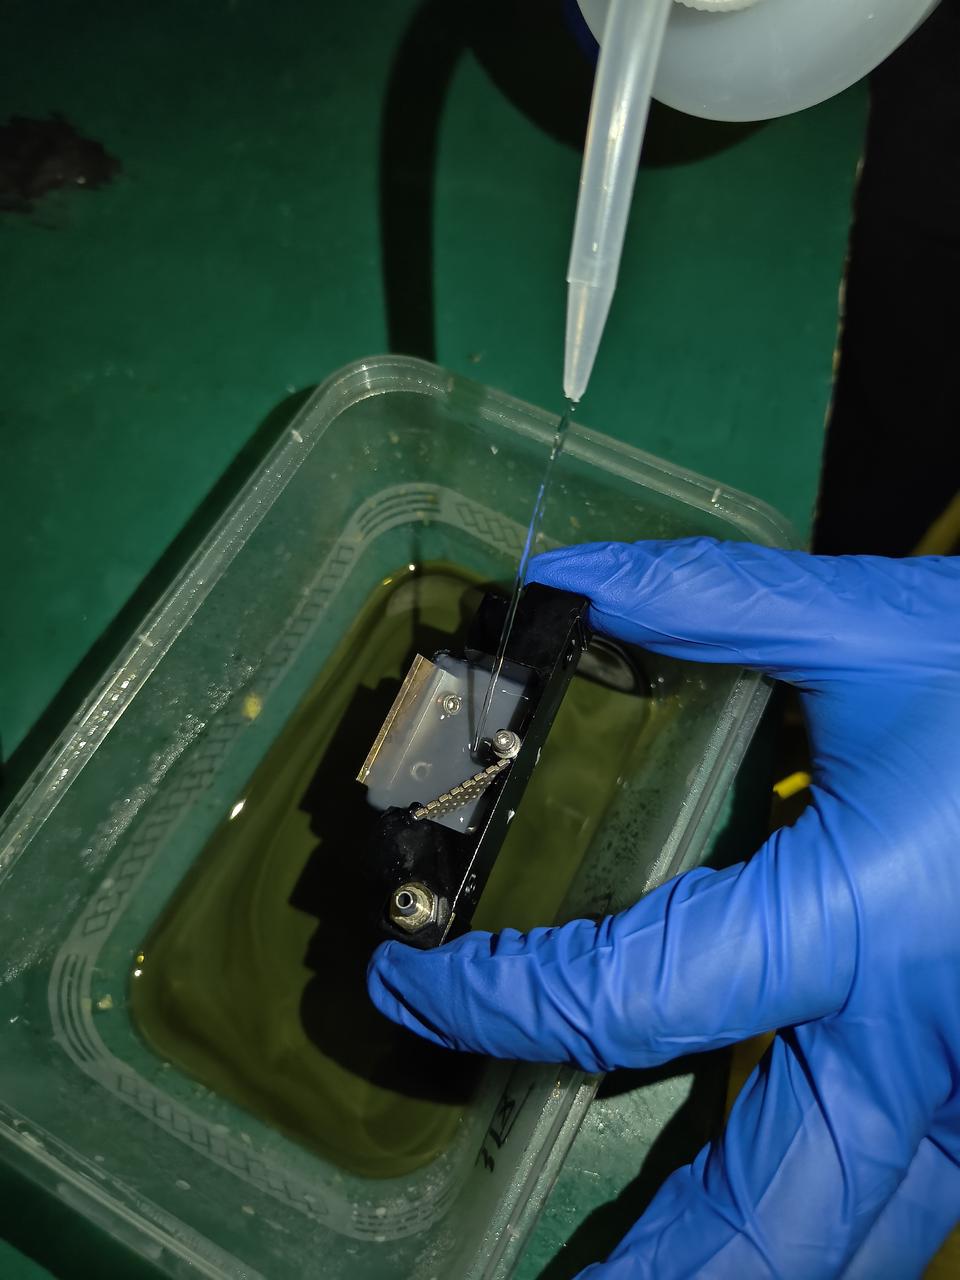
5. After cleaning, reinstall the waste collector, return the UV light source to its original position, and reattach the side cover of the device.
¶ Clean every 3 days
¶ Cleaning the Waste Resin Box
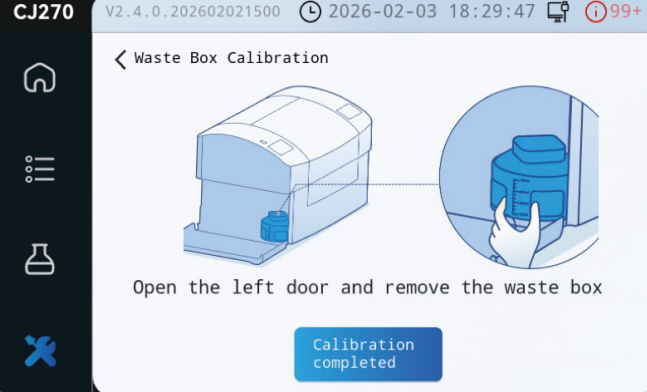
1. Tap [Waste Box Calibration] in the Device Operation & Usage Info interface and follow the on-screen instructions to remove the waste resin box.
2. Clean the waste resin box, place it back, and tap [Calibration completed].
¶ Cleaning and Unclogging Nozzles
Note: Also perform this cleaning procedure after each power outage or when the printhead print quality is poor.
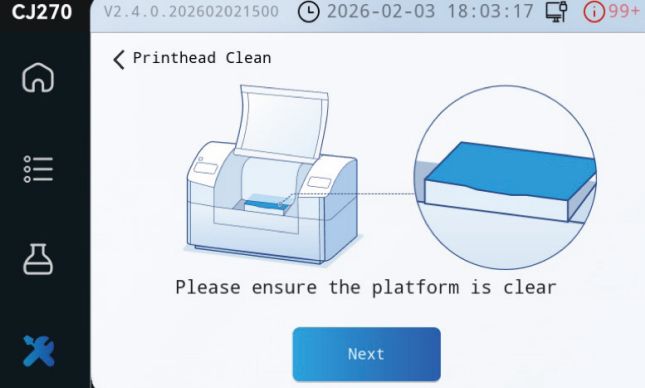
1. Tap [Printhead Clean] in the Device Operation & Usage Info interface and follow the on-screen instructions.
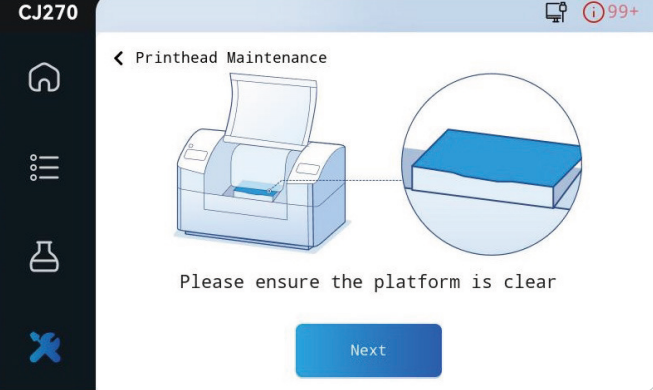
2. Tap [Printhead Maintenance] in the Device Operation & Usage Info interface and follow the on-screen instructions.
¶ Clean every 7 days
¶ Cleaning the Roller and Waste Tray
1. Tap [Roller & Waste Clean] in the Device Operation & Usage Info interface and follow the on-screen instructions.
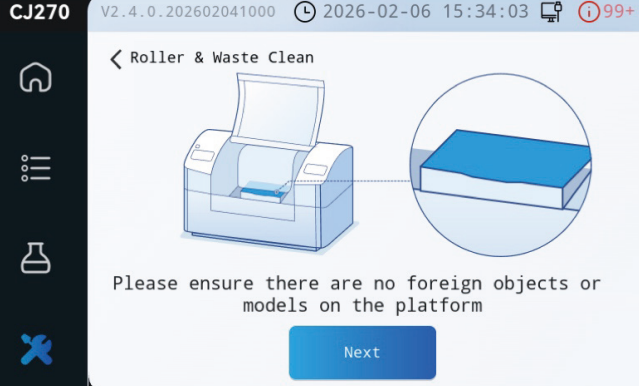
2. After cleaning, please return the UV module and resin collector to their original positions.
¶ Cleaning and Unclogging Nozzles
Note: Also perform this cleaning procedure after each power outage or when the printhead print quality is poor.
1. Tap [Printhead Clean] in the Device Operation & Usage Info interface and follow the on-screen instructions.
2. Tap [Printhead Maintenance] in the Device Operation & Usage Info interface and follow the on-screen instructions.
¶ Clean every 3 months
¶ Replacing the Planarizer Wiper
1. Tap [Planarizer Wiper Change] in the Device Operation & Usage Info interface and follow the instructions shown below.
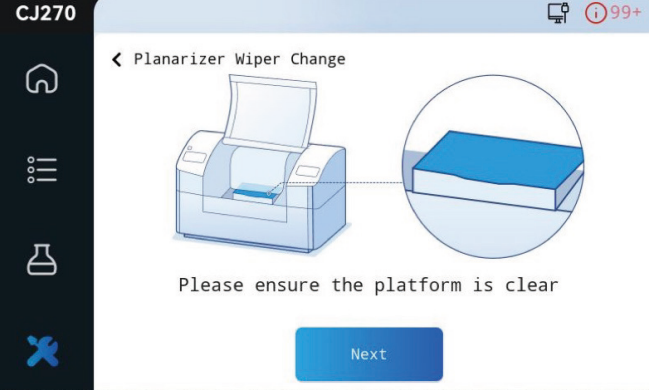
2. After replacement, reinstall the waste collector, return the UV light source to its original position, and reattach the side cover of the device.
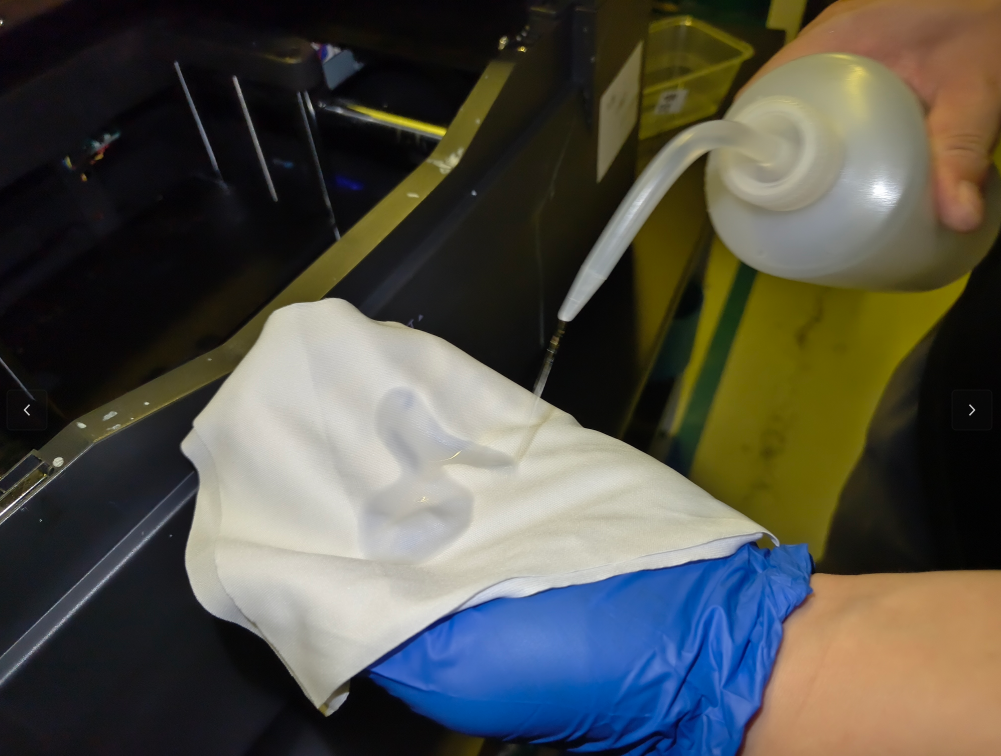
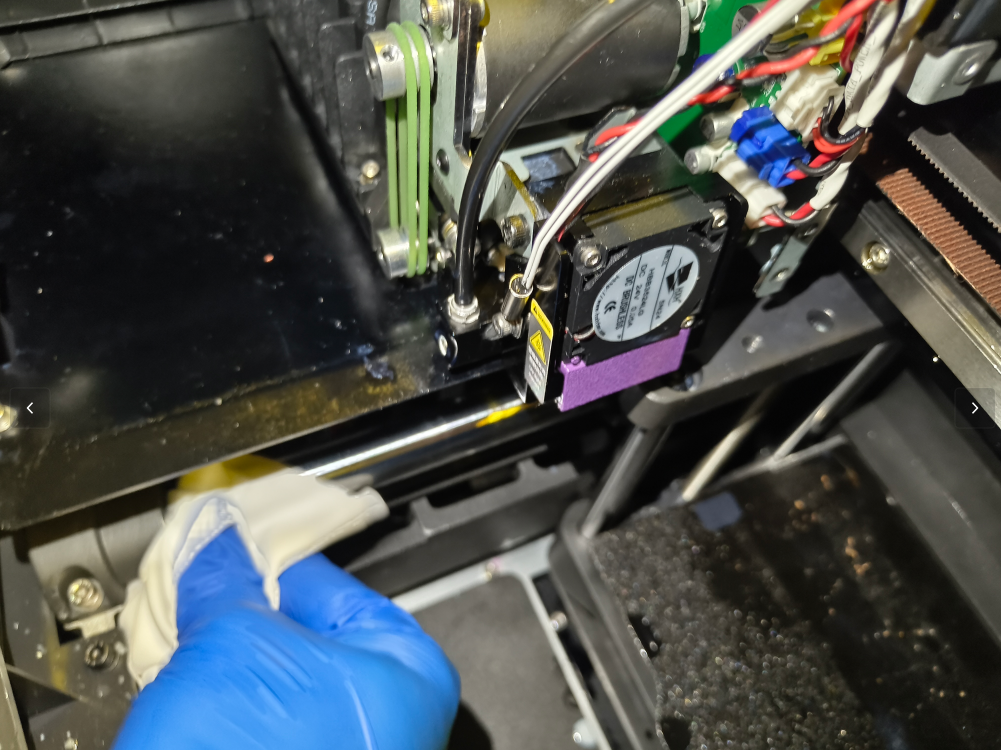
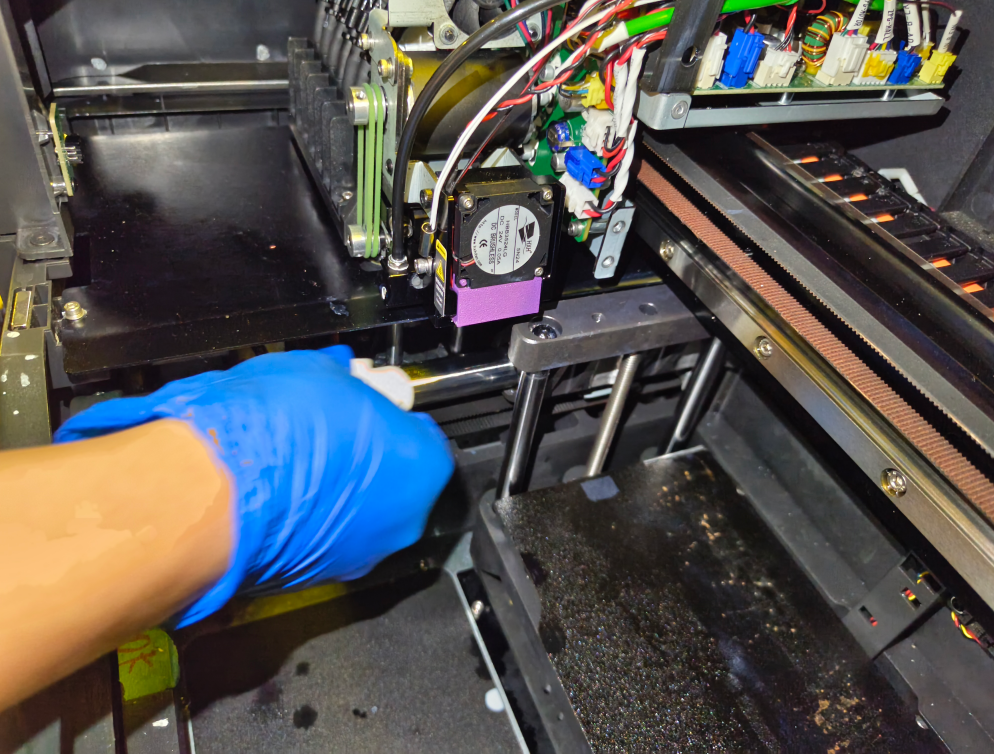
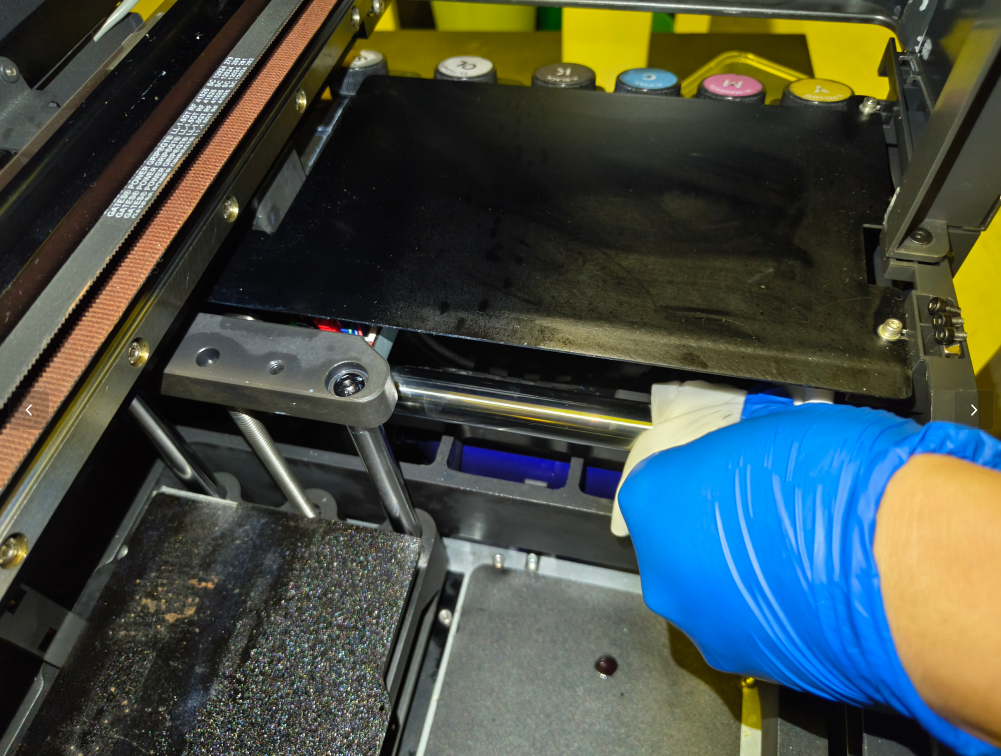
¶ Y-axis guide rail cleaning
The Y-axis guide rails of the equipment should be cleaned once every 3 months using a lint‑free cloth moistened with alcohol.
¶ Clean every 6 months
¶ Replacing the Resin Station Wiper
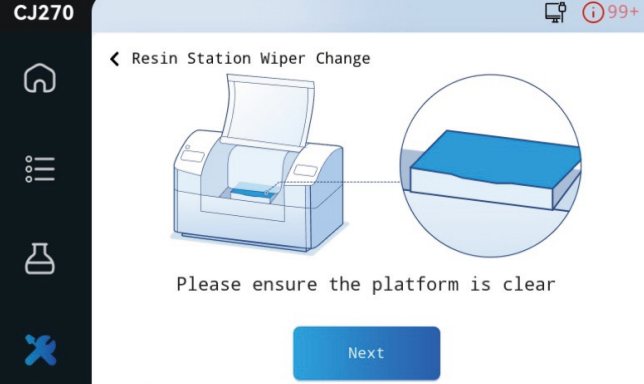
1. Tap [Resin Station Wiper Change] in the Device Operation & Usage Info interface. Follow the on-screen instructions to remove the old wiper and replace it with a new one.
¶ Device Shutdown/Unexpected Power Loss
¶ Cleaning the Printhead (Deep Cleaning)
1. Tap [Printhead Clean] in the Device Operation & Usage Info interface.
2. Select [Deep Clean]. The device will automatically run the cleaning cycle. Wait until it completes.
¶ Storage Recommendations for Long-Term Non-Use
1. Drain: Empty all resin from cartridges and tubing.
2. Clean: Flush the entire resin path system with isopropyl alcohol (IPA). Drain the cleaning solution from the tubes and ensure the system is completely dry.
3. Store: Keep the printer sealed in a dry, dark place.