¶ Printing from Printer Memory
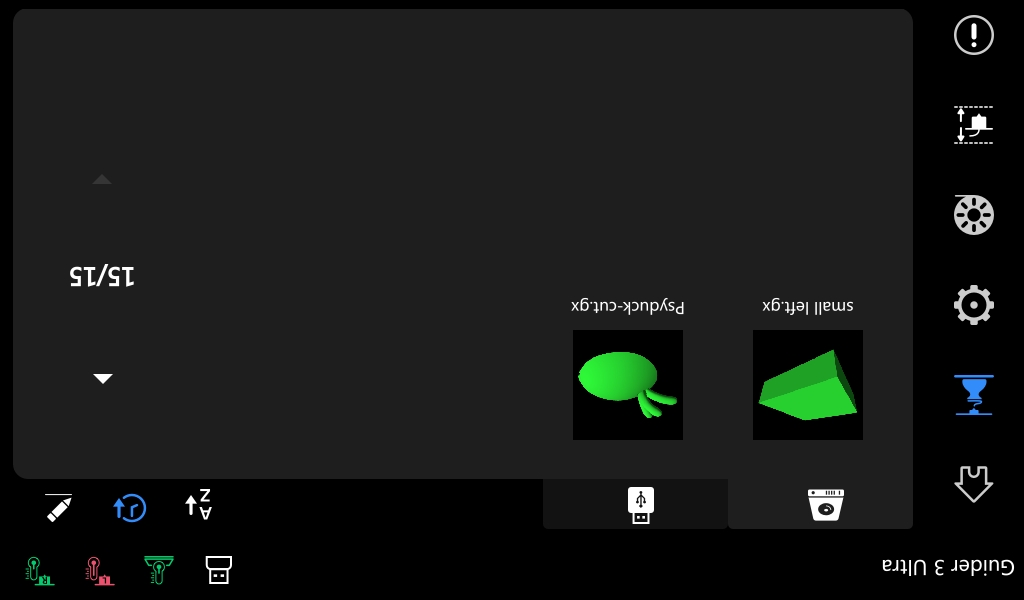
1. Select [ ] on the main interface to enter the printing interface.

2. Click the model to be printed, and the screen will display as shown below. Simply click [ ] to start printing.

3. The printer begins initialization, heating, and other actions.

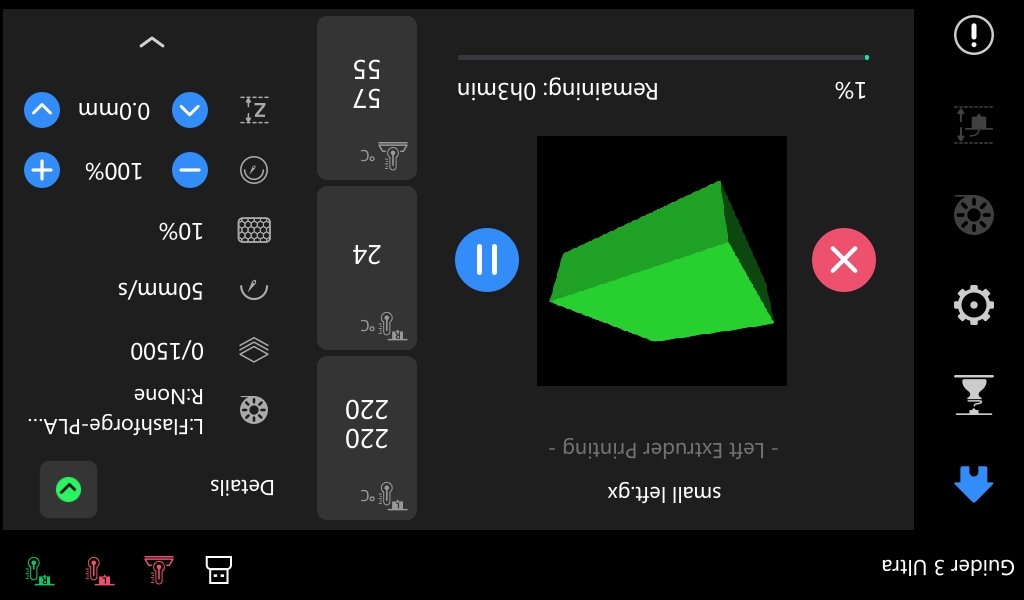
4. After initialization and heating are completed, the printer starts printing. The printing interface is as follows.

5. During printing, clicking [![]() ] allows adjustment of the print speed, fan speed, and Z-axis. Note: Z-axis fine-tuning is performed at the start of the first layer.
] allows adjustment of the print speed, fan speed, and Z-axis. Note: Z-axis fine-tuning is performed at the start of the first layer.


6. After printing is completed, a pop-up box appears on the interface. Click [Ok] to confirm.

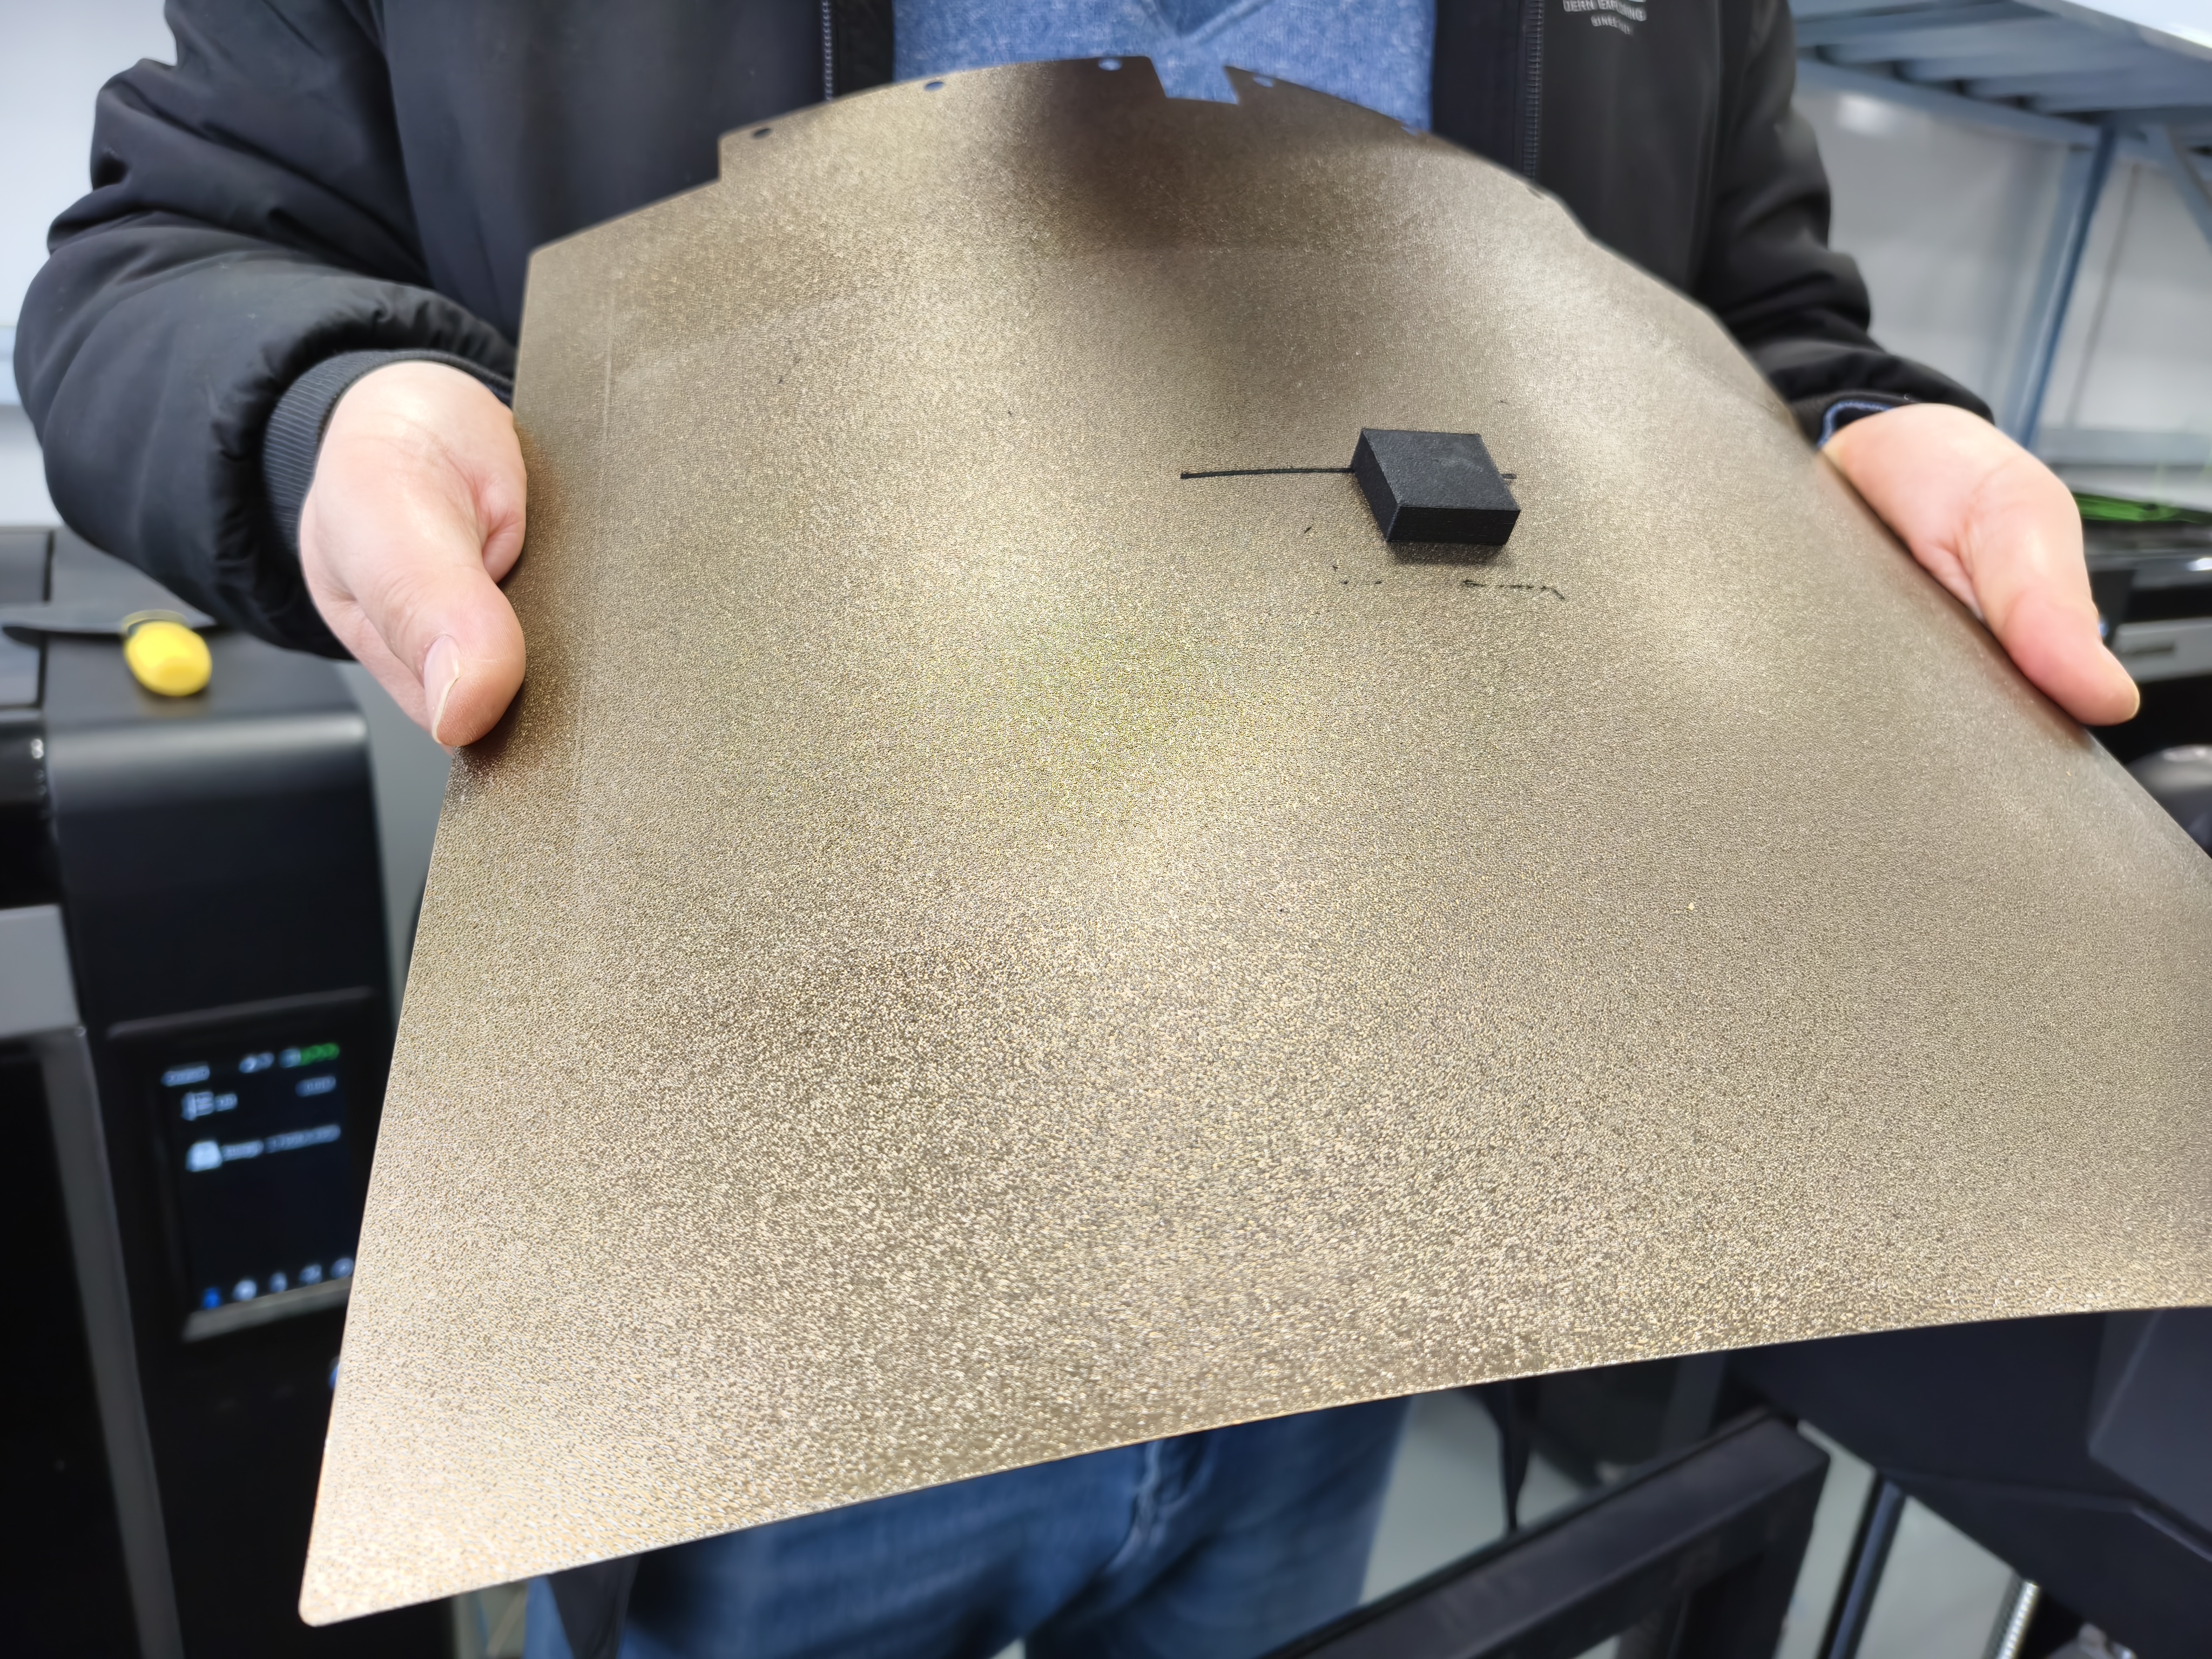
7. After the platform has cooled down, remove the PEI sheet. Simply bend the PEI sheet as shown below to easily remove the printed model.
