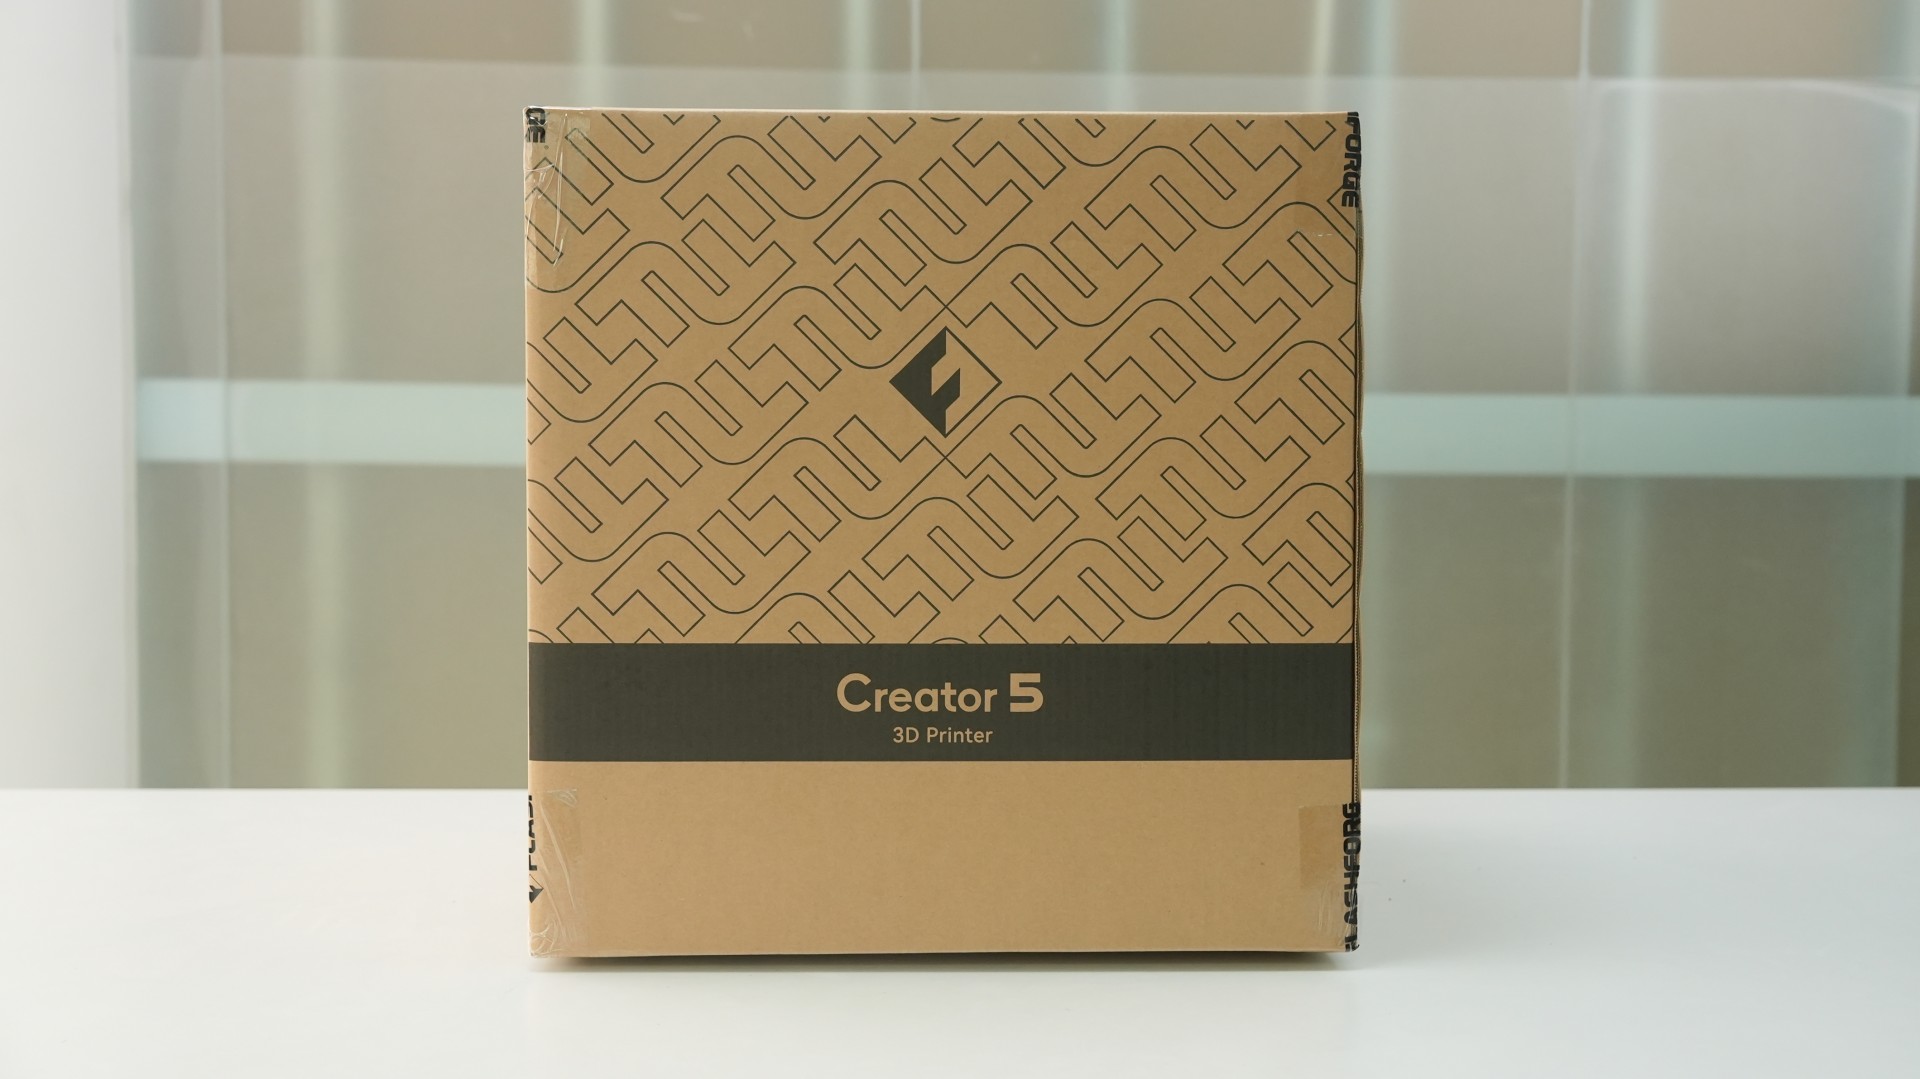
¶ Step 1: Unboxing and Removal
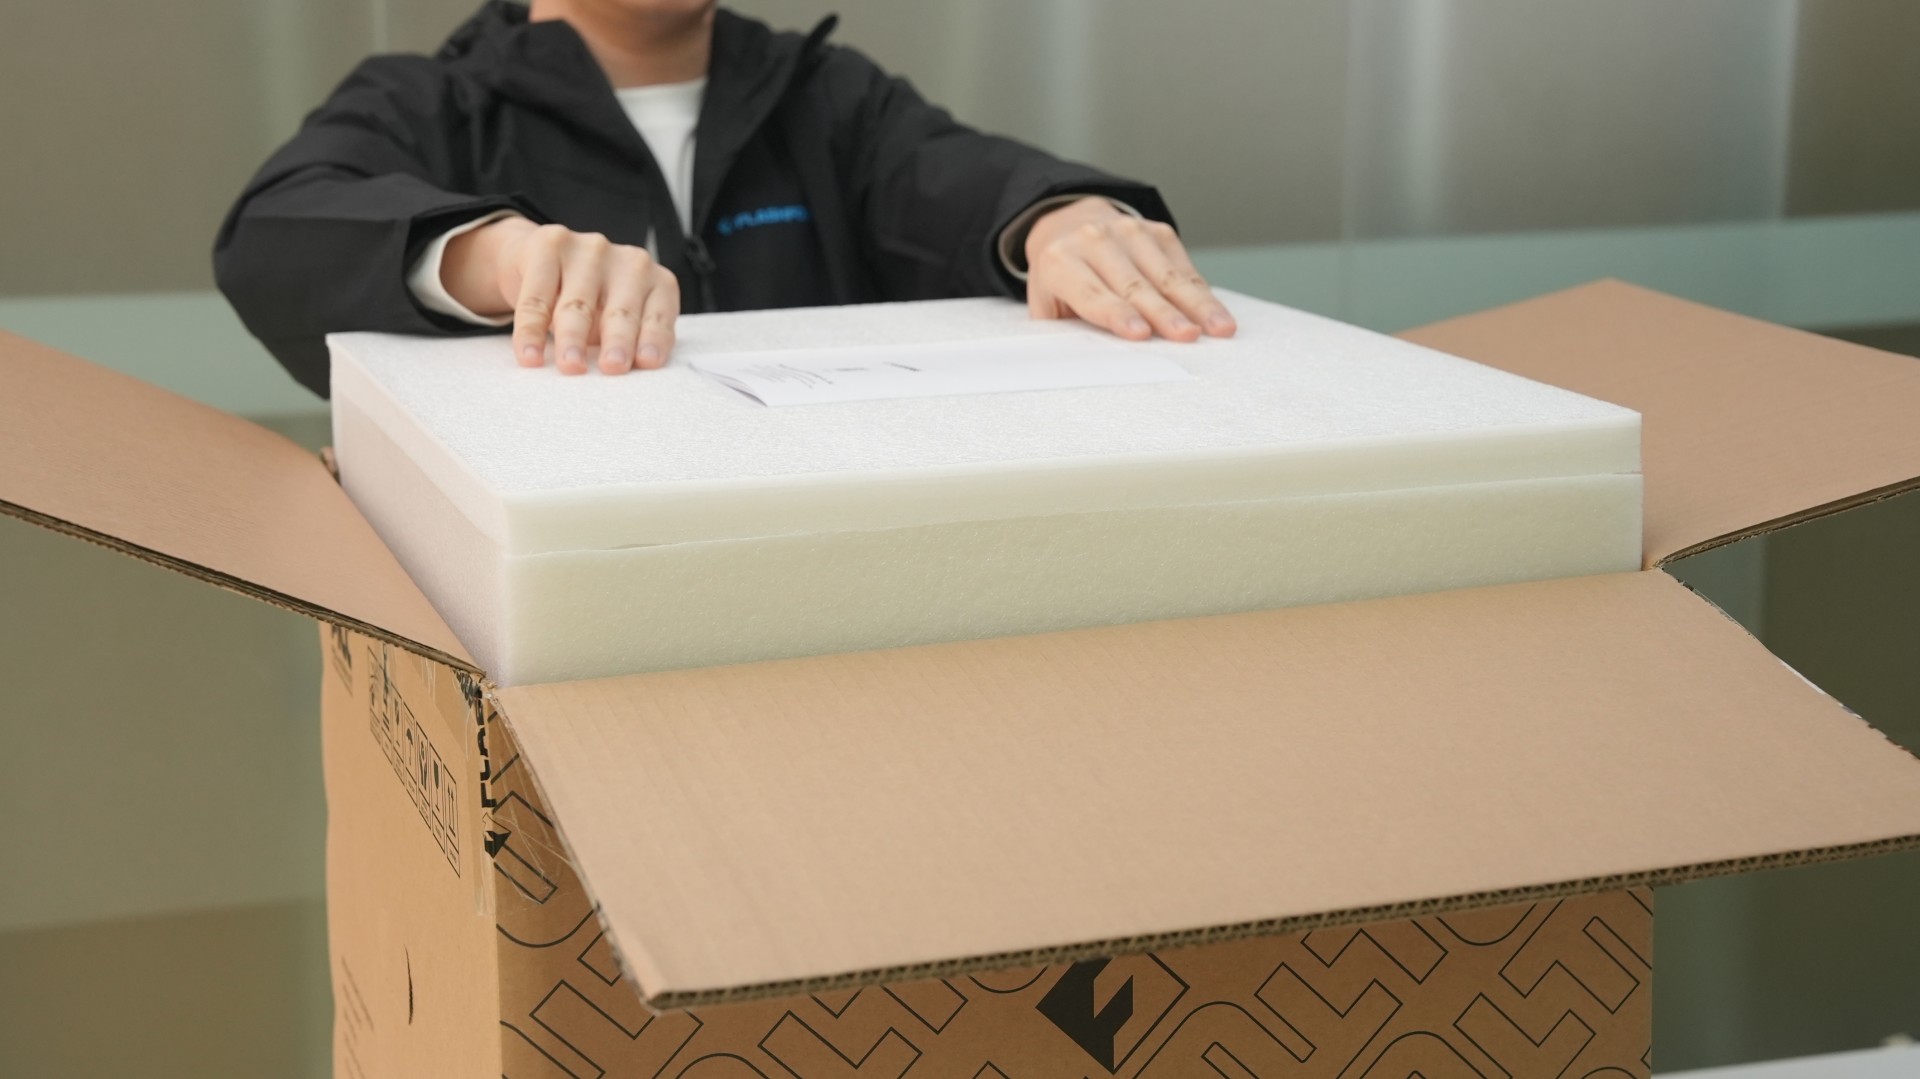
Open the box and remove the top foam and the Quick Start Guide.
¶ Step 2: Remove the Printer
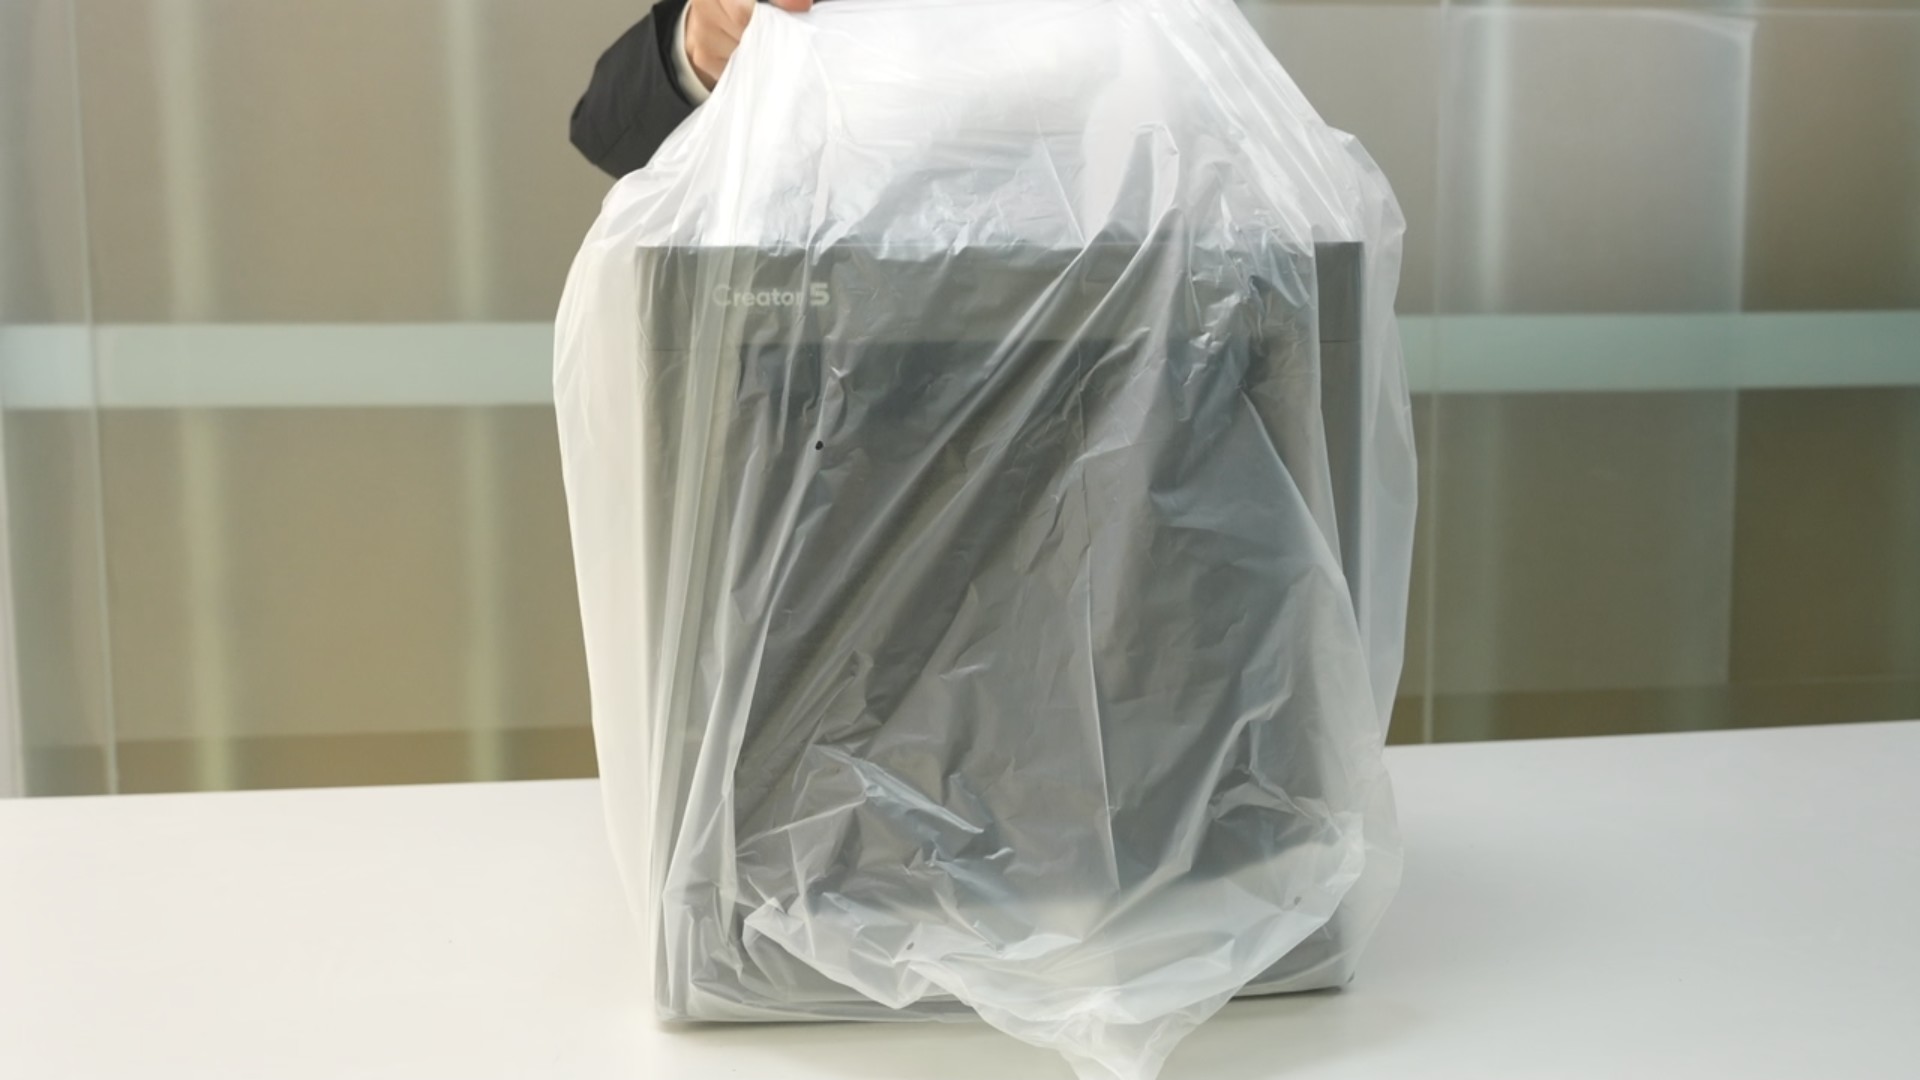
Lift the printer out of the box along with its packaging, and place it on a level surface.
¶ Step 3: Remove the Foam and Accessories
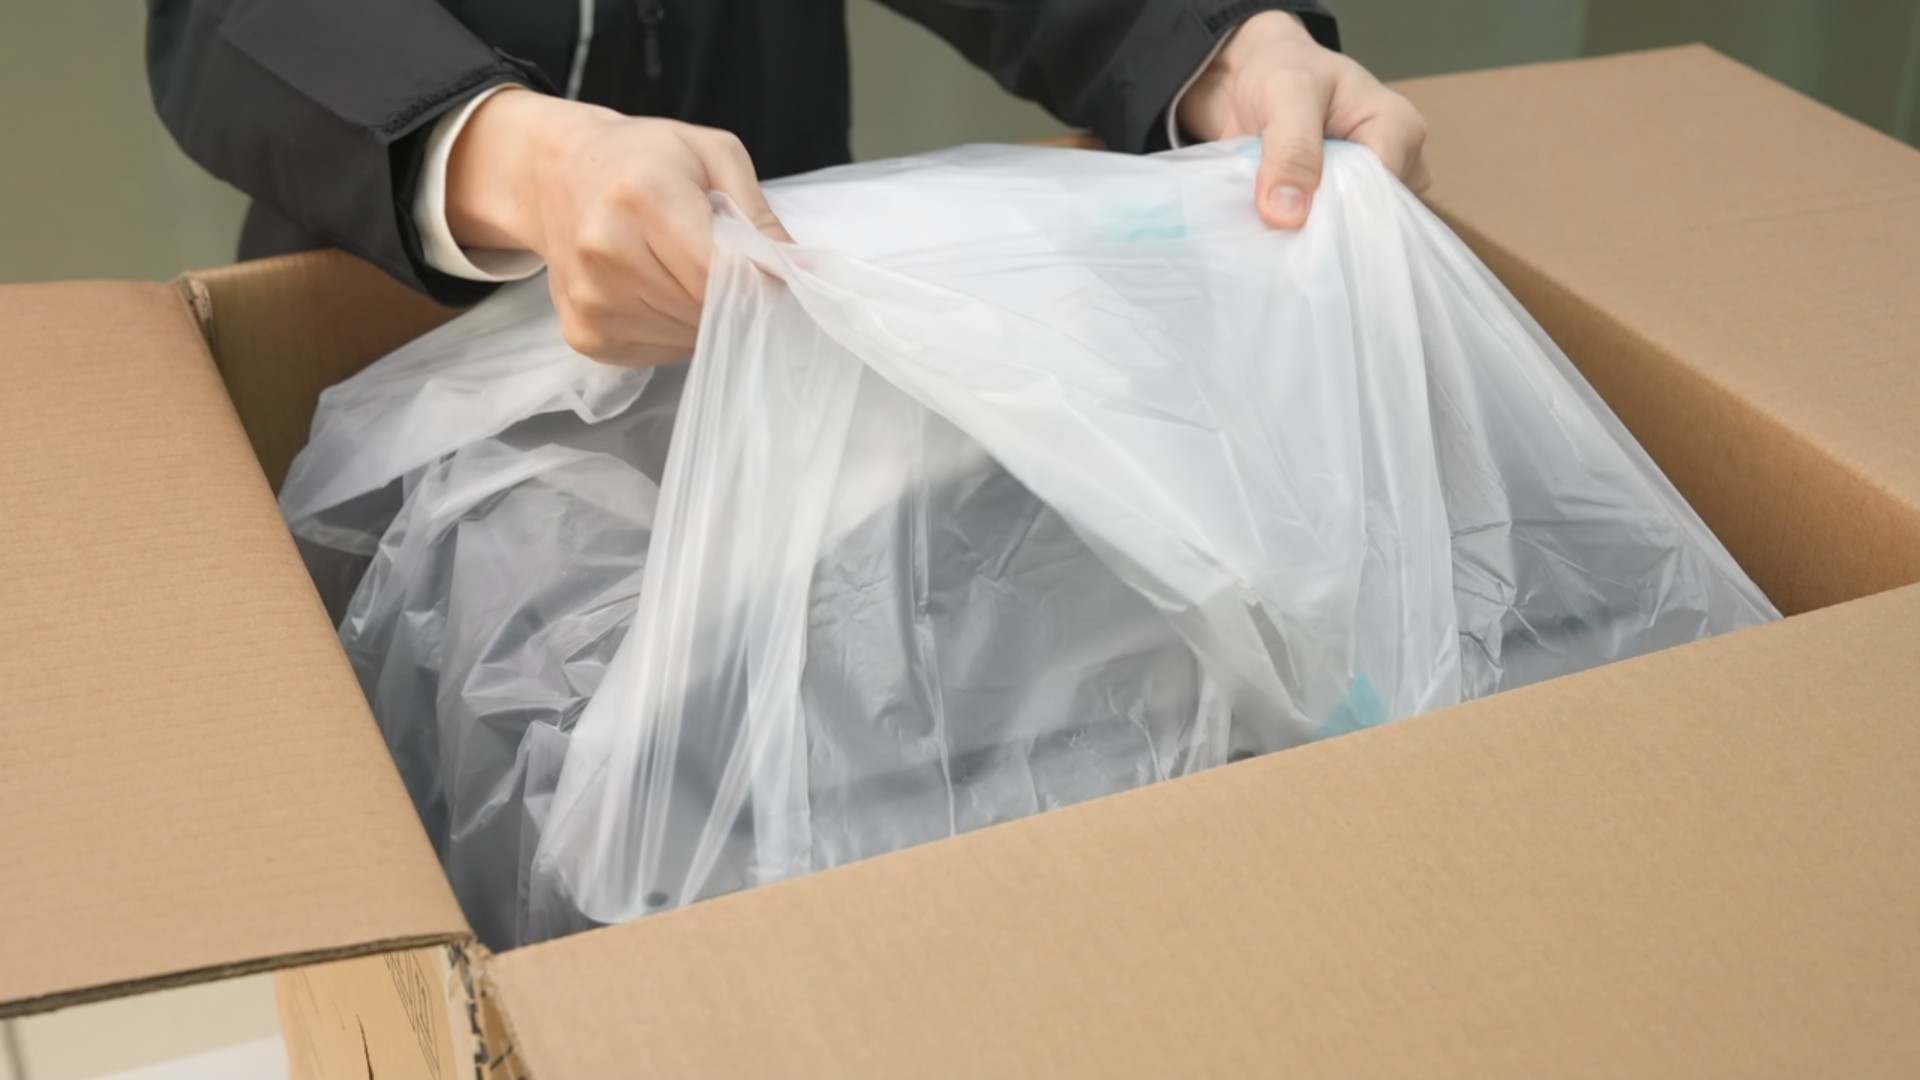
Remove the packaging bag and take out the protective foam from inside the chamber.
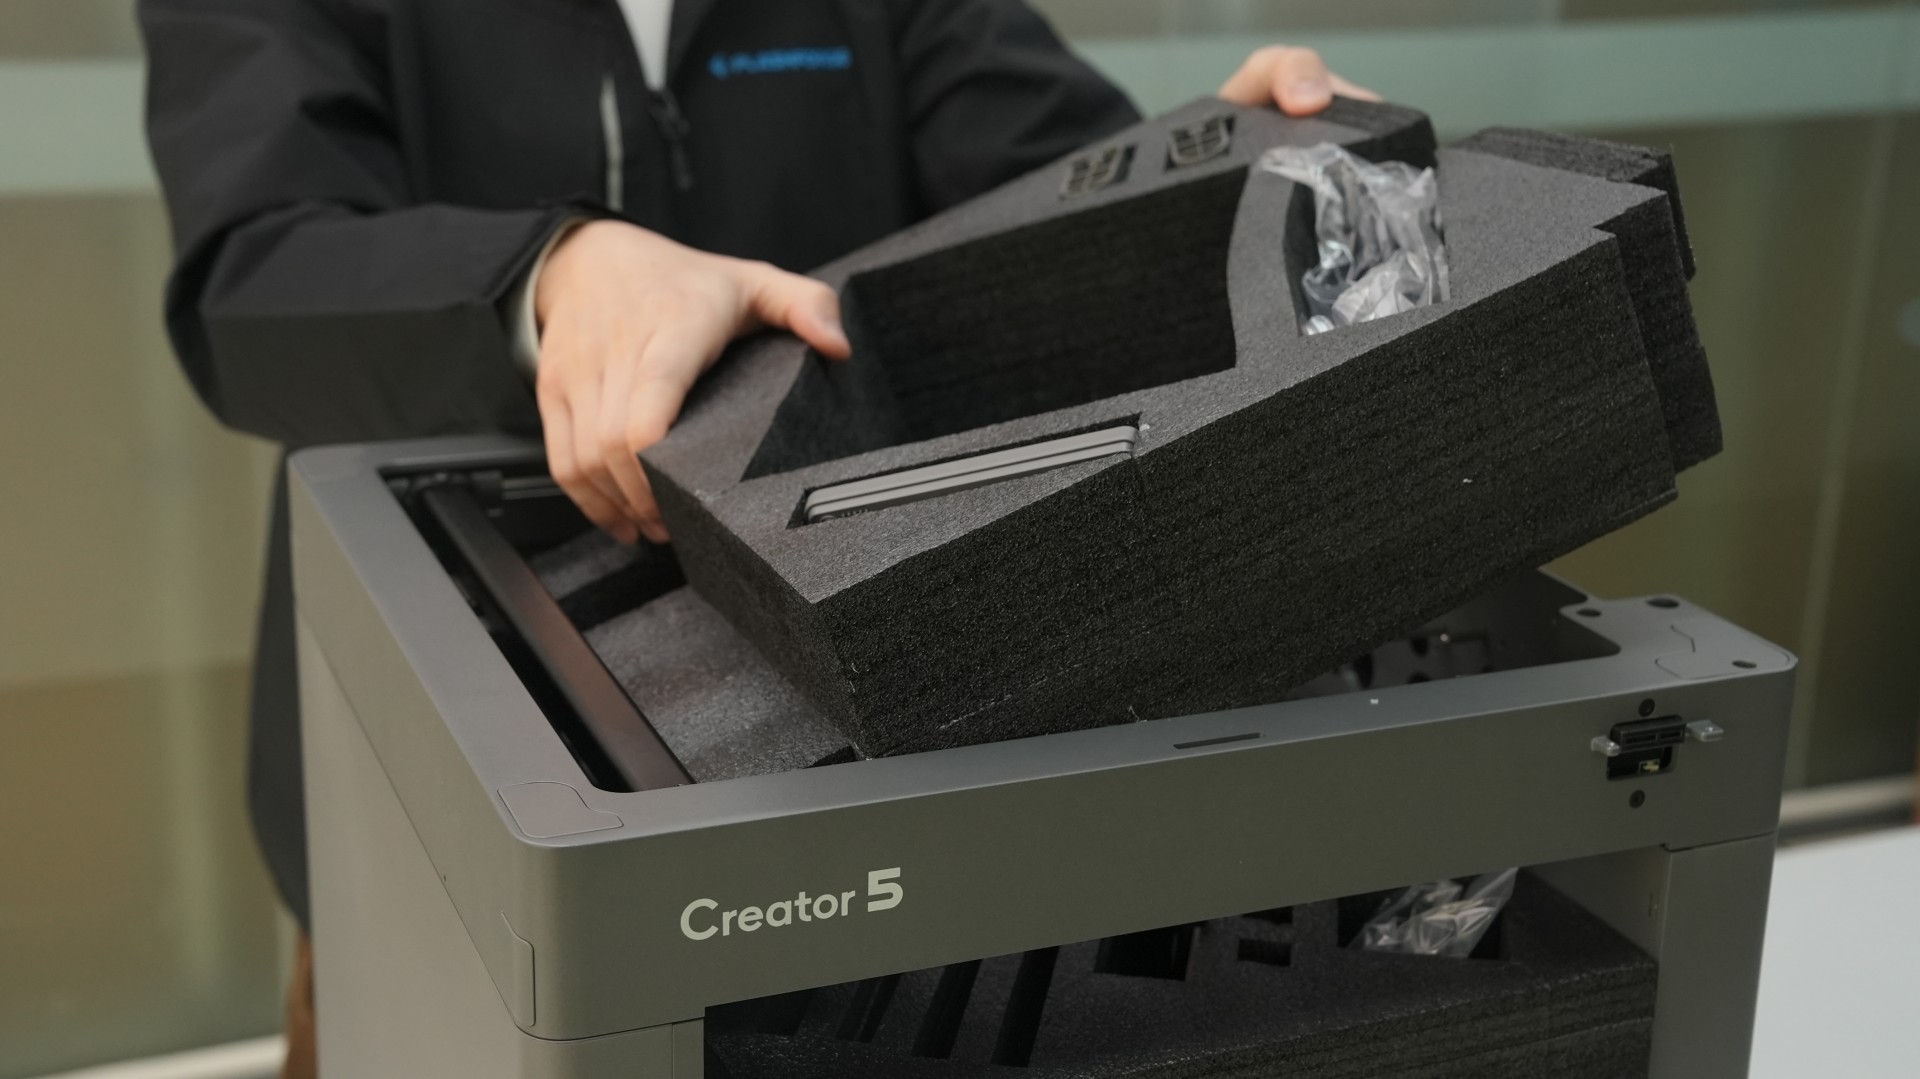
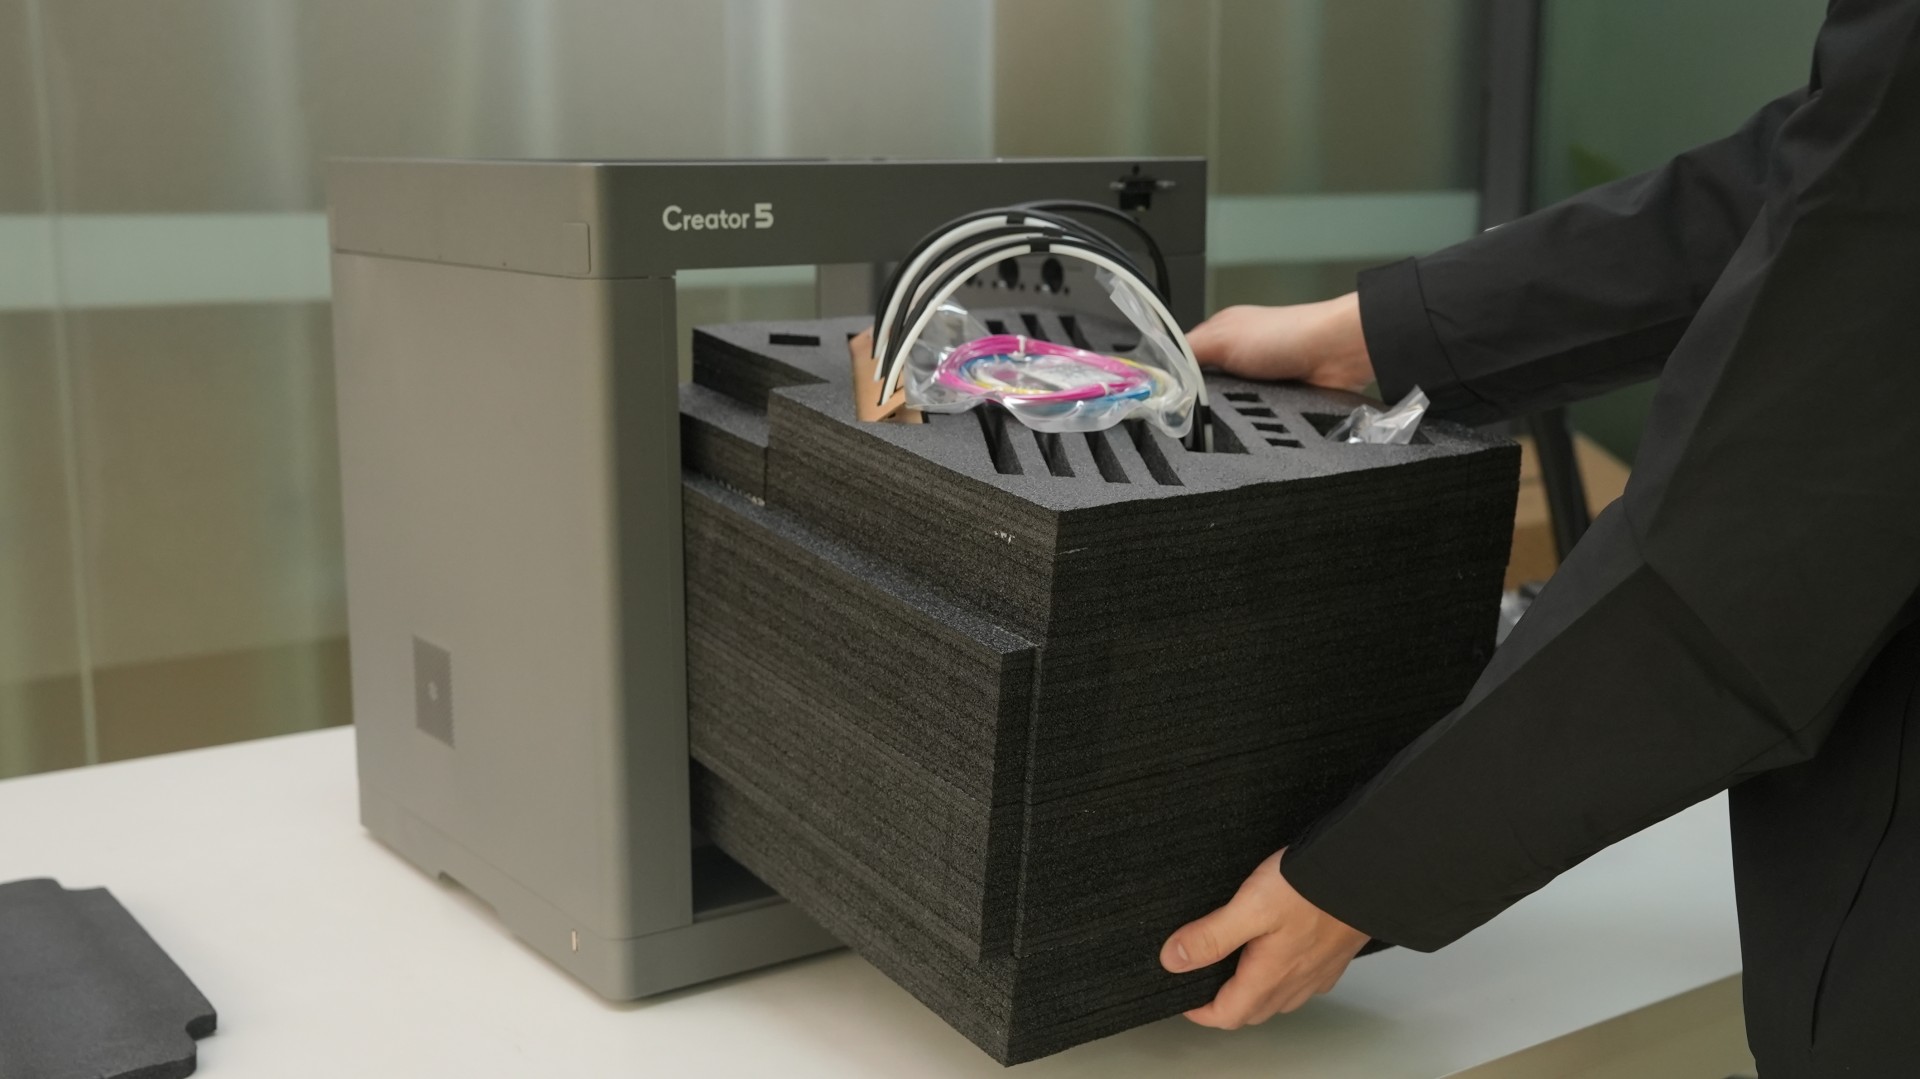
Take out the accessories stored inside the protective foam.
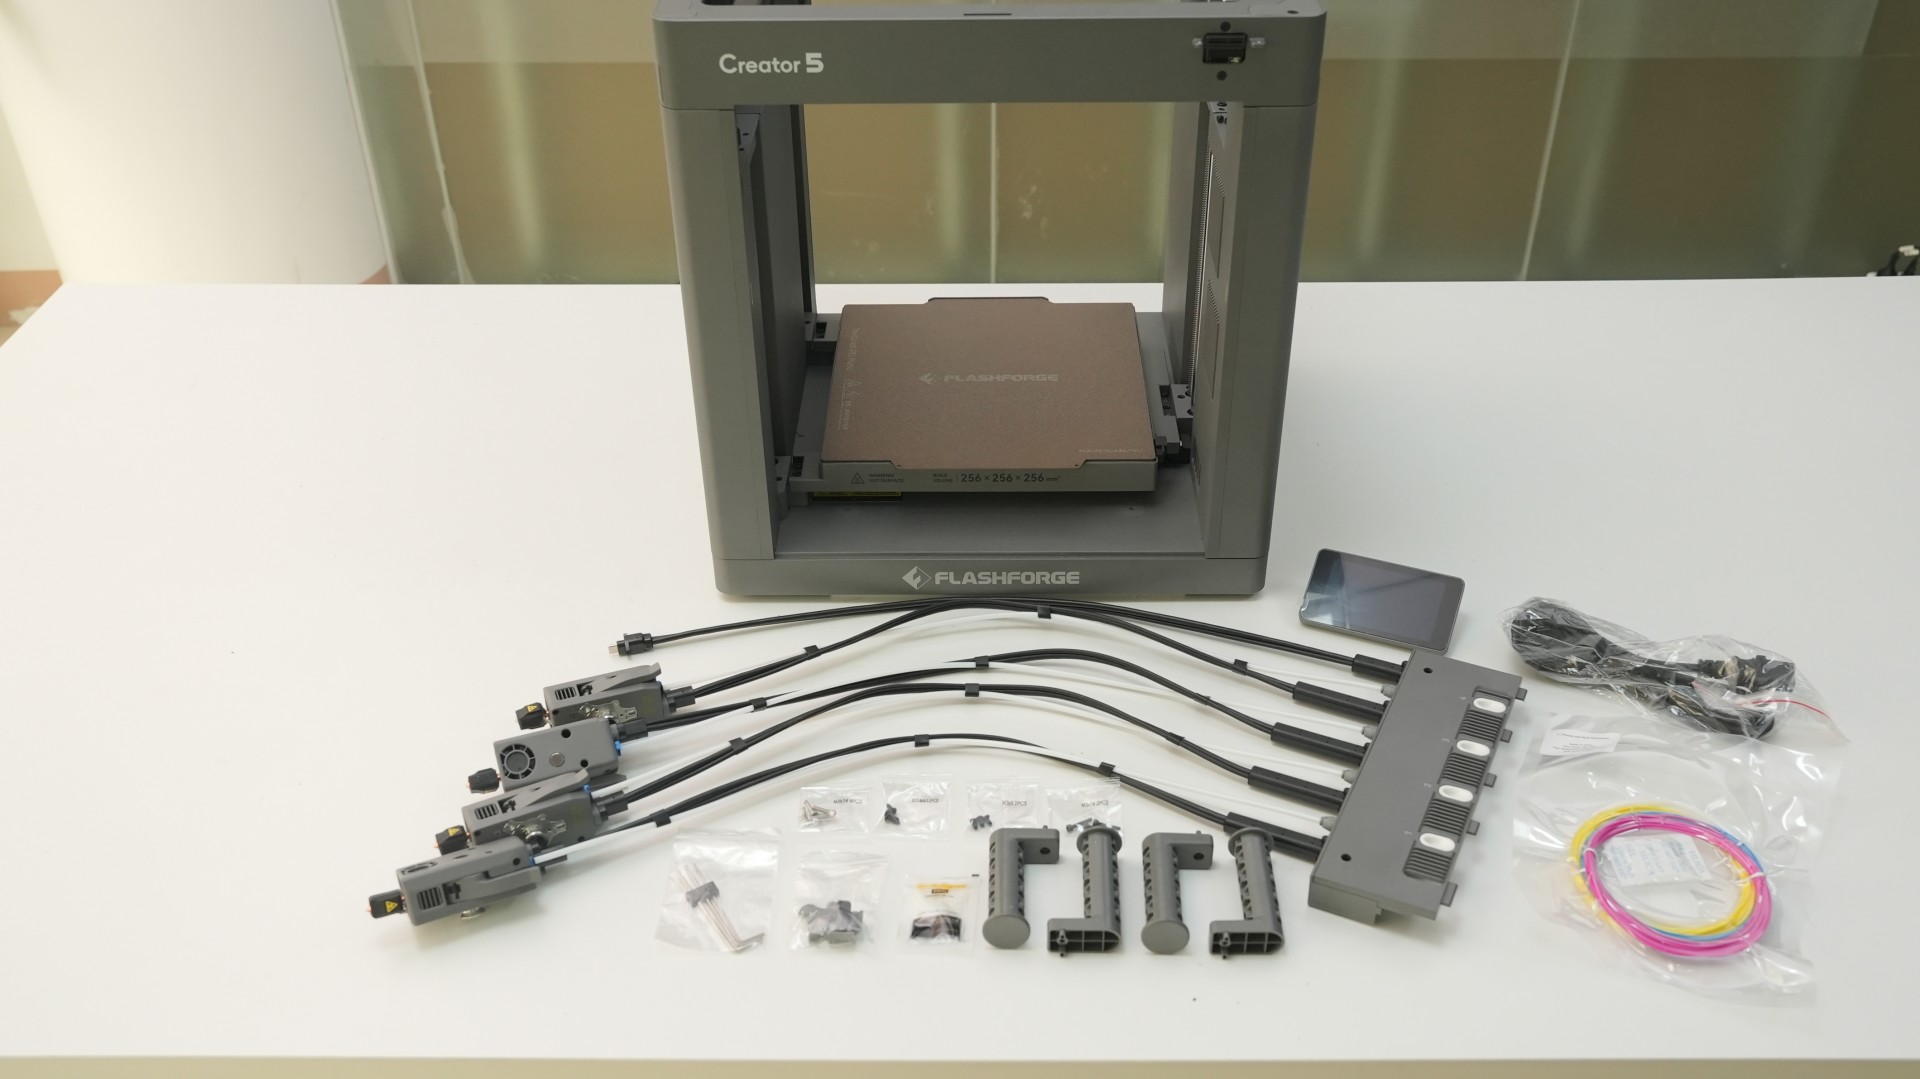
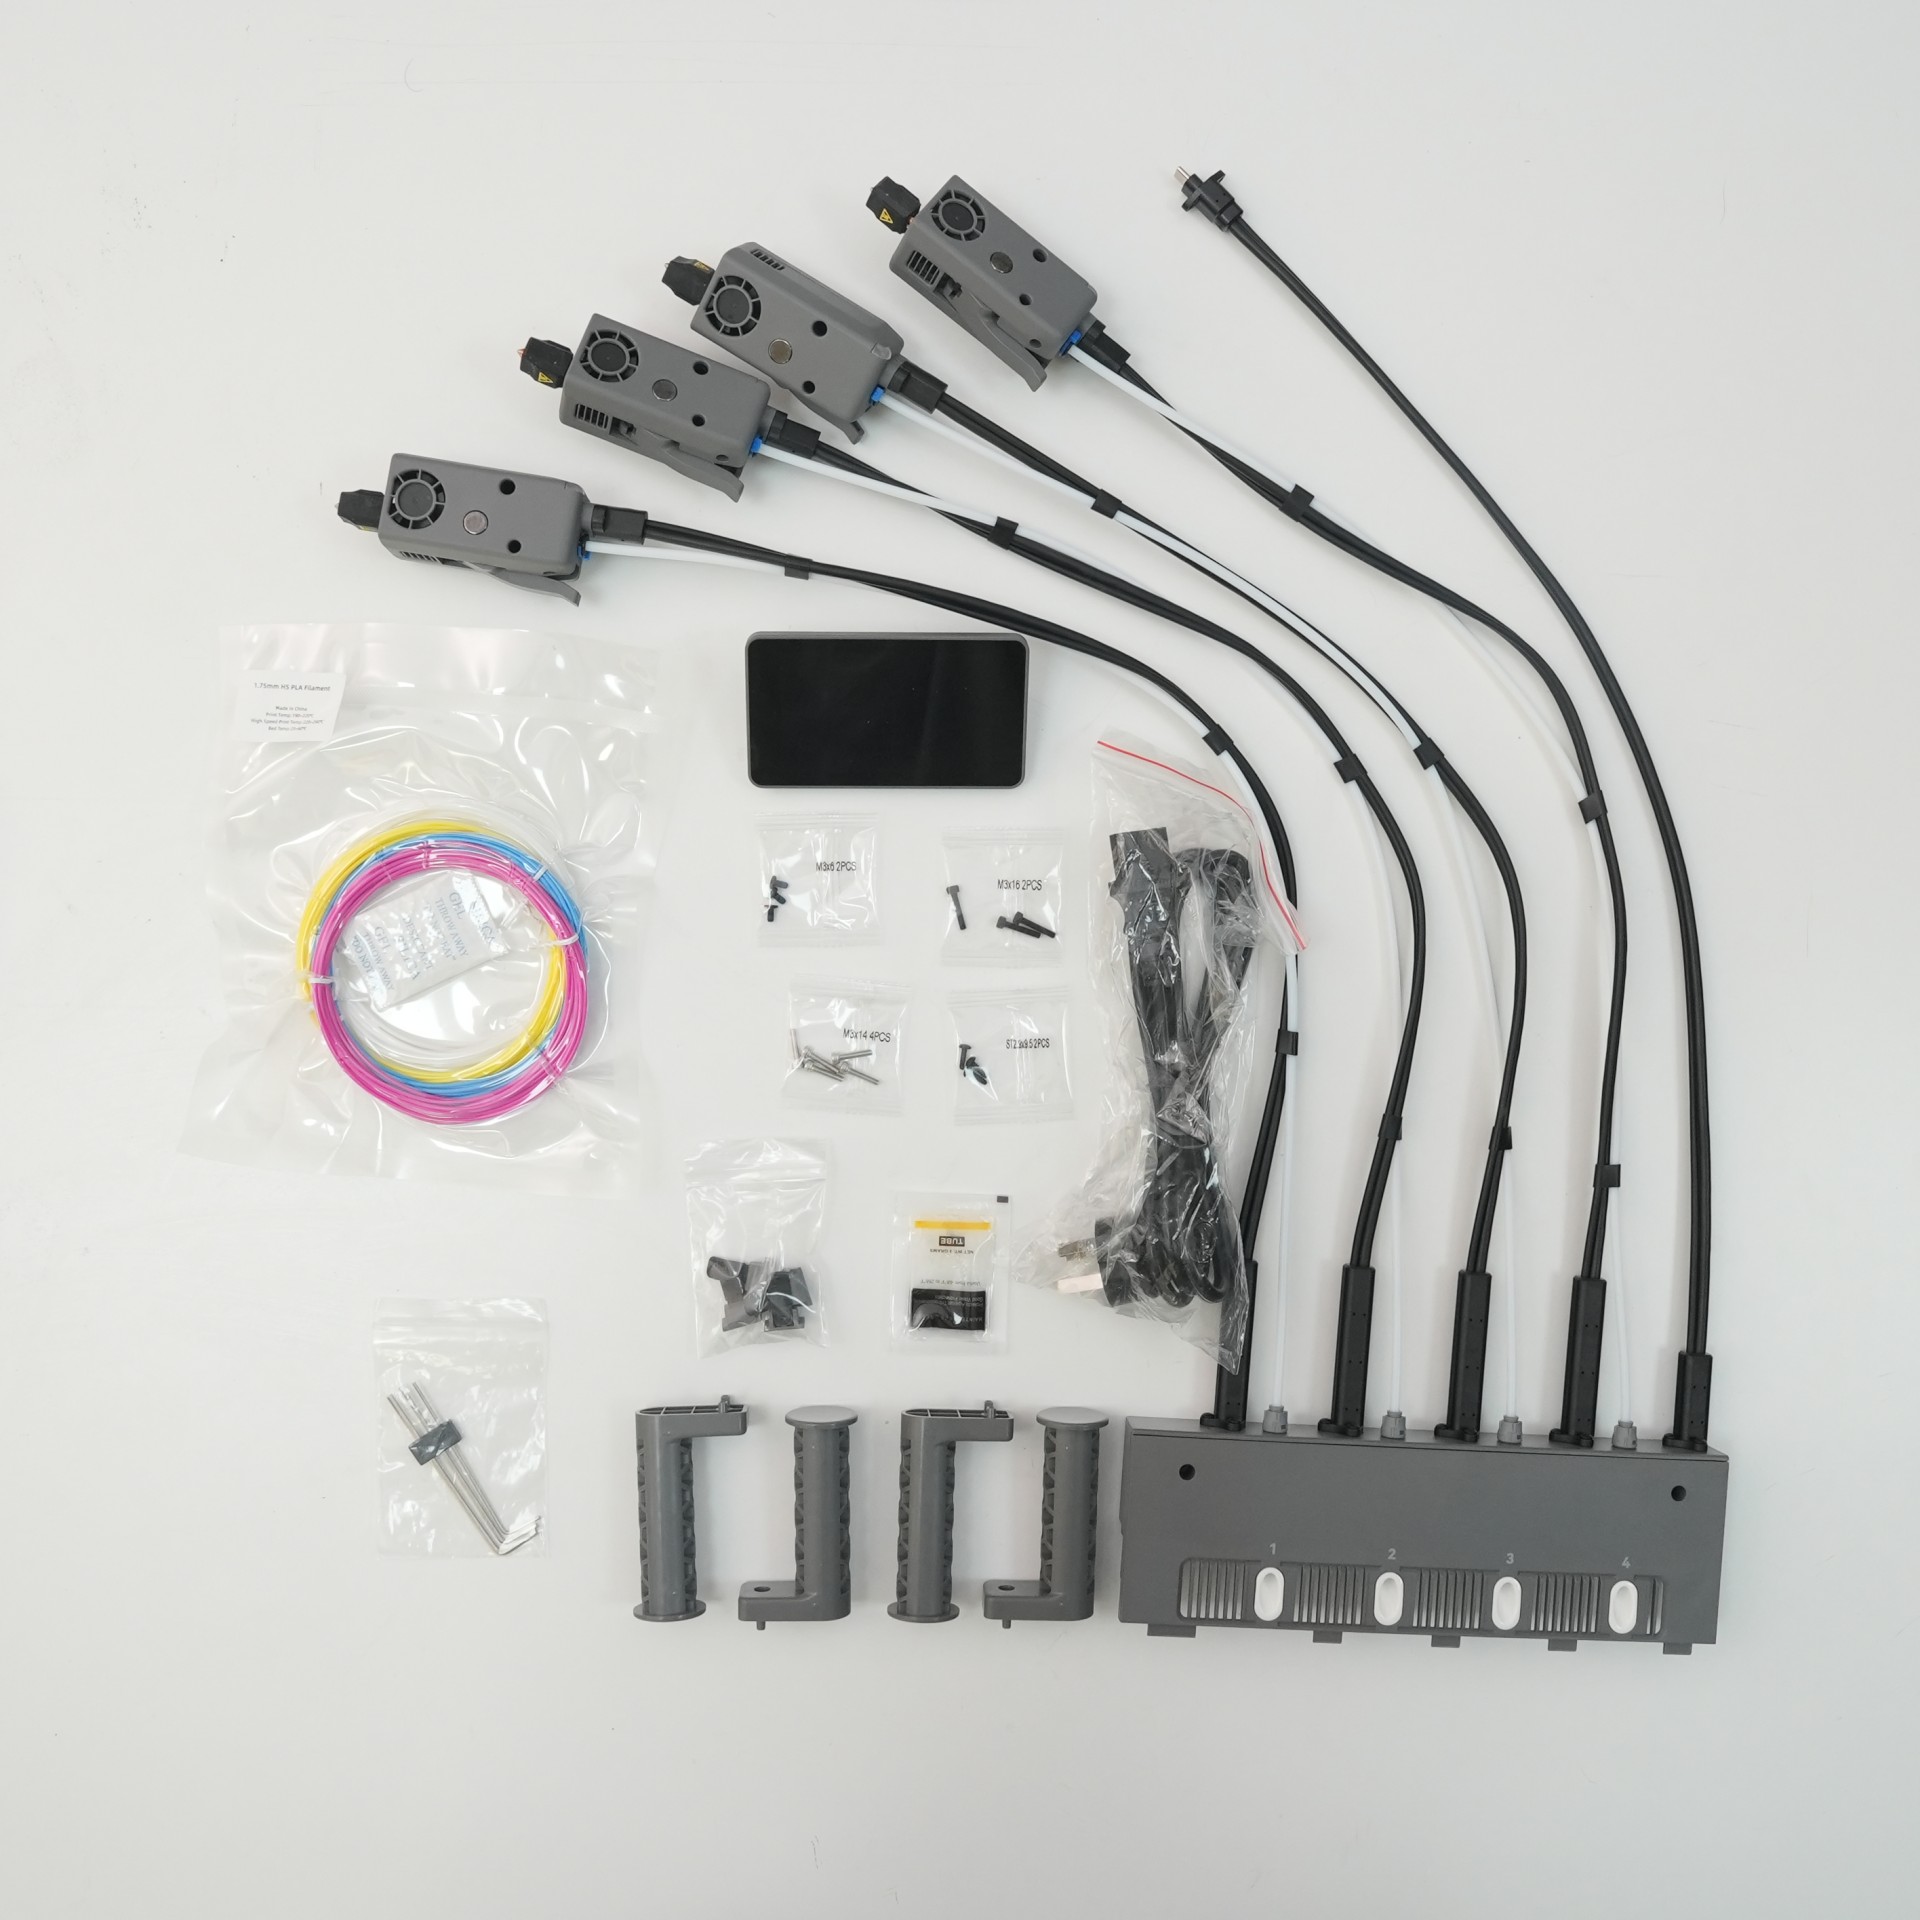
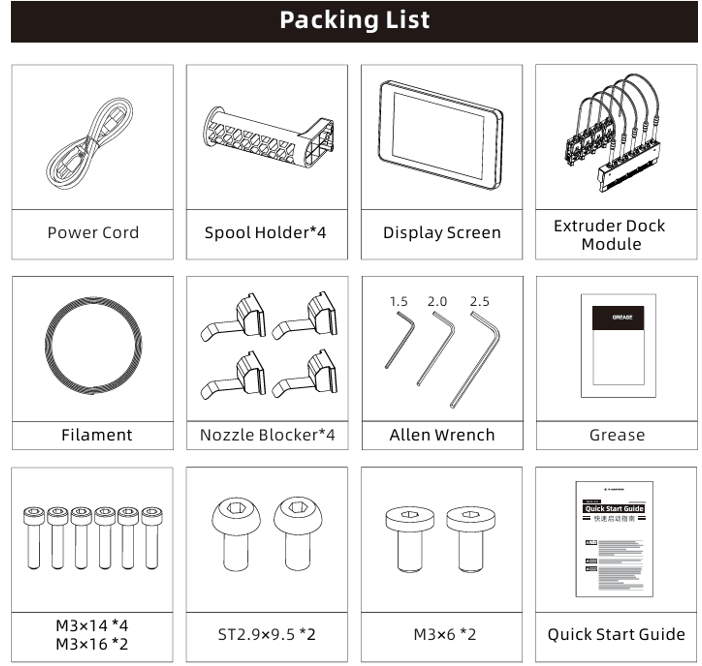
Packaging list:
¶ Step 4: Install the Display Screen
-
Align the slots on the back of the display screen with the mounting points on the printer. Then, attach the display screen as shown.
-
Secure the display screen using two M3×6 screws.
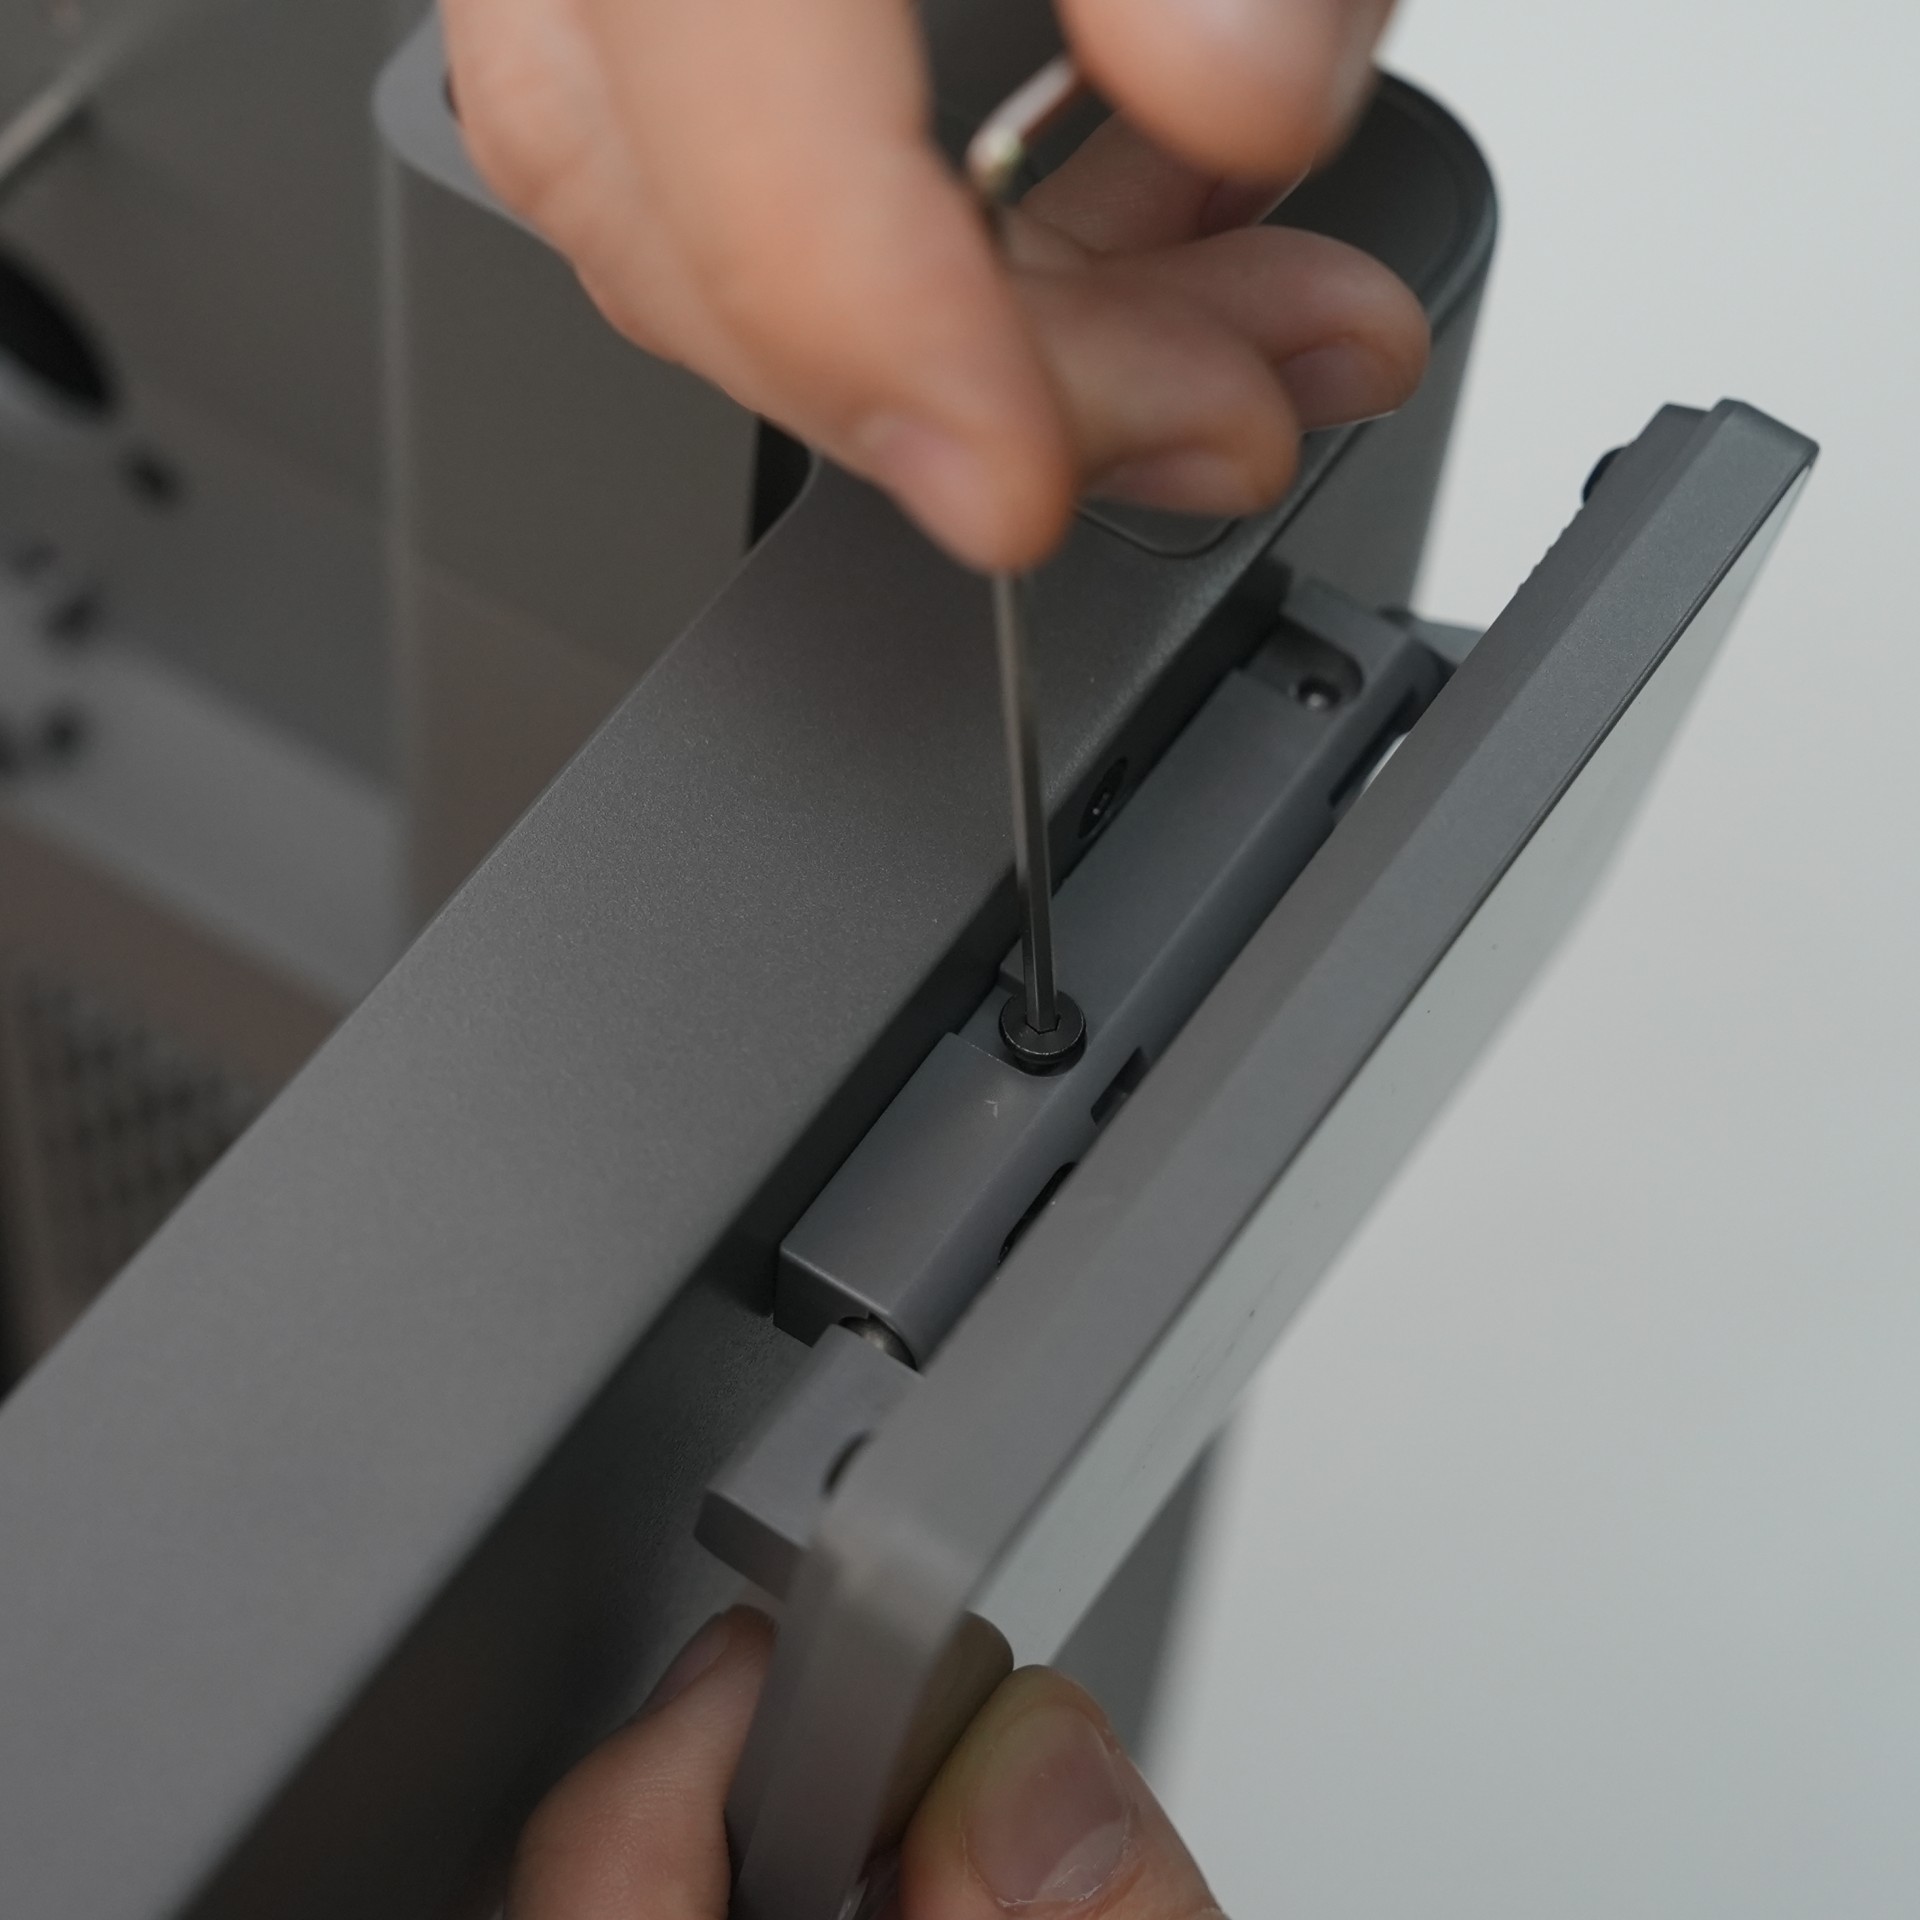
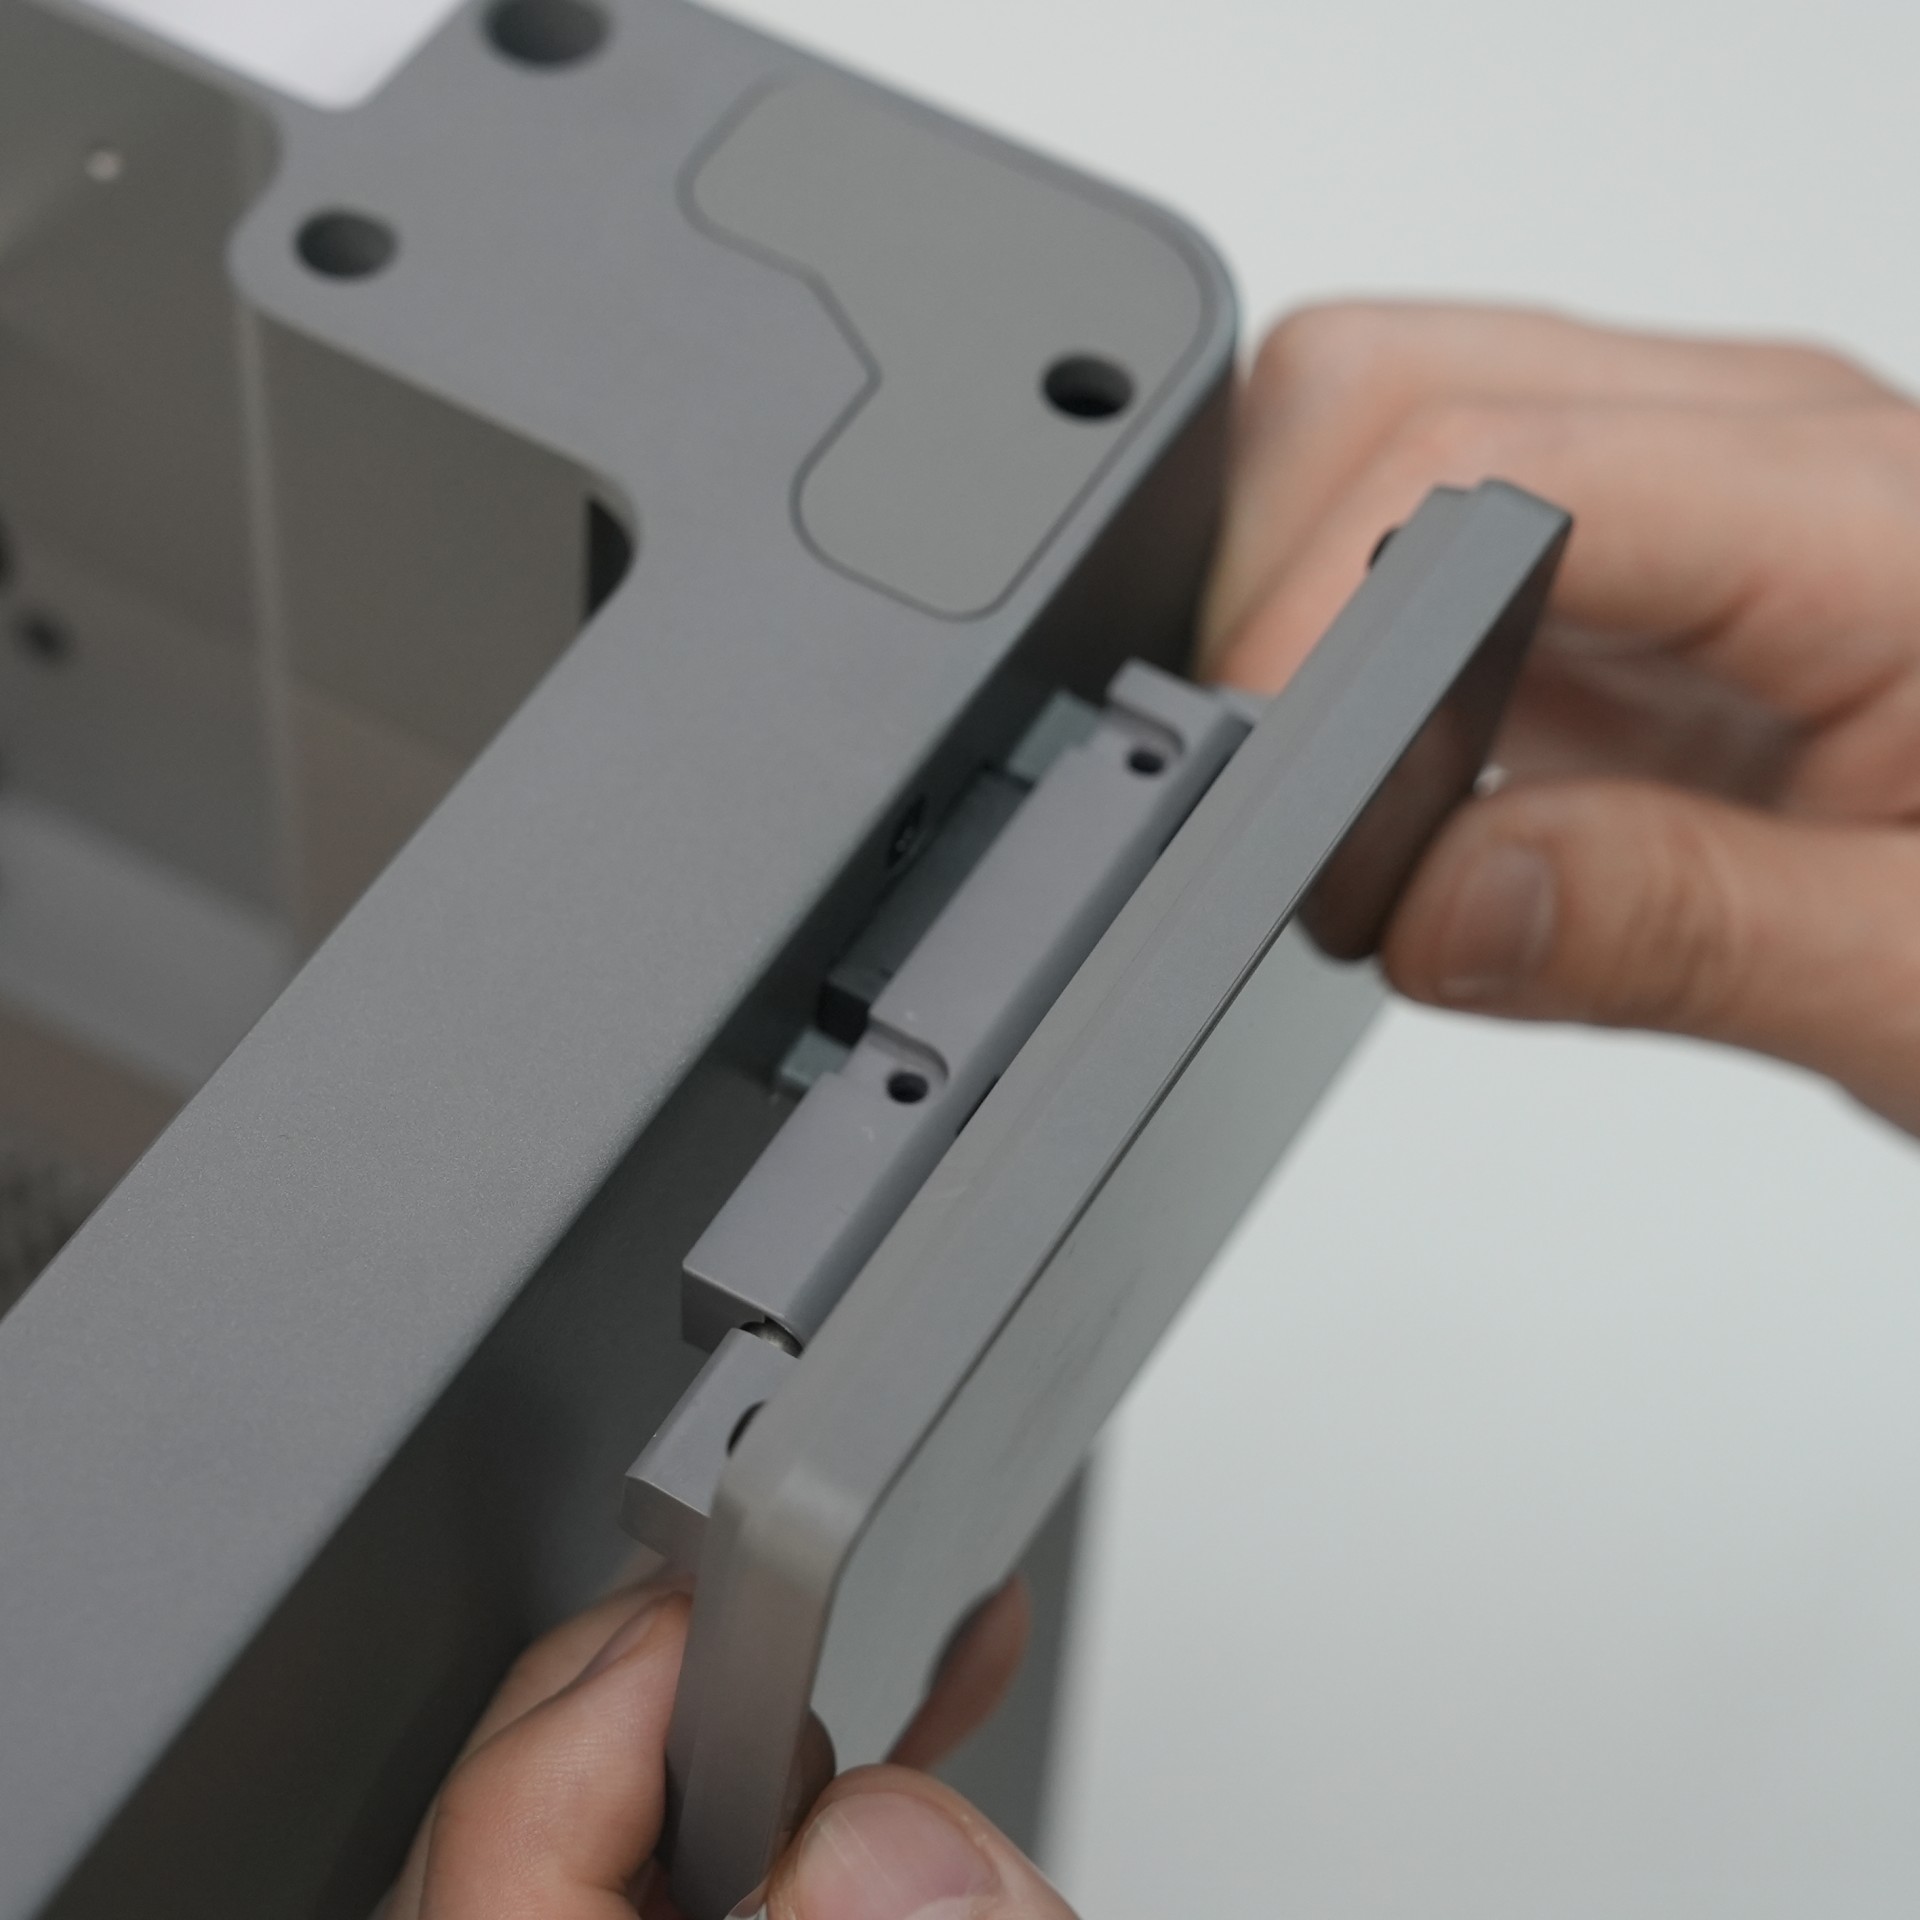
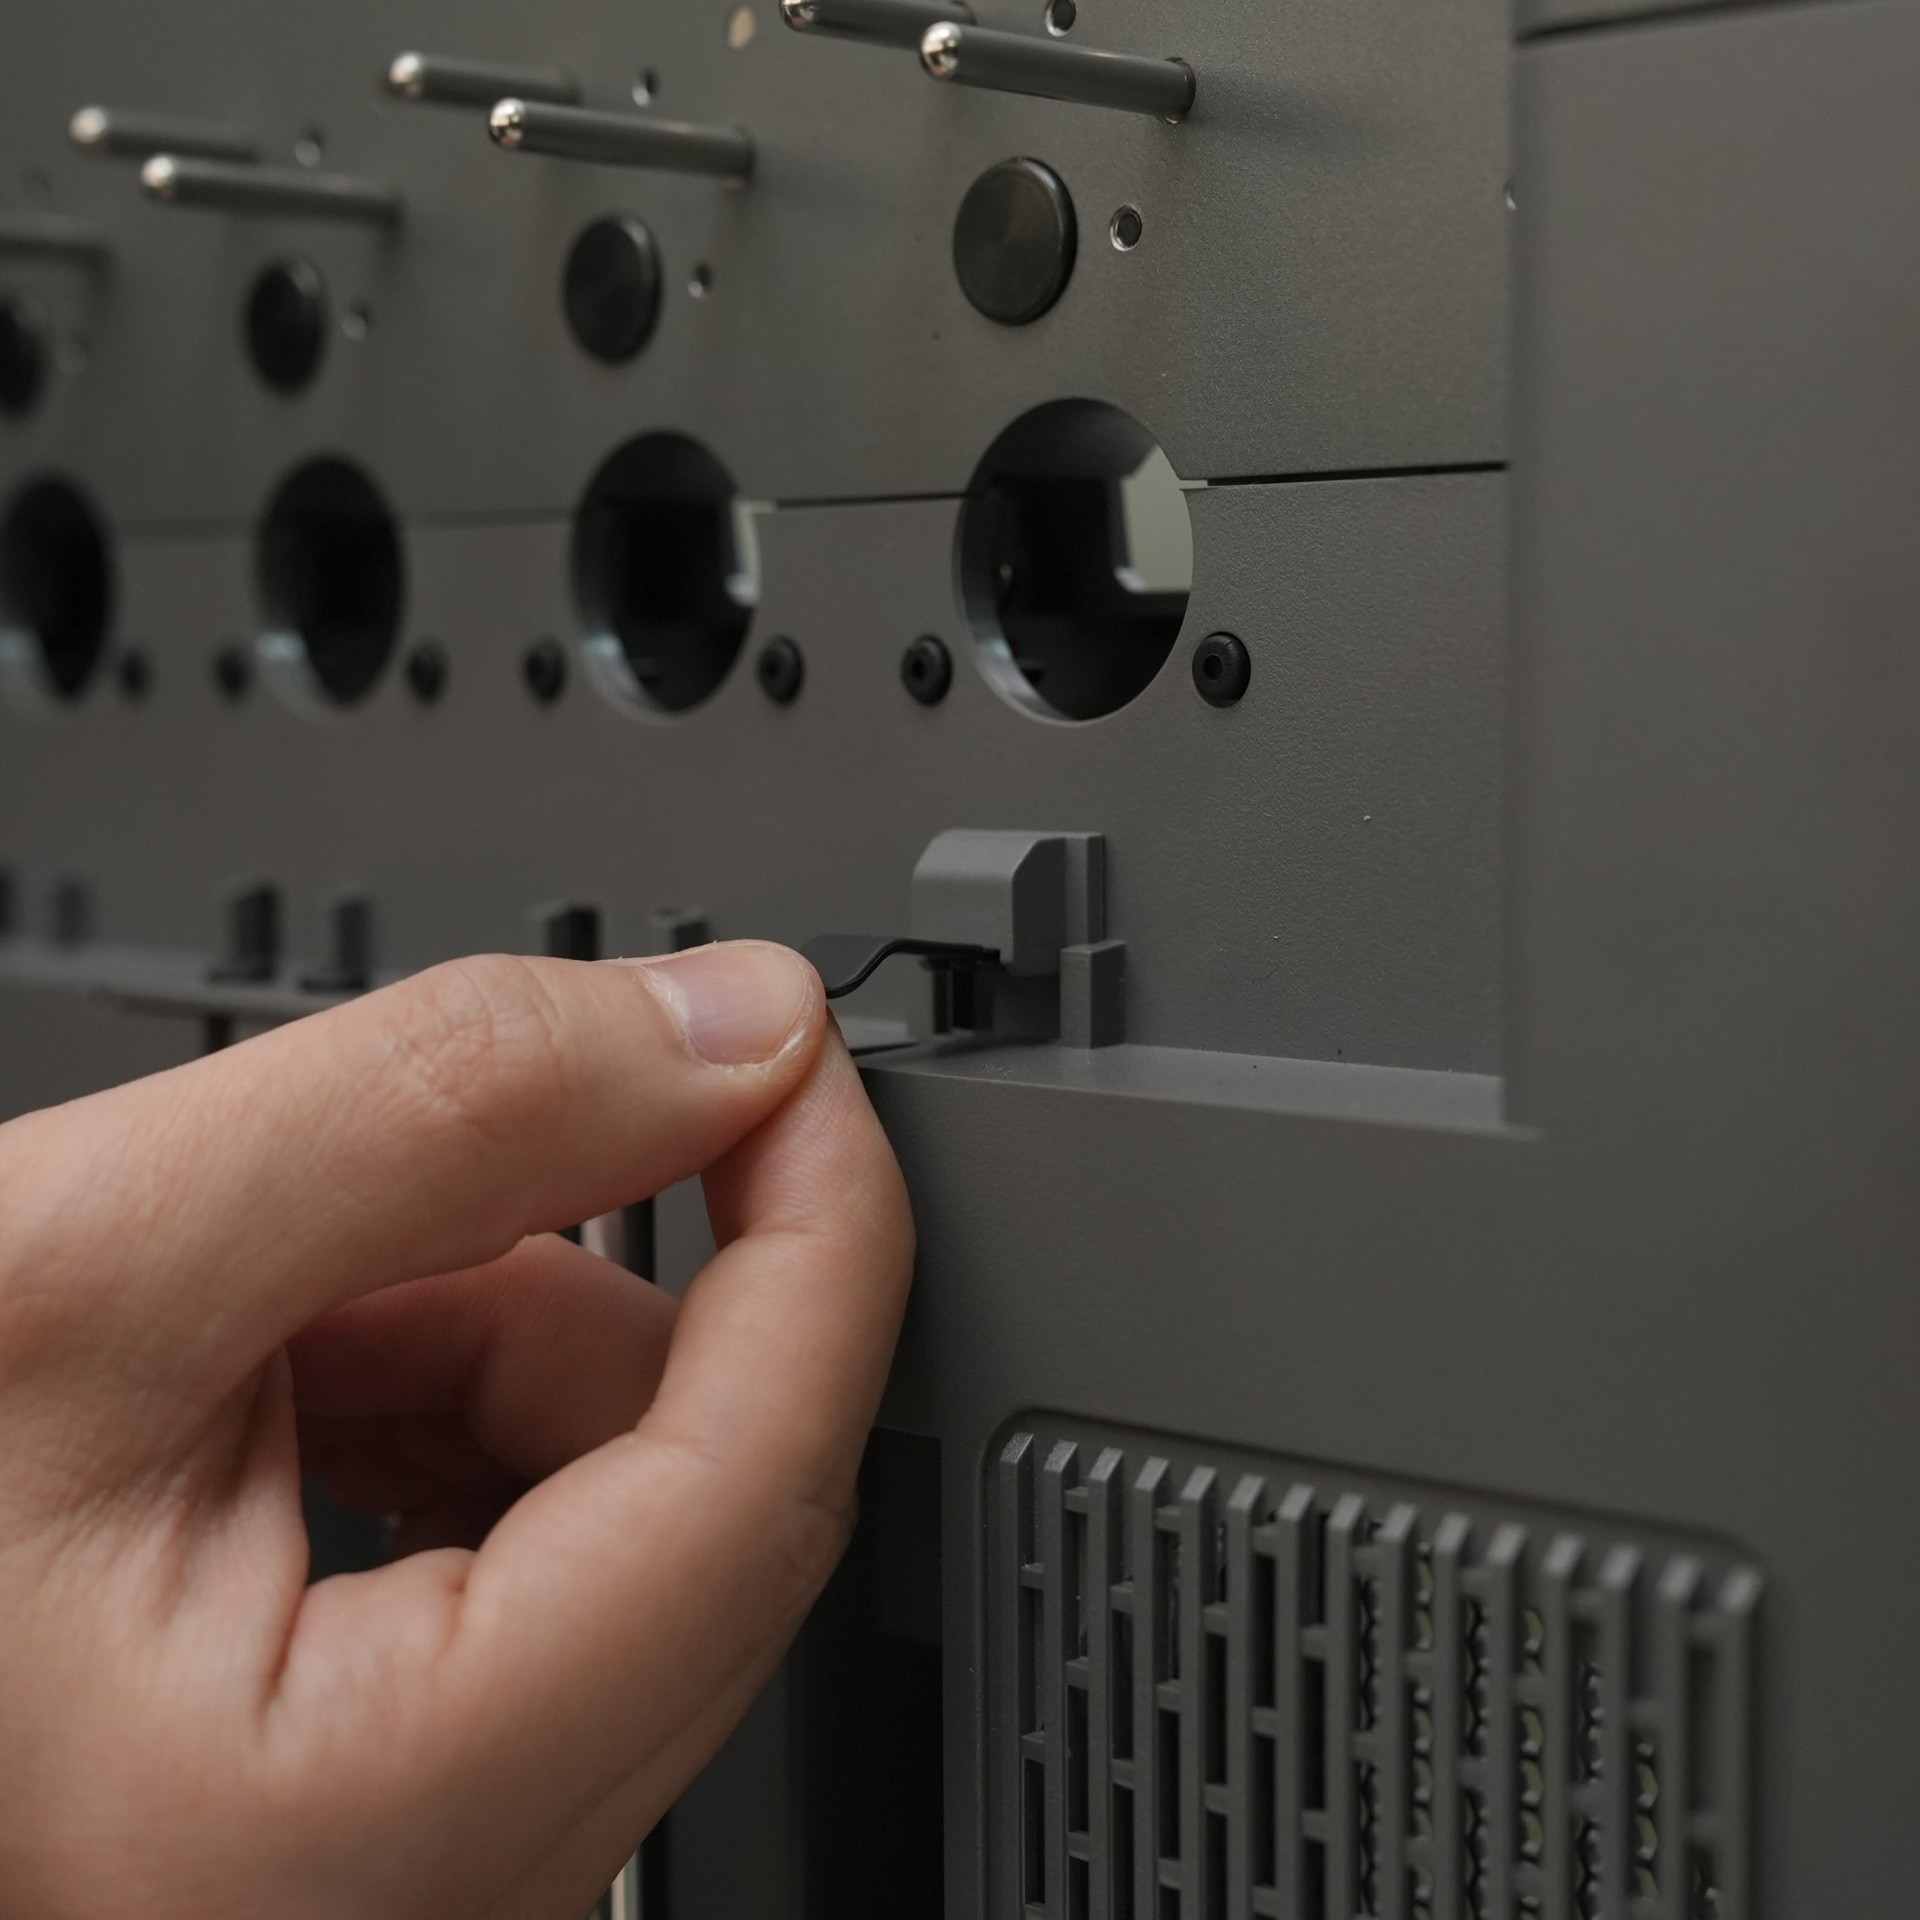
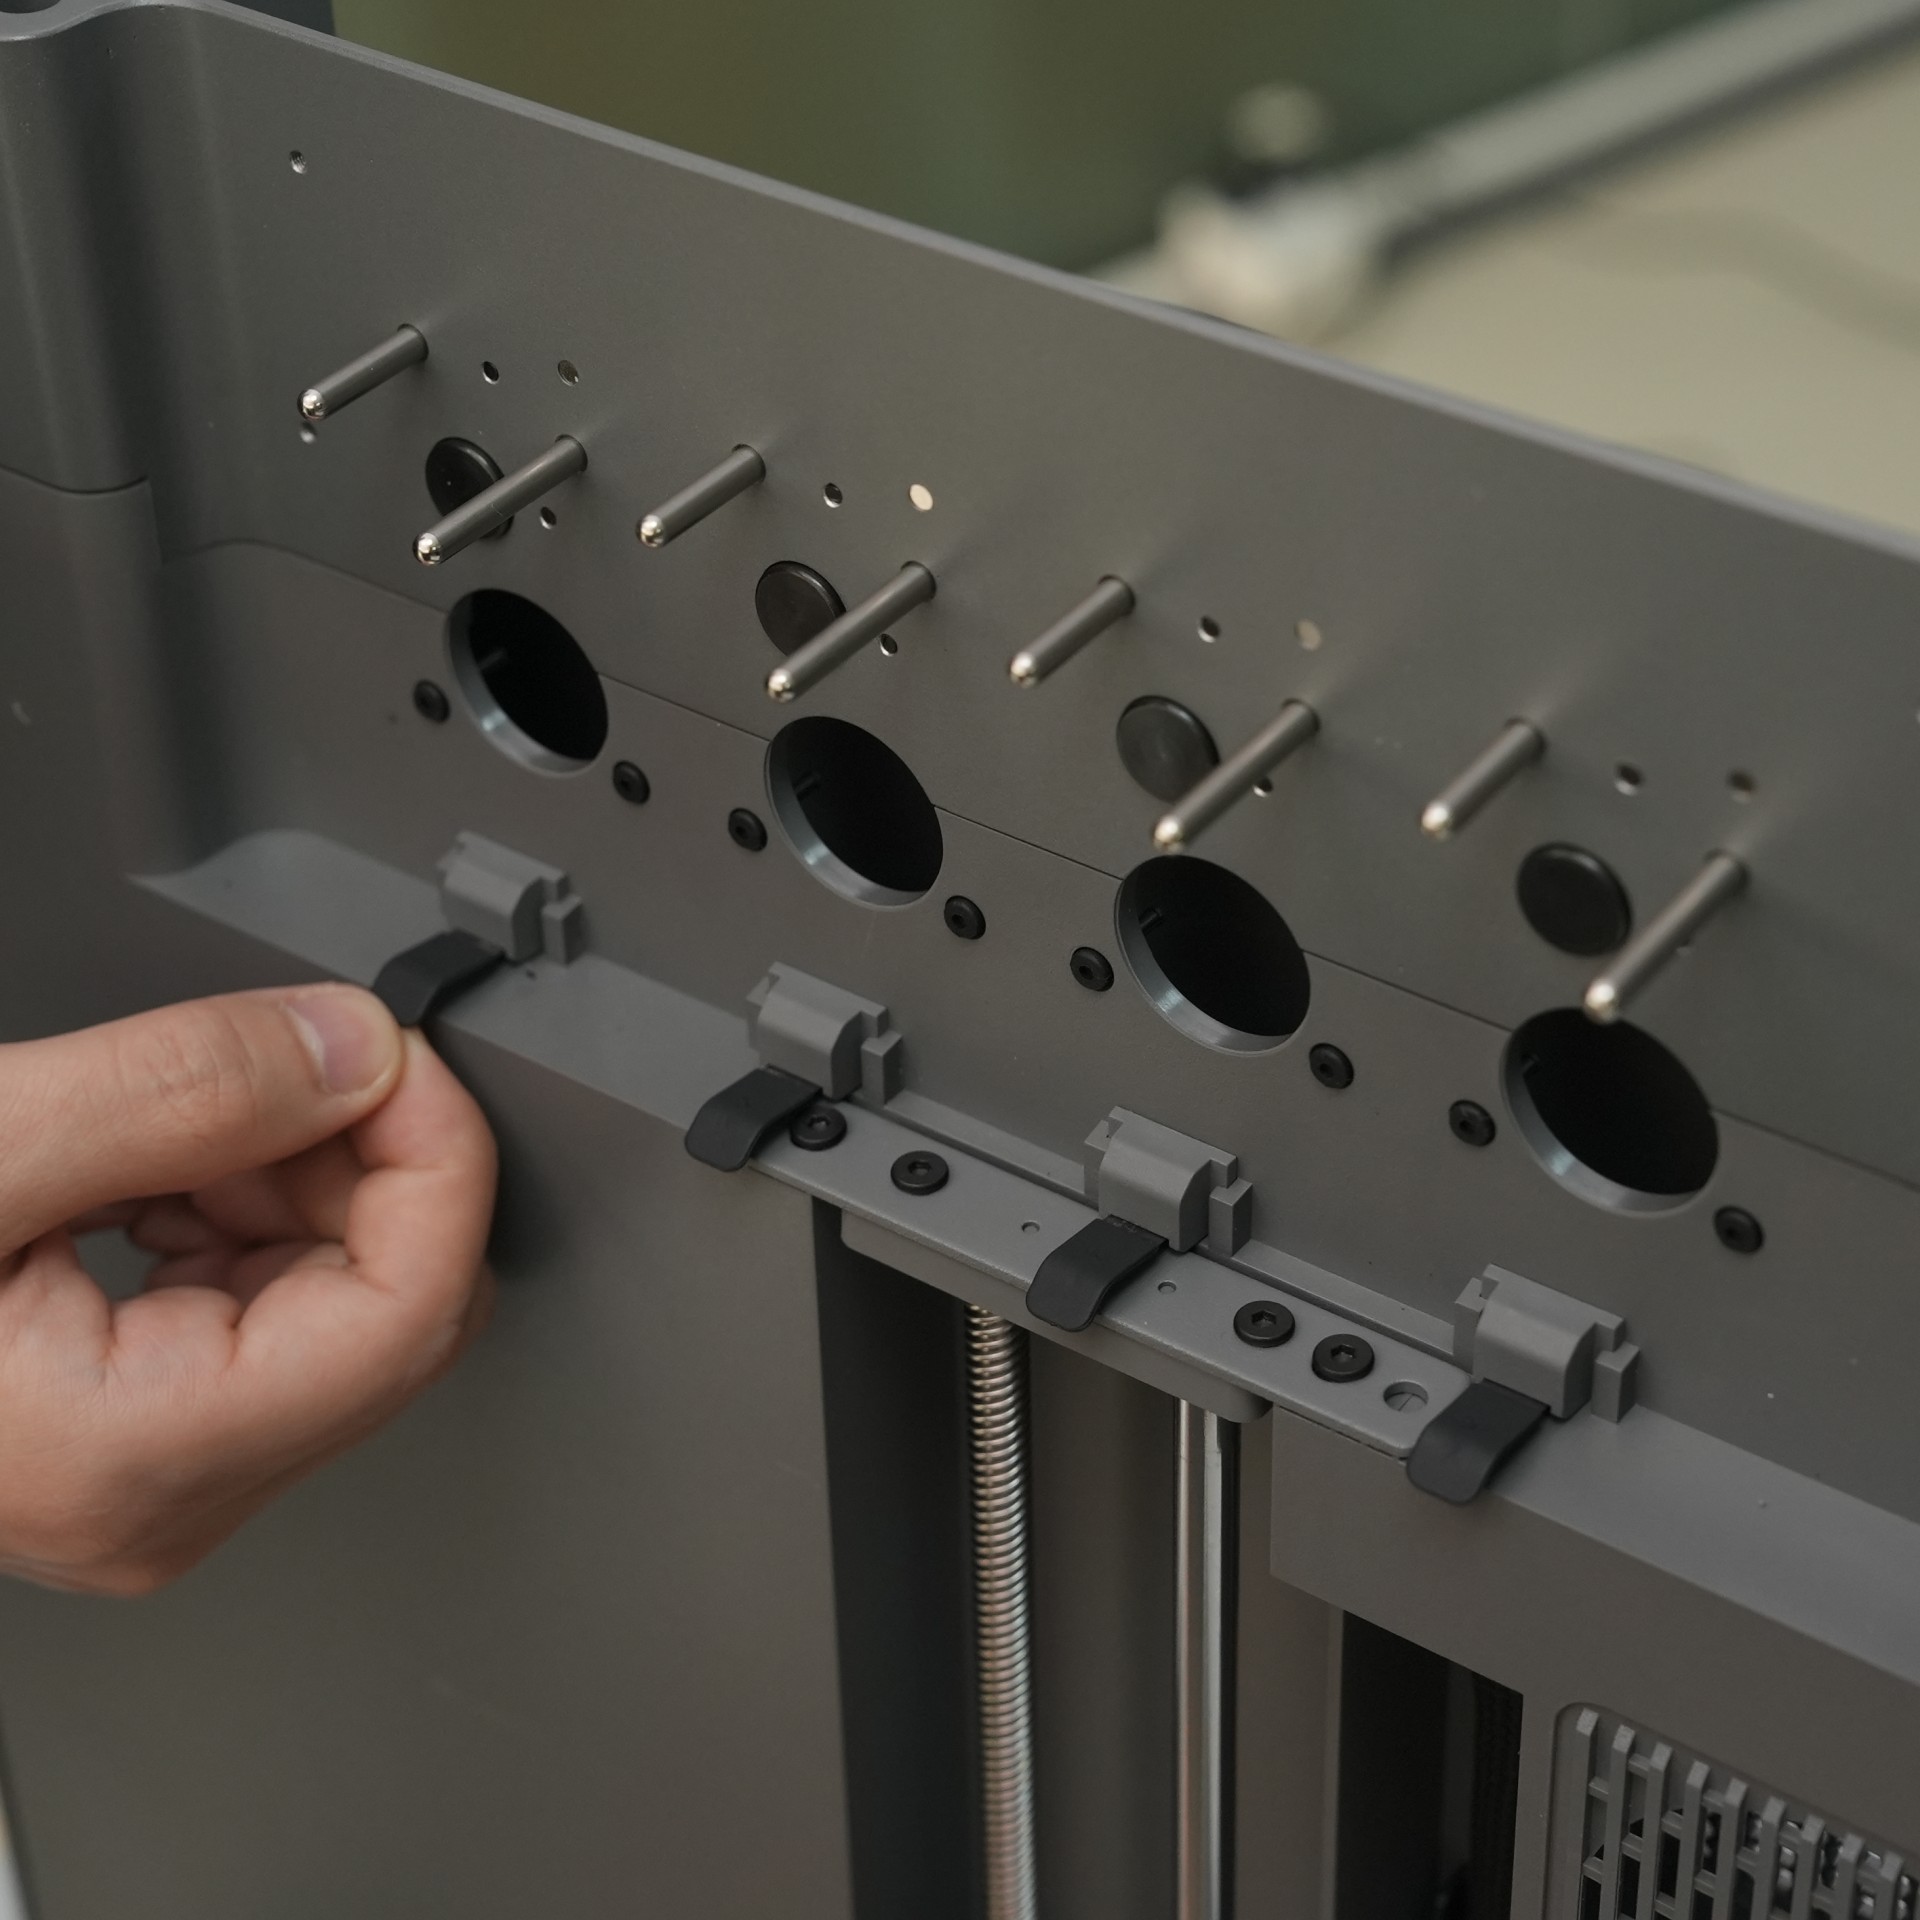
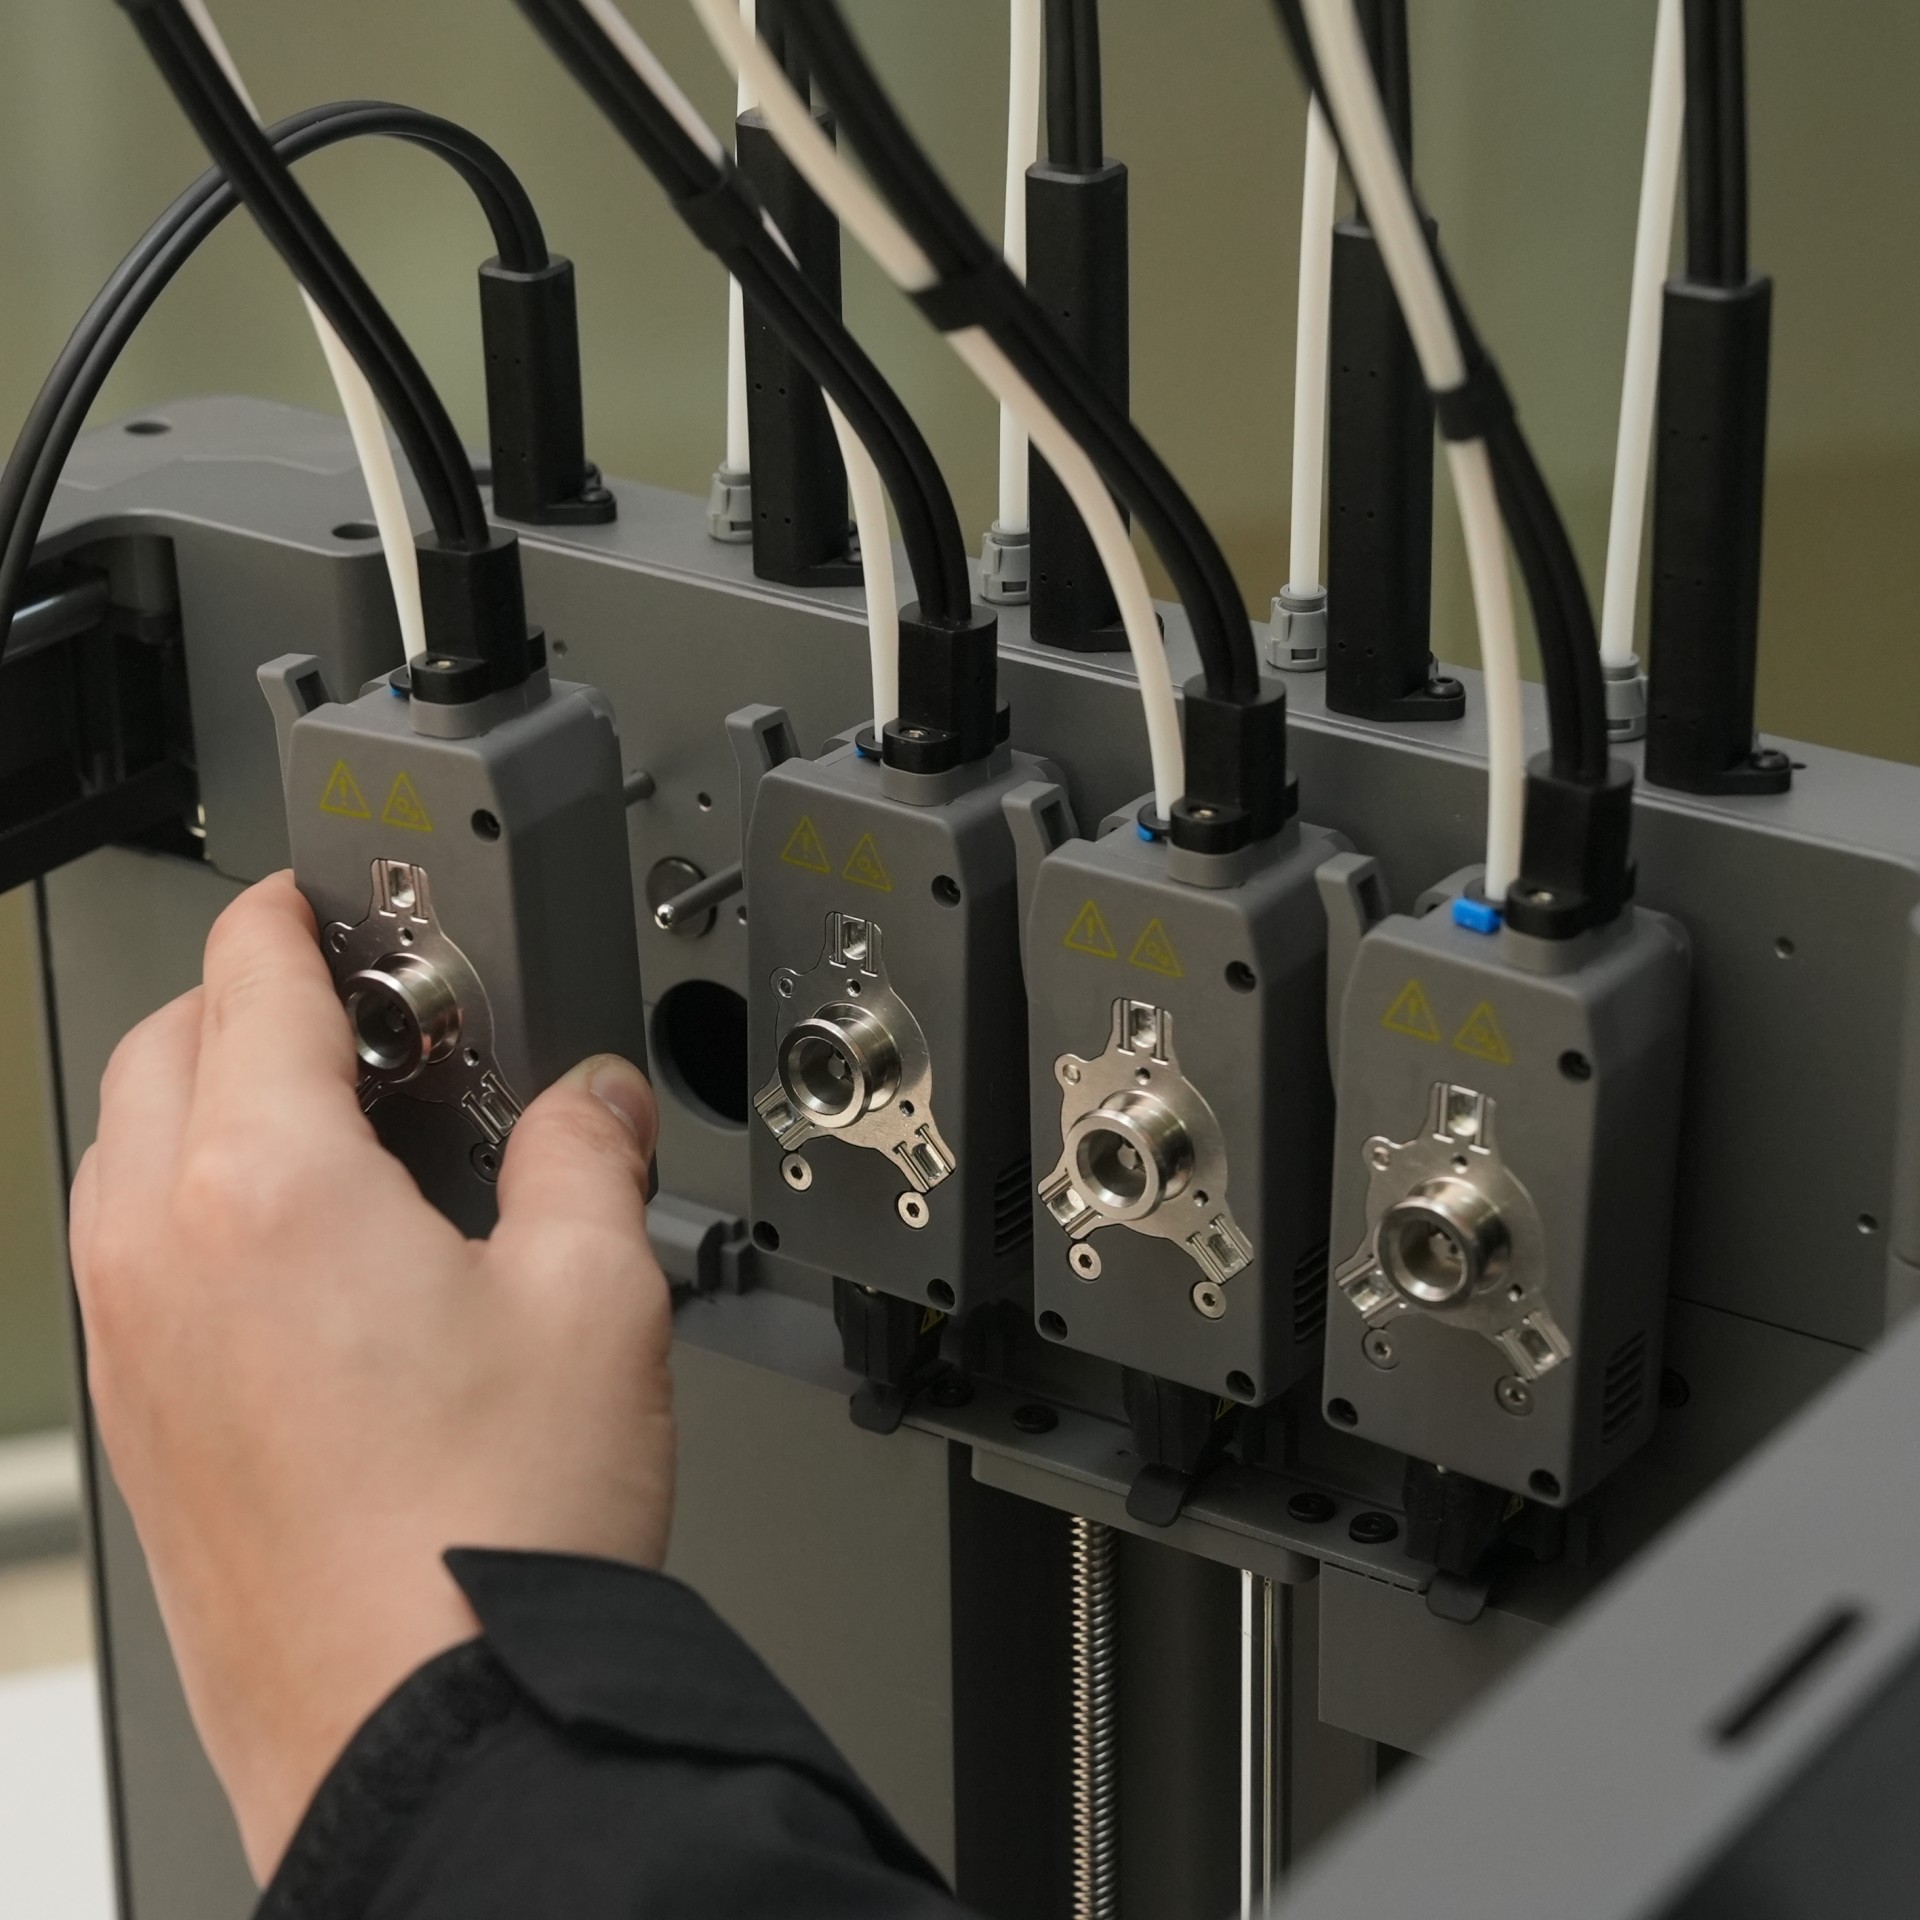
¶ Step 5: Install the Extruder Module
-
Insert the four nozzle blockers into the slots of the extruder dock as shown.
-
Align the extruder module with the slot on the right side of the printer and insert it downward. Make sure the filament inlet is facing outward.
-
Secure the extruder dock module using two M3×16 screws.
-
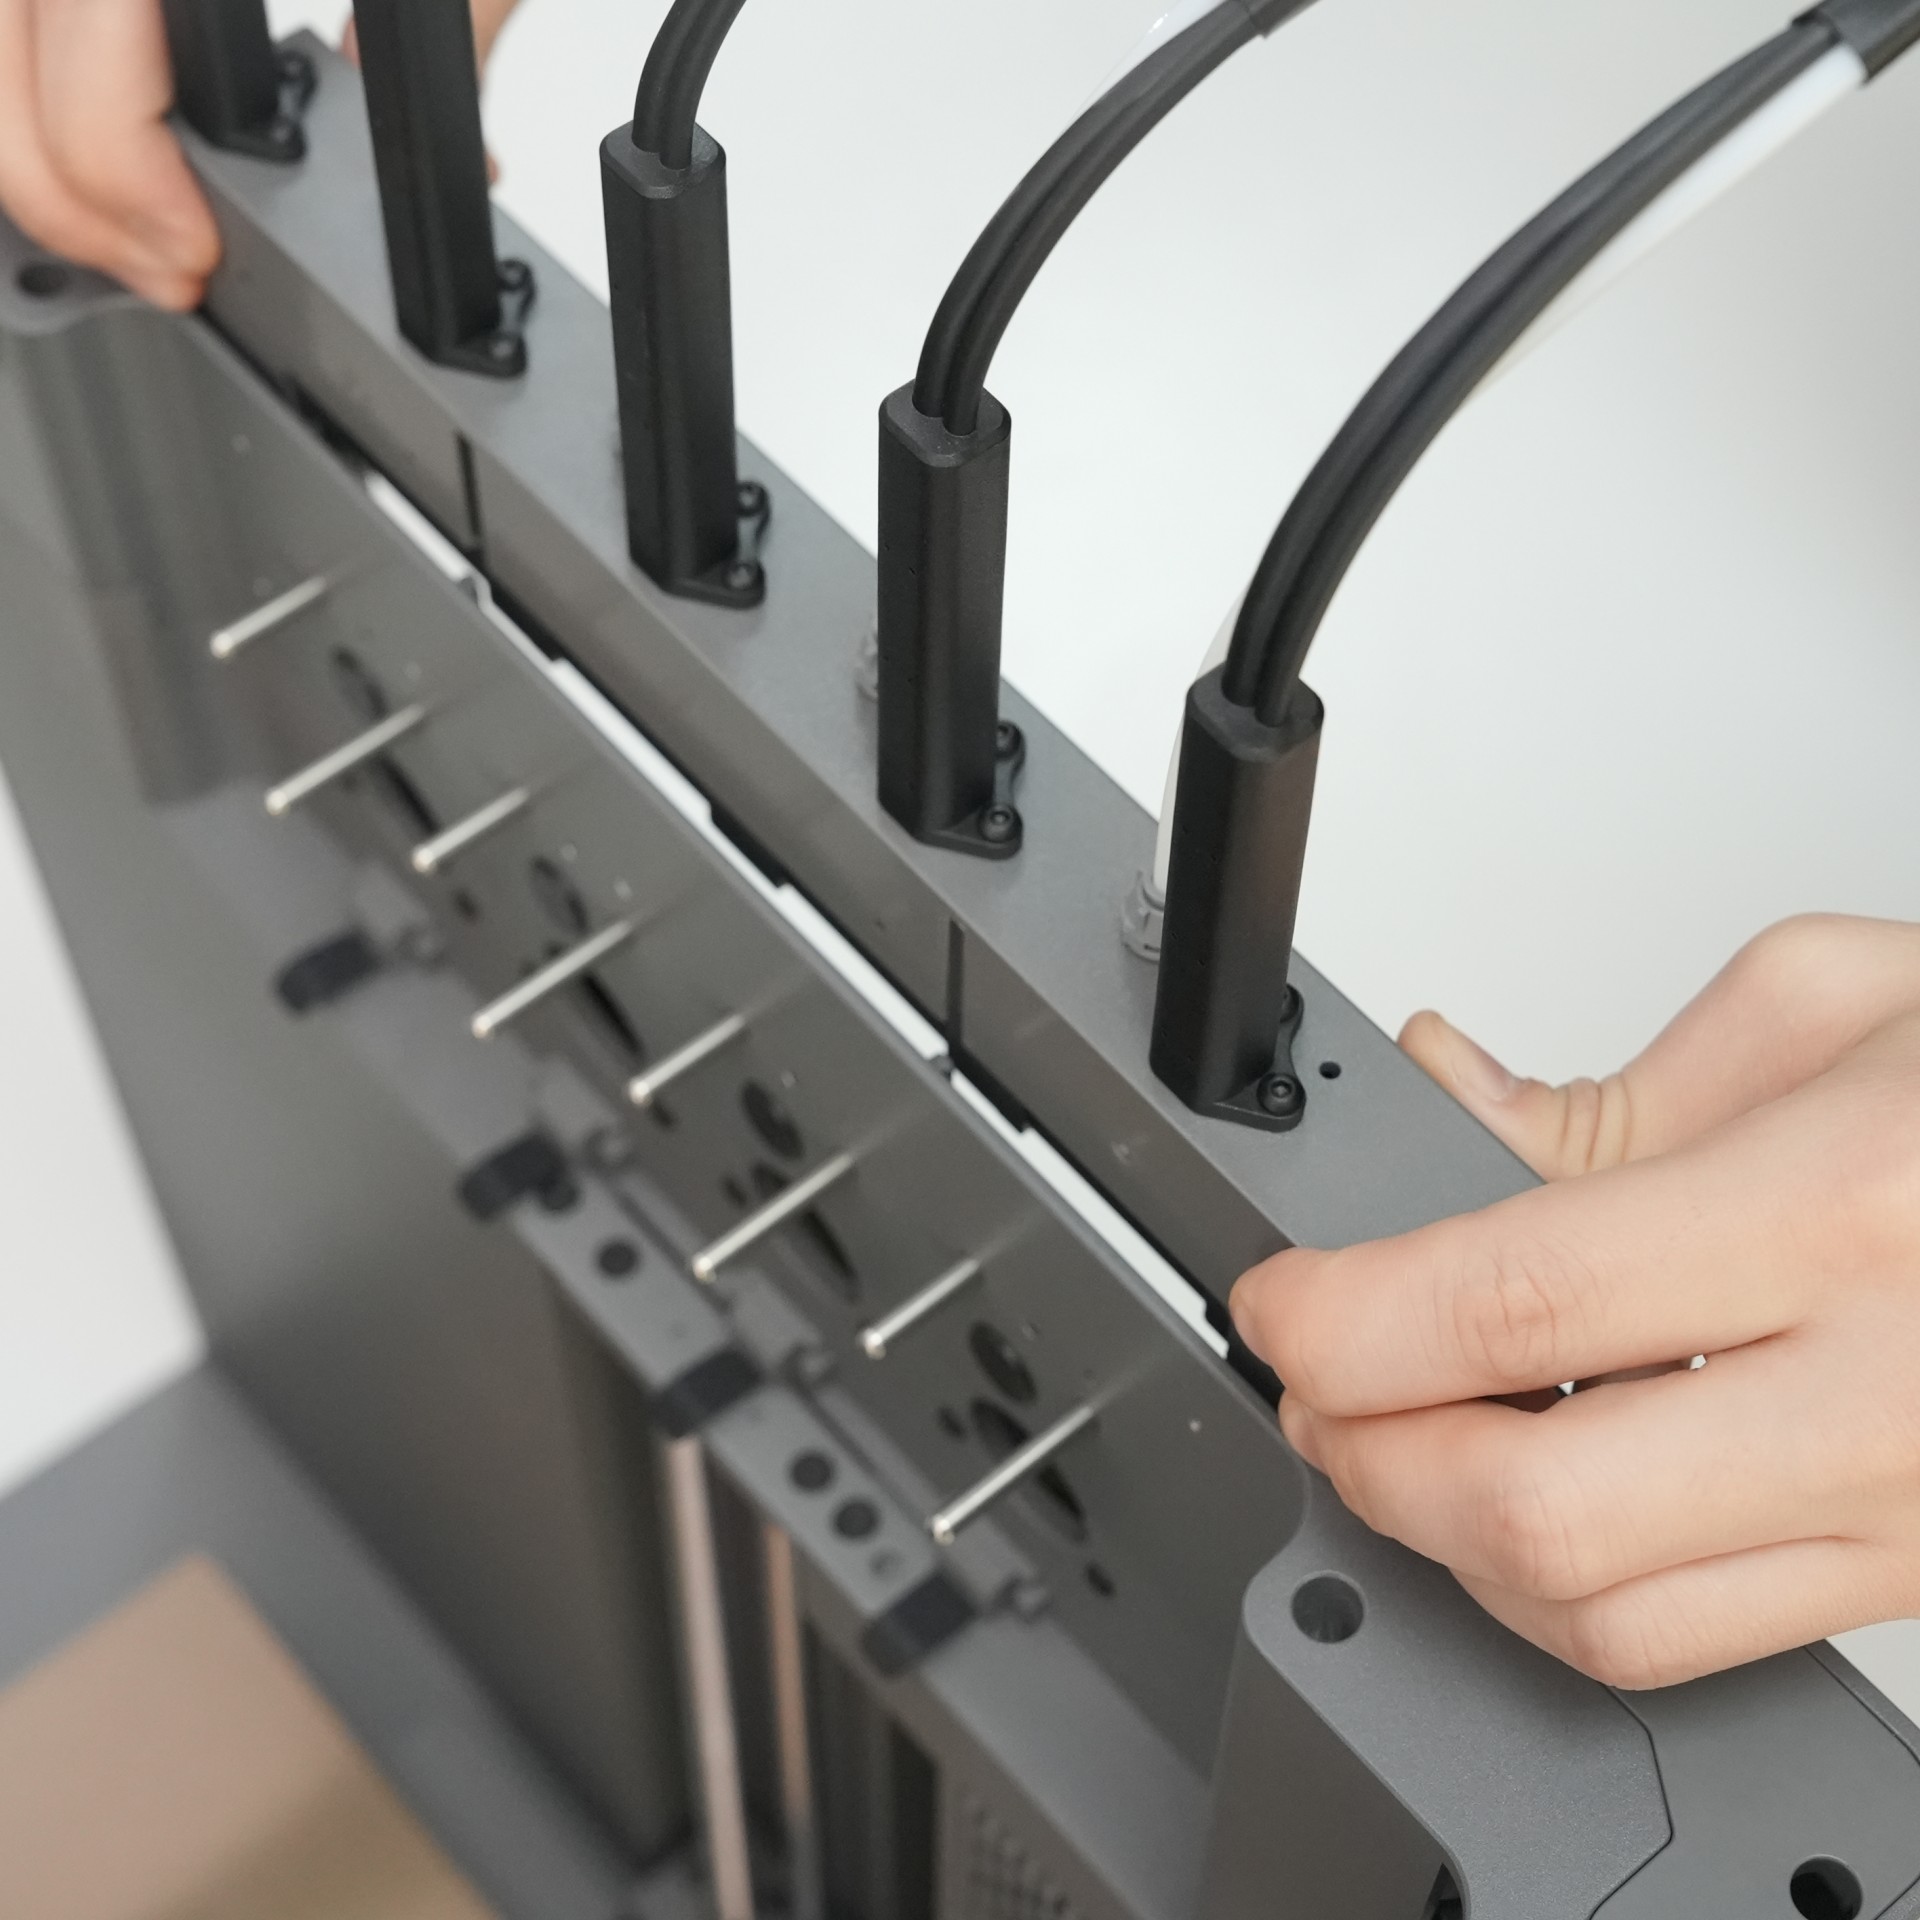
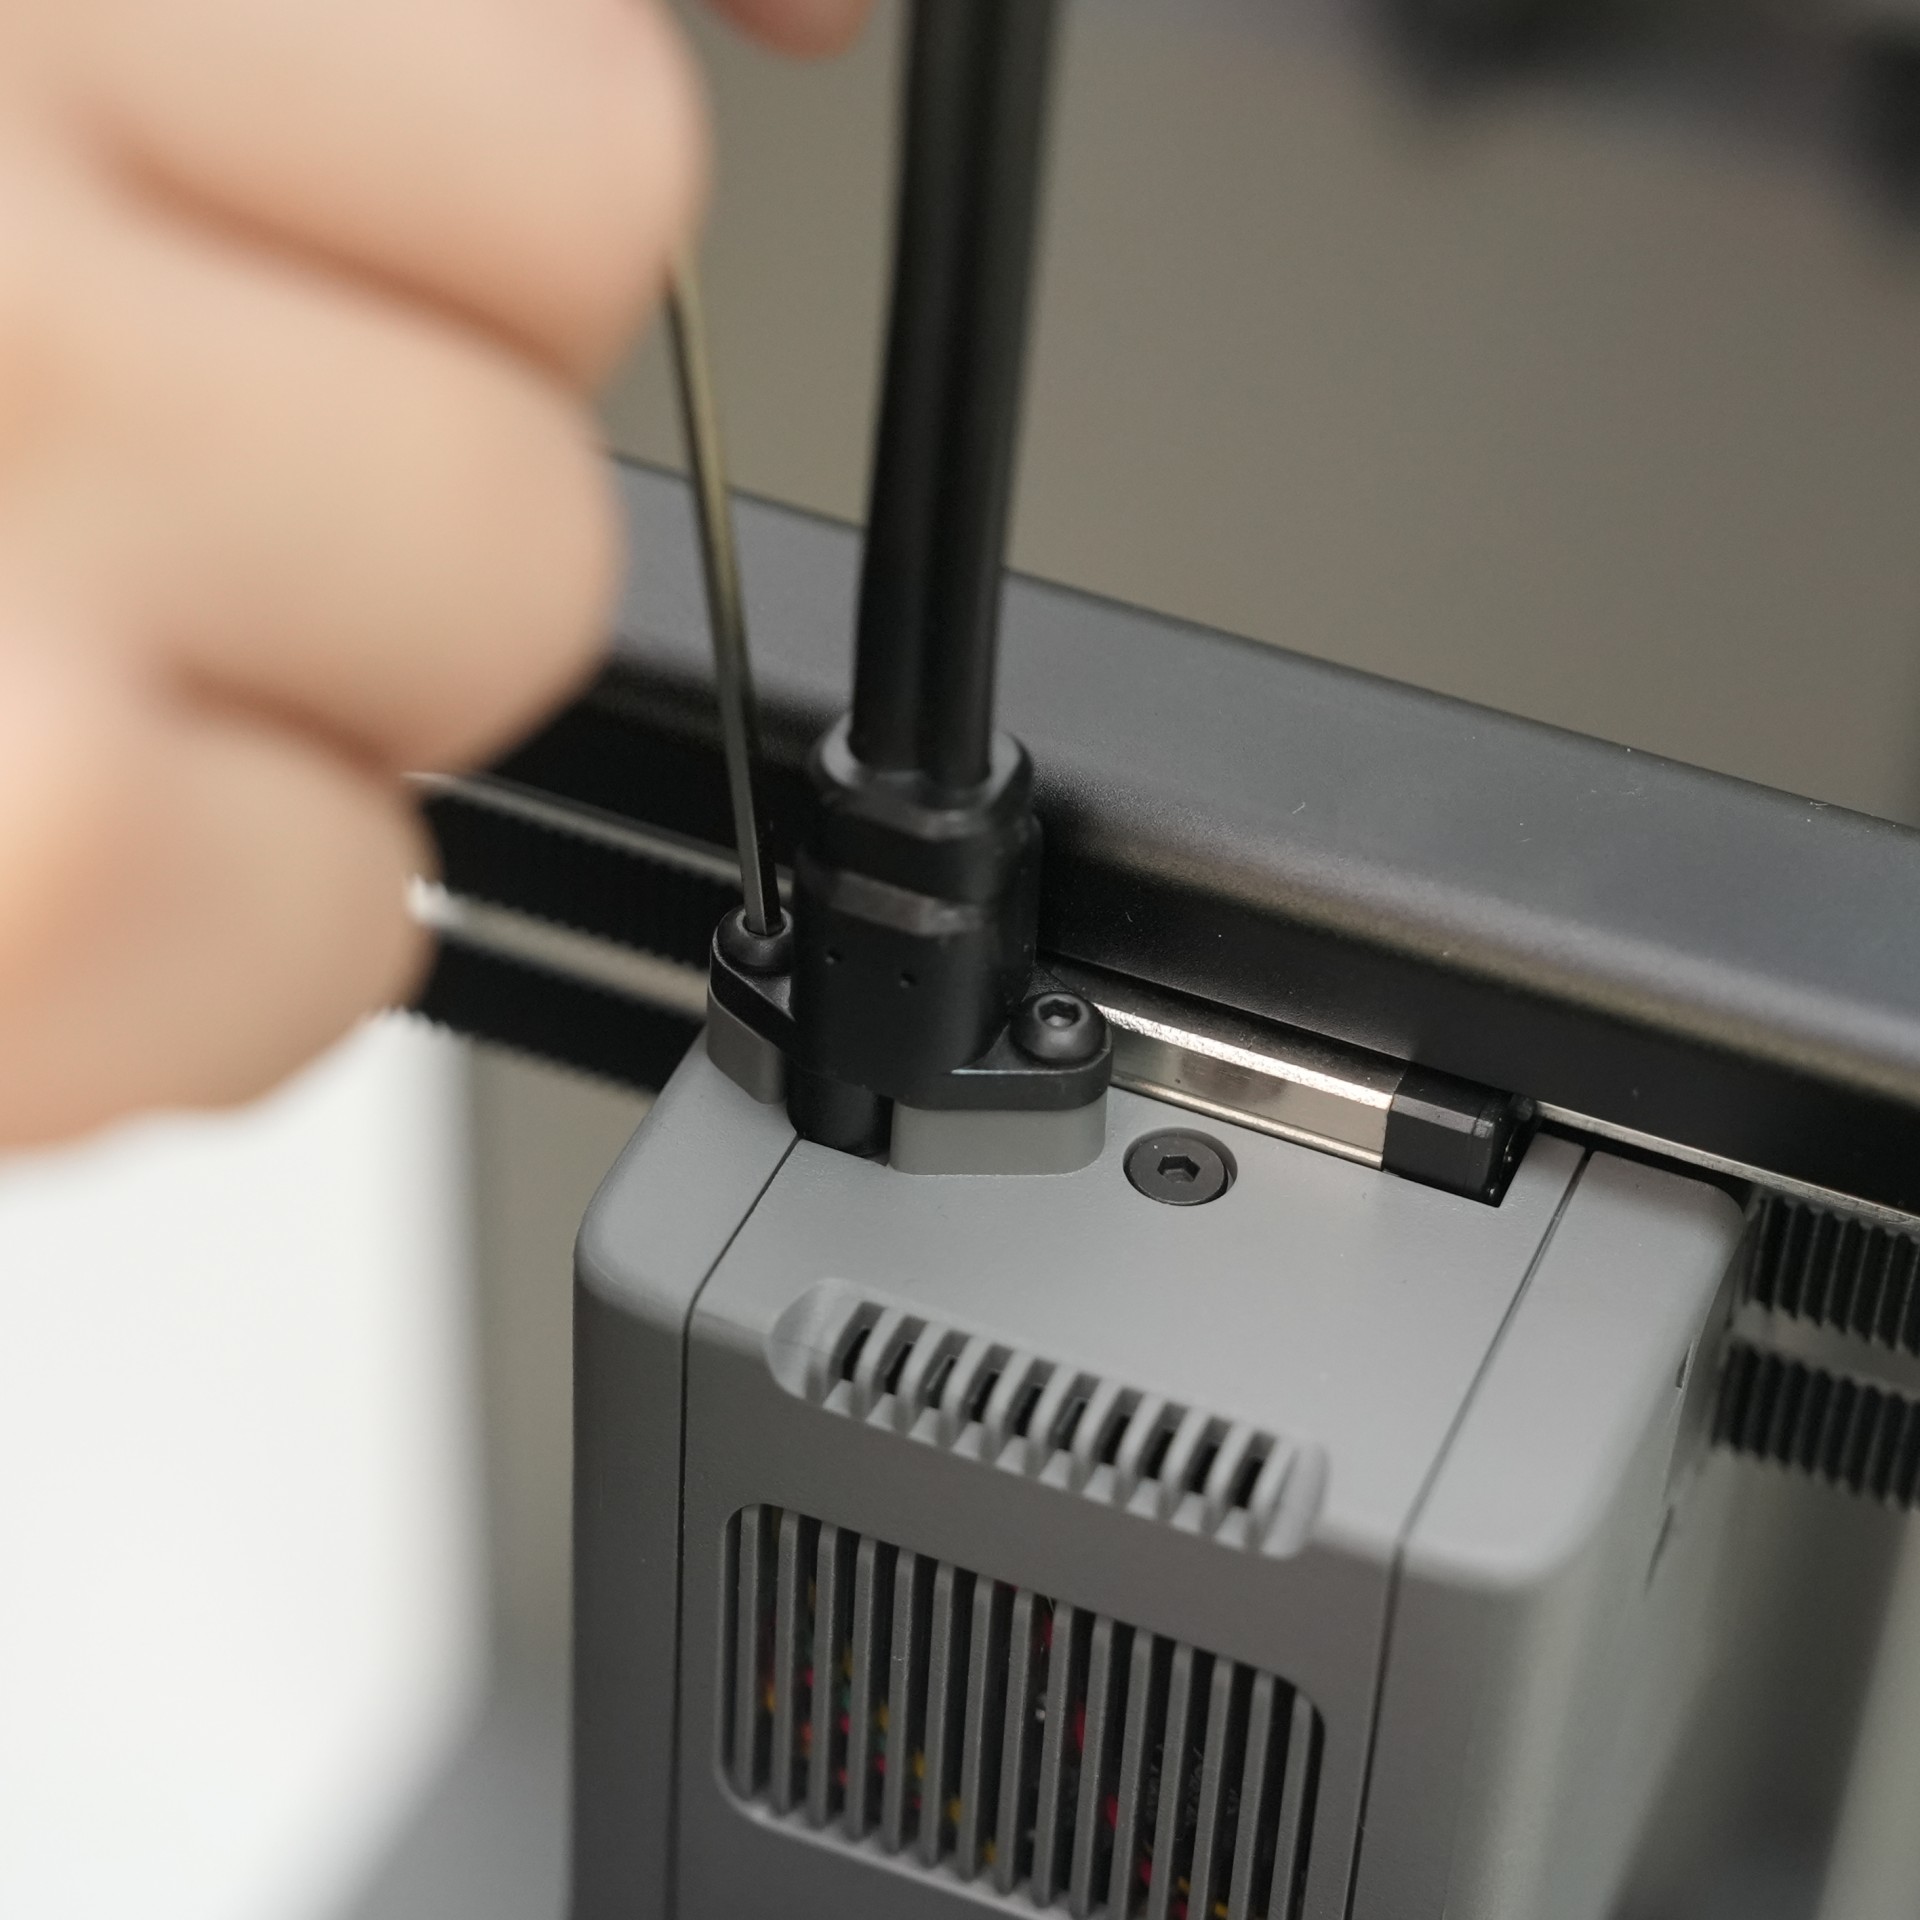
Mount the four extruders onto the extruder dock, aligning each with its corresponding positioning post according to the order of the extruder connection cables.
-
Connect the extruder mount cable to the communication port on the extruder mount. Once firmly inserted, secure it with two ST2.9×9.5 screws.
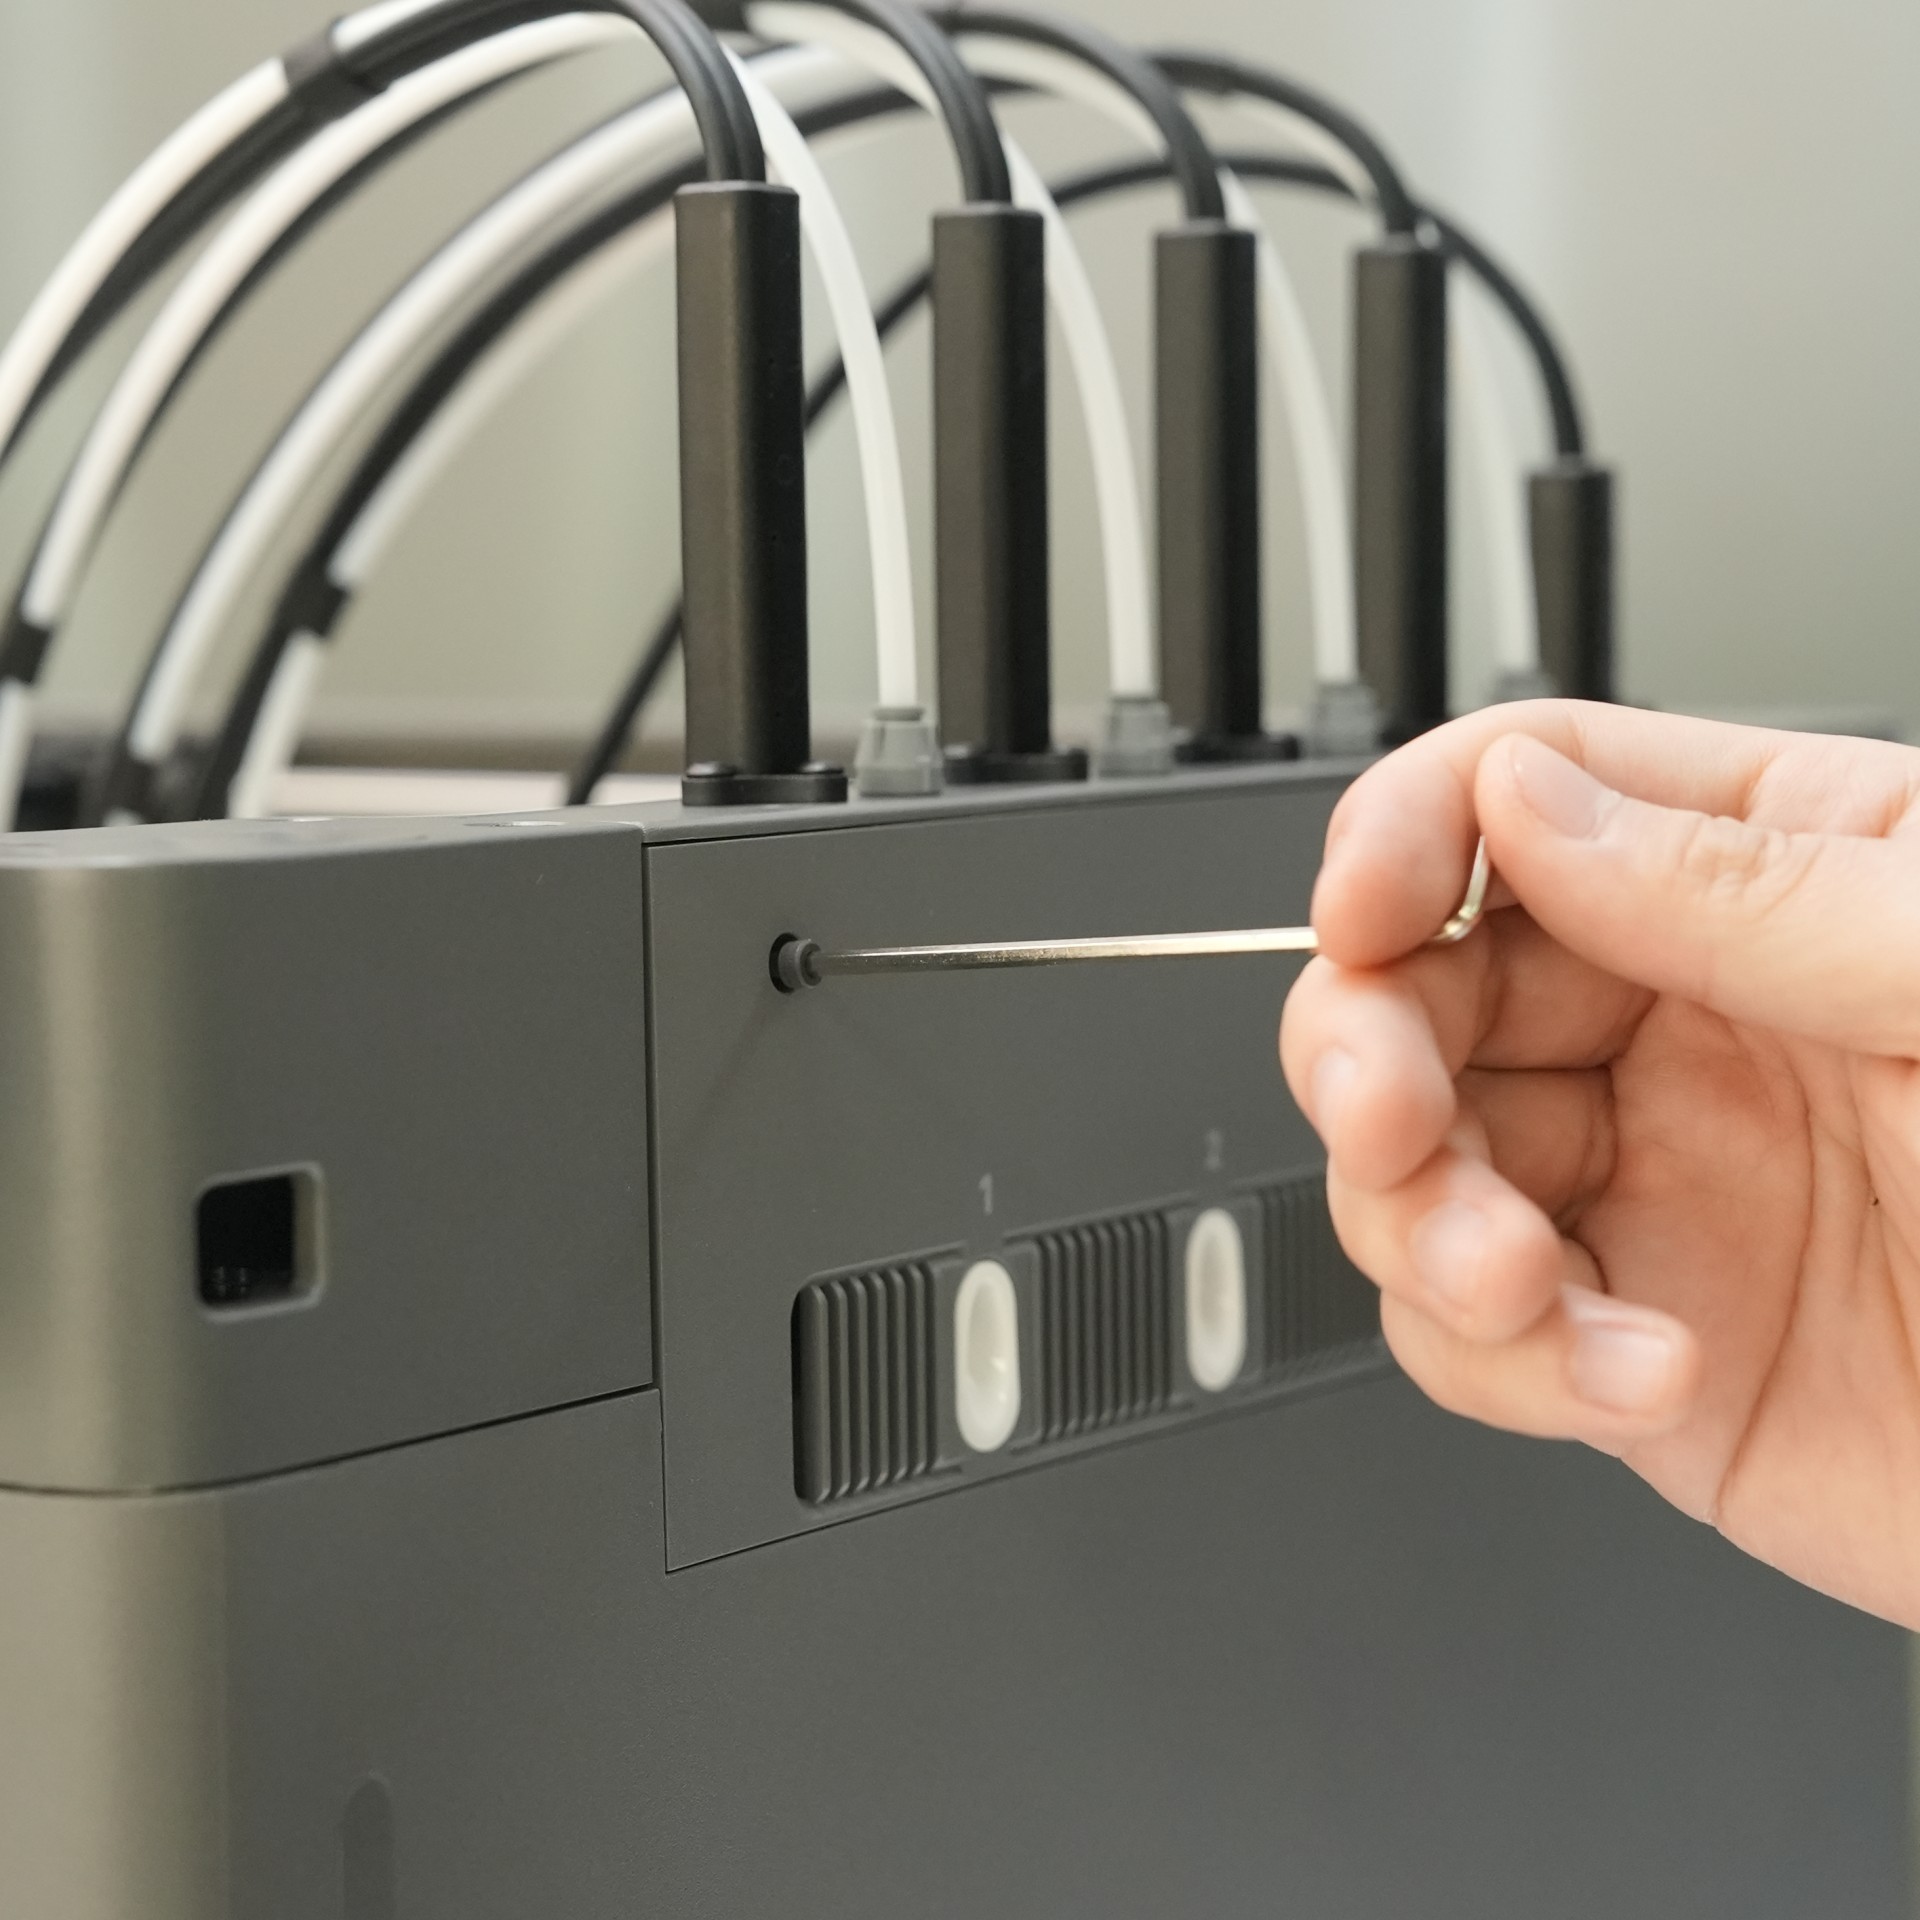
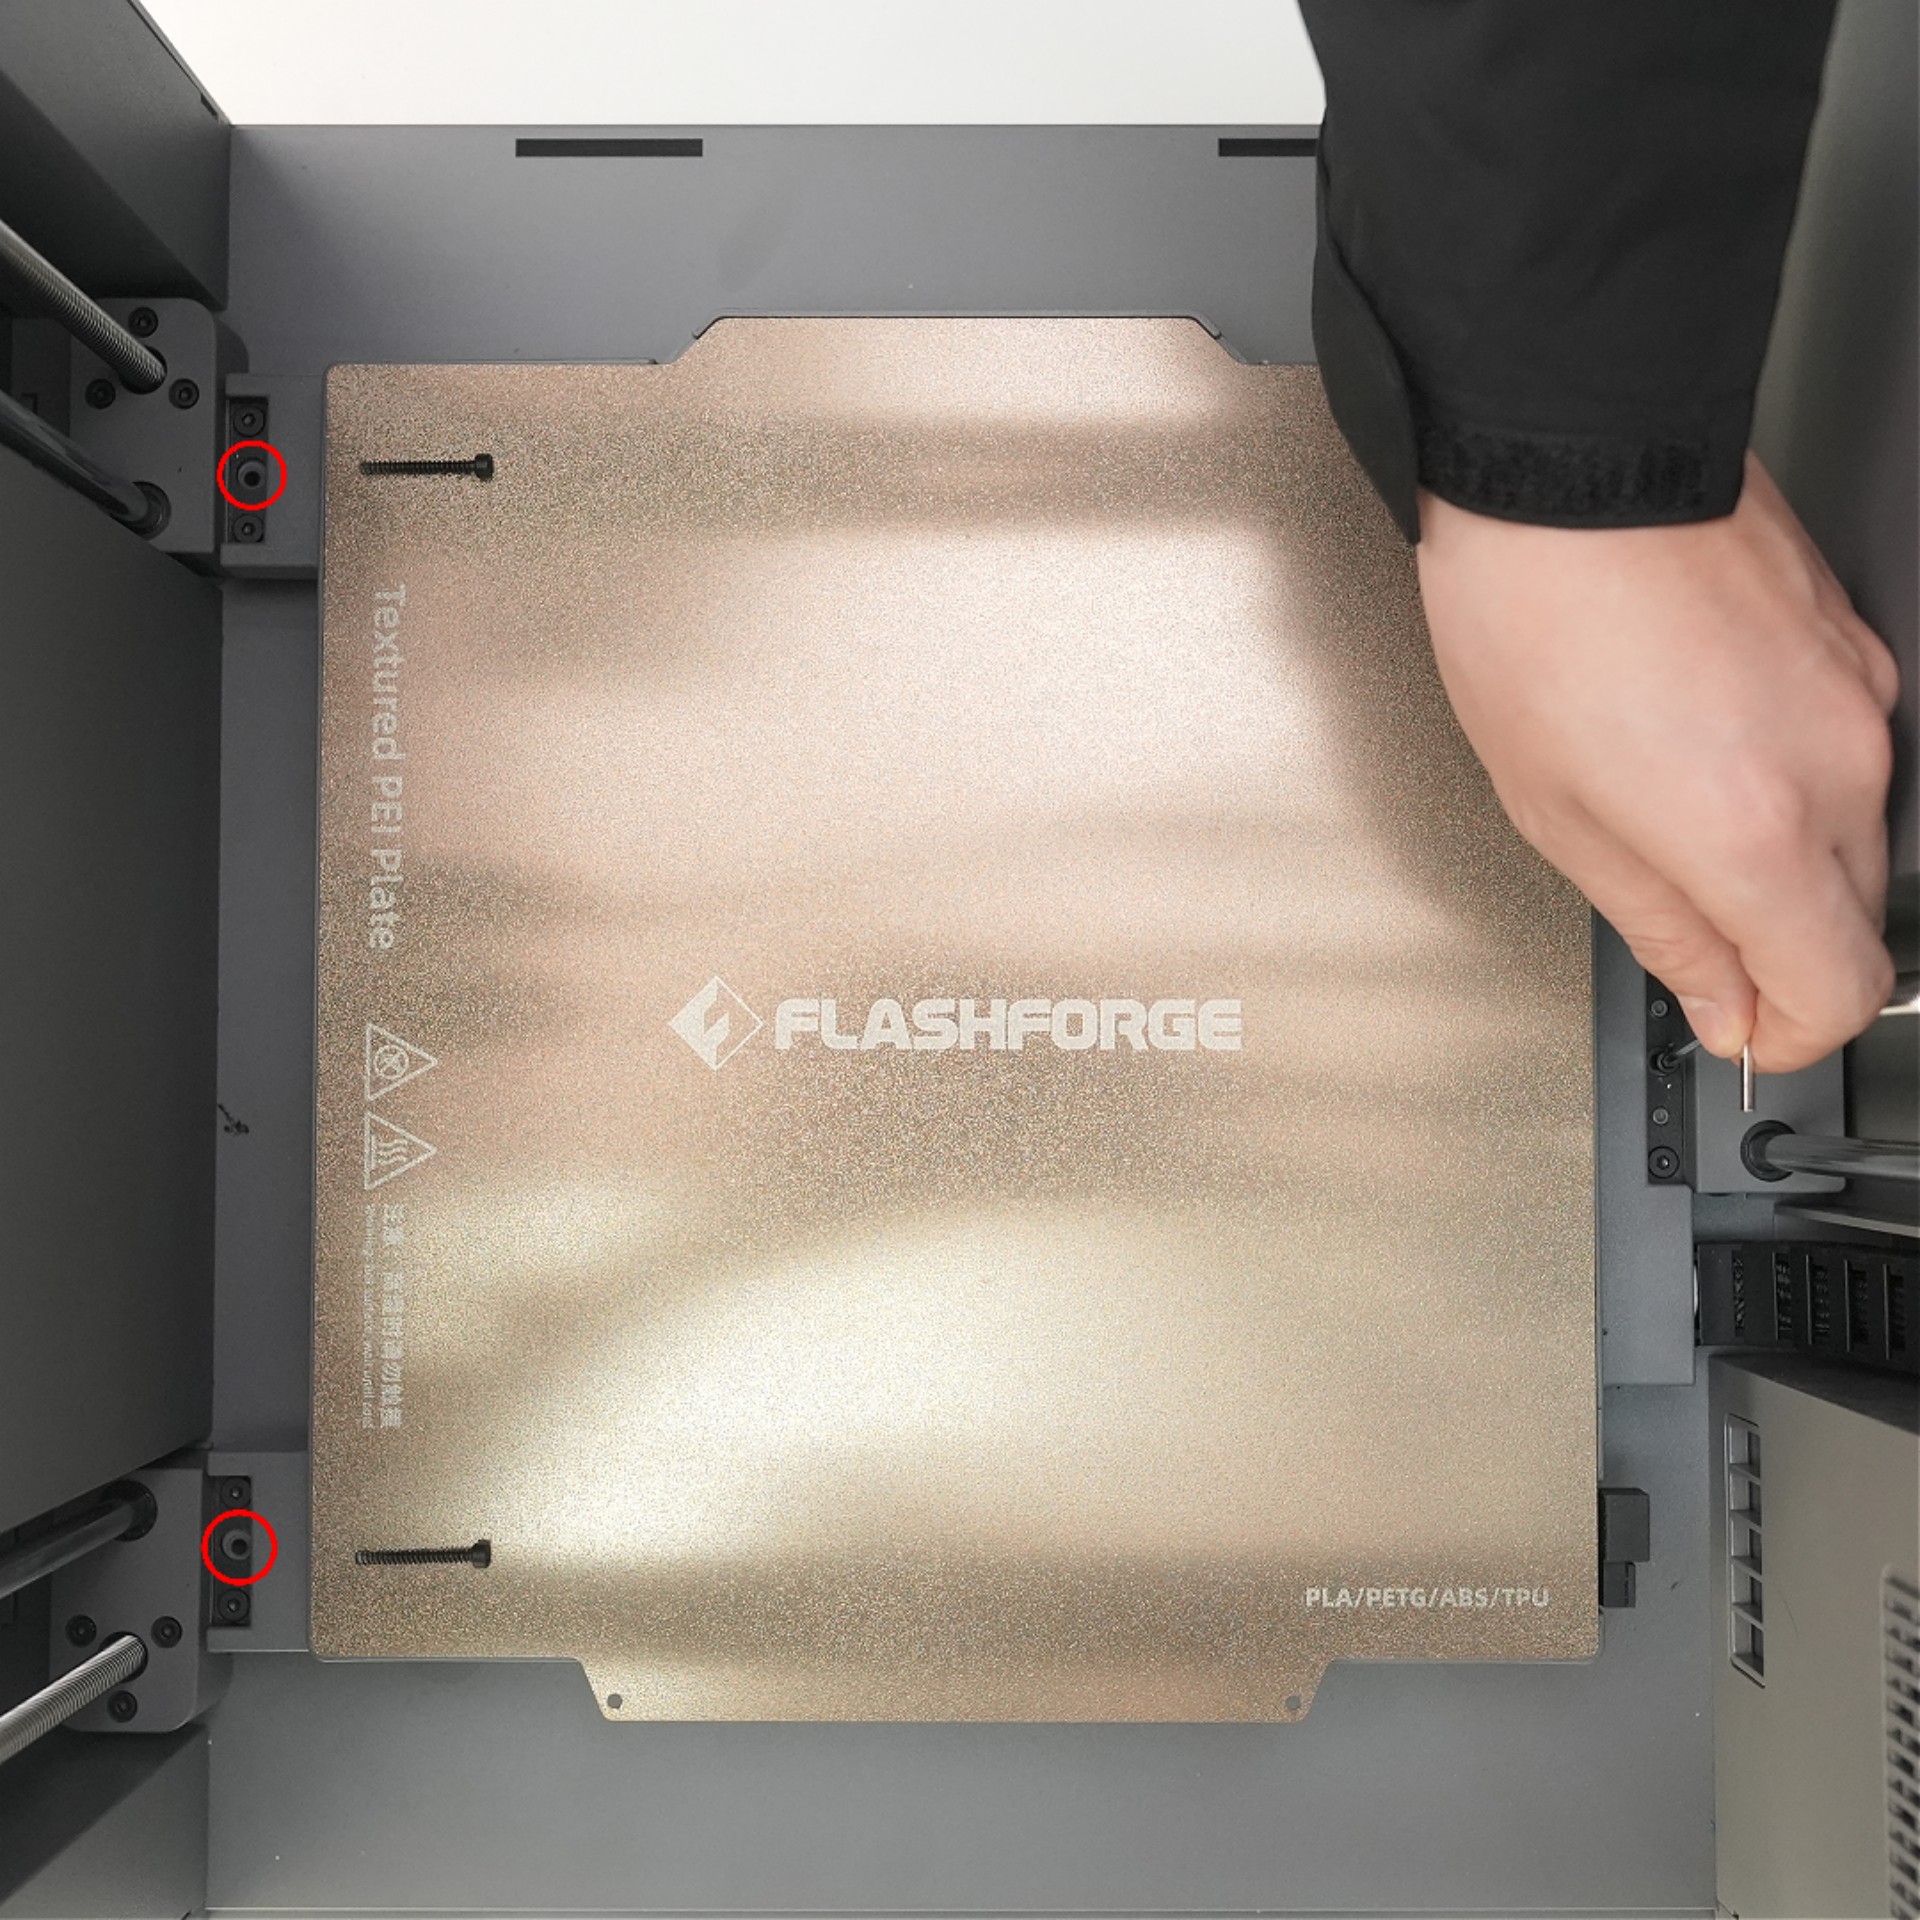
¶ Step 6: Unlock the Print Bed
Use a 2.5mm Allen wrench to remove the securing screws indicated by the arrows to unlock the print bed.
¶ Step 7: Install the Spool Holder
Remove the spool holder stickers. Insert a spool holder into the mounting hole on the right side of the printer as shown, and secure it with one M3×16 screw.
Repeat this process to install the remaining three spool holders.
(Note: Install the spool holders facing outward to prevent interference with filament feeding.)

Unboxing is completed.
¶ Unboxing Video
View our full Unboxing Video for creator 5.
https://www.youtube.com/watch?v=K4zkyfqSsig