¶ Initial Printer Setup
Now that you have unboxed your Creator 5 printer,follow these steps to set up the printer for the first time.
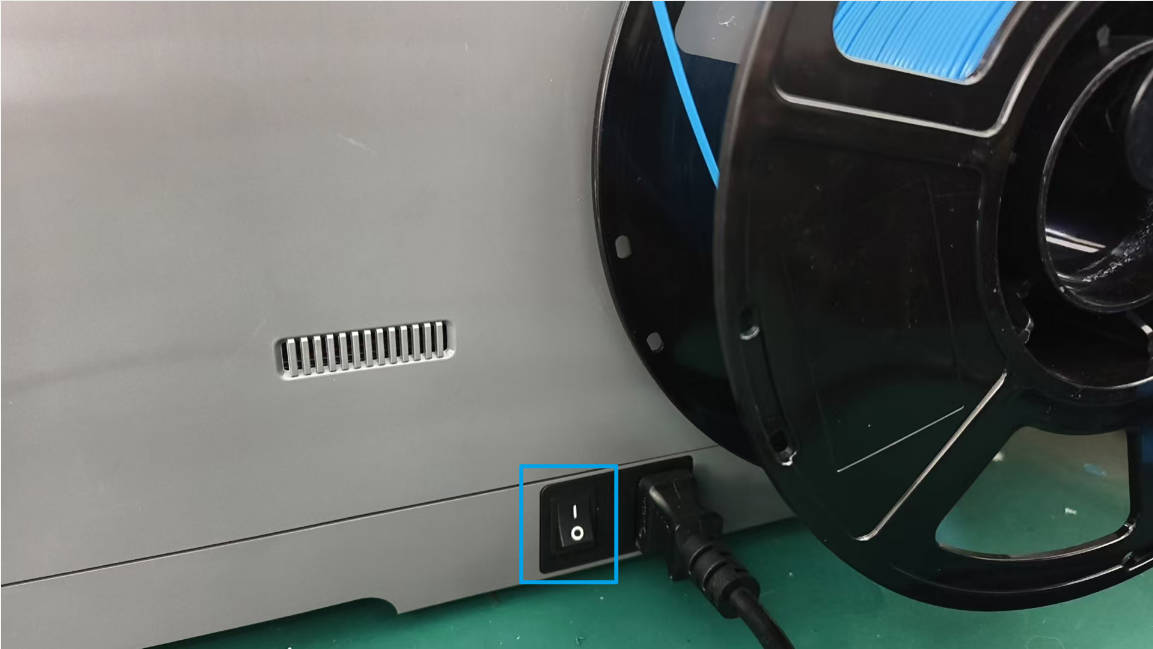
1.Connect the power cord and turn on the power switch. Wait for the printer to initialize and the screen to power on.
2.Select your preferred language and tap [Next].

3.Connect to Wi-Fi
①The printer will automatically enable Wi-Fi and scan for available networks.
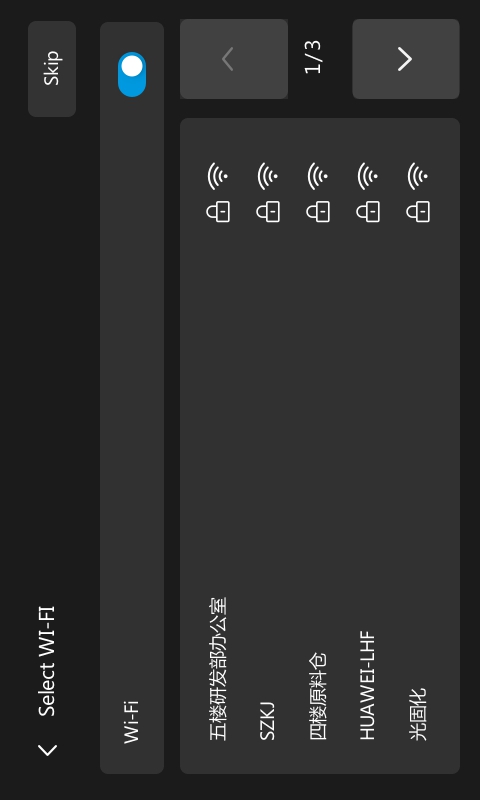
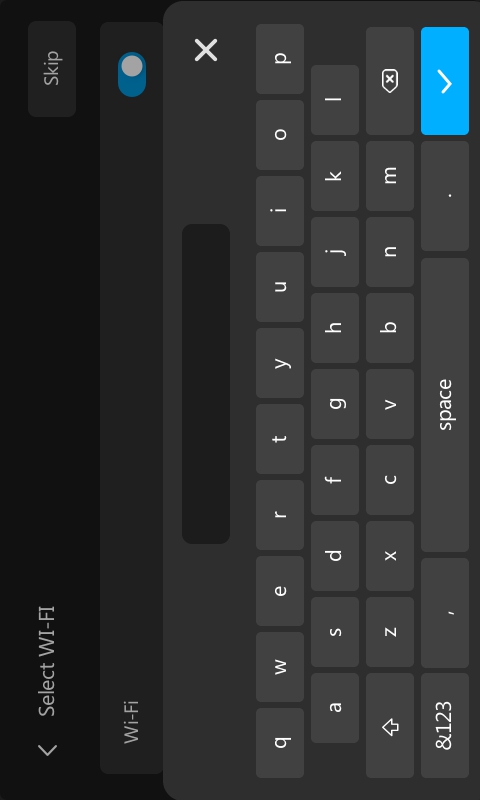
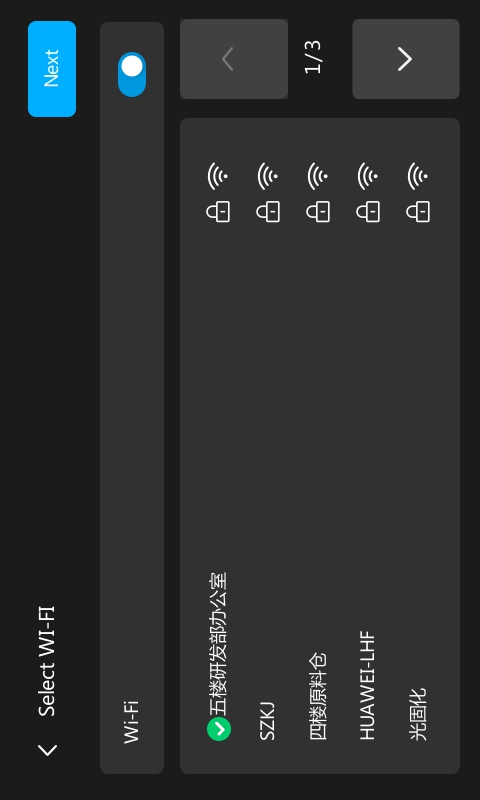
②Select your Wi-Fi network and enter the password.(Choose a network with a strong signal to ensure optimal performance.)
③Once connected, tap [Next].
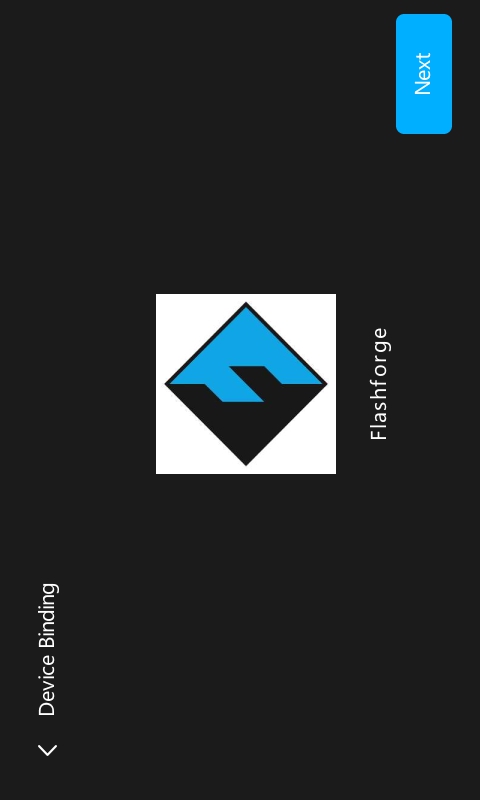
4.Connect your printer to the Flash Studio app. Alternatively, tap Skip to continue to the initial calibration.
①Use Flash Studio to scan the QR code on the printer screen to bind the printer to your account.

②Once the binding is successful, tap [Next].
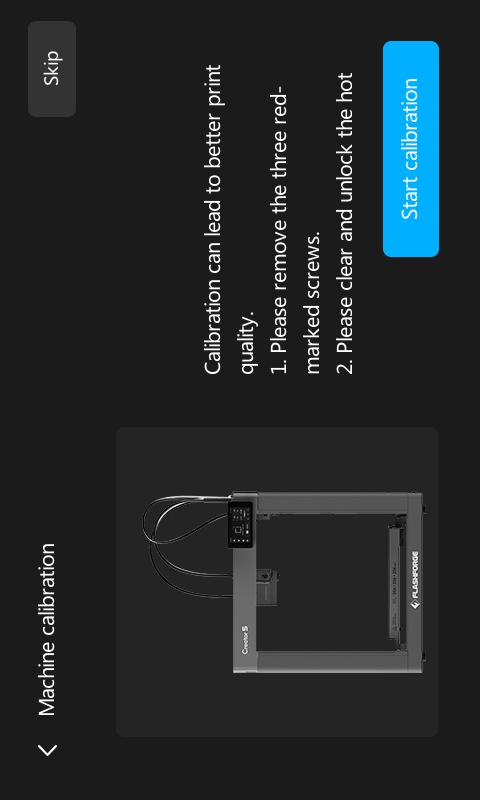
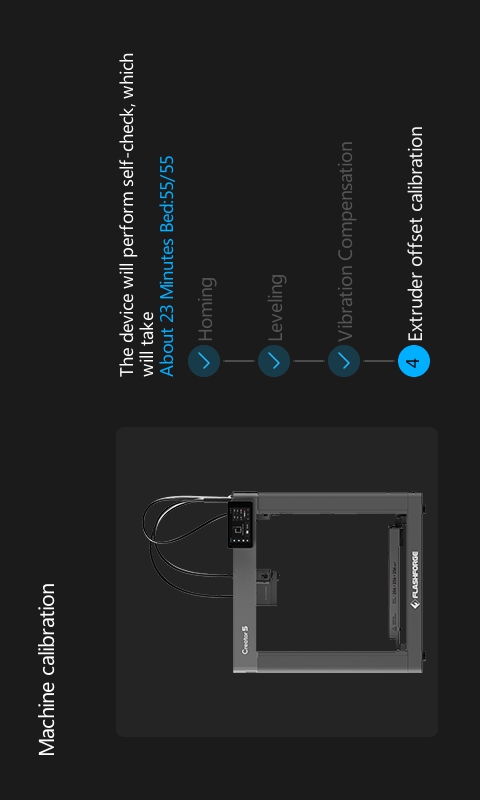
5.Proceed with the initial calibration. Alternatively, tap Skip to enter the Home Screen (not recommended; calibration is essential for print quality).
①Tap [Start Calibration] to begin leveling and vibration compensation.
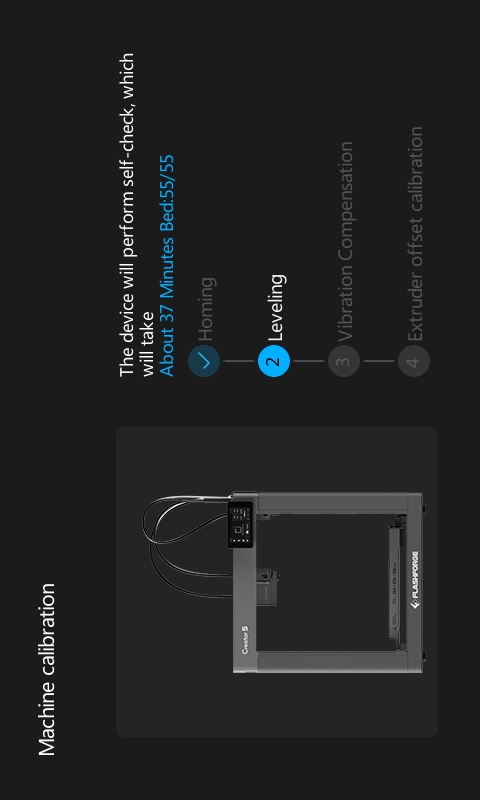
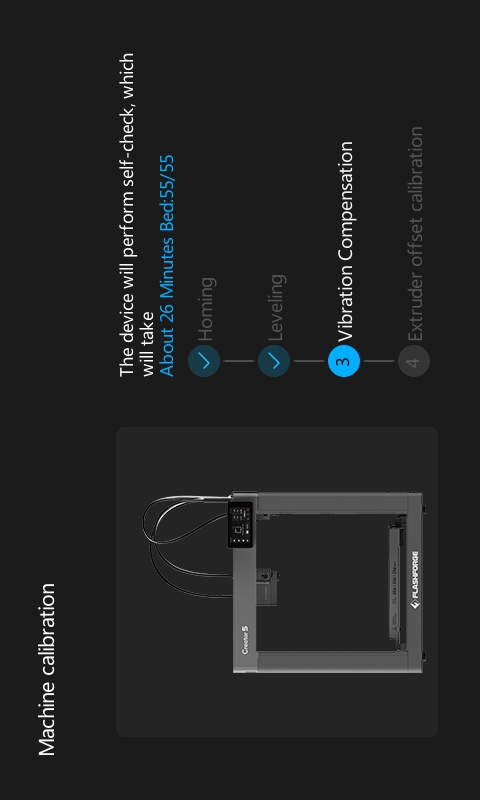
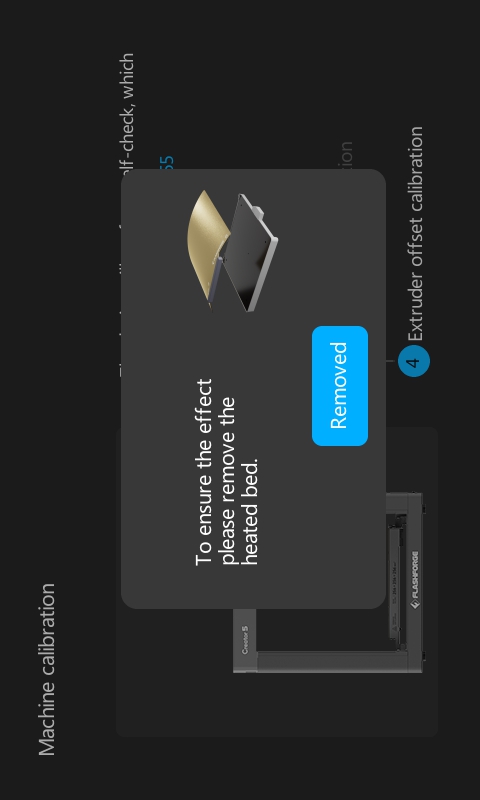
②Once leveling vibration compensation are complete, remove the build plate from the heatbed. Tap [Removed] to start the nozzle offset calibration.
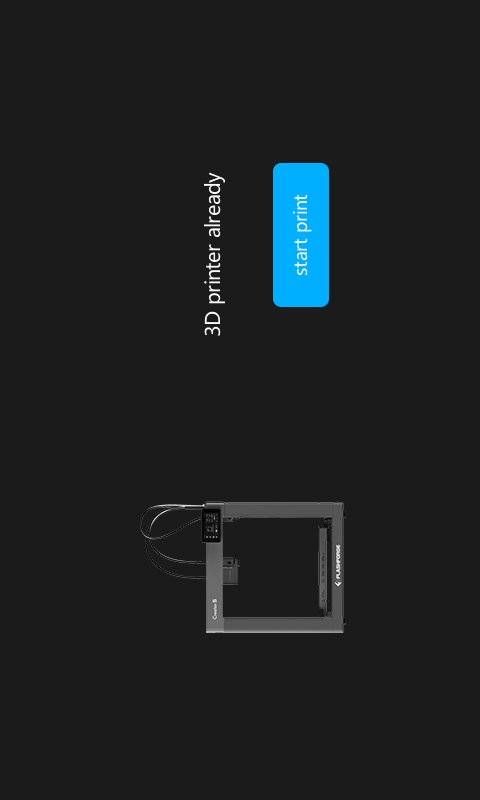
6.Tap [Start Print] to finish the initial setup.
For more detailed steps, please download and read the creator_5_quick_start_guide-pdf