Models printed from a USB drive or sent remotely via Flash Studio are automatically saved to the printer's internal storage.
¶ Printing 3mf file from Internal Storage
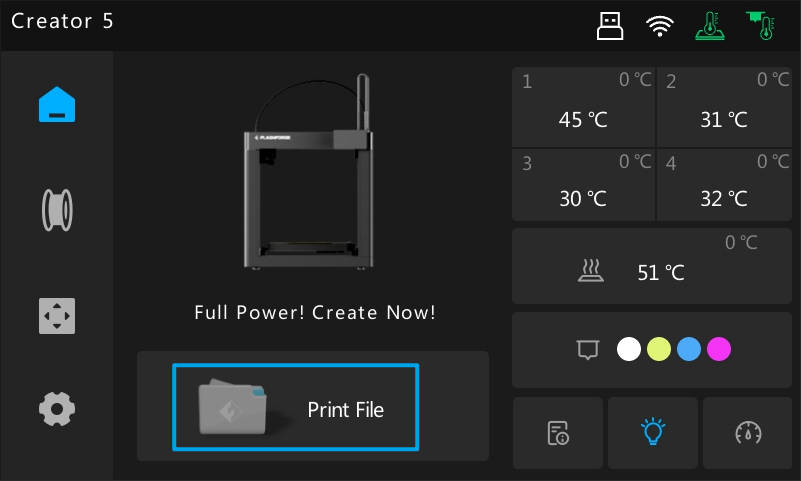
1.Tap [Print File] on the Home Screen.
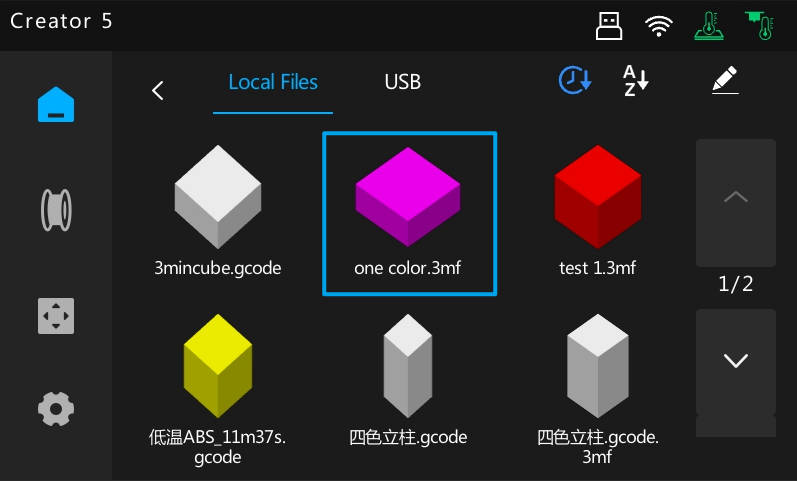
2.Select a model to print from Local Files, such as "one color.3mf".
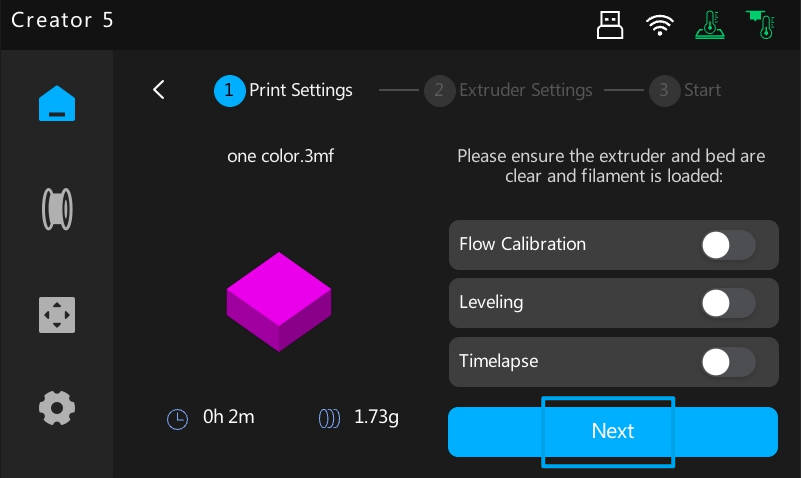
- In Print Settings, you can toggle Flow Calibration, Leveling, or Timelapse on or off. Tap [Next] to proceed to Extruder Settings.
- In Extruder Settings, assign each extruder to the filament used in the sliced file. While the colors can differ, the filament types must match exactly. Once all extruders are configured, tap [Print] to start.
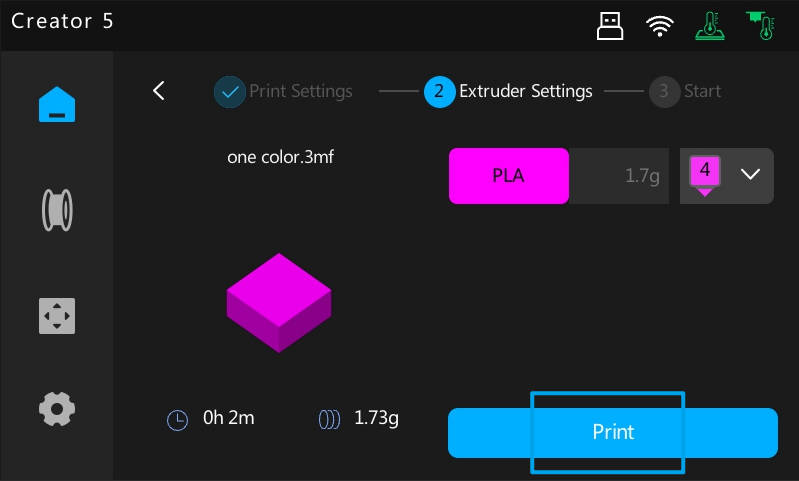
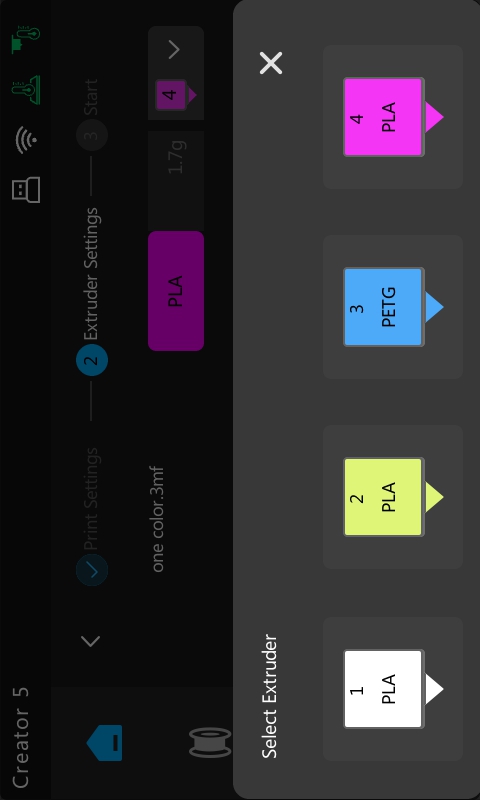
Selecting an extruder (Extruders 1, 2, and 4 are compatible)

Mismatch alert when selecting Extruder 3
5.Once printing starts, the printer automatically executes the startup sequence, including homing, preheating, and loading filament.
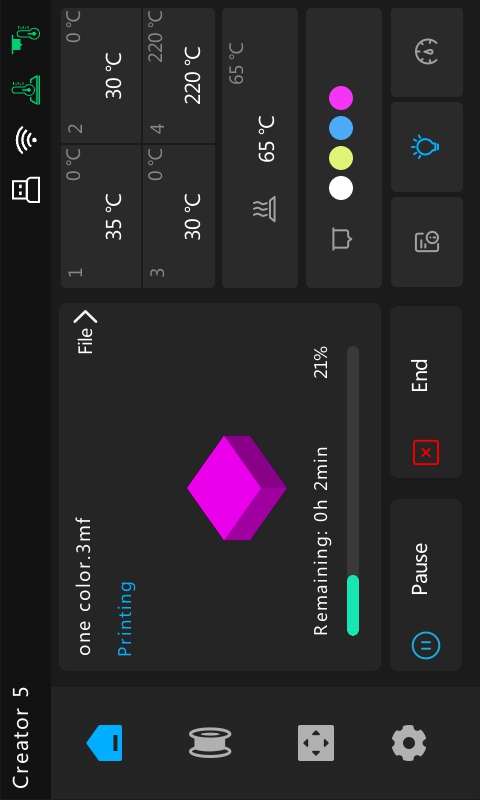
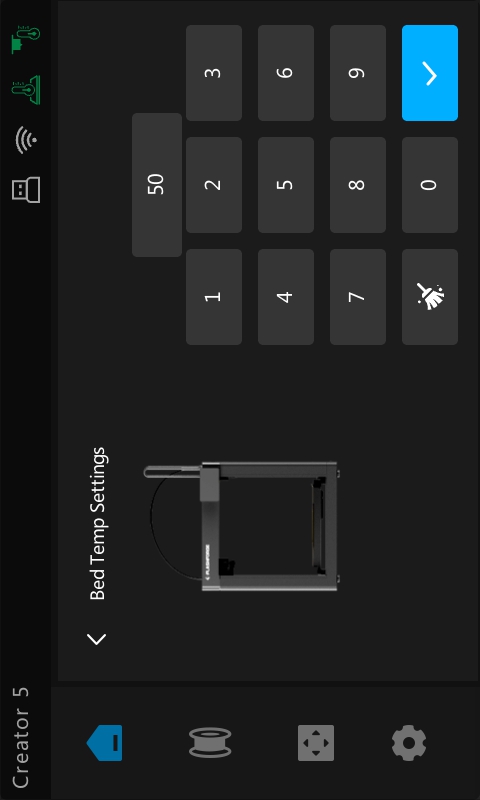
6.Extruder and heatbed temperatures can be adjusted in real-time during the print.

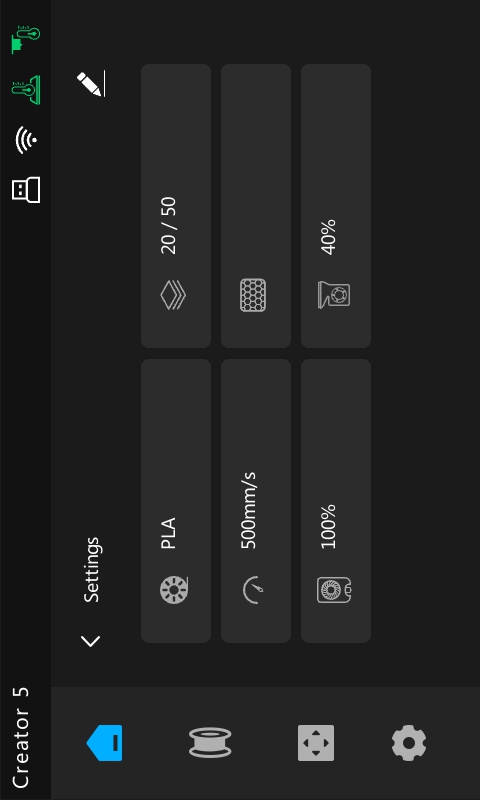
You can also adjust the speed of the Part Cooling Fan and the Auxiliary Cooling Fan in Settings.
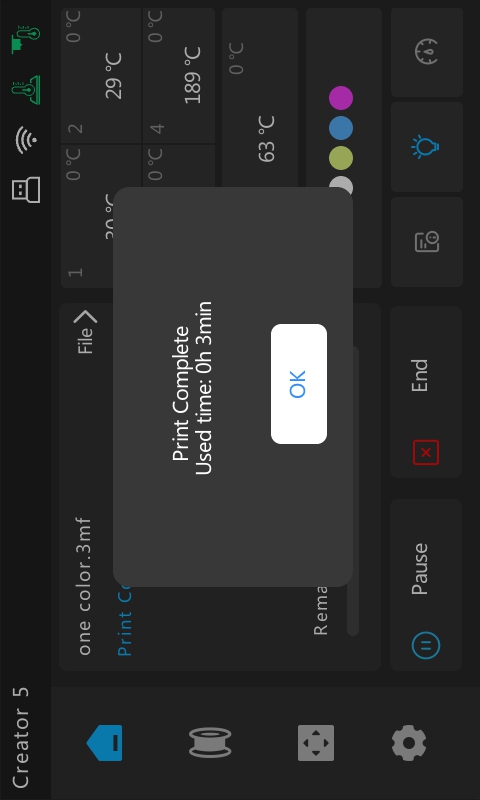
7.Upon completion, a pop-up will display the total elapsed time.
8.Once the build plate has cooled to room temperature, remove it from the printer. Gently flex the plate to remove the model.
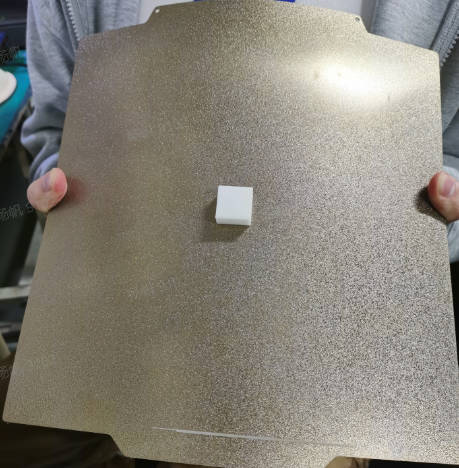
Note: If the model warps or shifts during printing, simply remove the oil film and dirt from the PEI board surface with alcohol or a cleaning agent to restore adhesion. If you find that the PEI board still cannot stick to the model after cleaning, it is recommended to apply glue or replace the PEI board.
¶ Printing gcode file from Internal Storage
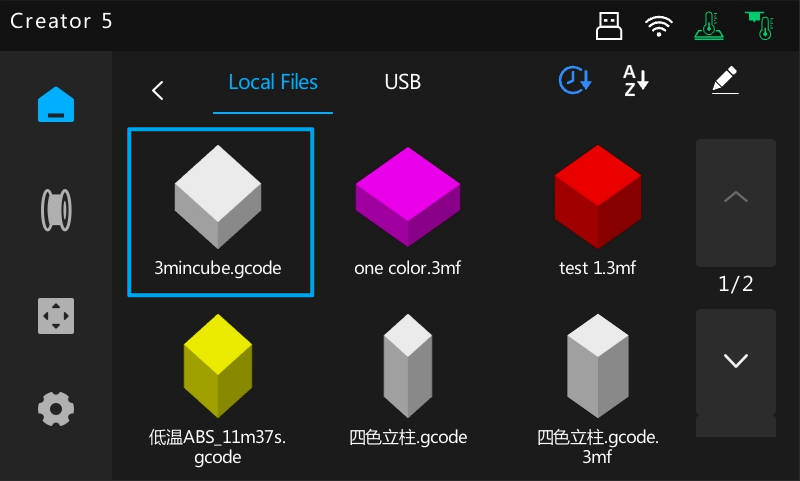
1.Click the "Print File" button on the main interface.
2.In the local file interface, select the model you want to print, such as "3min.gcode".
- In the print settings interface, you can choose whether to perform flow calibration, leveling, and time-lapse photography. Click the "Print" button to start printing directly.
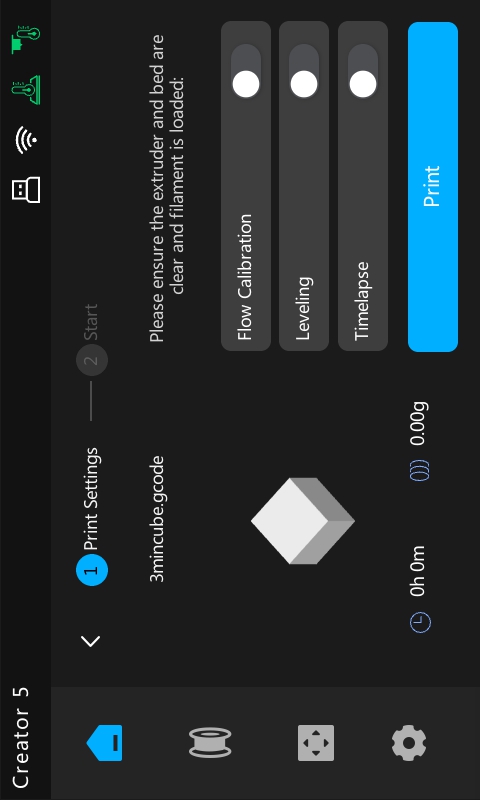
Note: The gcode file does not allow printhead selection. The printer will automatically match the printhead with the filament number in the slice file. For example, if the slice file uses filament 1 and filament 3, then printheads 1 and 3 will be used.