Screenshots are for reference only. Actual interface may vary depending on the firmware version.
Creator 5 and Creator 5 Pro share identical calibration procedures. This guide uses the Creator 5 Pro as the reference model.
From the Home screen, tap Move & Calibrate and select Calibrate to open the calibration menu. Available options include:
- Leveling (①)
- Vibration Compensation (②)
- Extruder Offset Calibration (③)
- Extruder Position Calibration (④)
- VFA Vertical Stripe Compensation (⑤)
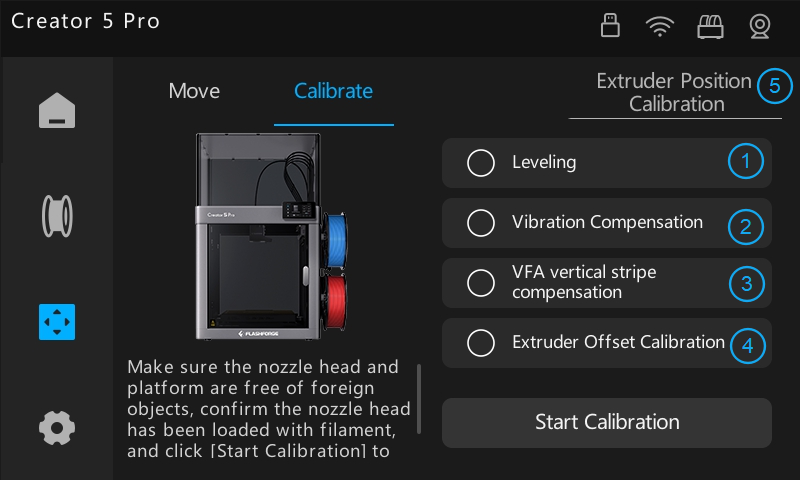
Review the following sections for detailed instructions on each calibration option.
¶ Bed Leveling
Ensure the build plate is properly installed on the heatbed before starting this calibration.
Select Leveling and tap Start Calibration to initiate the automatic leveling process.
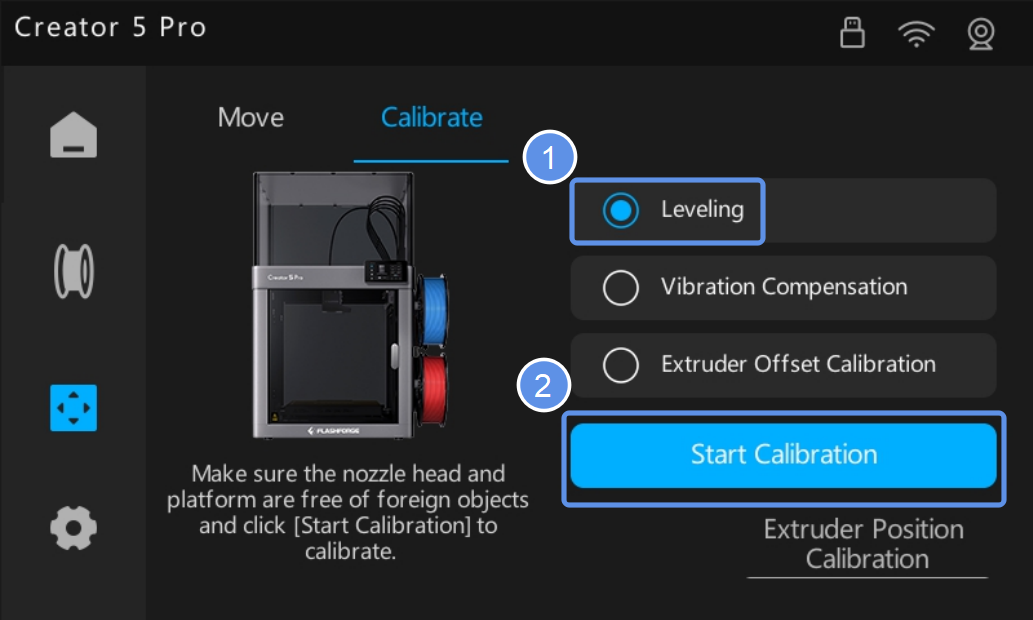
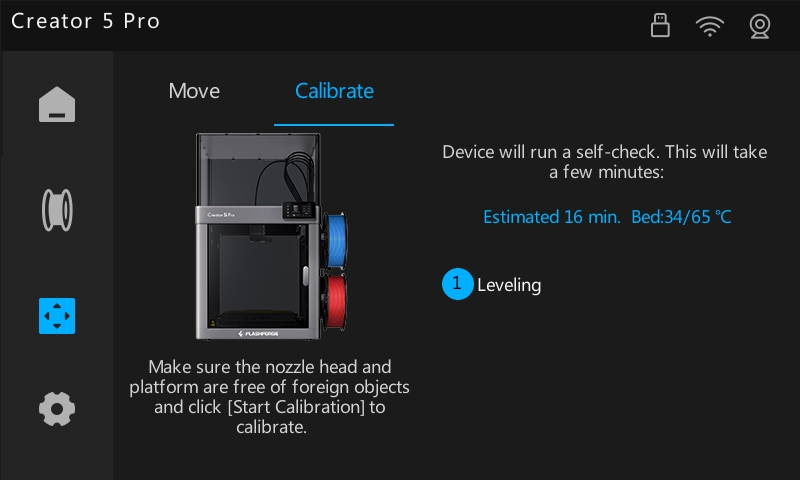
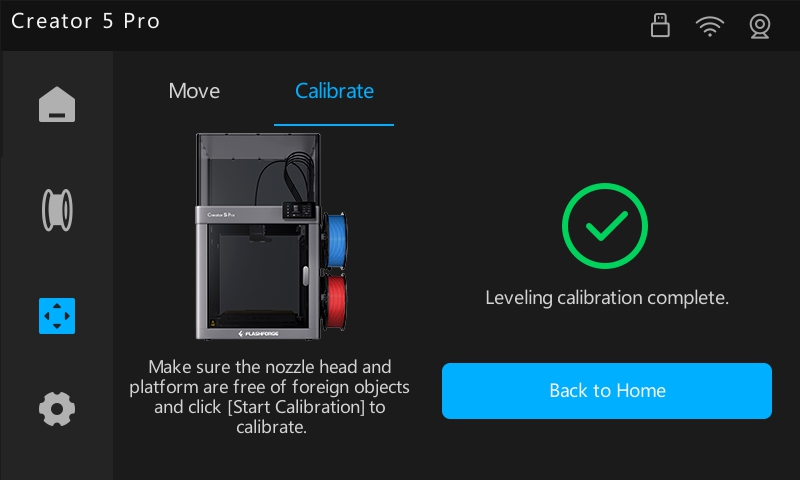
To ensure data accuracy, the heatbed will maintain the target temperature for 5 minutes before executing the 10×10 mesh leveling sequence (100 points in total). The screen will display "Leveling calibration complete" once the process is complete.
| Calibration Started | Calibration Complete |
|---|---|
 |
 |
¶ Vibration Compensation
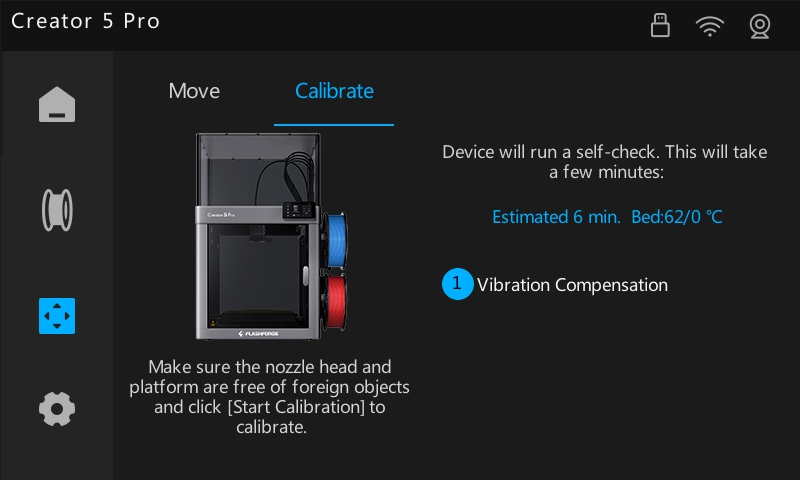
Select Vibration Compensation and tap Start Calibration to initiate the automatic tuning process.
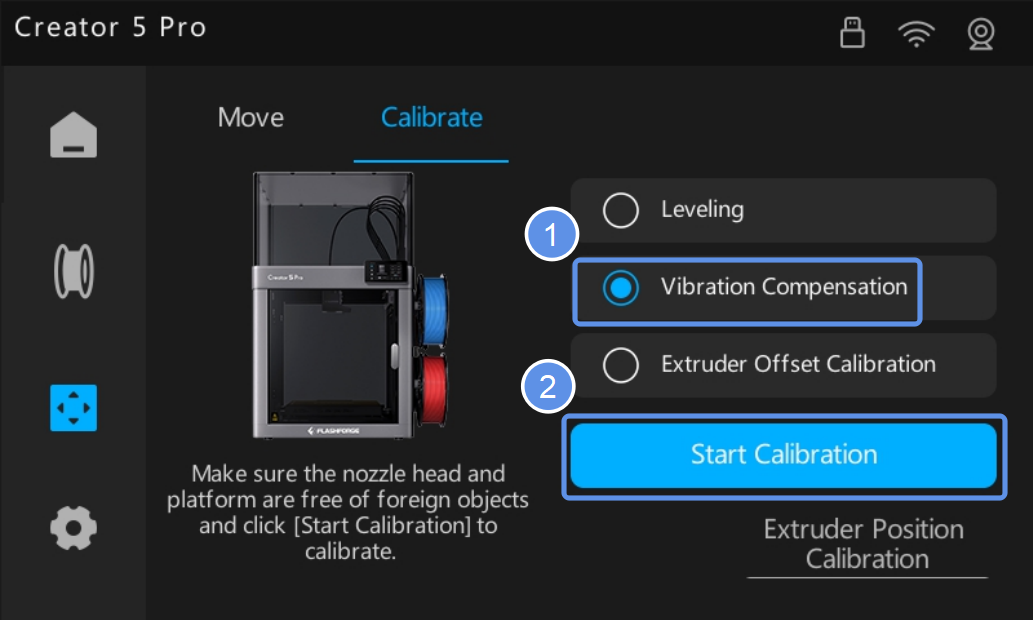
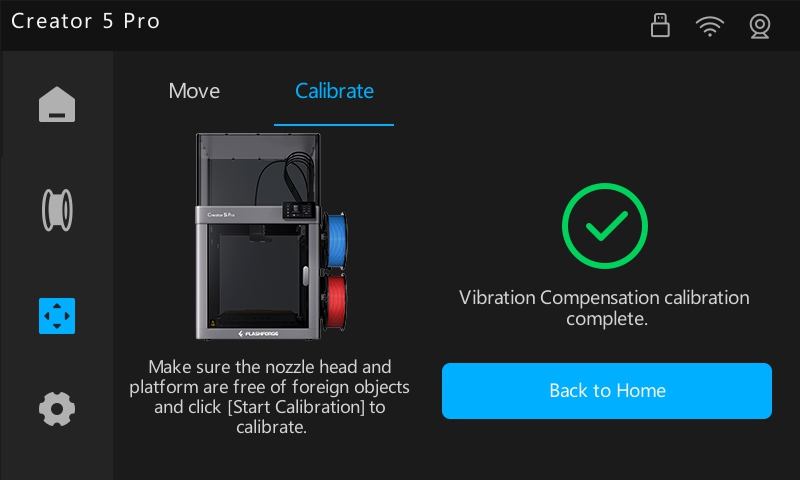
The screen will display "Vibration Compensation calibration complete" once the process is complete.
| Calibration Started | Calibration Complete |
|---|---|
 |
 |
¶ VFA Vertical Stripe Compensation
Requires firmware v1.9.6 or later.
Vertical Fine Artifacts (VFAs) are fine vertical line patterns that appear on the print surface. They are typically caused by micro-vibrations and motion inconsistencies resulting from factors such as mechanical resonance, belt tension, or stepper motor uneven torque, which can affect the surface finish.
This calibration uses algorithms to compensate for torque unevenness during motor rotation, smoothing motion output and reducing periodic vertical lines on the print surface.
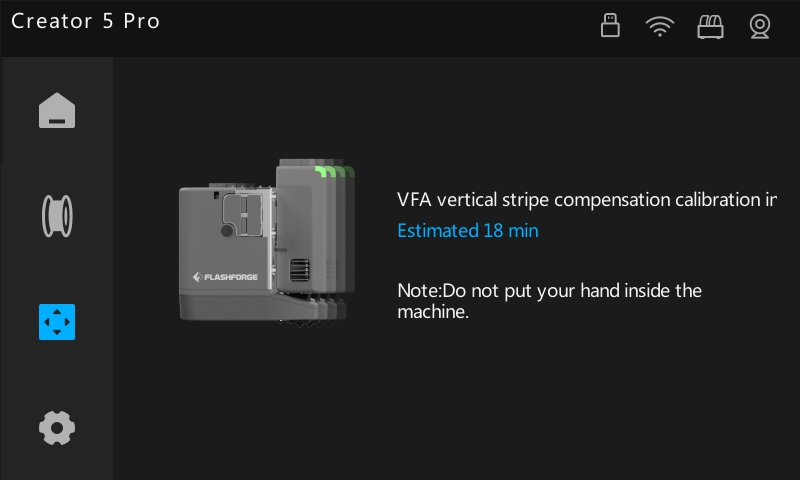
Select VFA vertical stripe compensation and tap Start Calibration to initiate the process.
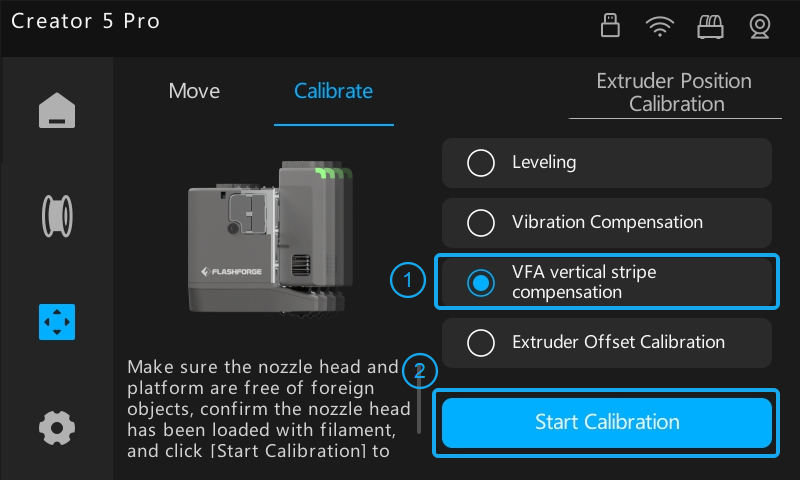
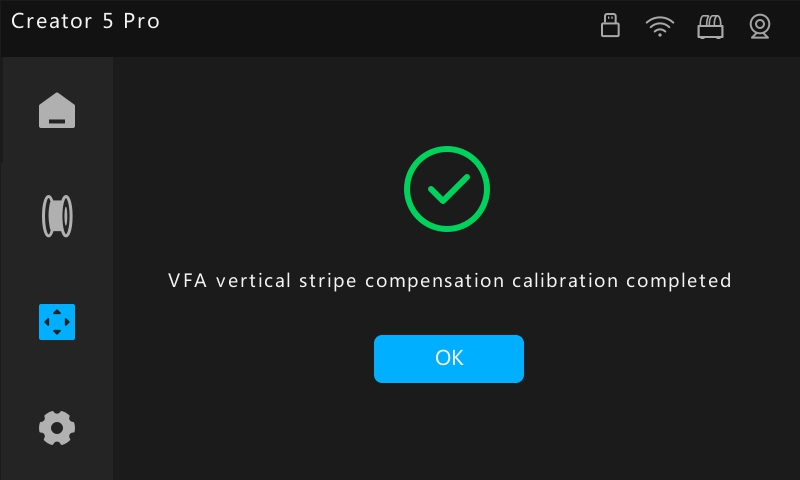
The screen will display "VFA vertical stripe compensation calibration complete" once the process is complete.
| Calibration Started | Calibration Complete |
|---|---|
 |
 |
¶ Extruder Offset Calibration
Remove the build plate from the heatbed before starting this calibration.
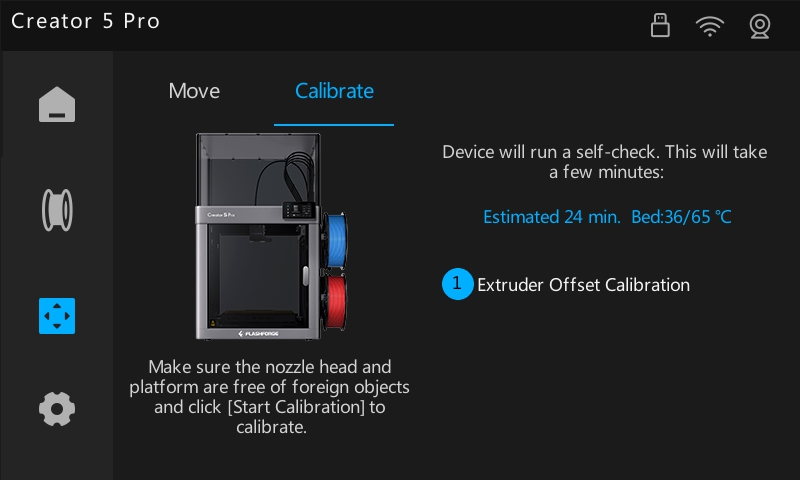
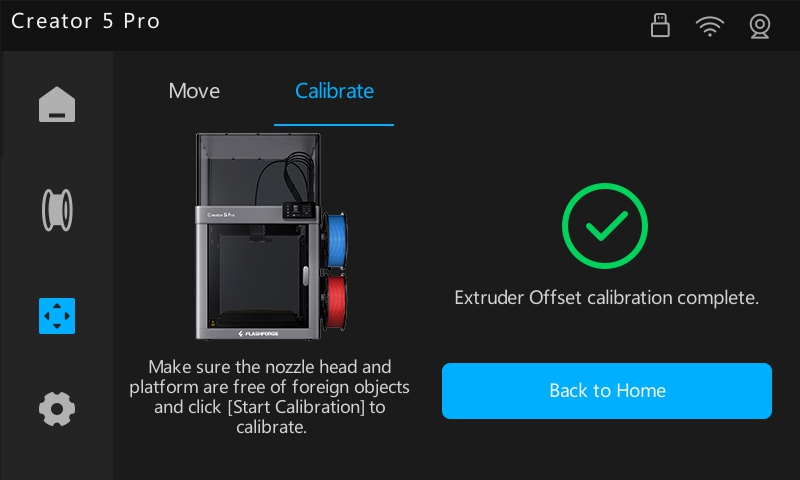
Select Extruder Offset Calibration and tap Start Calibration. The printer will automatically calibrate the offset values for all four extruders in sequence.
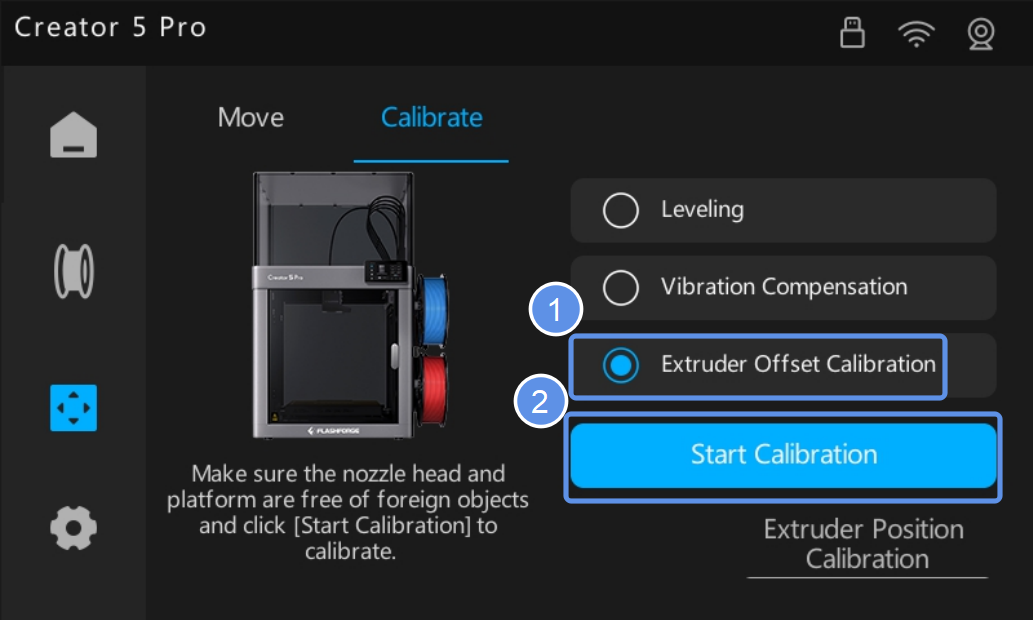
To ensure data accuracy, the heated bed will maintain the target temperature for 5 minutes. The screen will display "Extruder Offset calibration complete" when the process is complete.
| Calibration Started | Calibration Complete |
|---|---|
 |
 |
¶ Extruder Position Calibration
-
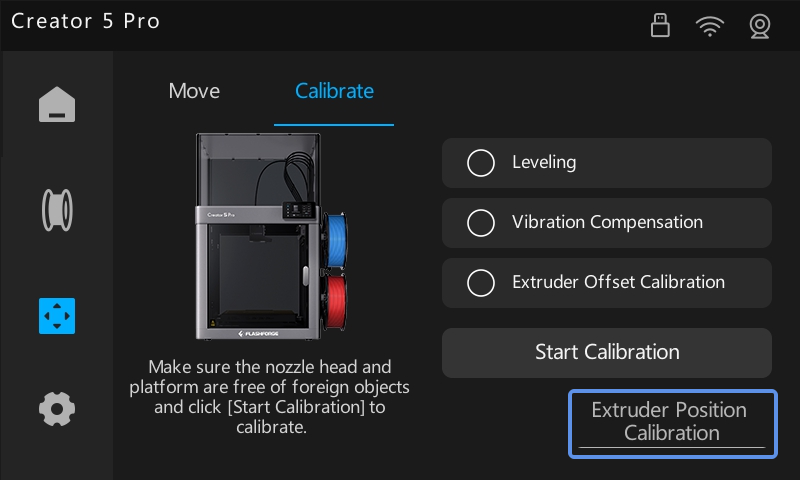
Tap Extruder Position Calibration.
-
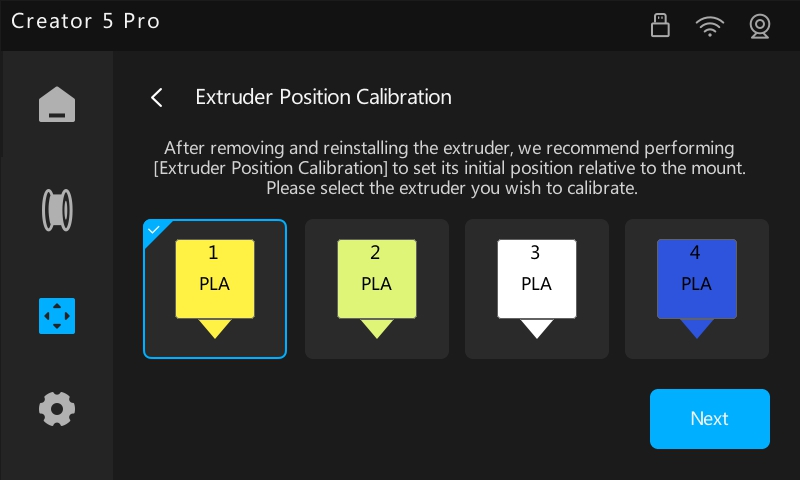
Select the extruder you wish to calibrate and tap Next.
-
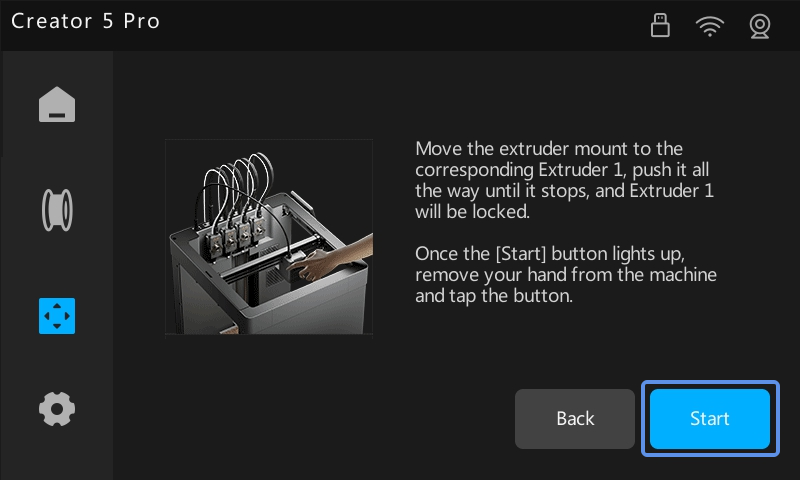
Manually move the extruder mount to the target position and push it all the way until it is seated. The extruder will automatically lock into place. The Start Calibration button will become active.
-
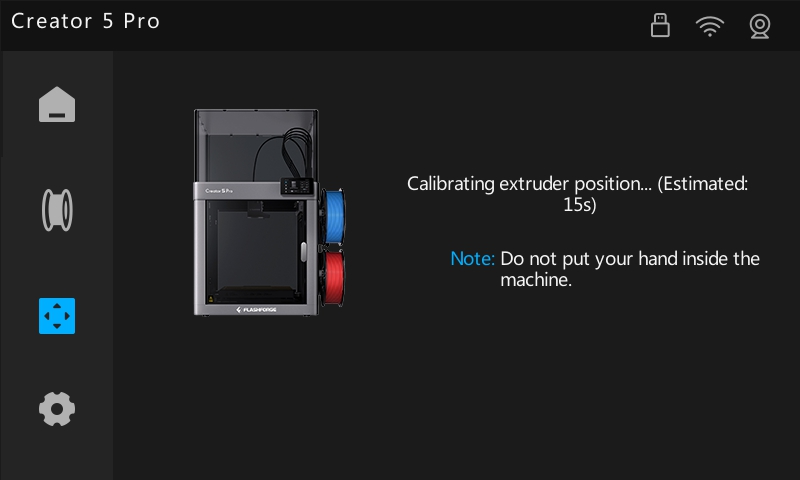
Keep hands clear of the device’s motion area, then tap Start Calibration. The printer will automatically calibrate the extruder position.
-
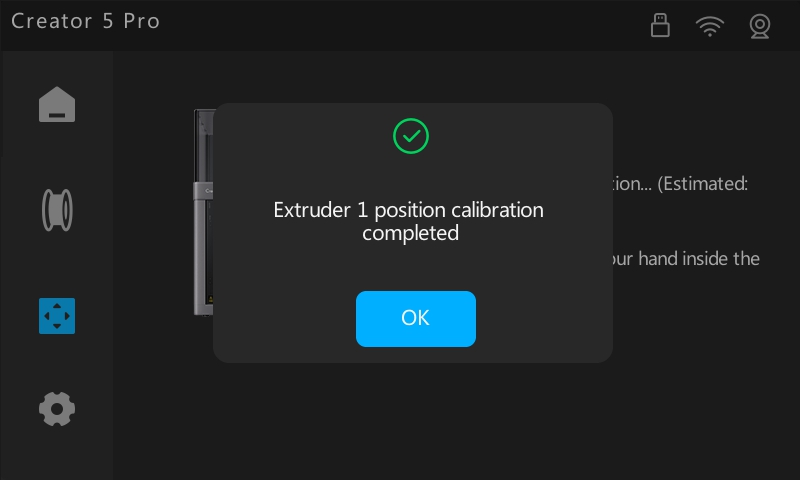
The screen will display "Extruder position calibration completed" once the process is complete.
| Calibration Started | Calibration Complete |
|---|---|
 |
 |