Welcome to Flash Studio, your control center for the Creator 5 series printers. This guide will walk you through the basics of getting started with Flash Studio.
¶ What is Flash Studio?
Flash Studio is a slicing software developed on OrcaSlicer, specifically optimized for Creator 5 series and related printer series. It offers rich features, seamless connectivity, optimized slicing algorithms, and an intuitive user interface, delivering a smooth and efficient printing experience.
¶ System Requirements
- Windows 10 or later
- macOS V10.15 or later
- Intel® Core 2 or AMD Athlon® 64 processor; 2 GHz or faster processor
- RAM: 8GB or more
- Storage: 80GB or more
¶ Download & Installation
- Download Flash Studio.
- Follow the steps below to complete the installation.
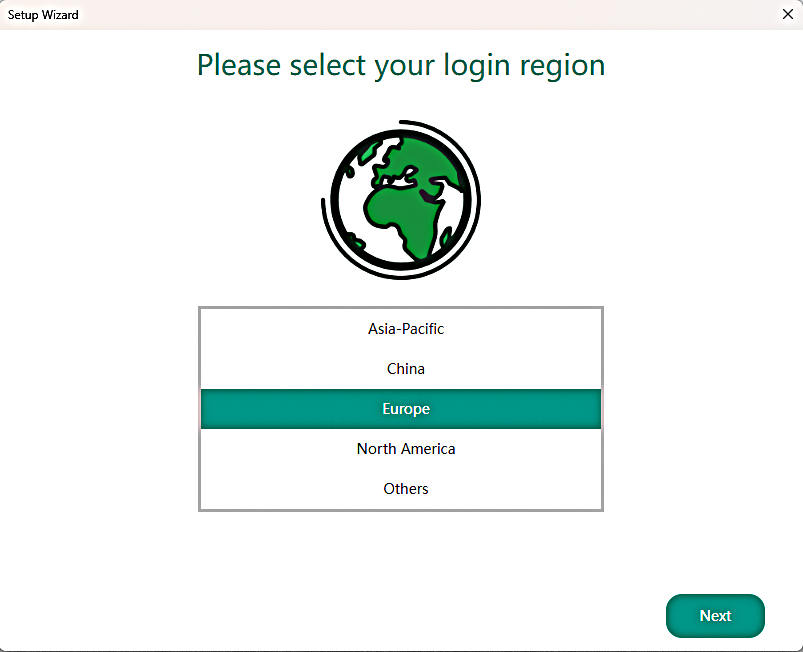
Setup Wizard - Select Your Region
Please choose your current region, for example:Europe.
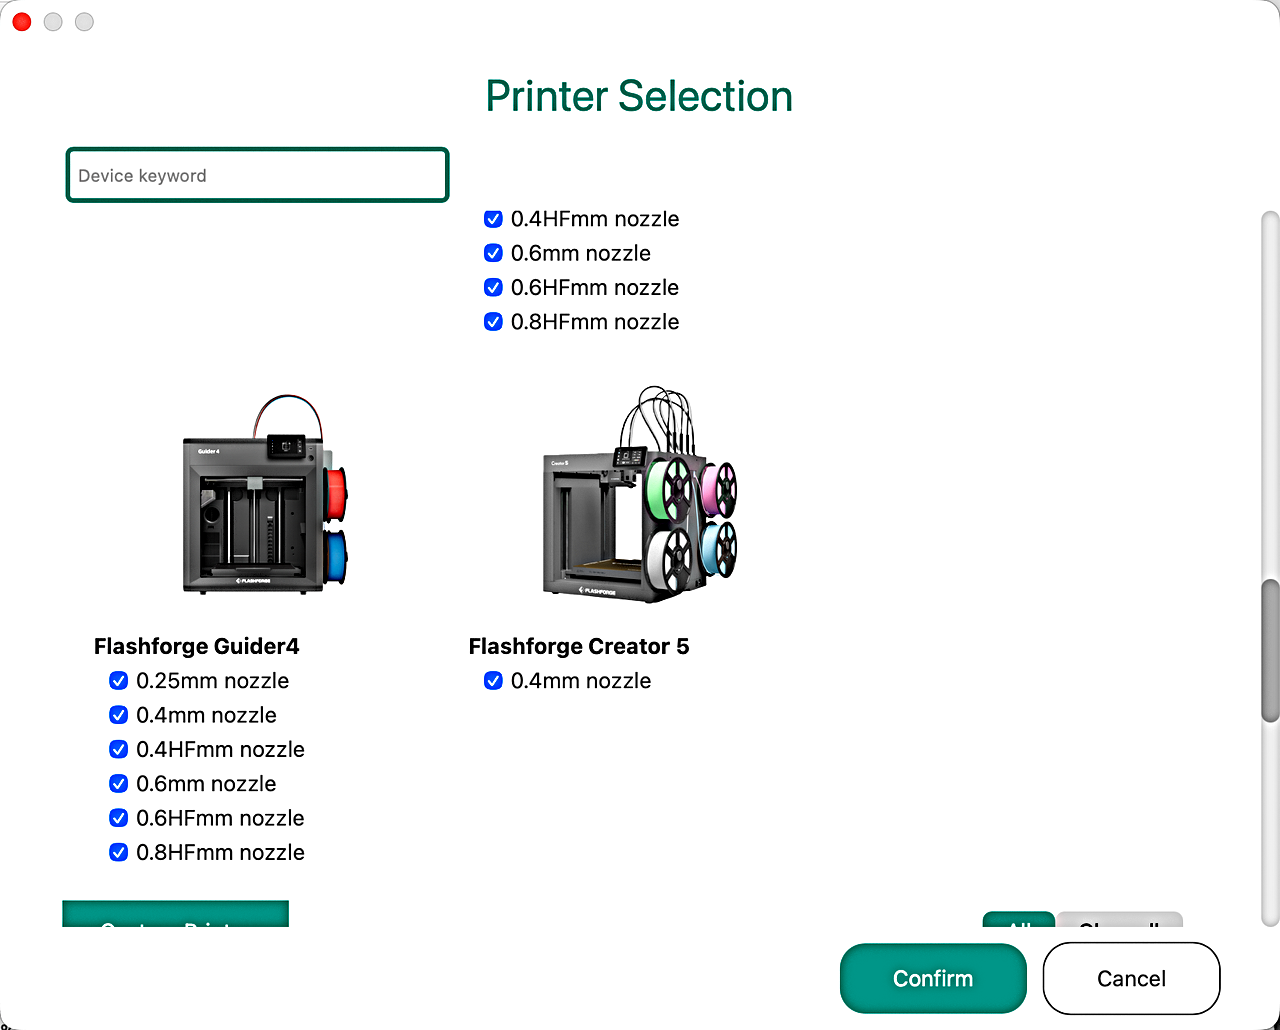
2.Select Your Printer
From the menu, choose the printer and nozzle you want to display. You may select one, several, or all available options. If you only select one nozzle size now, you can change it later from the menu.
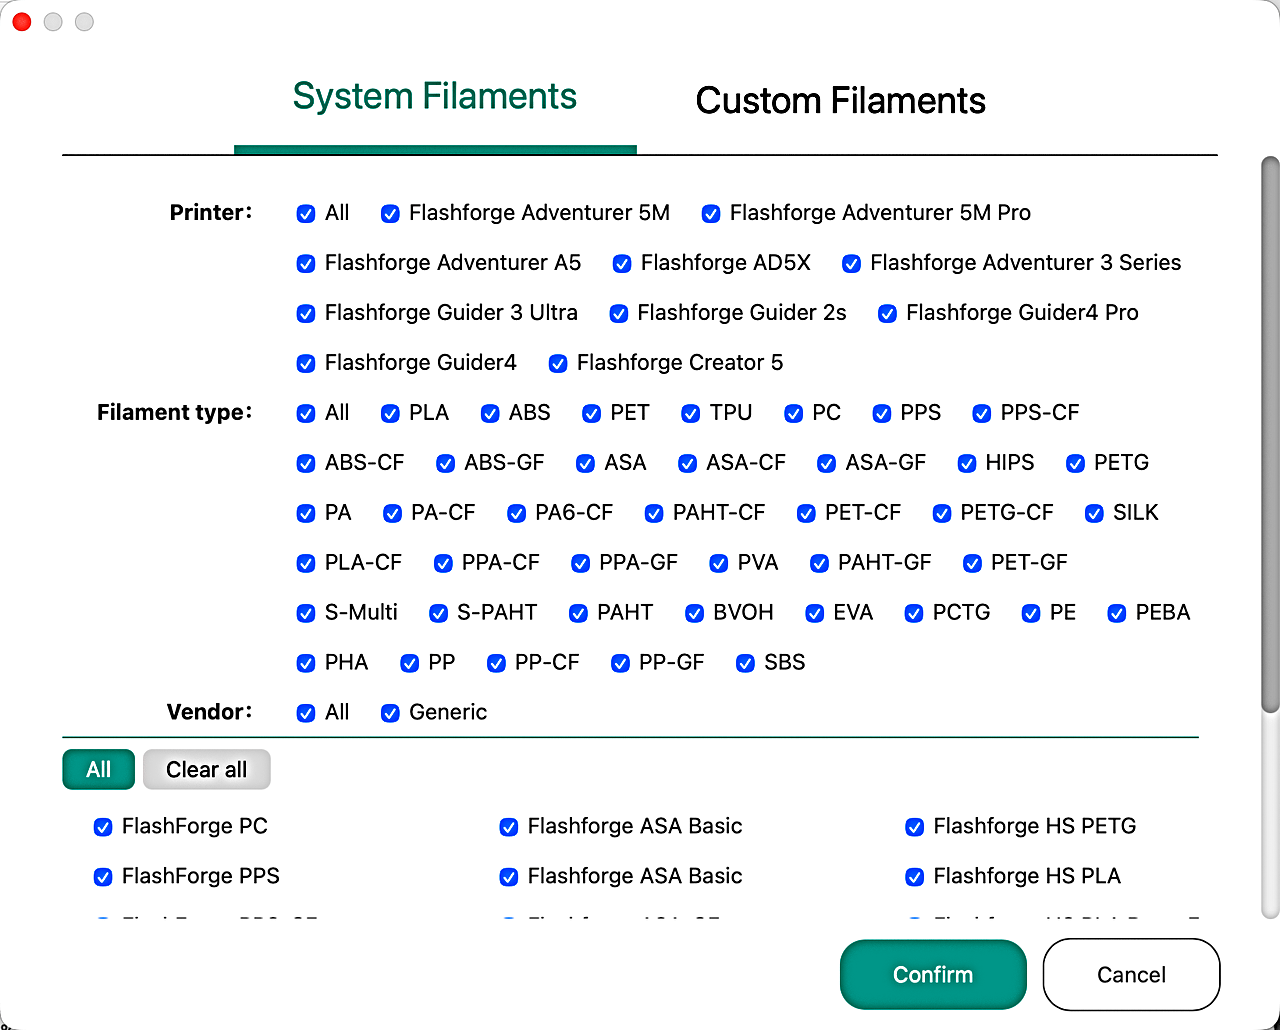
3.Select Filaments
Choose the filaments you would like to appear in the "Filament Preset List". You can select as many filaments as needed.
4、Connection & File Transfer
There are two connection modes: WAN Mode and LAN Only Mode.
- WAN Mode: Files are transferred to the printer via a cloud server.
- LAN Only Mode: Files are transferred directly over the local network, bypassing the cloud.
Connecting via WAN Mode
The printer and computer do not need to be on the same network.
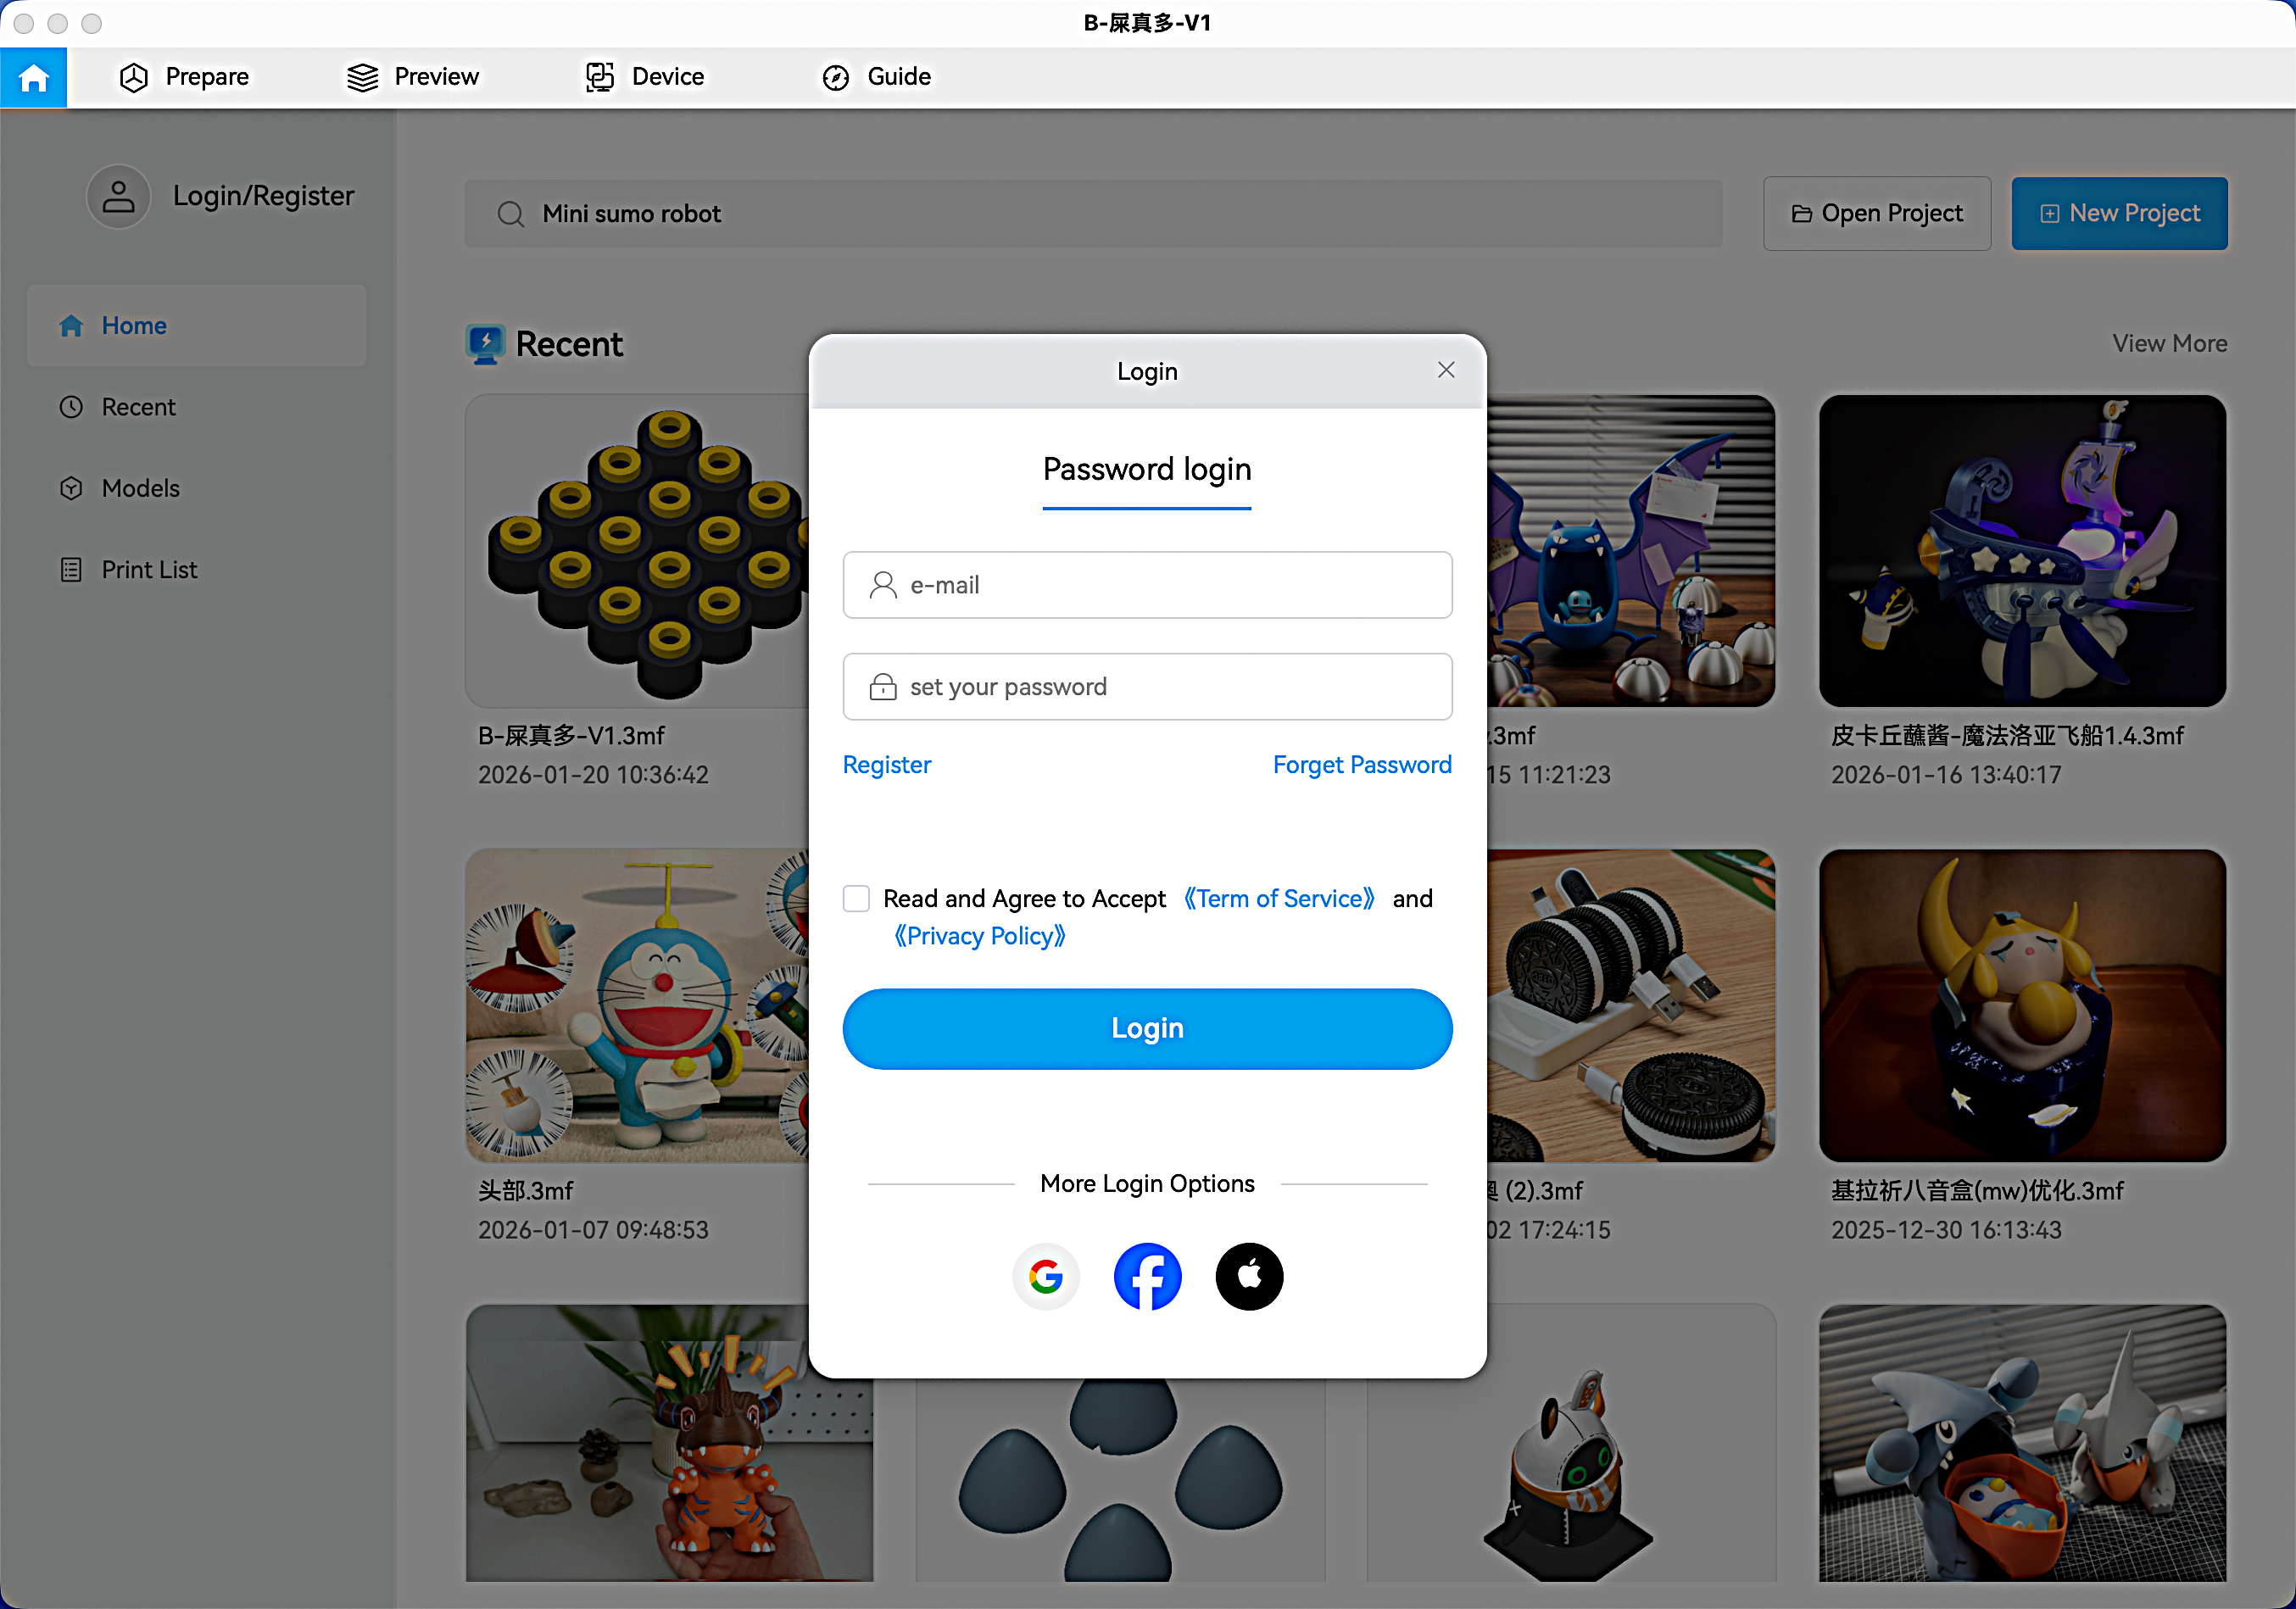
Log in
Before connecting to a printer, log in to your Flashforge account. If you don't have an account, click [Register] to create one.
Select a Printer
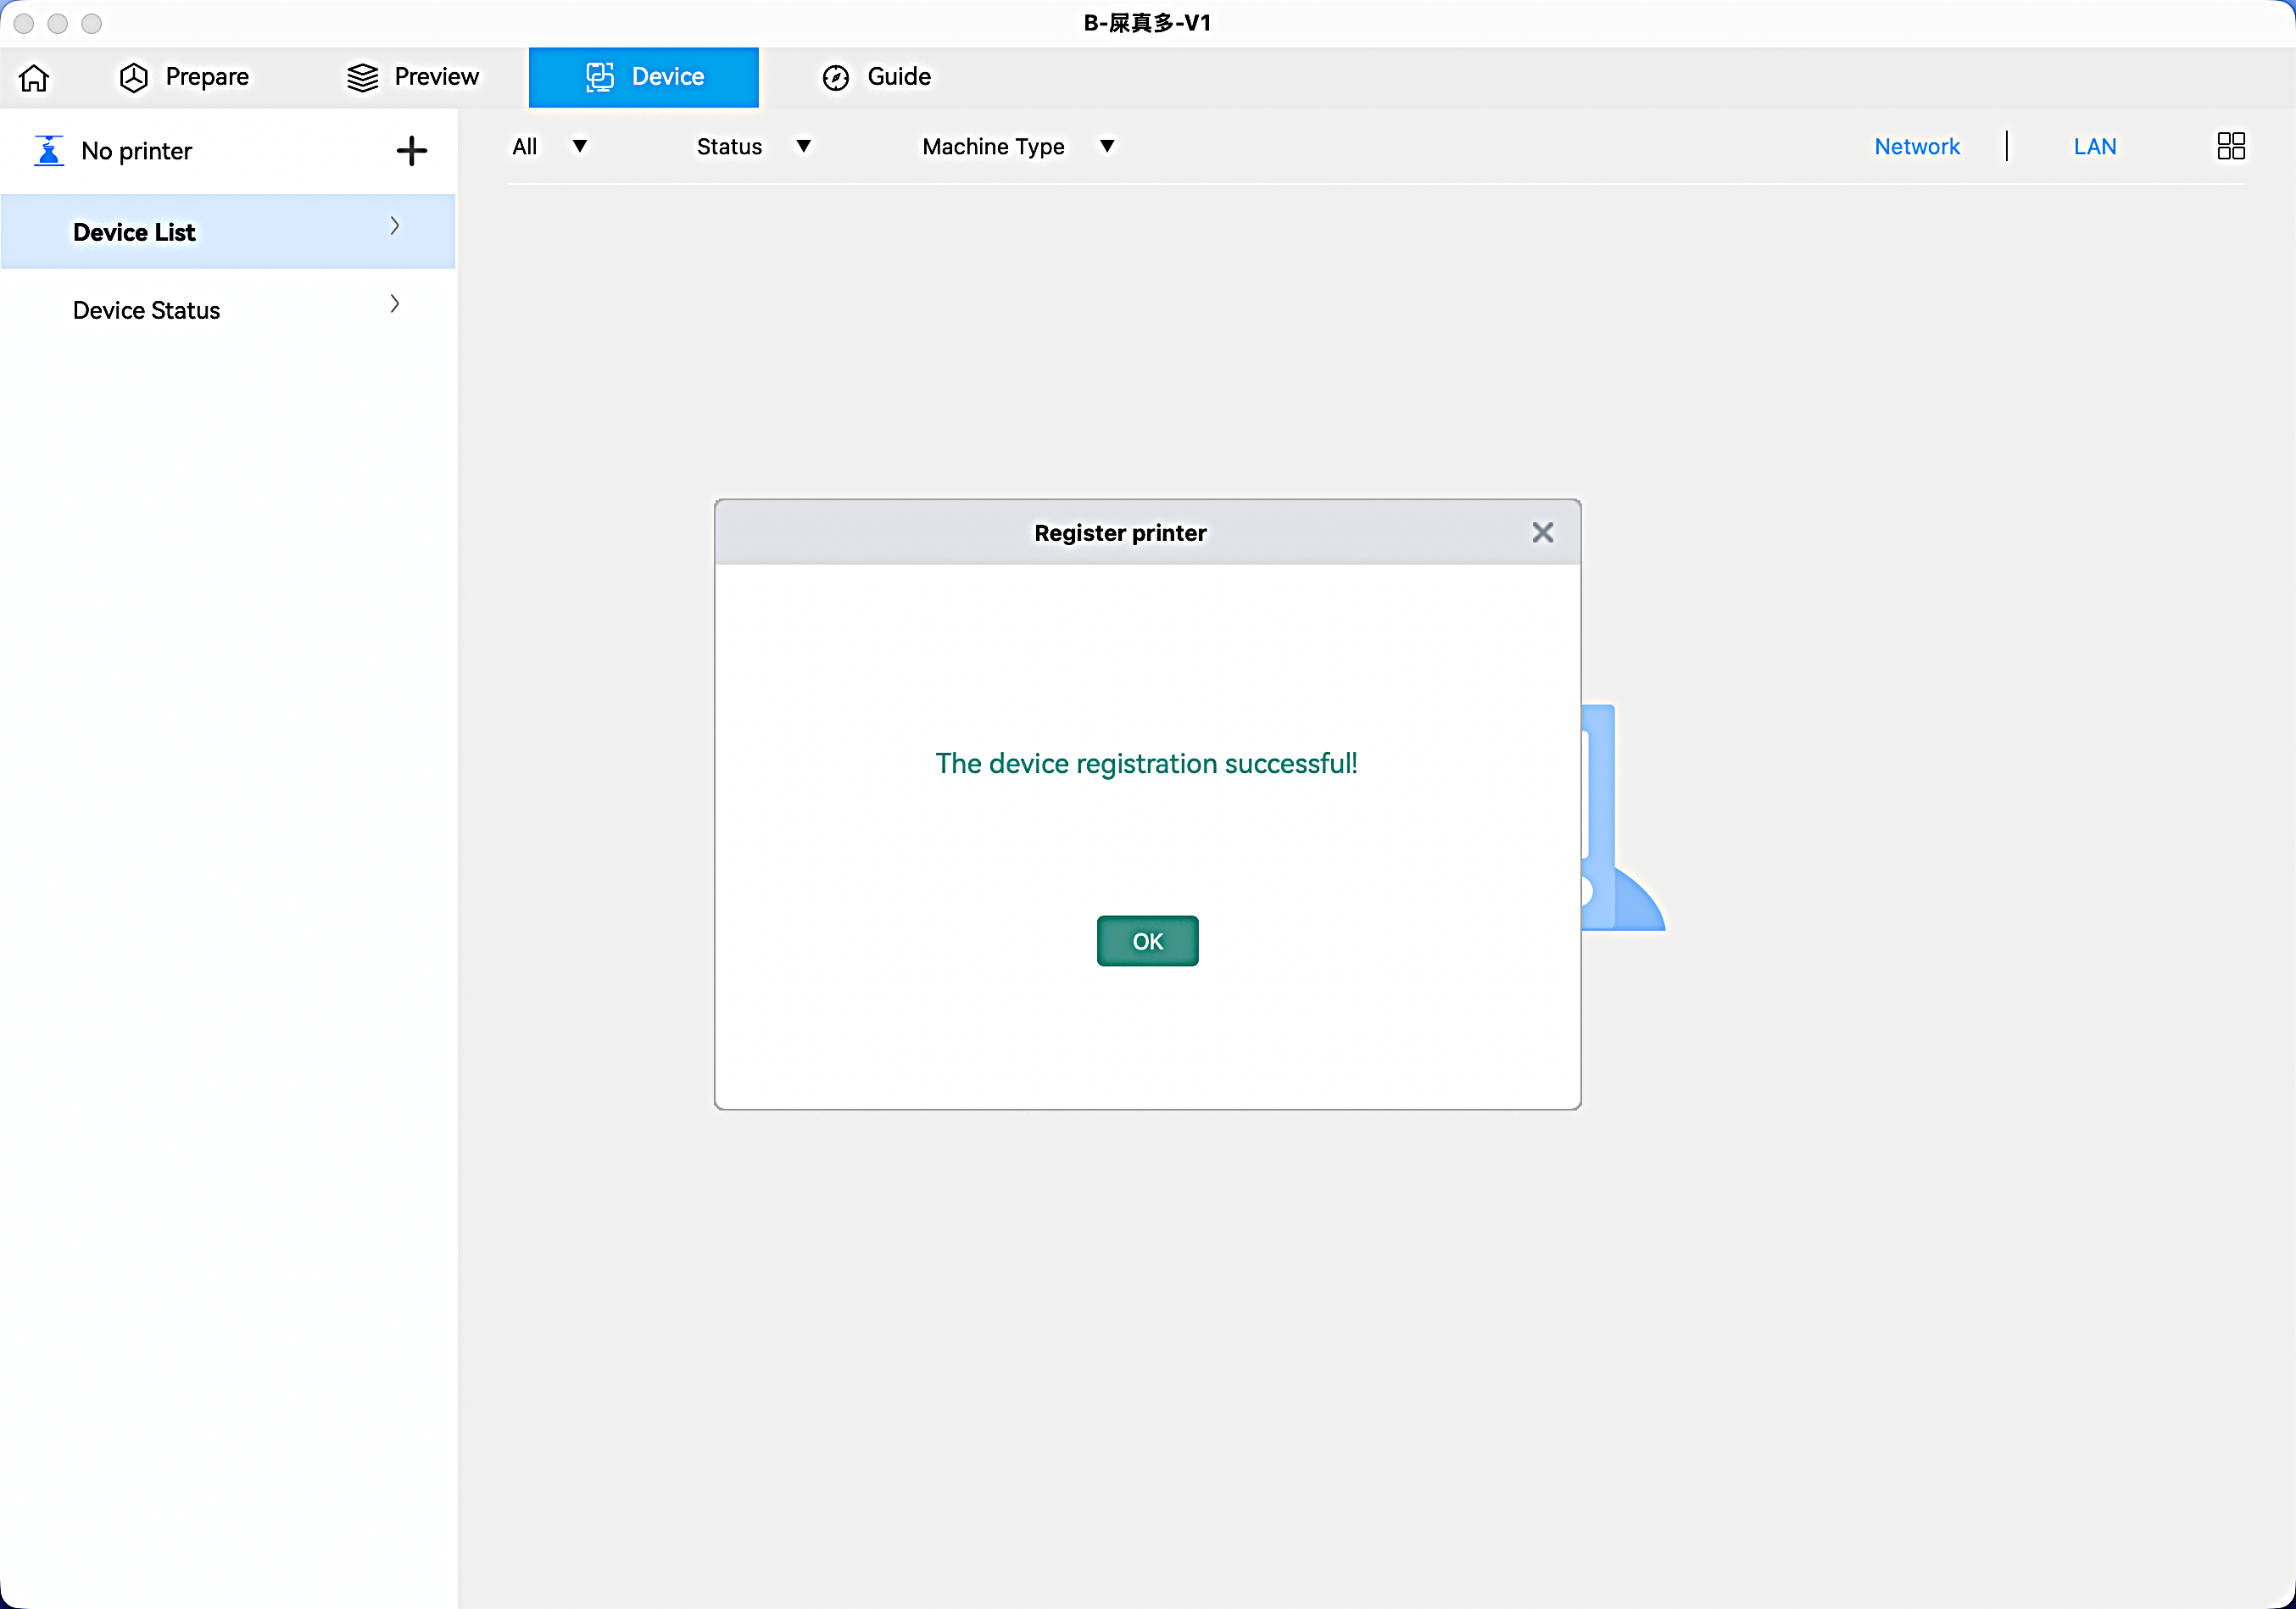
On the Device interface, click [+] to open the search list and select the printer you want to connect to.
Connect to the printer
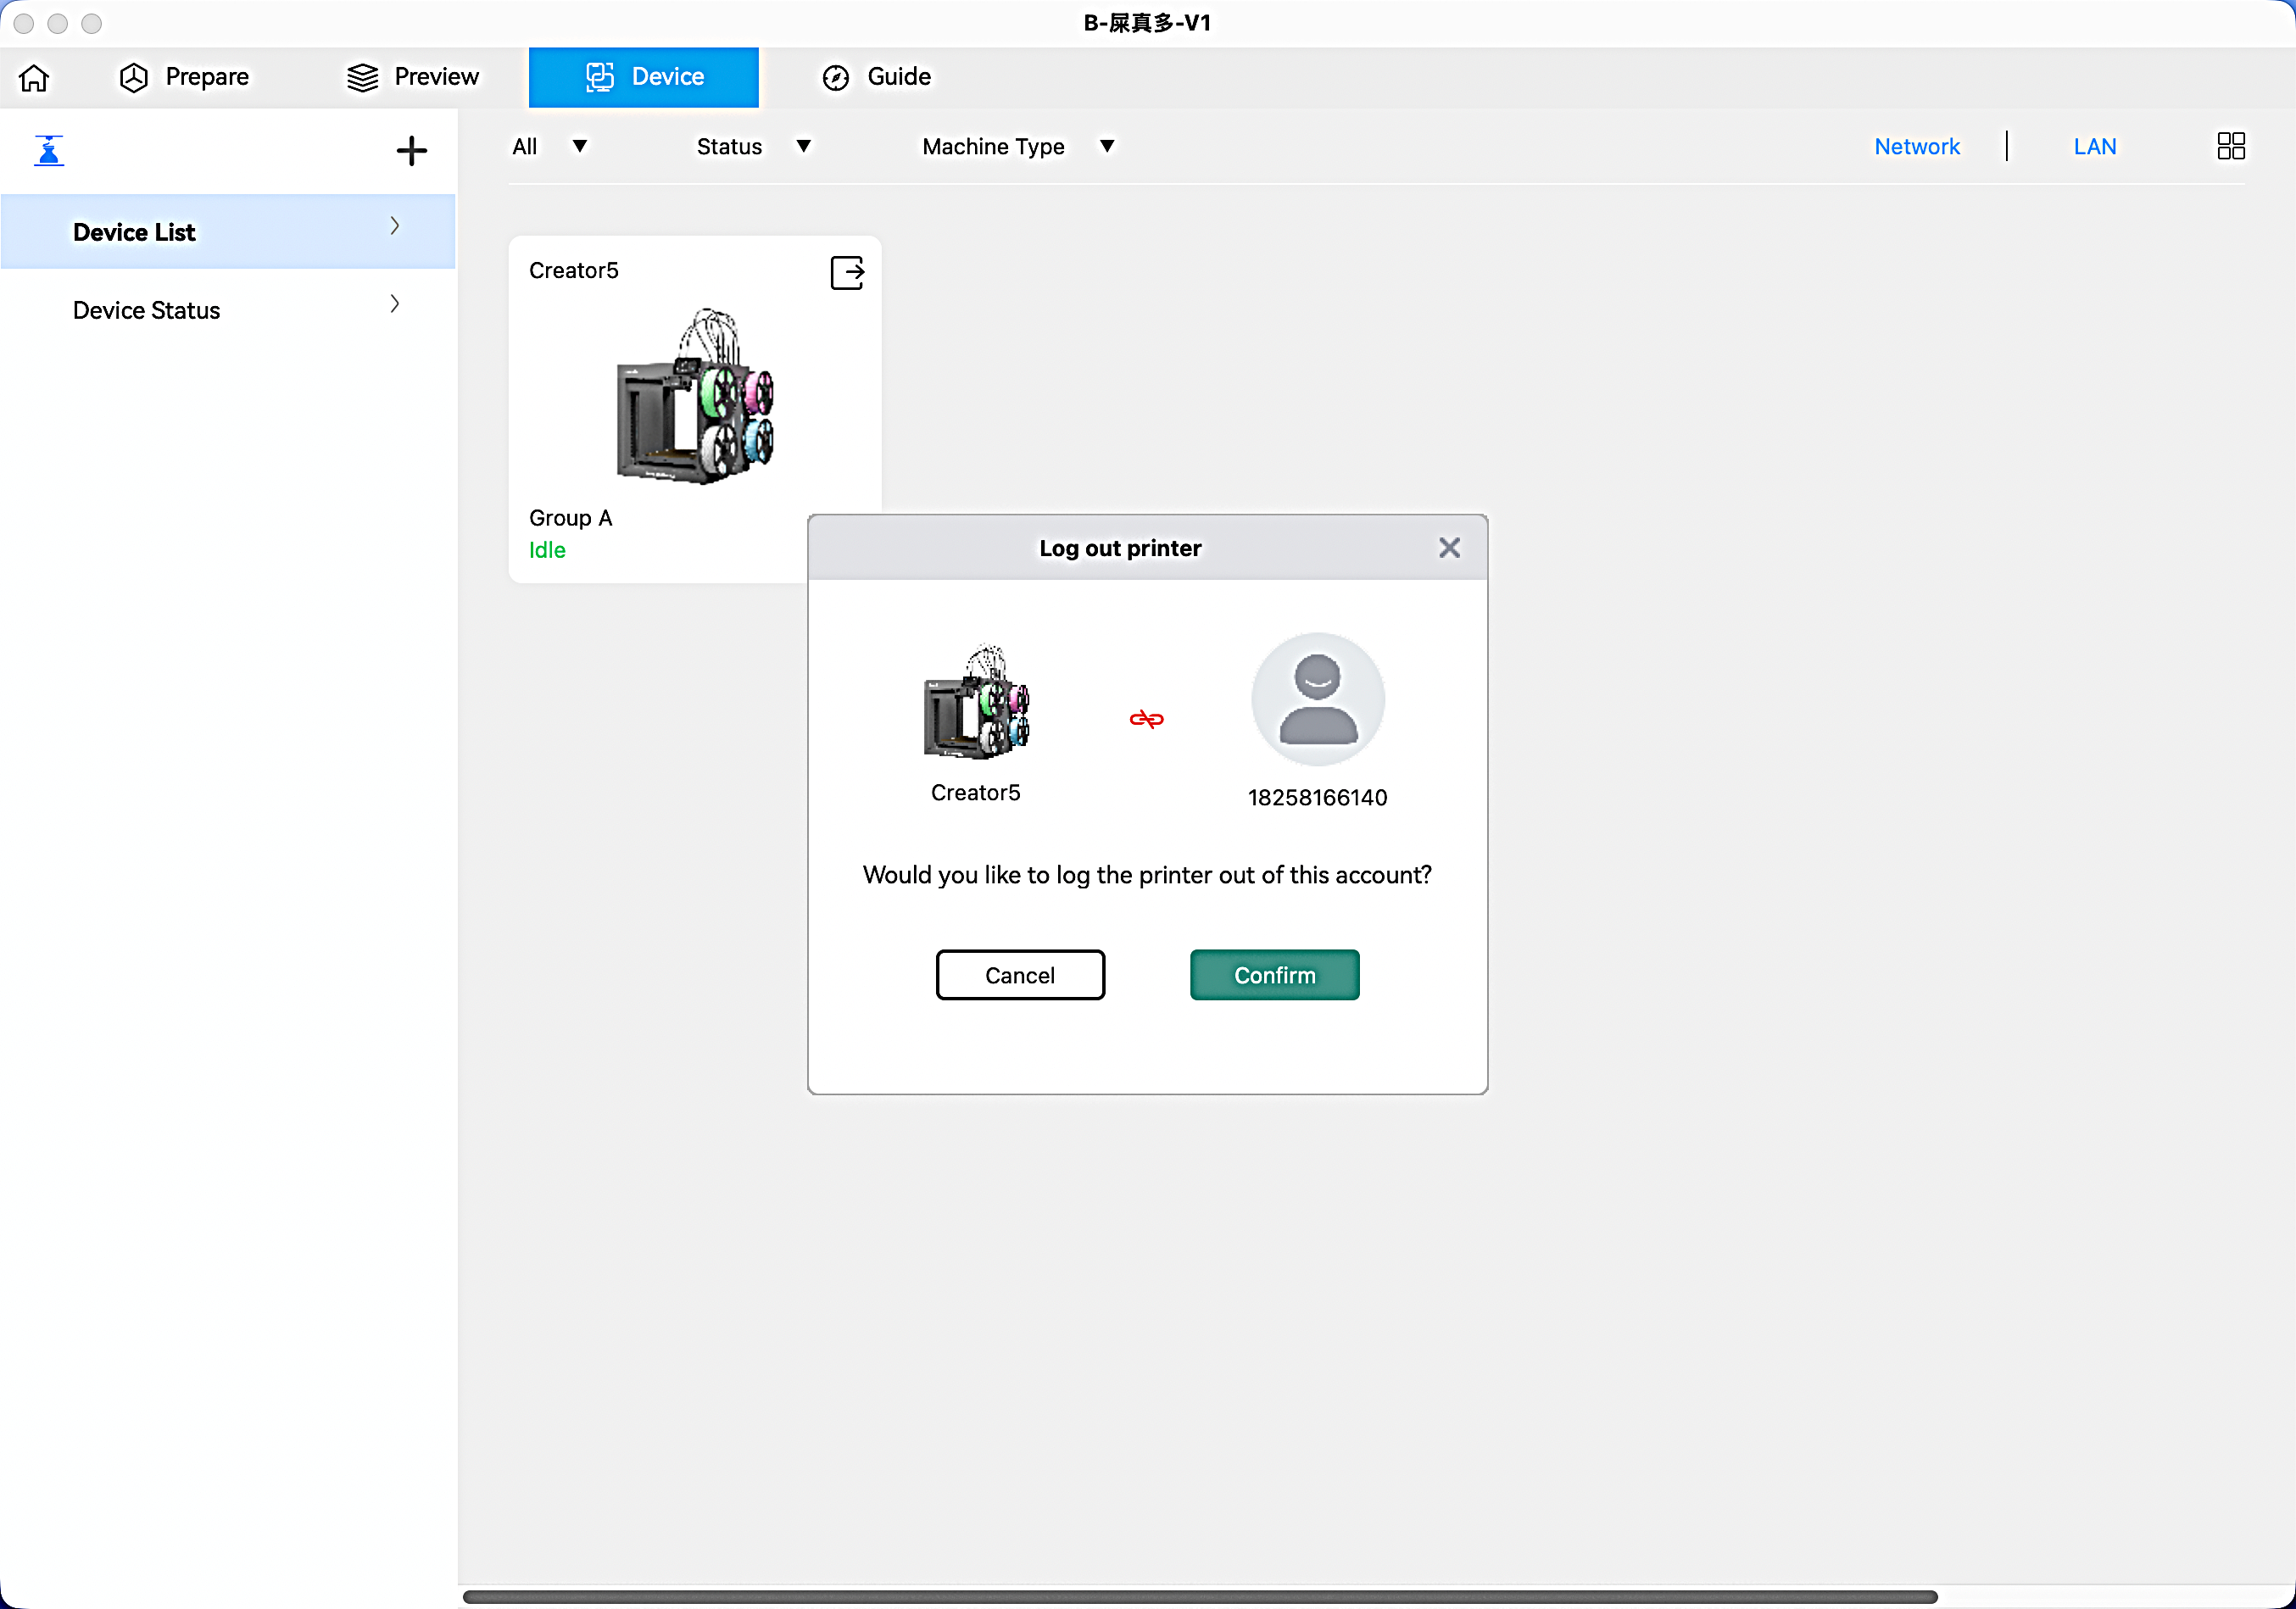
Unbind a Printer
On the Device List interface, click [ ] to unbind the printer.


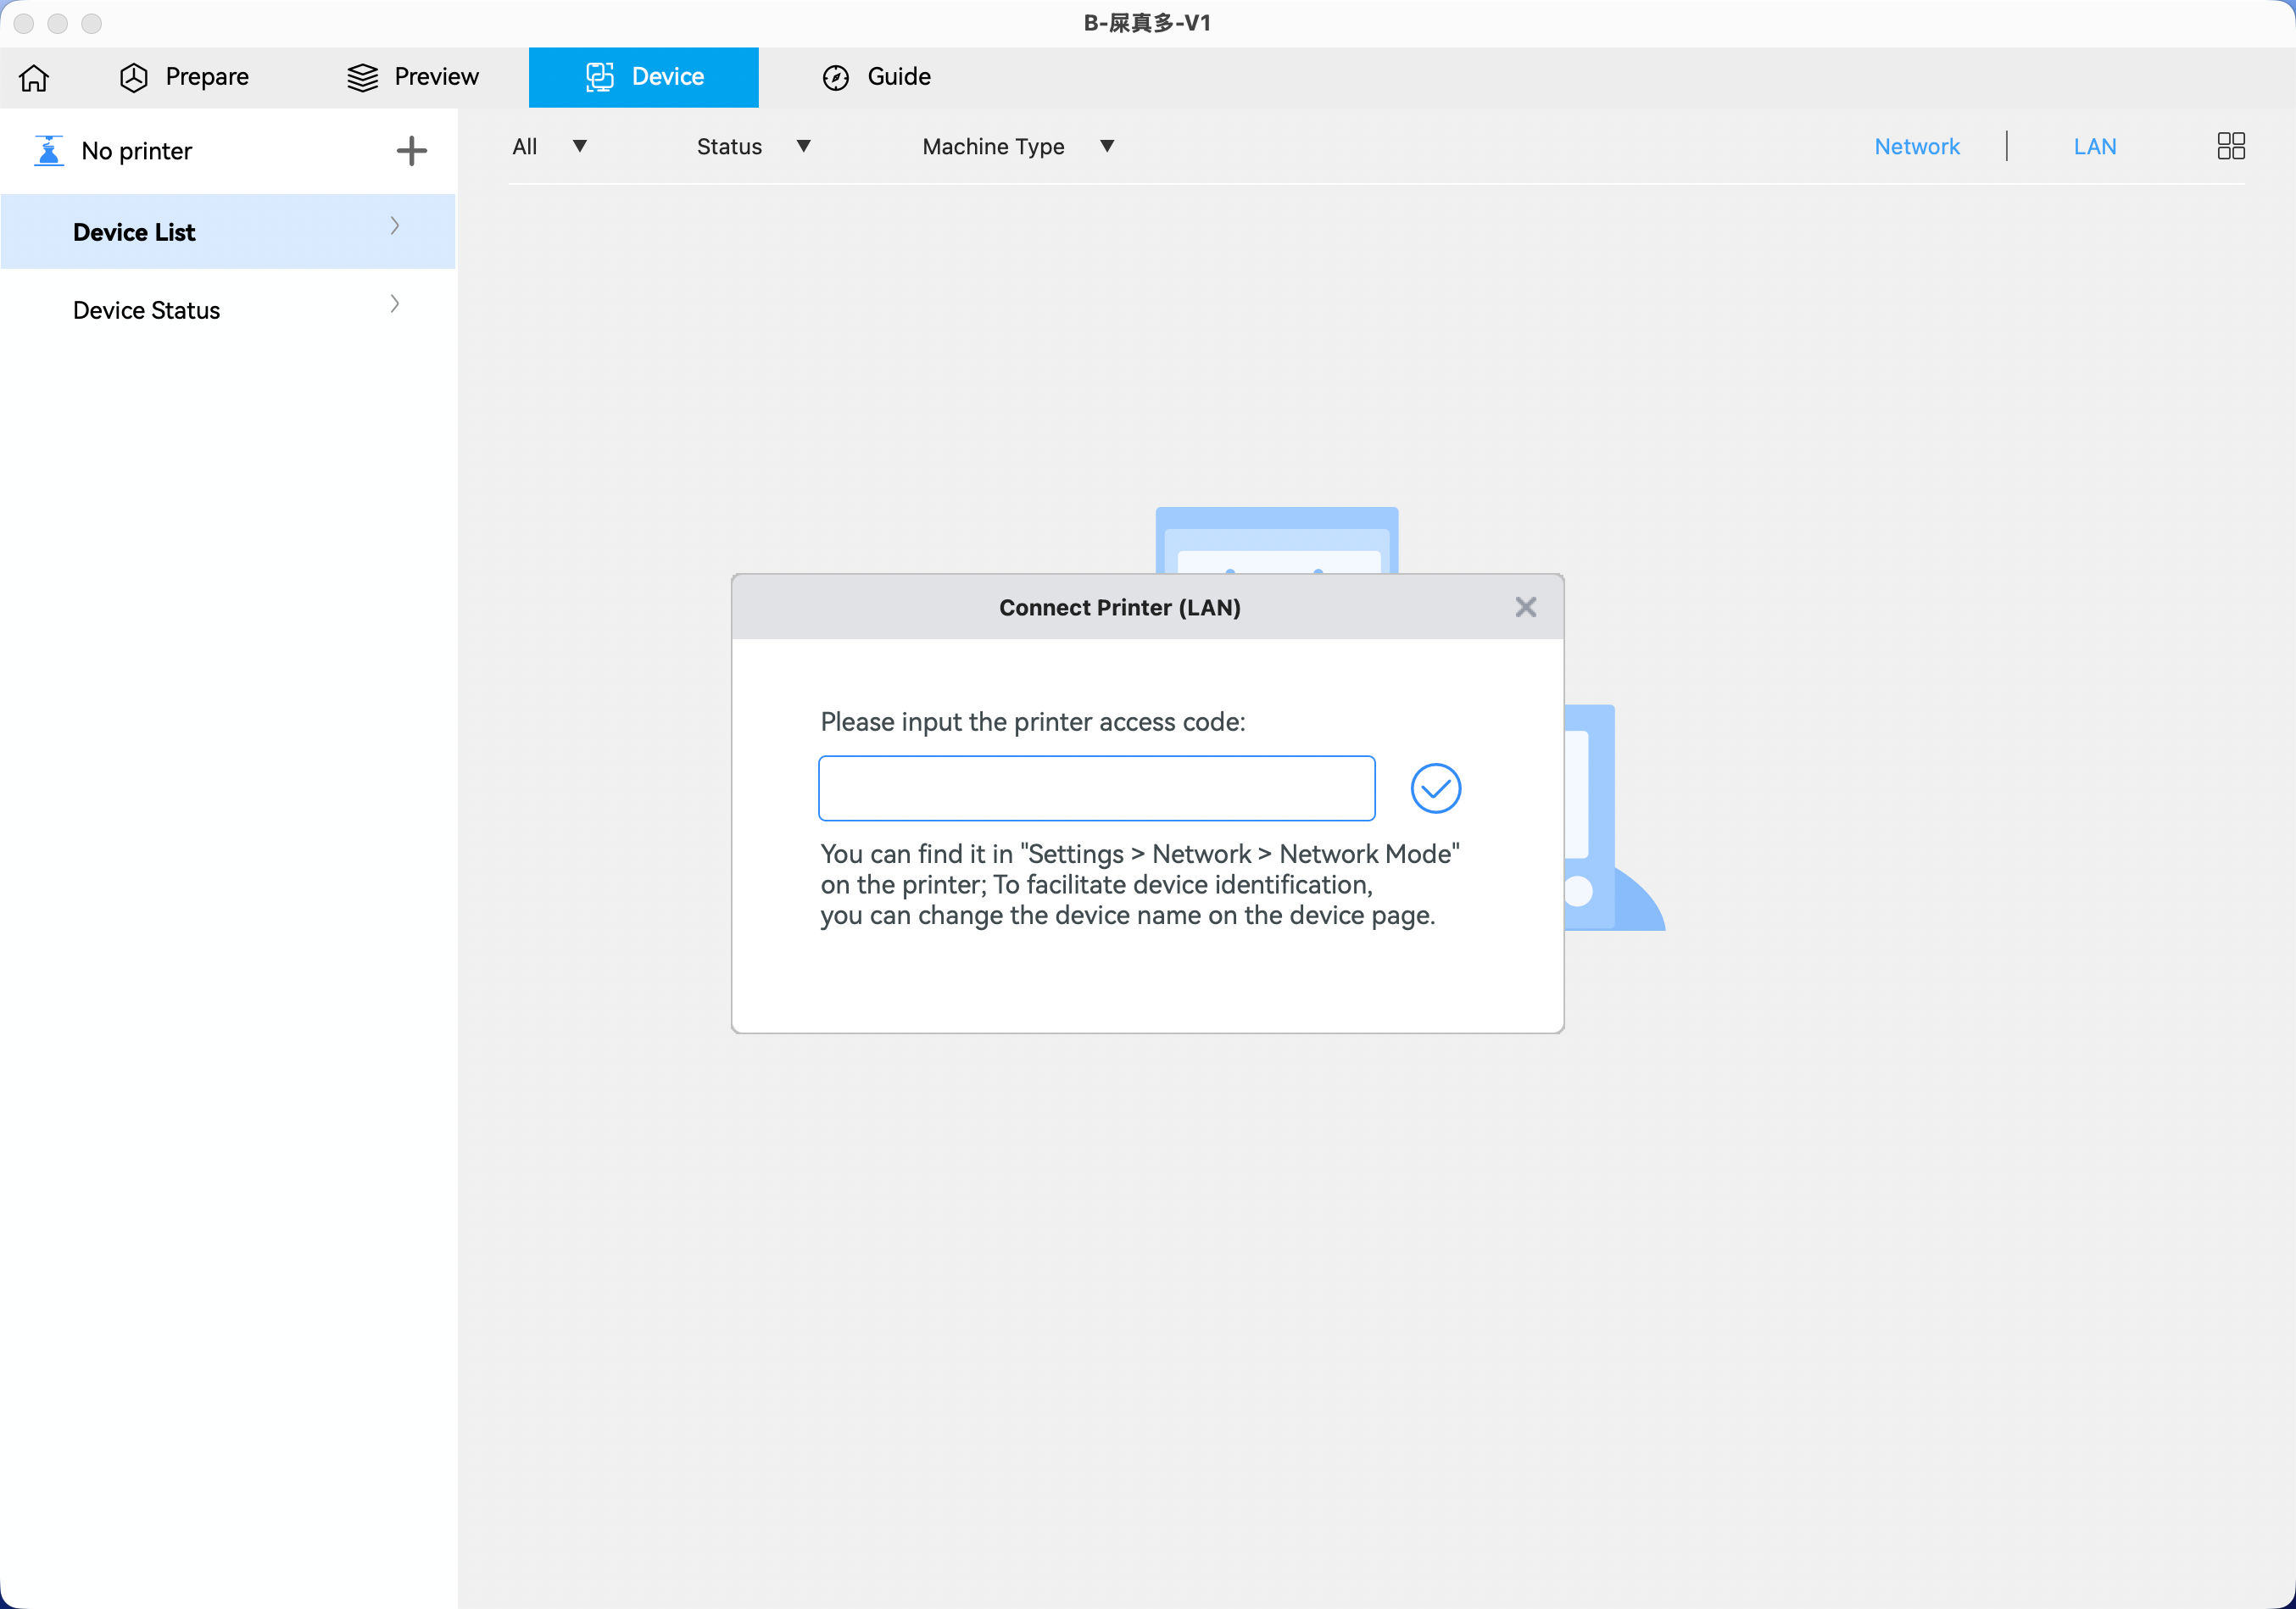
Connecting via LAN Only Mode
The printer and computer must be connected to the same network.
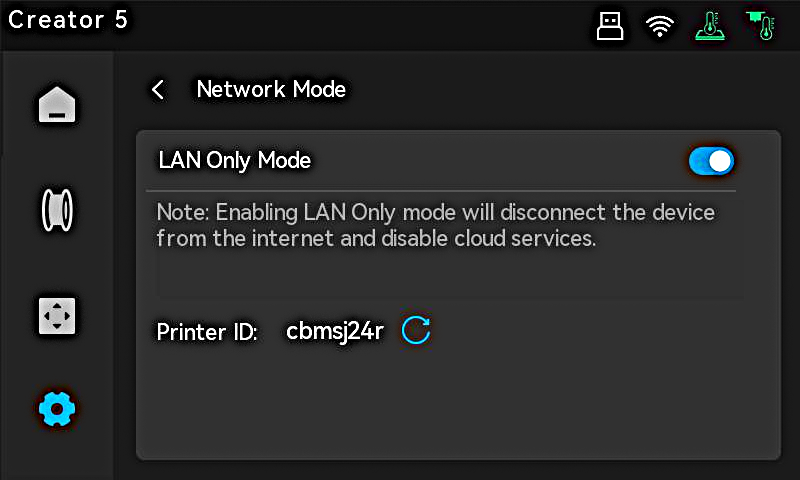
In the slicing software, click [+] on the Device interface to search for available printers.
Select the printer and enter the Printer ID displayed on the printer's screen.
Remote Control
Once the printer is connected, you can remotely manage it through Flash Studio. The Device menu includes the device list and real-time status information.
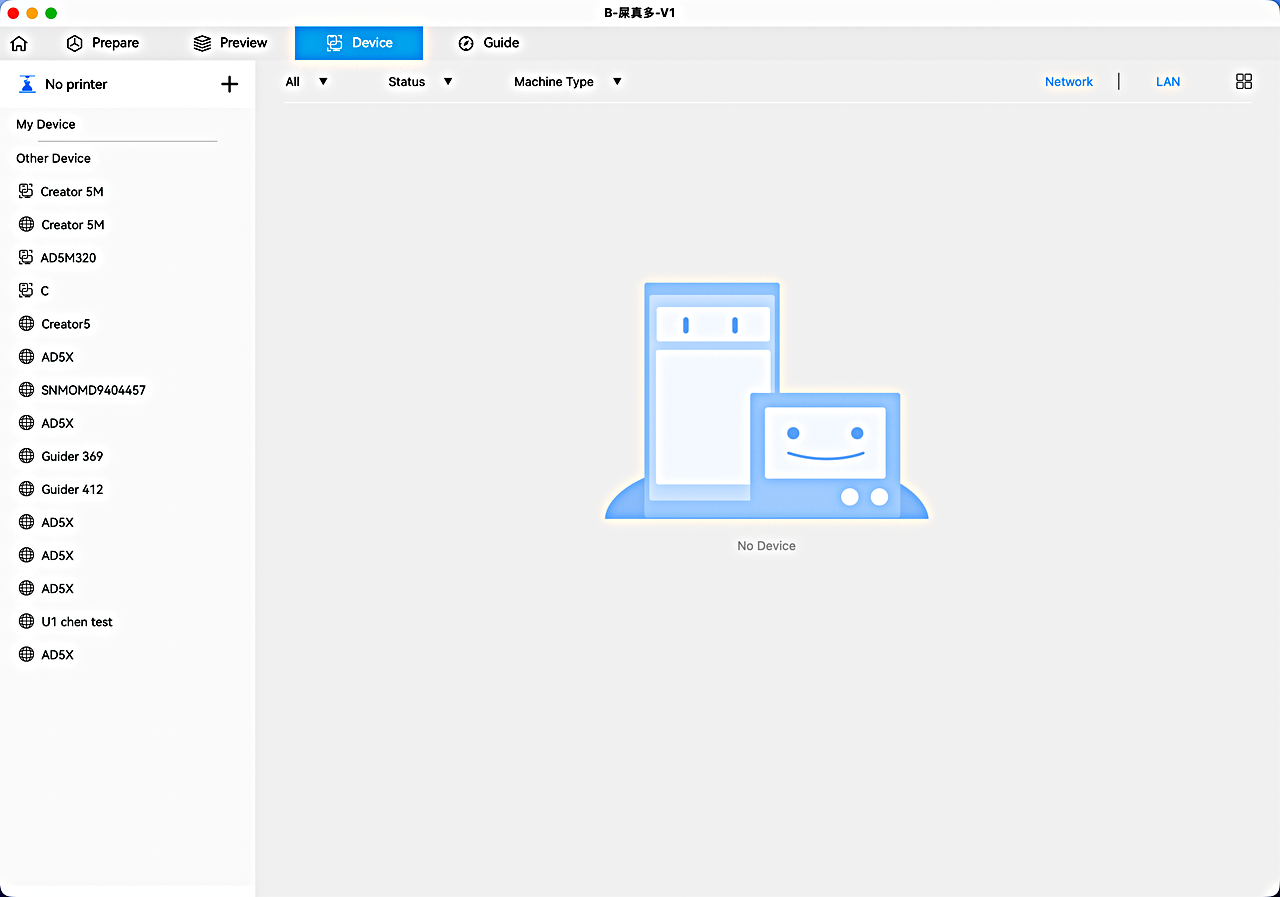
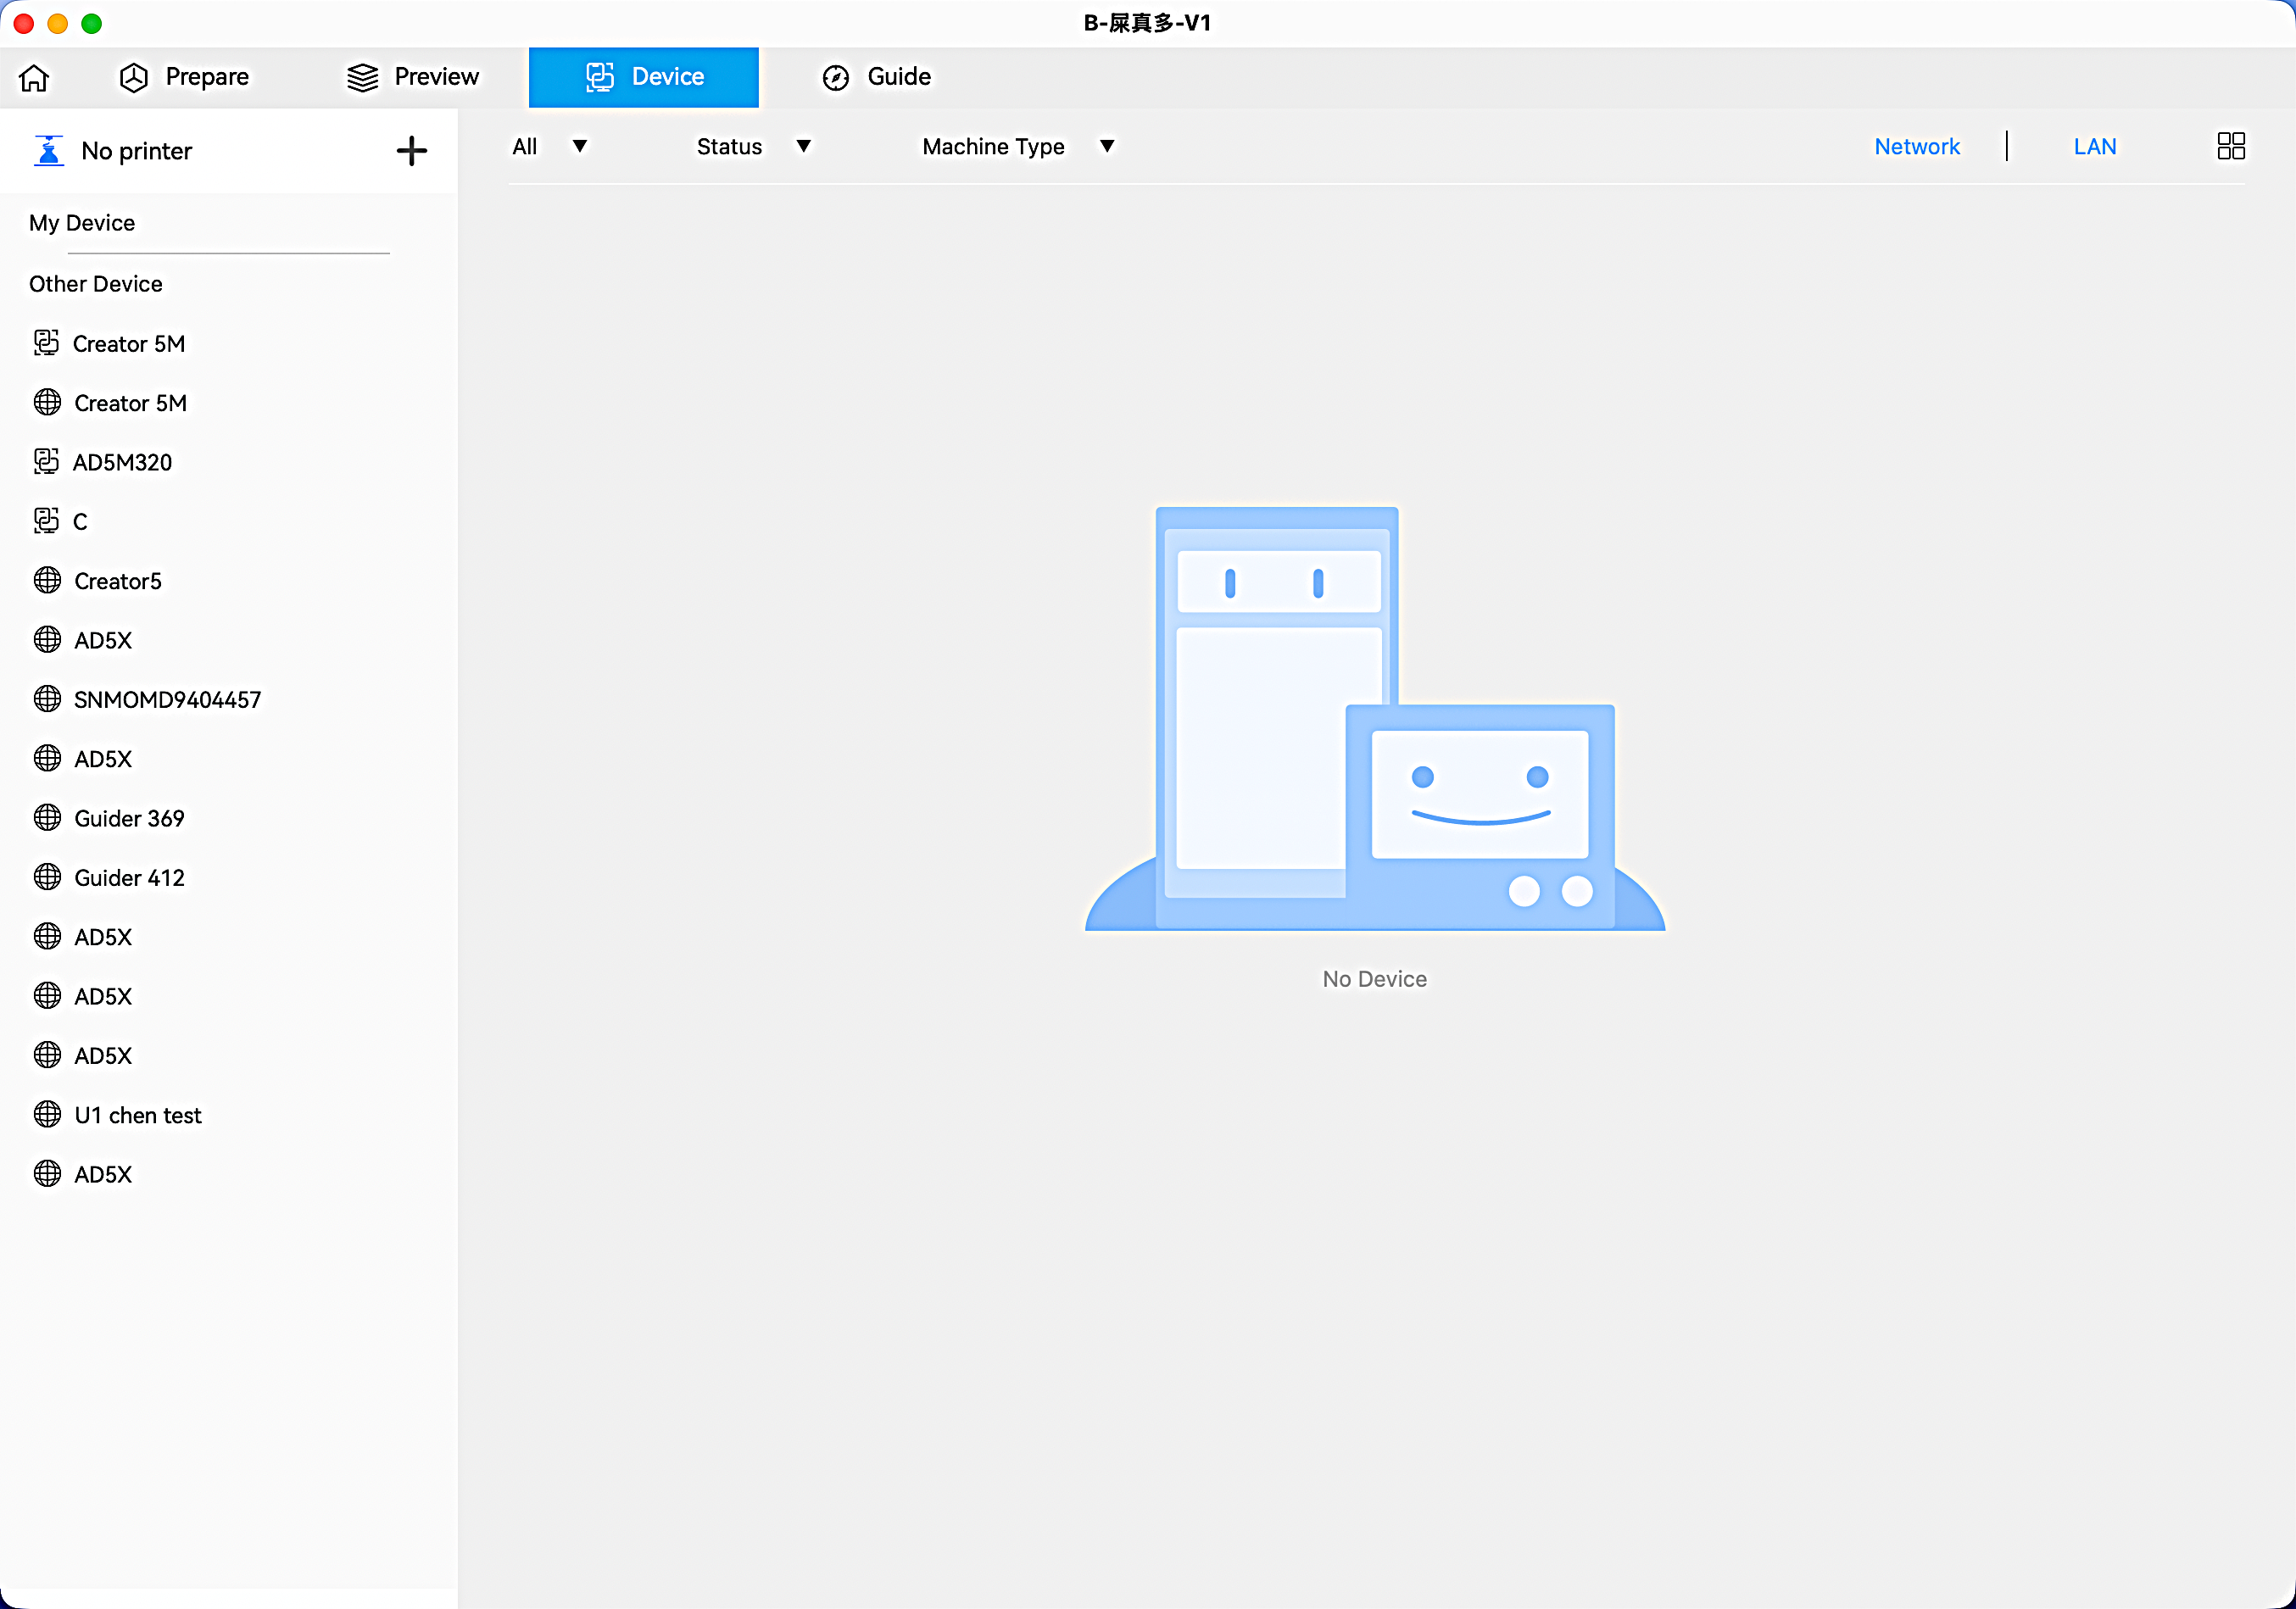
Device List
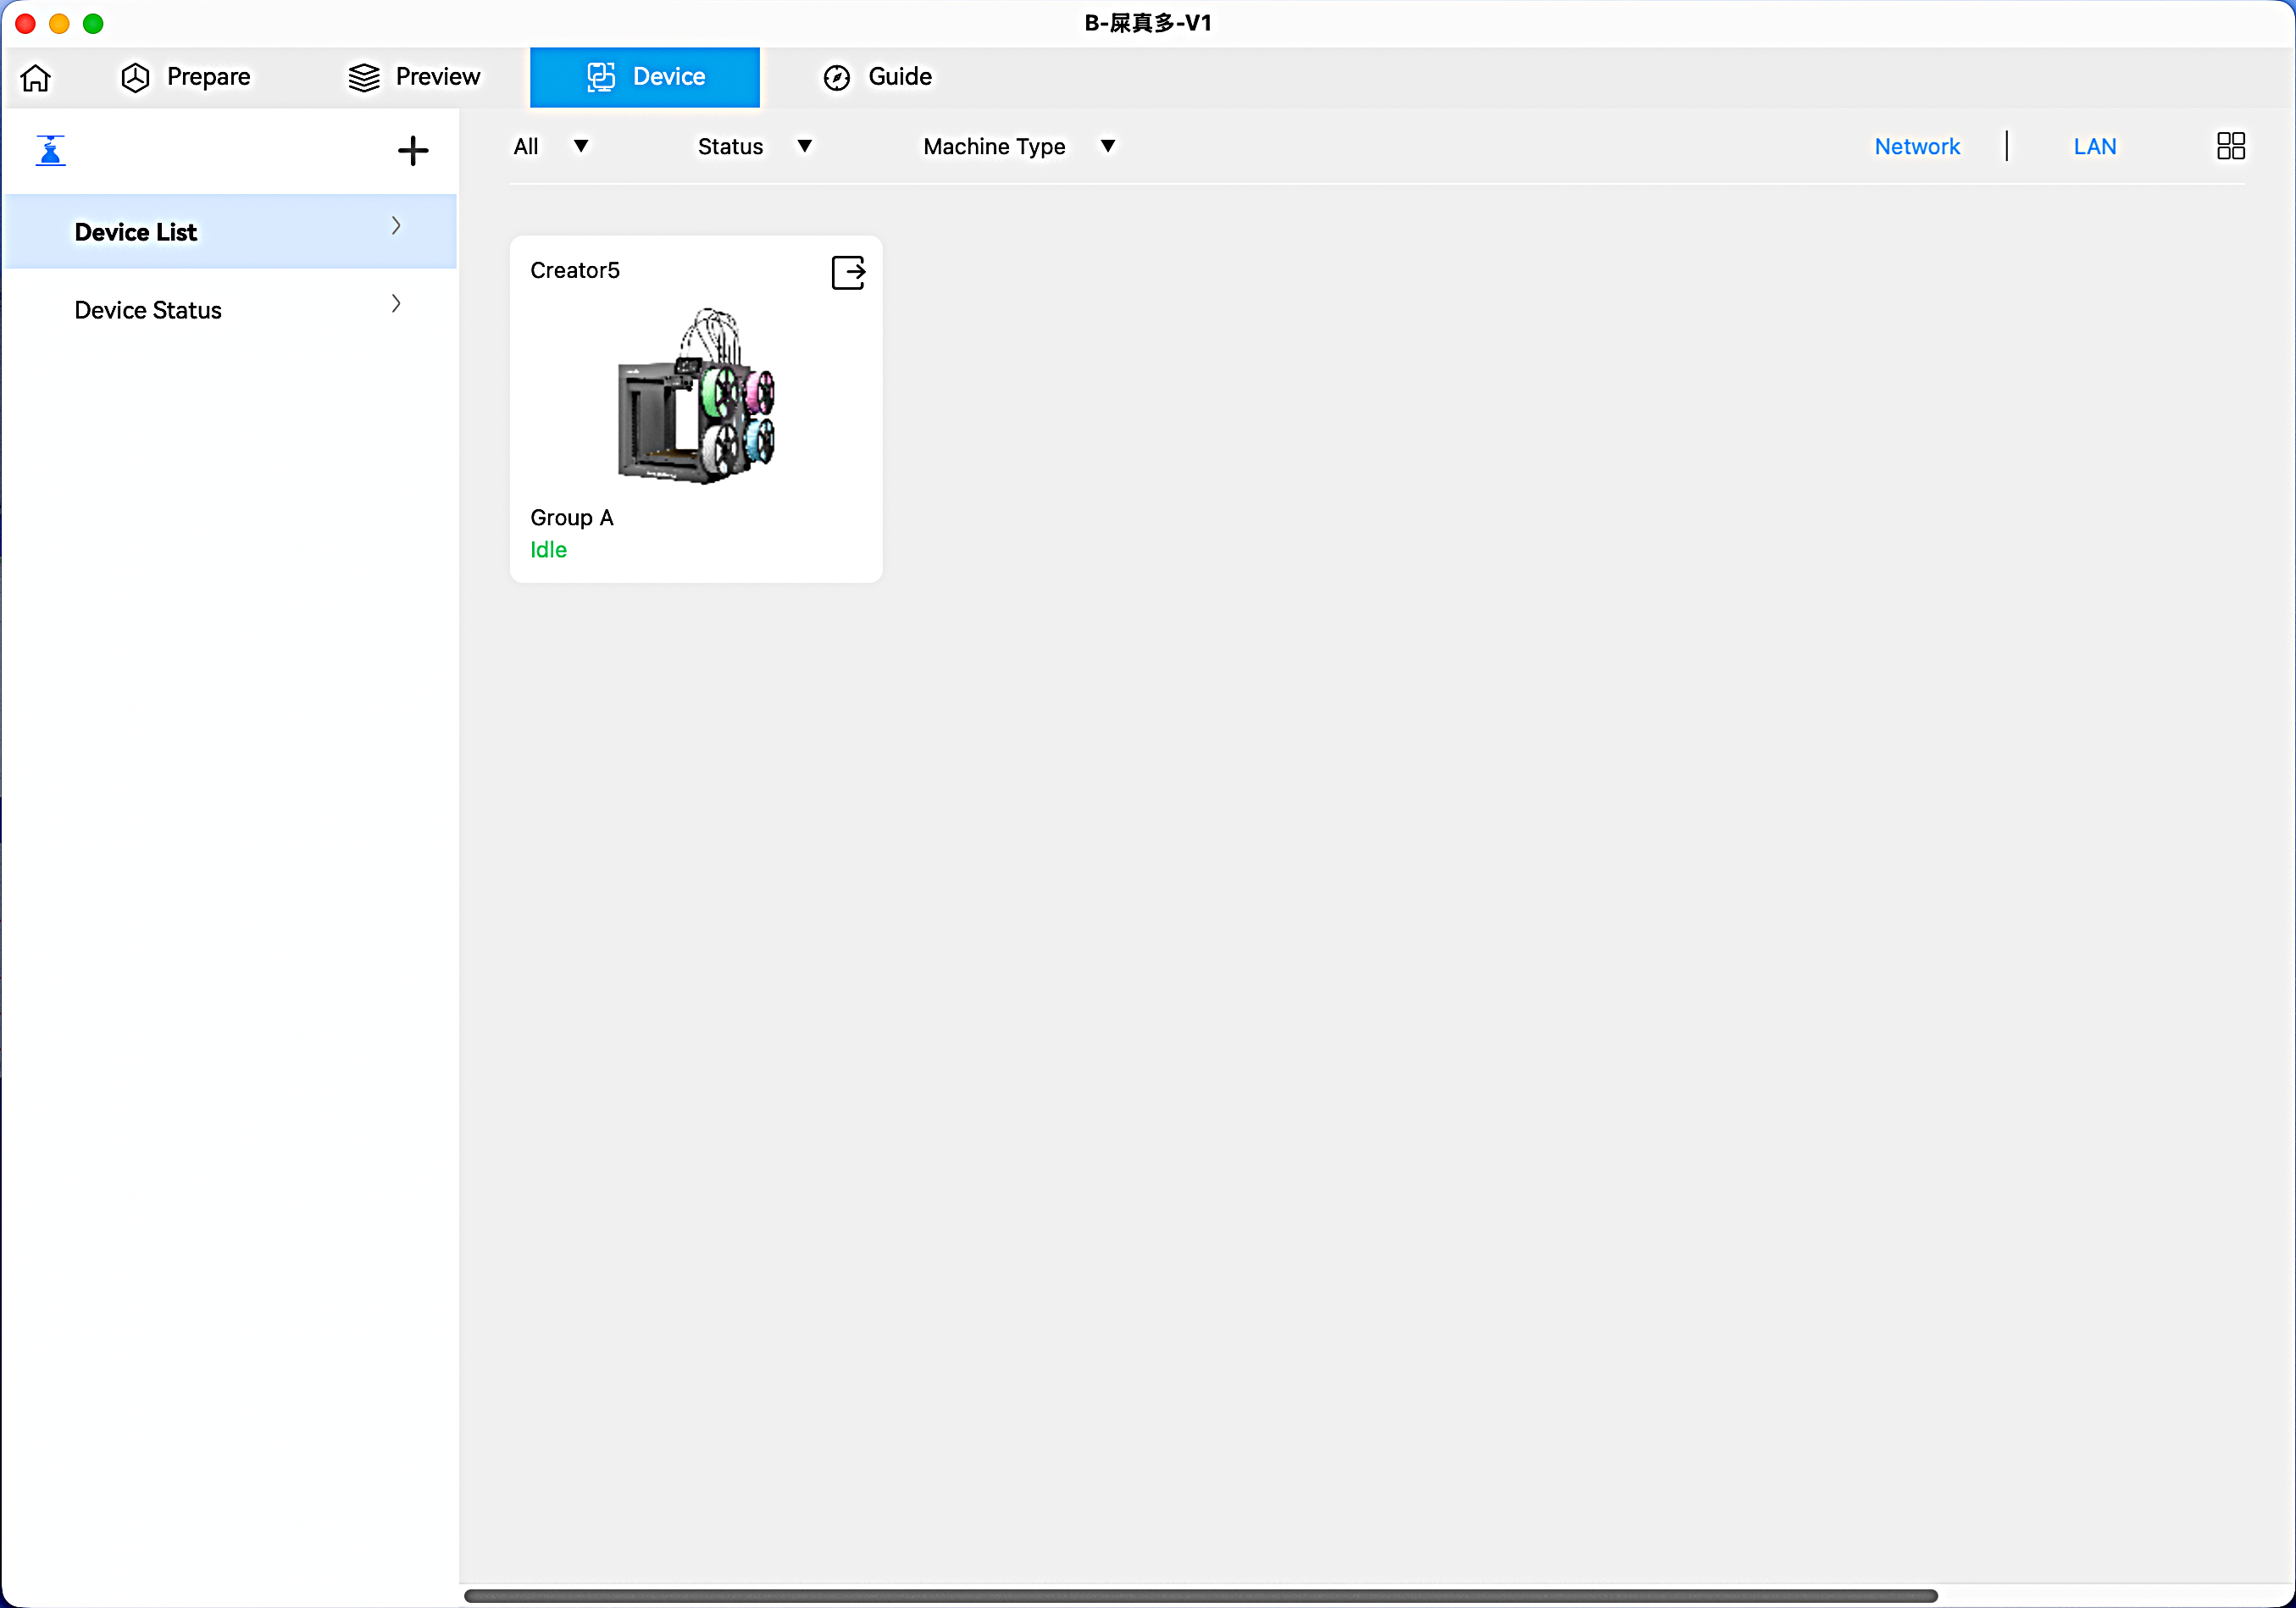
Device List View: Display all devices bound to your account along with their current status. Select a device to view detailed information on the Device Status interface.
Filter Module: Filter devices by criteria such as group, device status, device type, or connection mode.
Bind a Device: Click [+] to show all devices on the same network as your computer (as shown). Select a device to bind it to your account. (Note: A device that is already bound cannot be bound again.)
Device Status
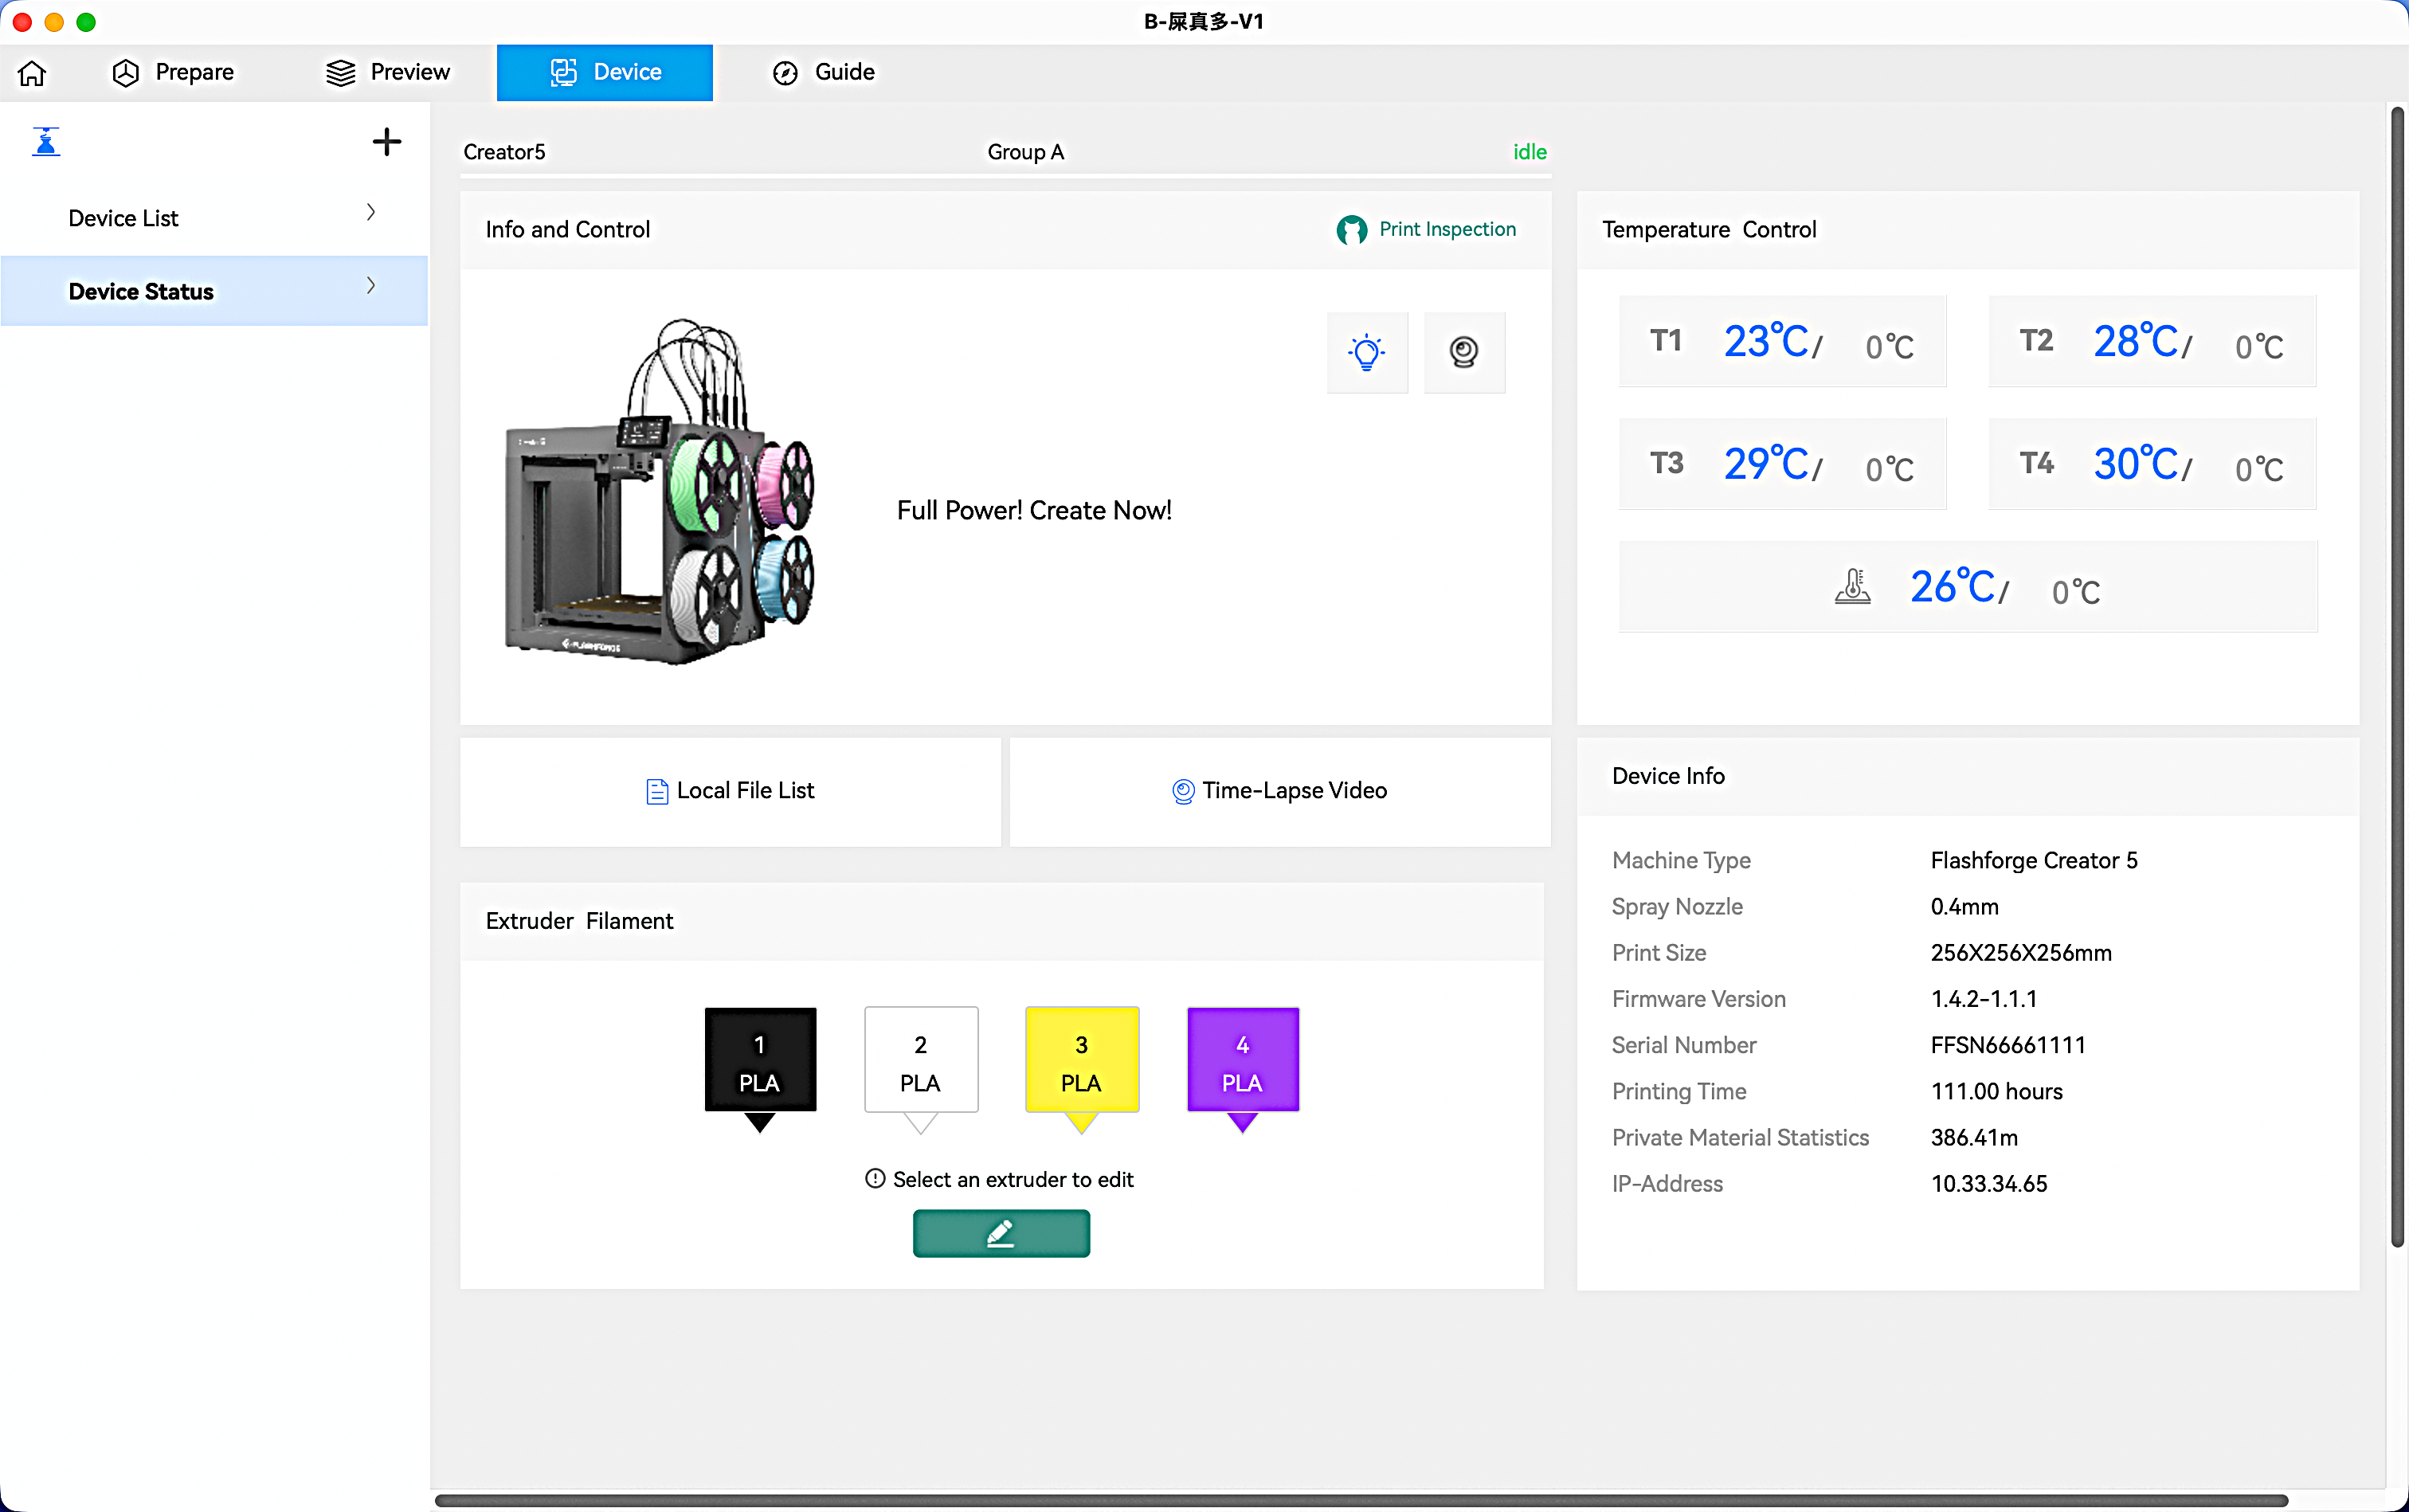
Live Monitoring Module
Click the play button to watch a real‑time video feed, whether the printer is idle or actively printing.
Print Job Module
This module displays the model name, model image, total filament usage (if included in the sliced file), print progress, and buttons to pause or cancel the print while printing.
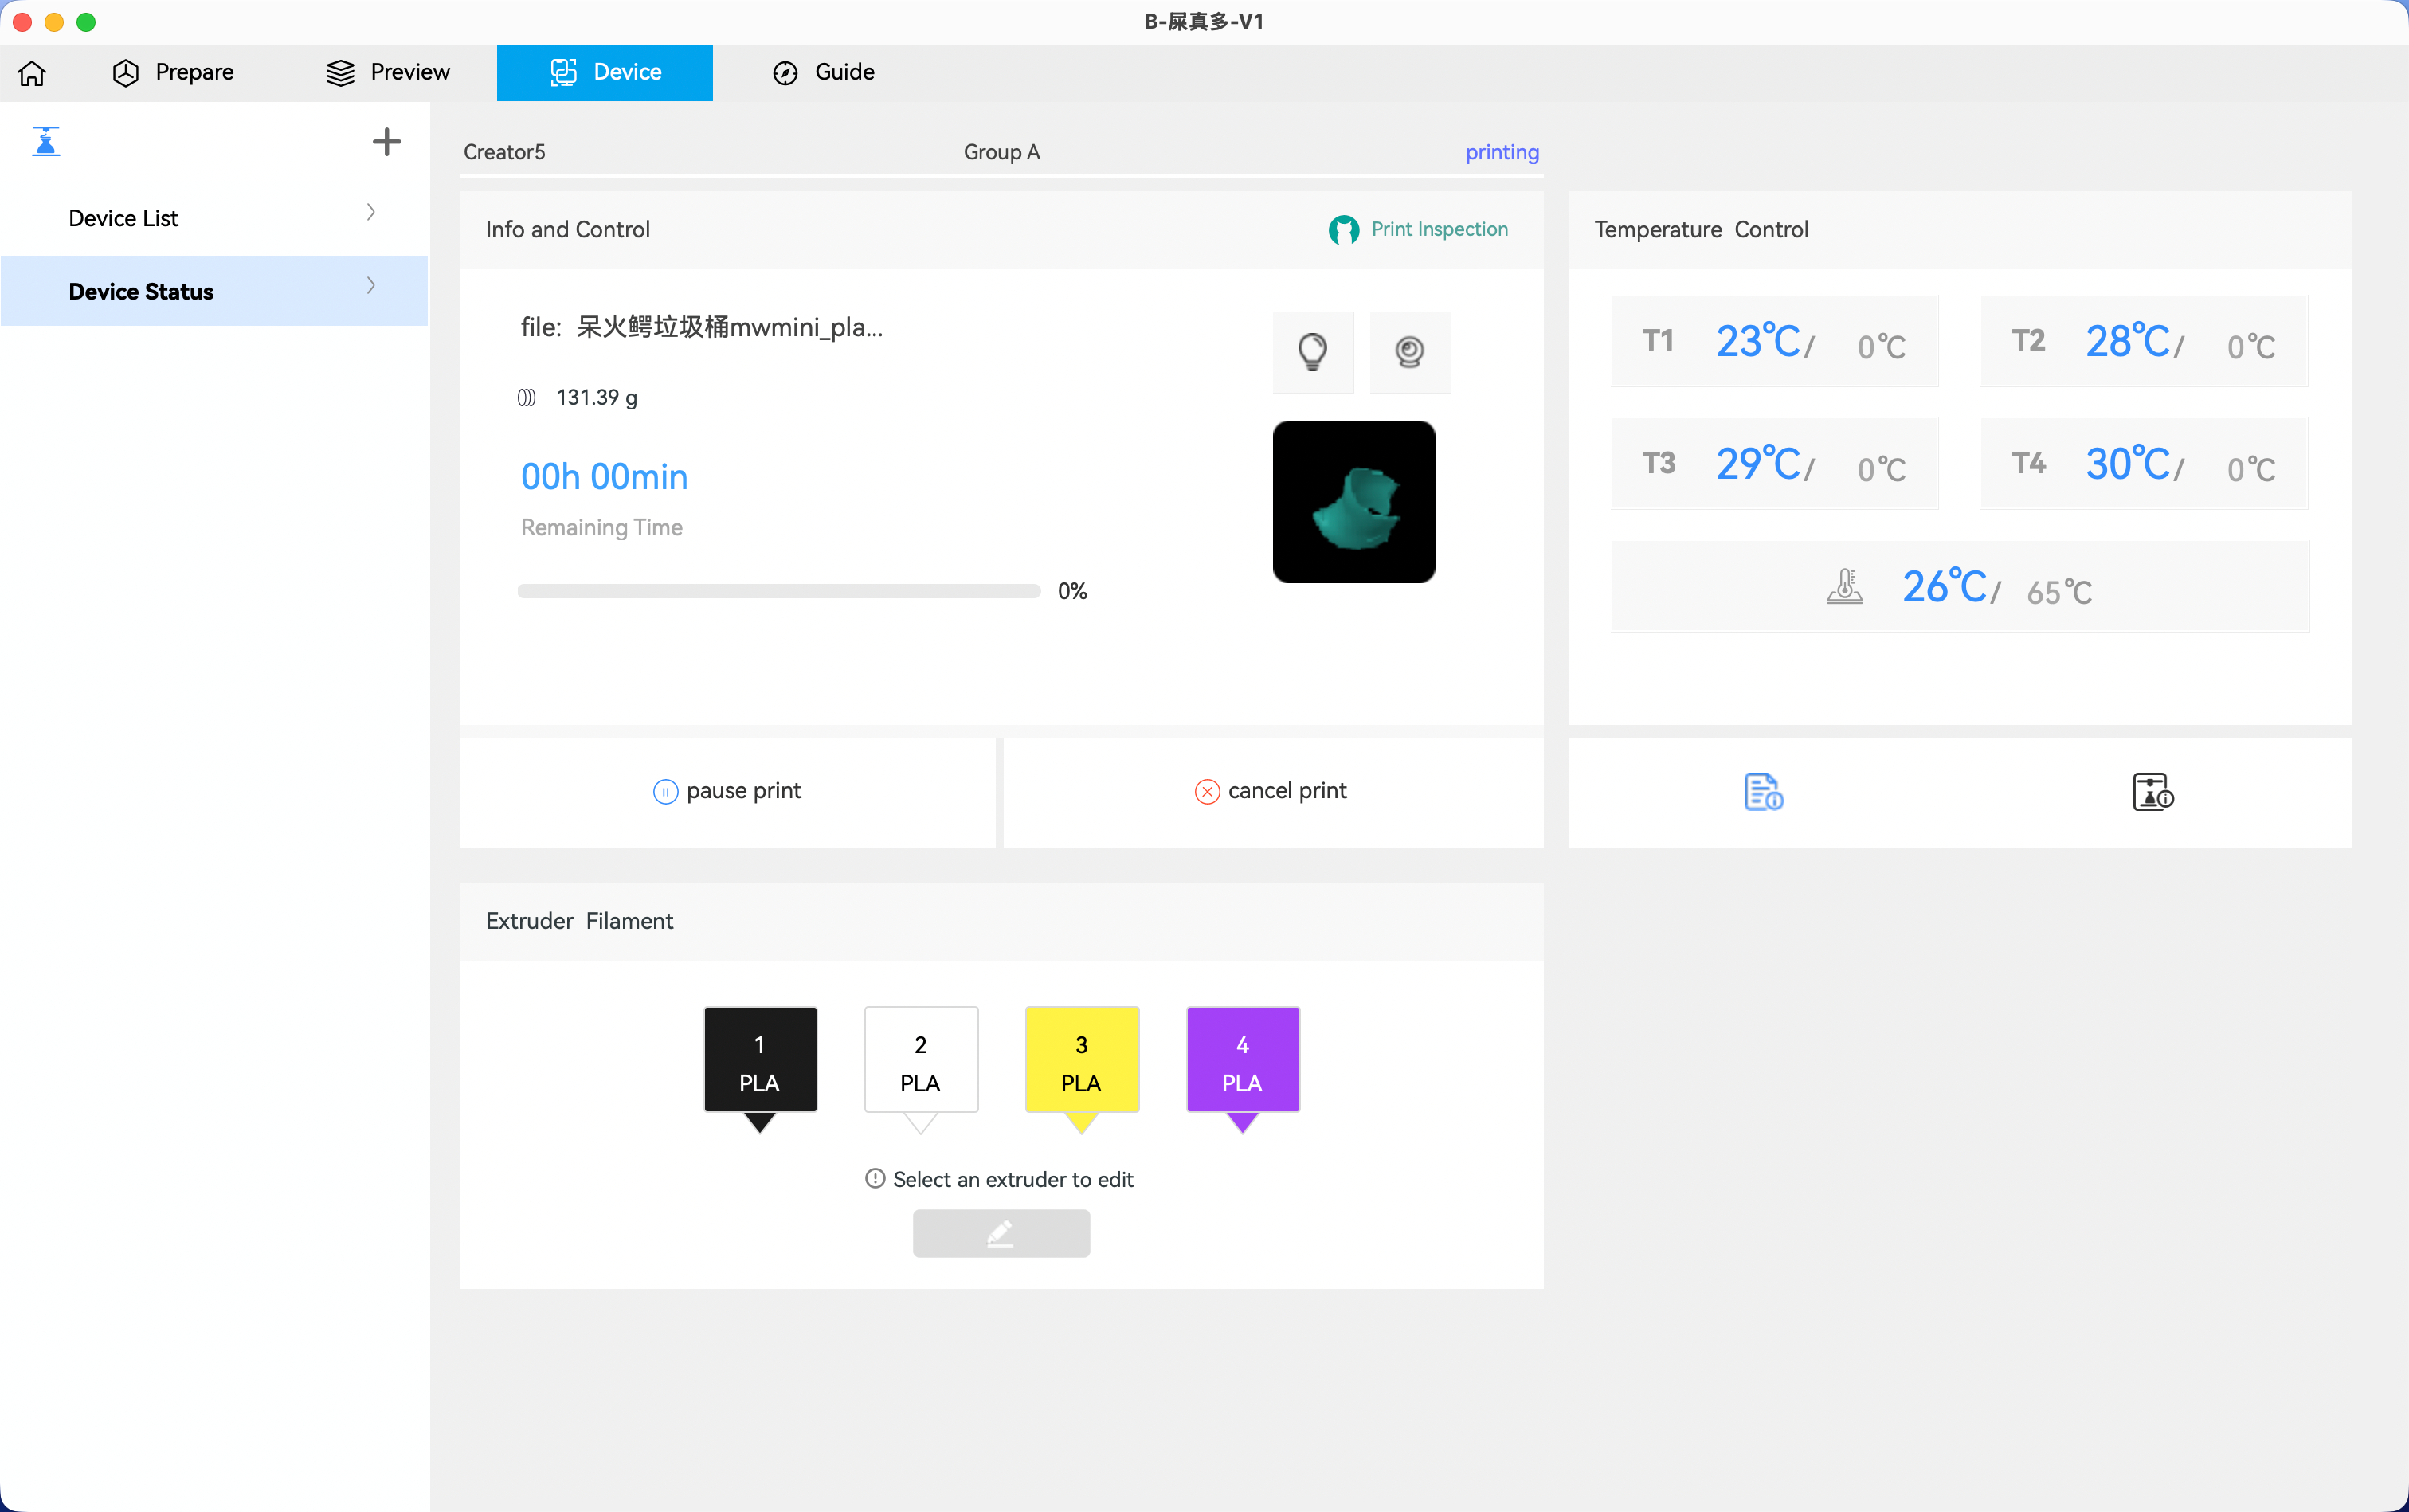
Printer Control Module
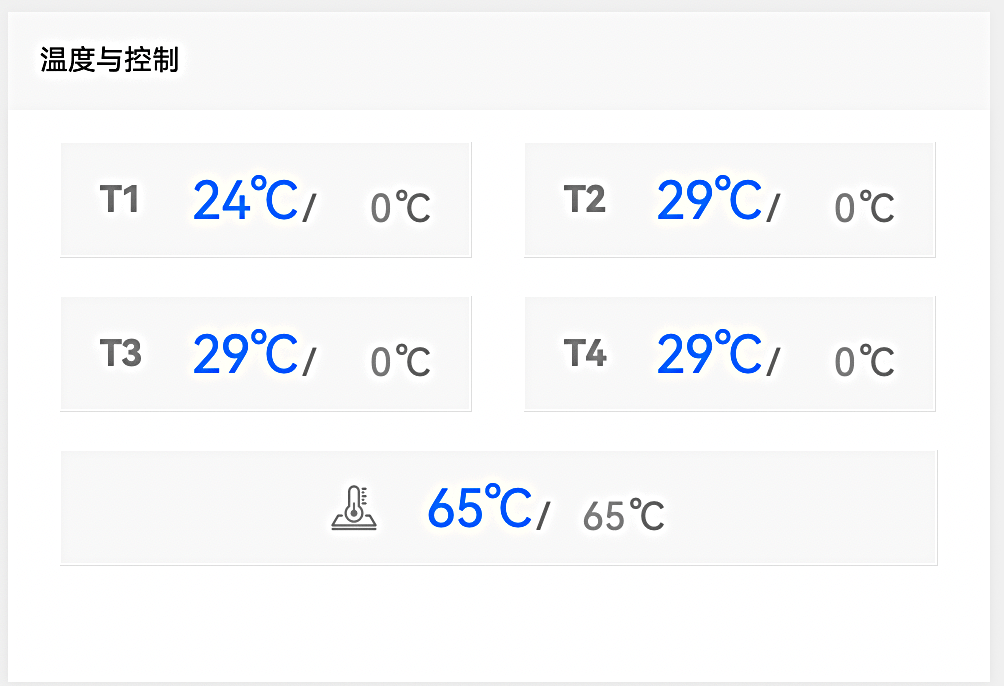
View and adjust the extruder and bed temperatures in real time
【![]() 】Chamber light control button; blue indicates the light is on, gray indicates it is off.
】Chamber light control button; blue indicates the light is on, gray indicates it is off.
【![]() 】When the printer is idle, a printer icon is shown—click it to view basic printer information. During printing, a file icon is displayed—click it to view and modify detailed print parameters.
】When the printer is idle, a printer icon is shown—click it to view basic printer information. During printing, a file icon is displayed—click it to view and modify detailed print parameters.
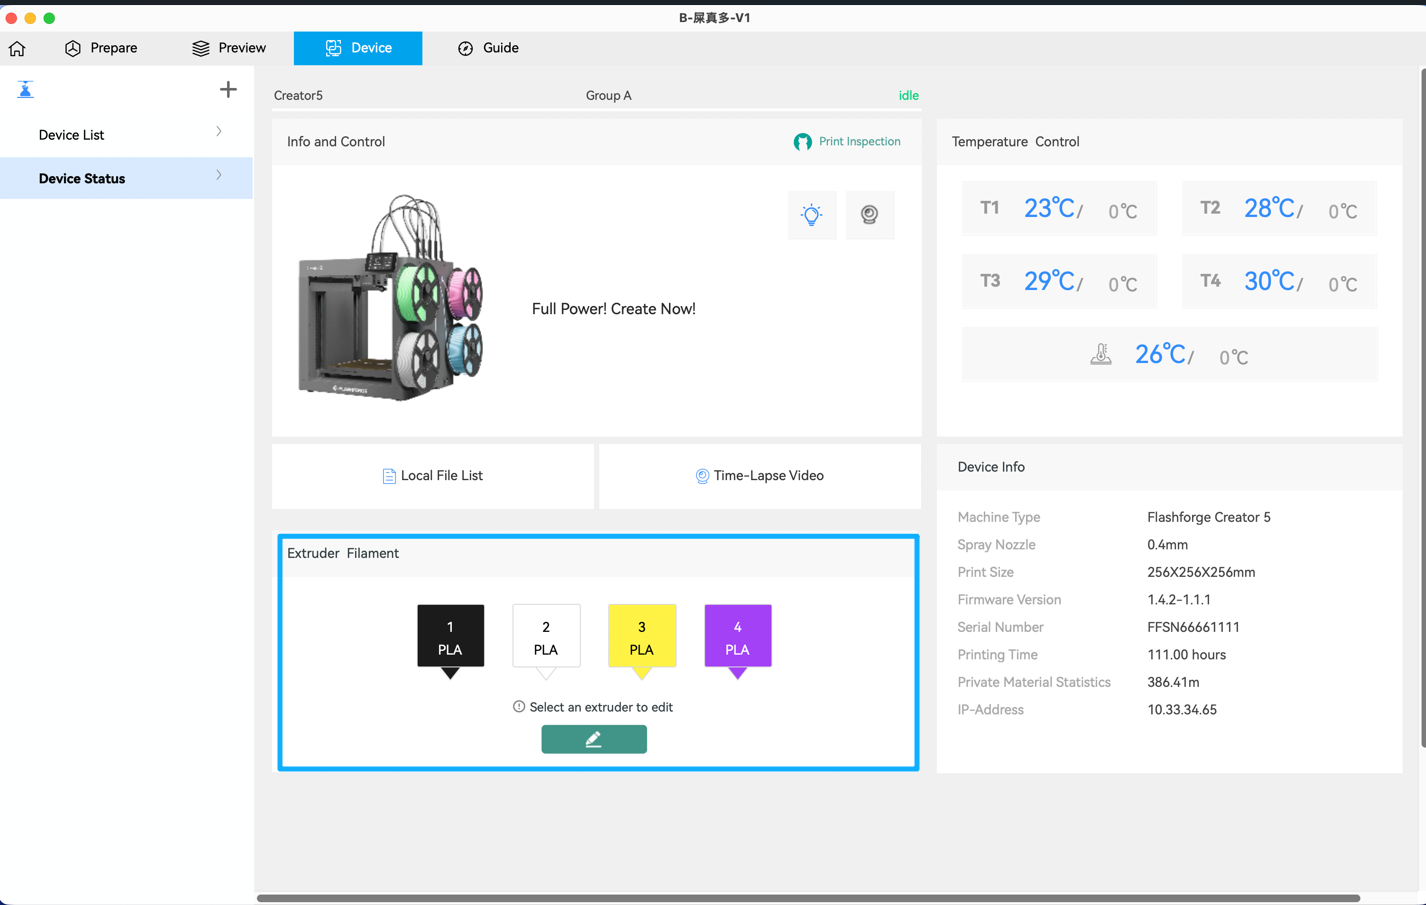
Extruder & Filament
Display the extruder information along with the corresponding filament type and color.
¶ Printing
There are two ways to print files:
- Remote printing
- Printing from a USB flash drive
¶ Create a New Project
To start slicing a model, click [New Project].
¶ Load a File
On the top menu bar of the Prepare interface, click【![]() 】to load a model;
】to load a model;
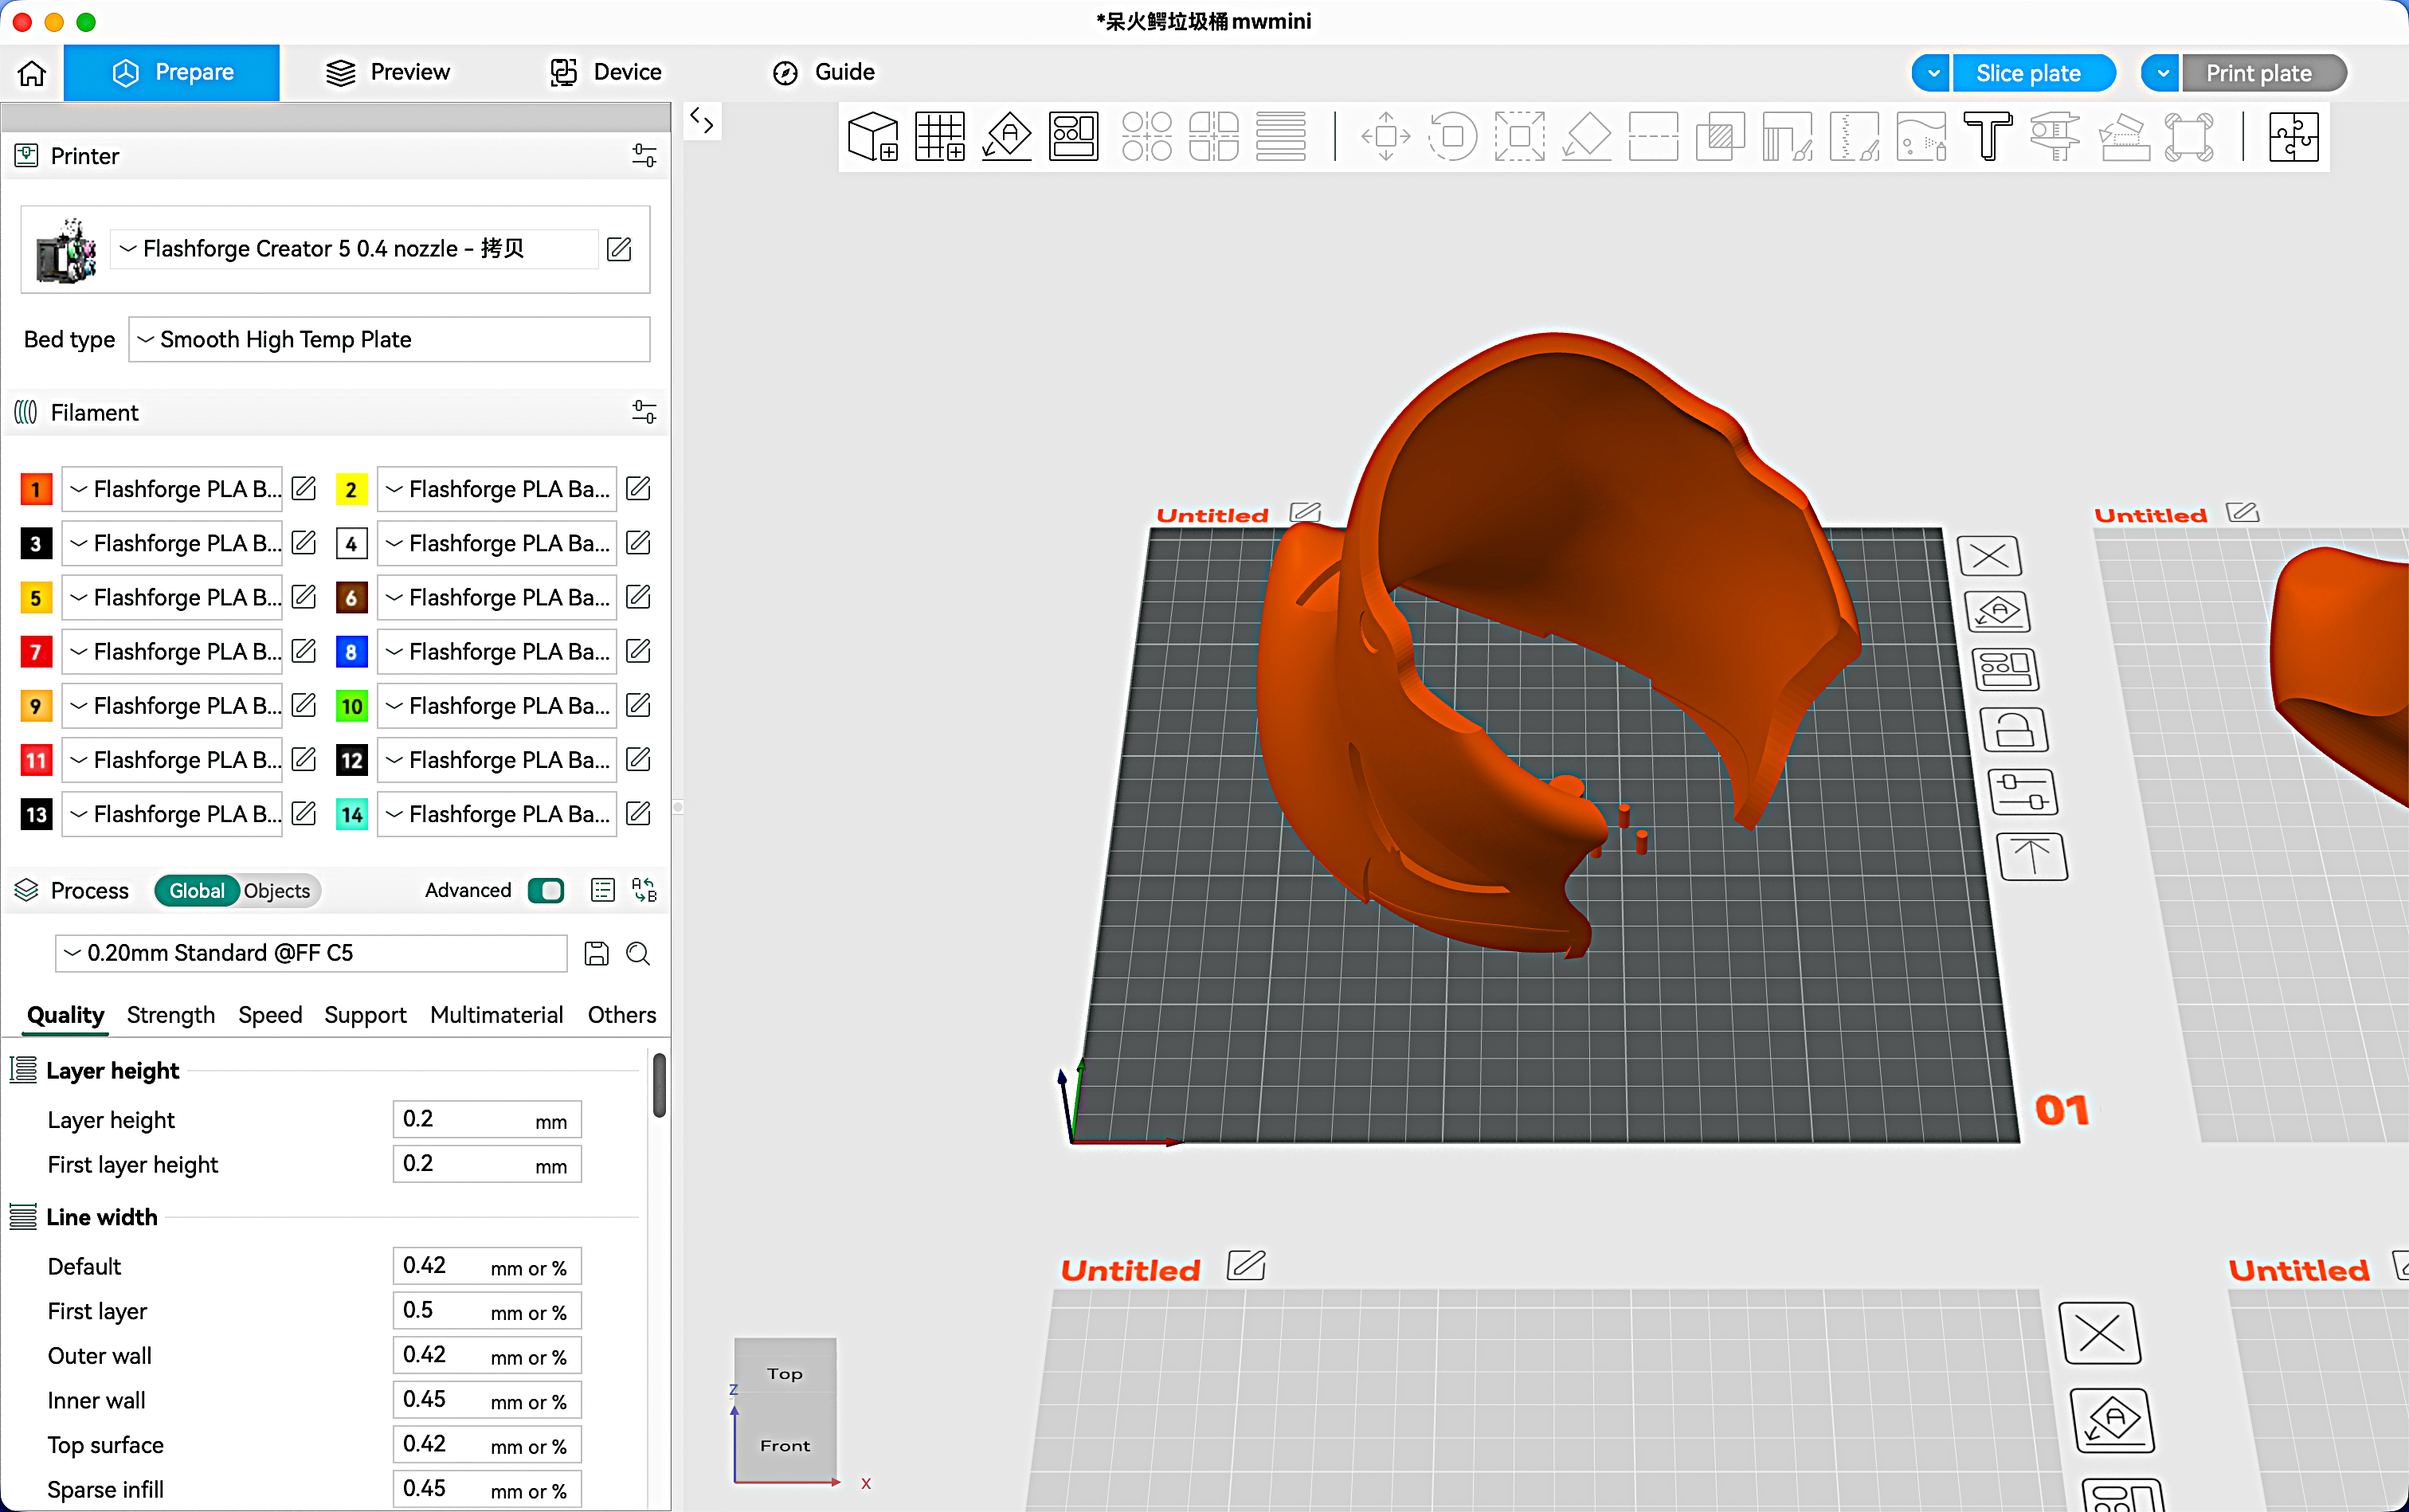
Select Printer/Filament/Process Presets
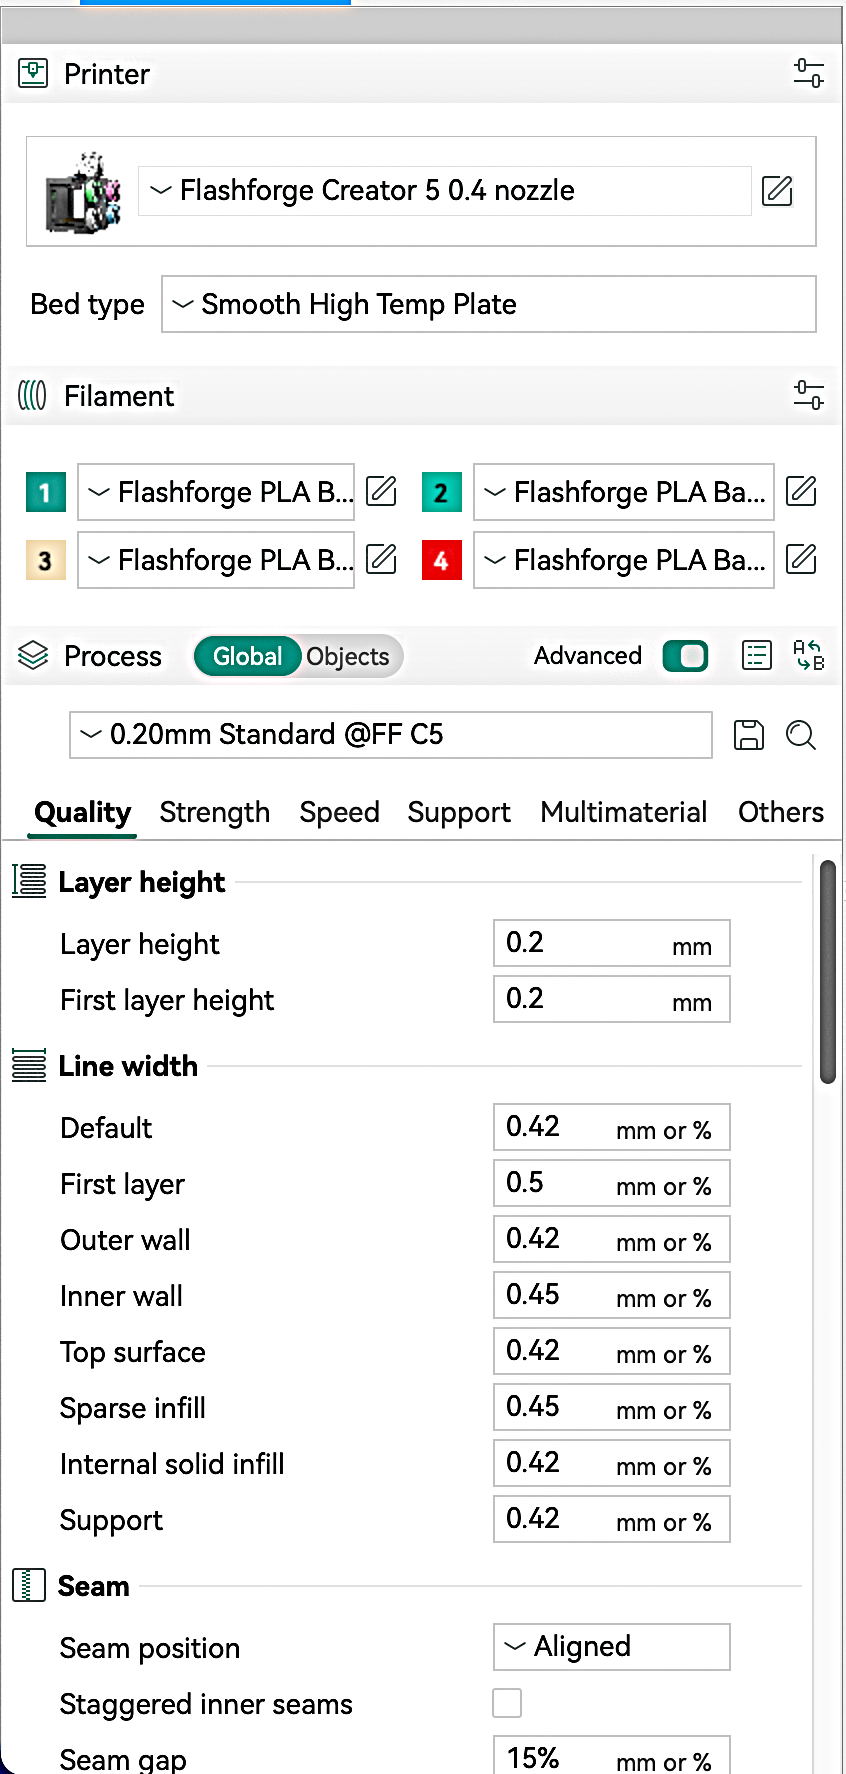
Before slicing, configure the printer, filament, and print parameters:
- Under [Printer], select the printer and nozzle size from the dropdown menu.
- Under [Filament], select the filament type you want to use.
- Under [Process], select the layer height for printing. Note: Smaller layer heights increase print time. For most models printed with a 0.4 mm nozzle, the standard layer height is 0.20 mm.
Click [Slice plate]. After slicing, you can print remotely or export the file to a USB flash drive.
【 】Click the Dropdown Menu

①Print plate: Send the file to the printer and start printing immediately.
②Send: Send the file to the printer and save it to the printer's memory without starting the print.
③Export plate sliced file: Export the sliced file in ".3mf" format to local storage.
④Export G-code file: Export the sliced file in ".gcode" format to local storage.
Print Method 1: Remote Printing
- After slicing the model, click [Print plate] and select the target printer.
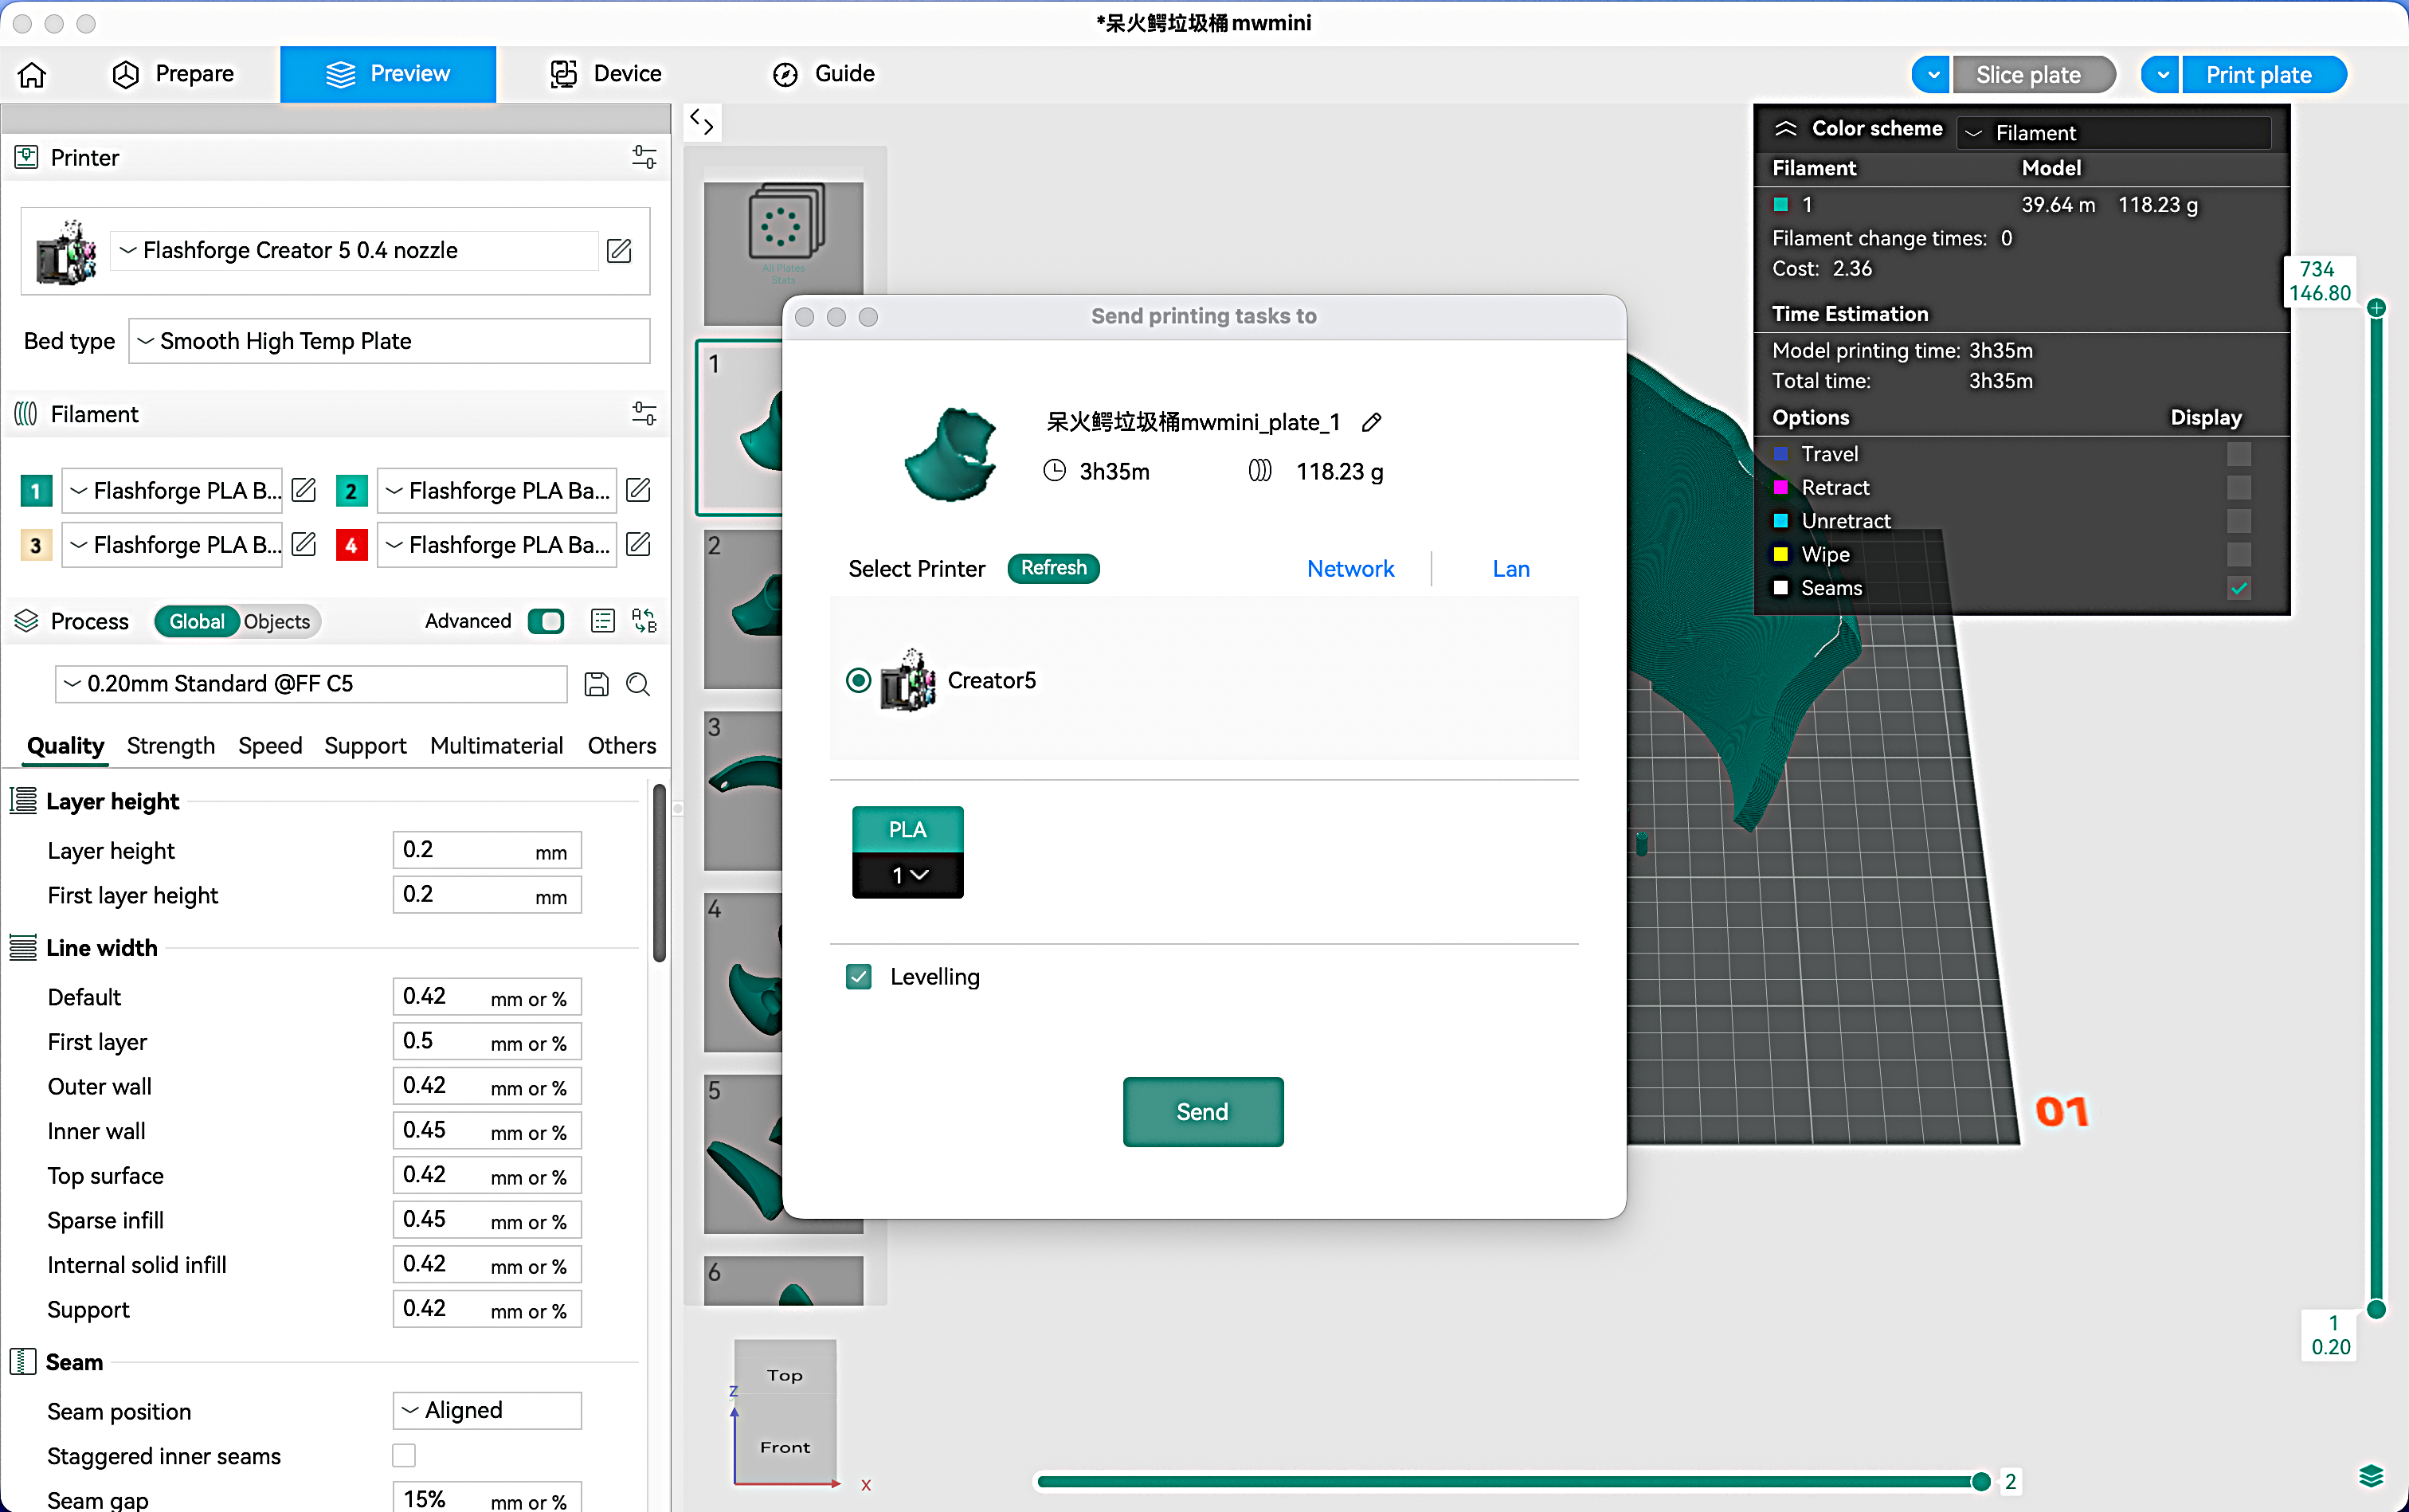
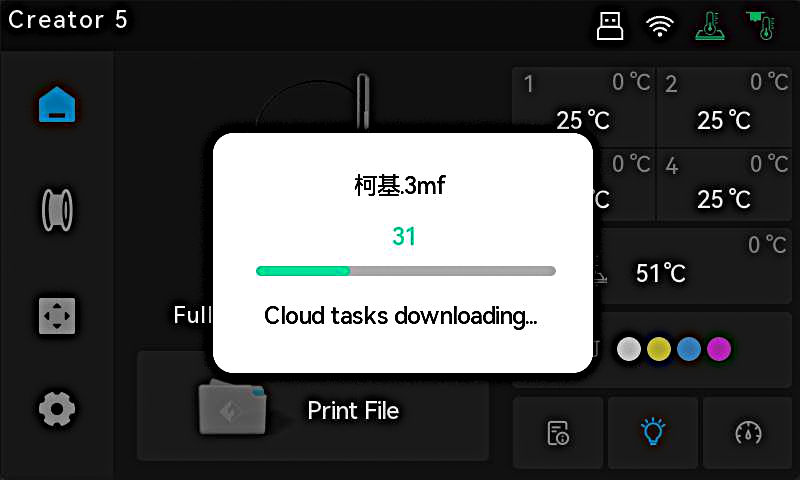
- Click [Send] to transfer the model to the printer.
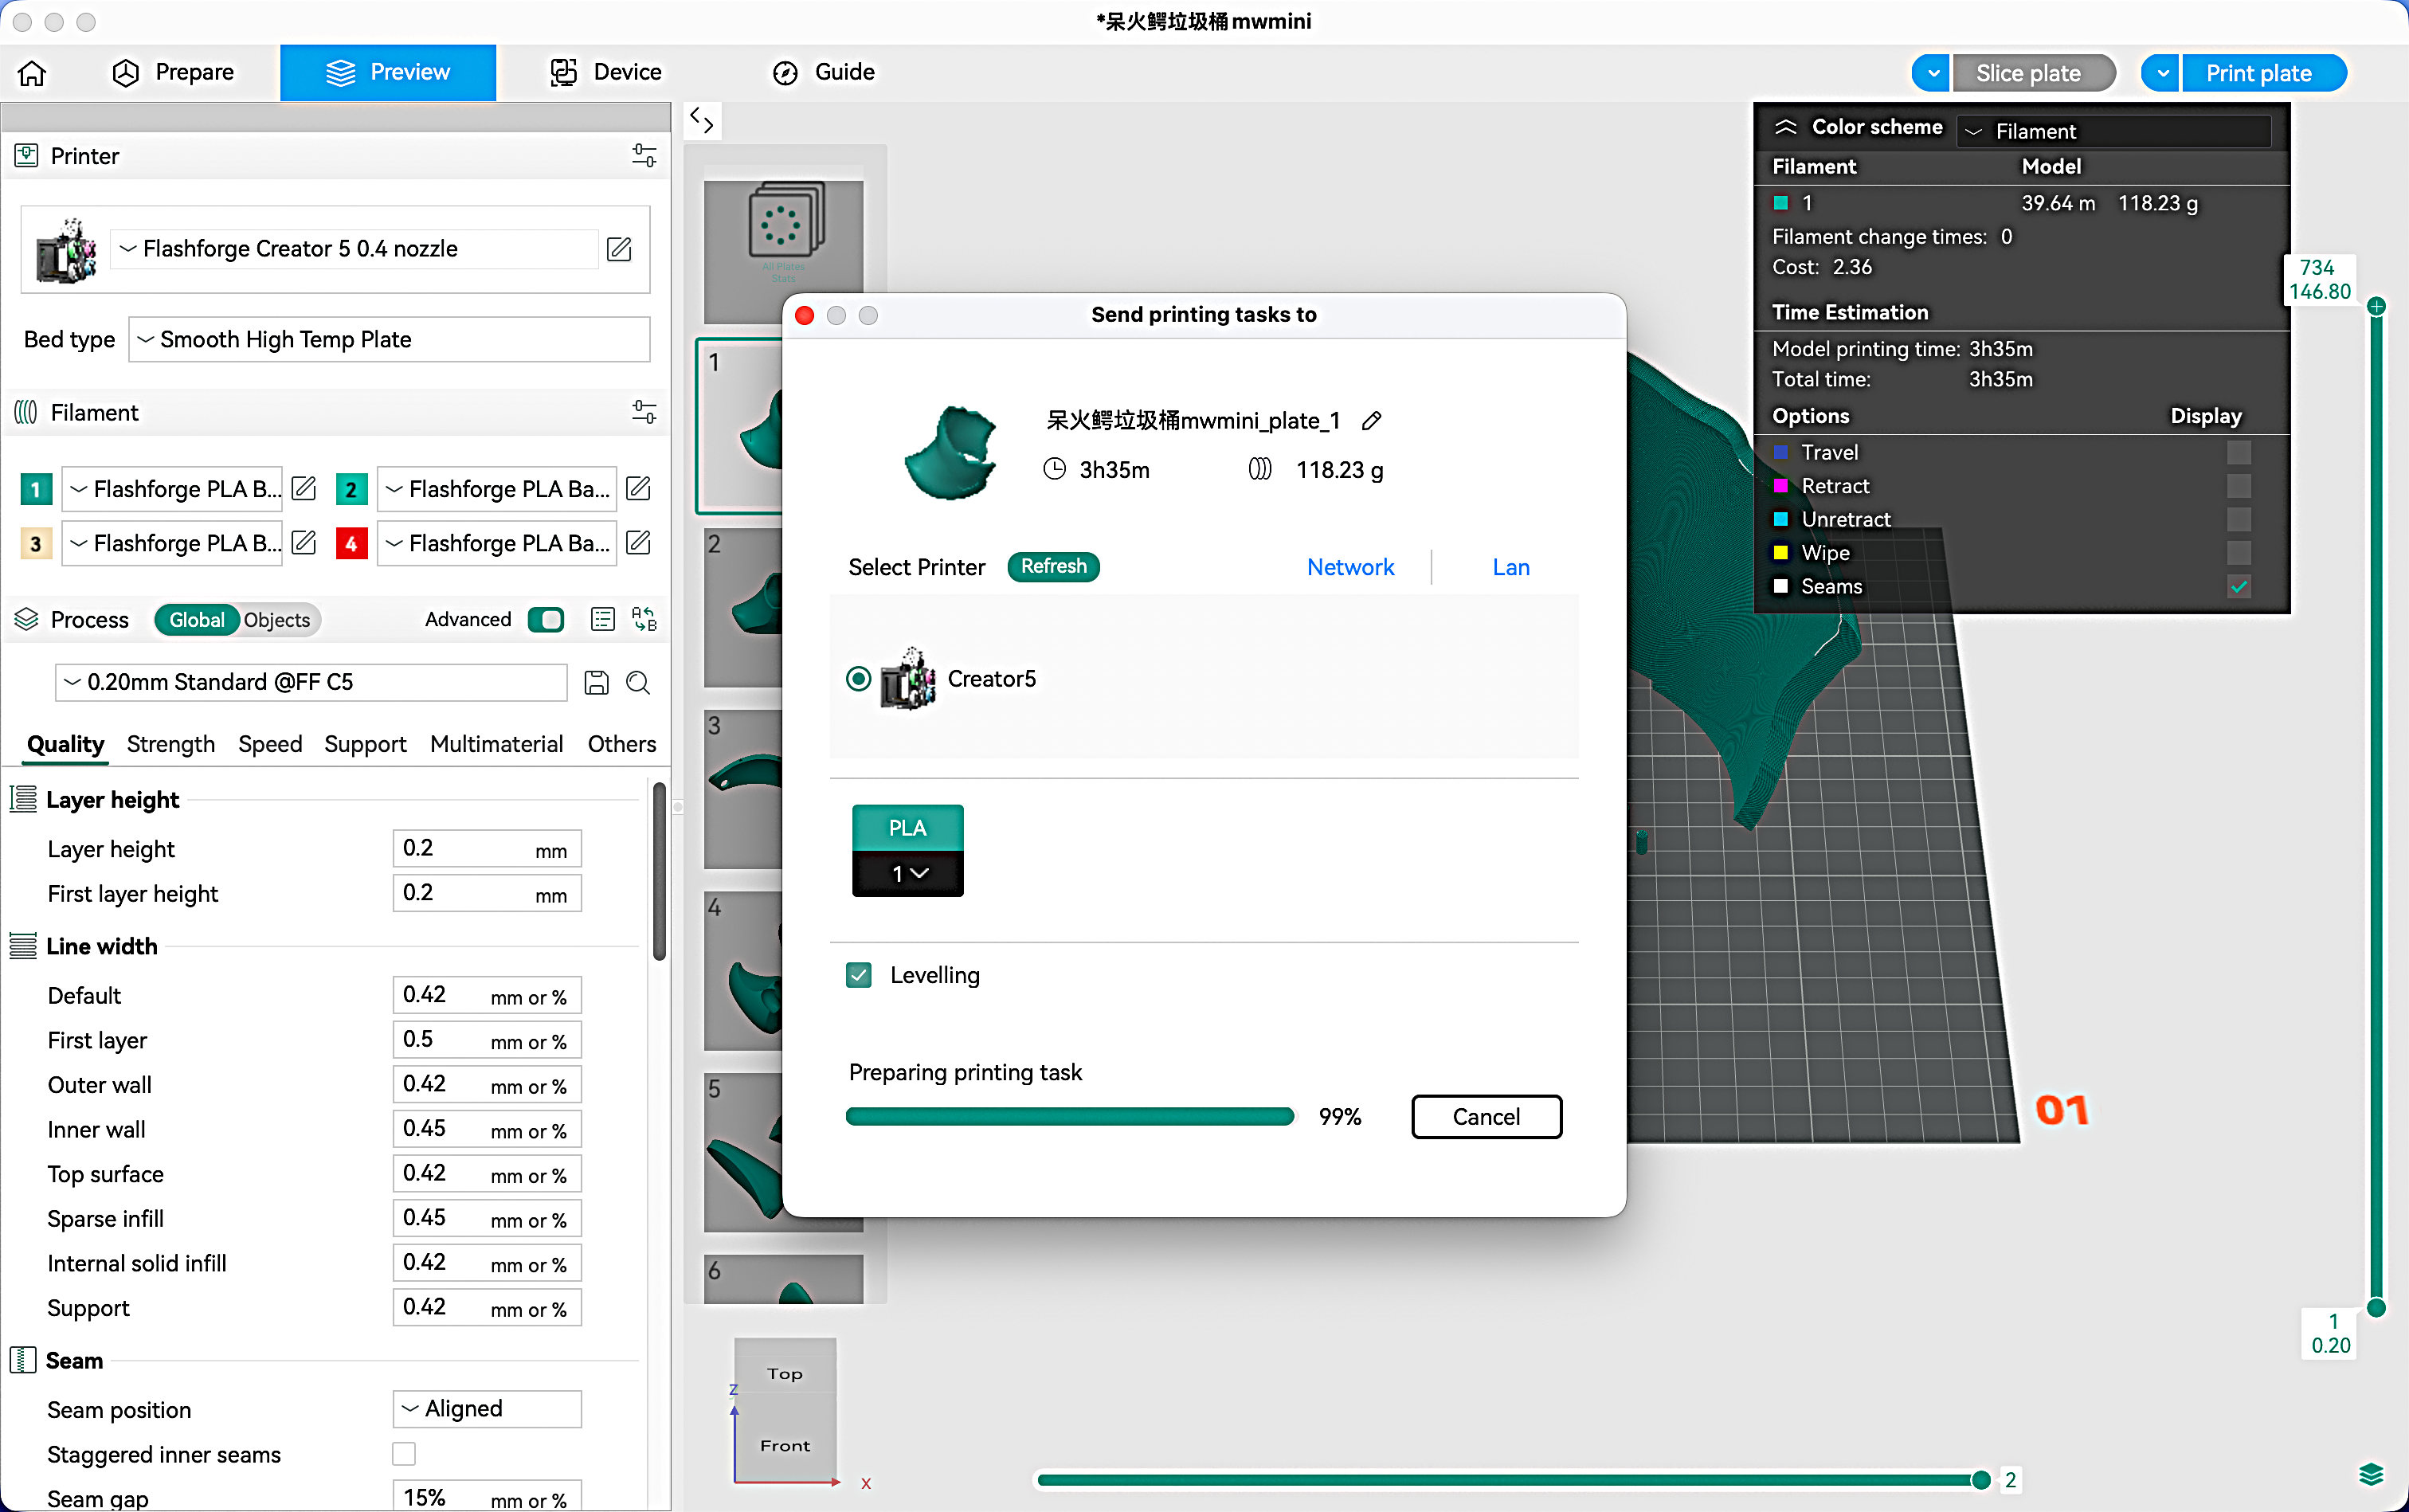
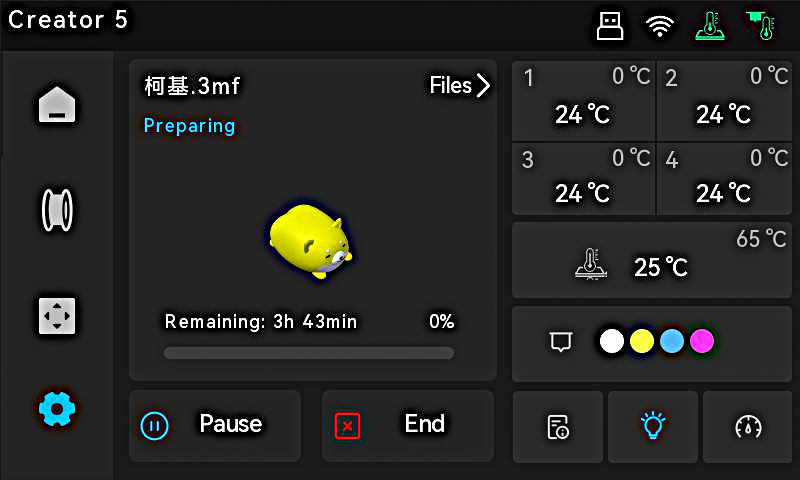
- The printer receives the file data.
- Printing begins automatically once the file transfer is complete.
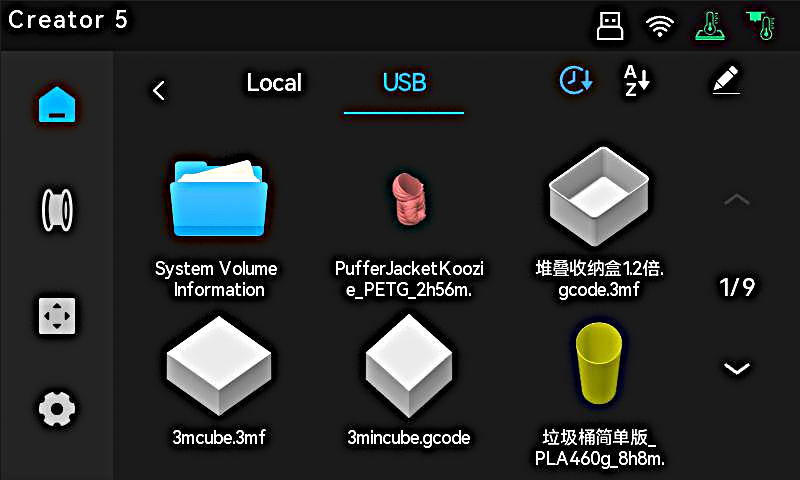
Print Method 2: Export to a USB Flash Drive
- To export the file to a USB flash drive, select [Export plate sliced file] from the dropdown menu. A file explorer window will open; locate your USB flash drive and click [Save].
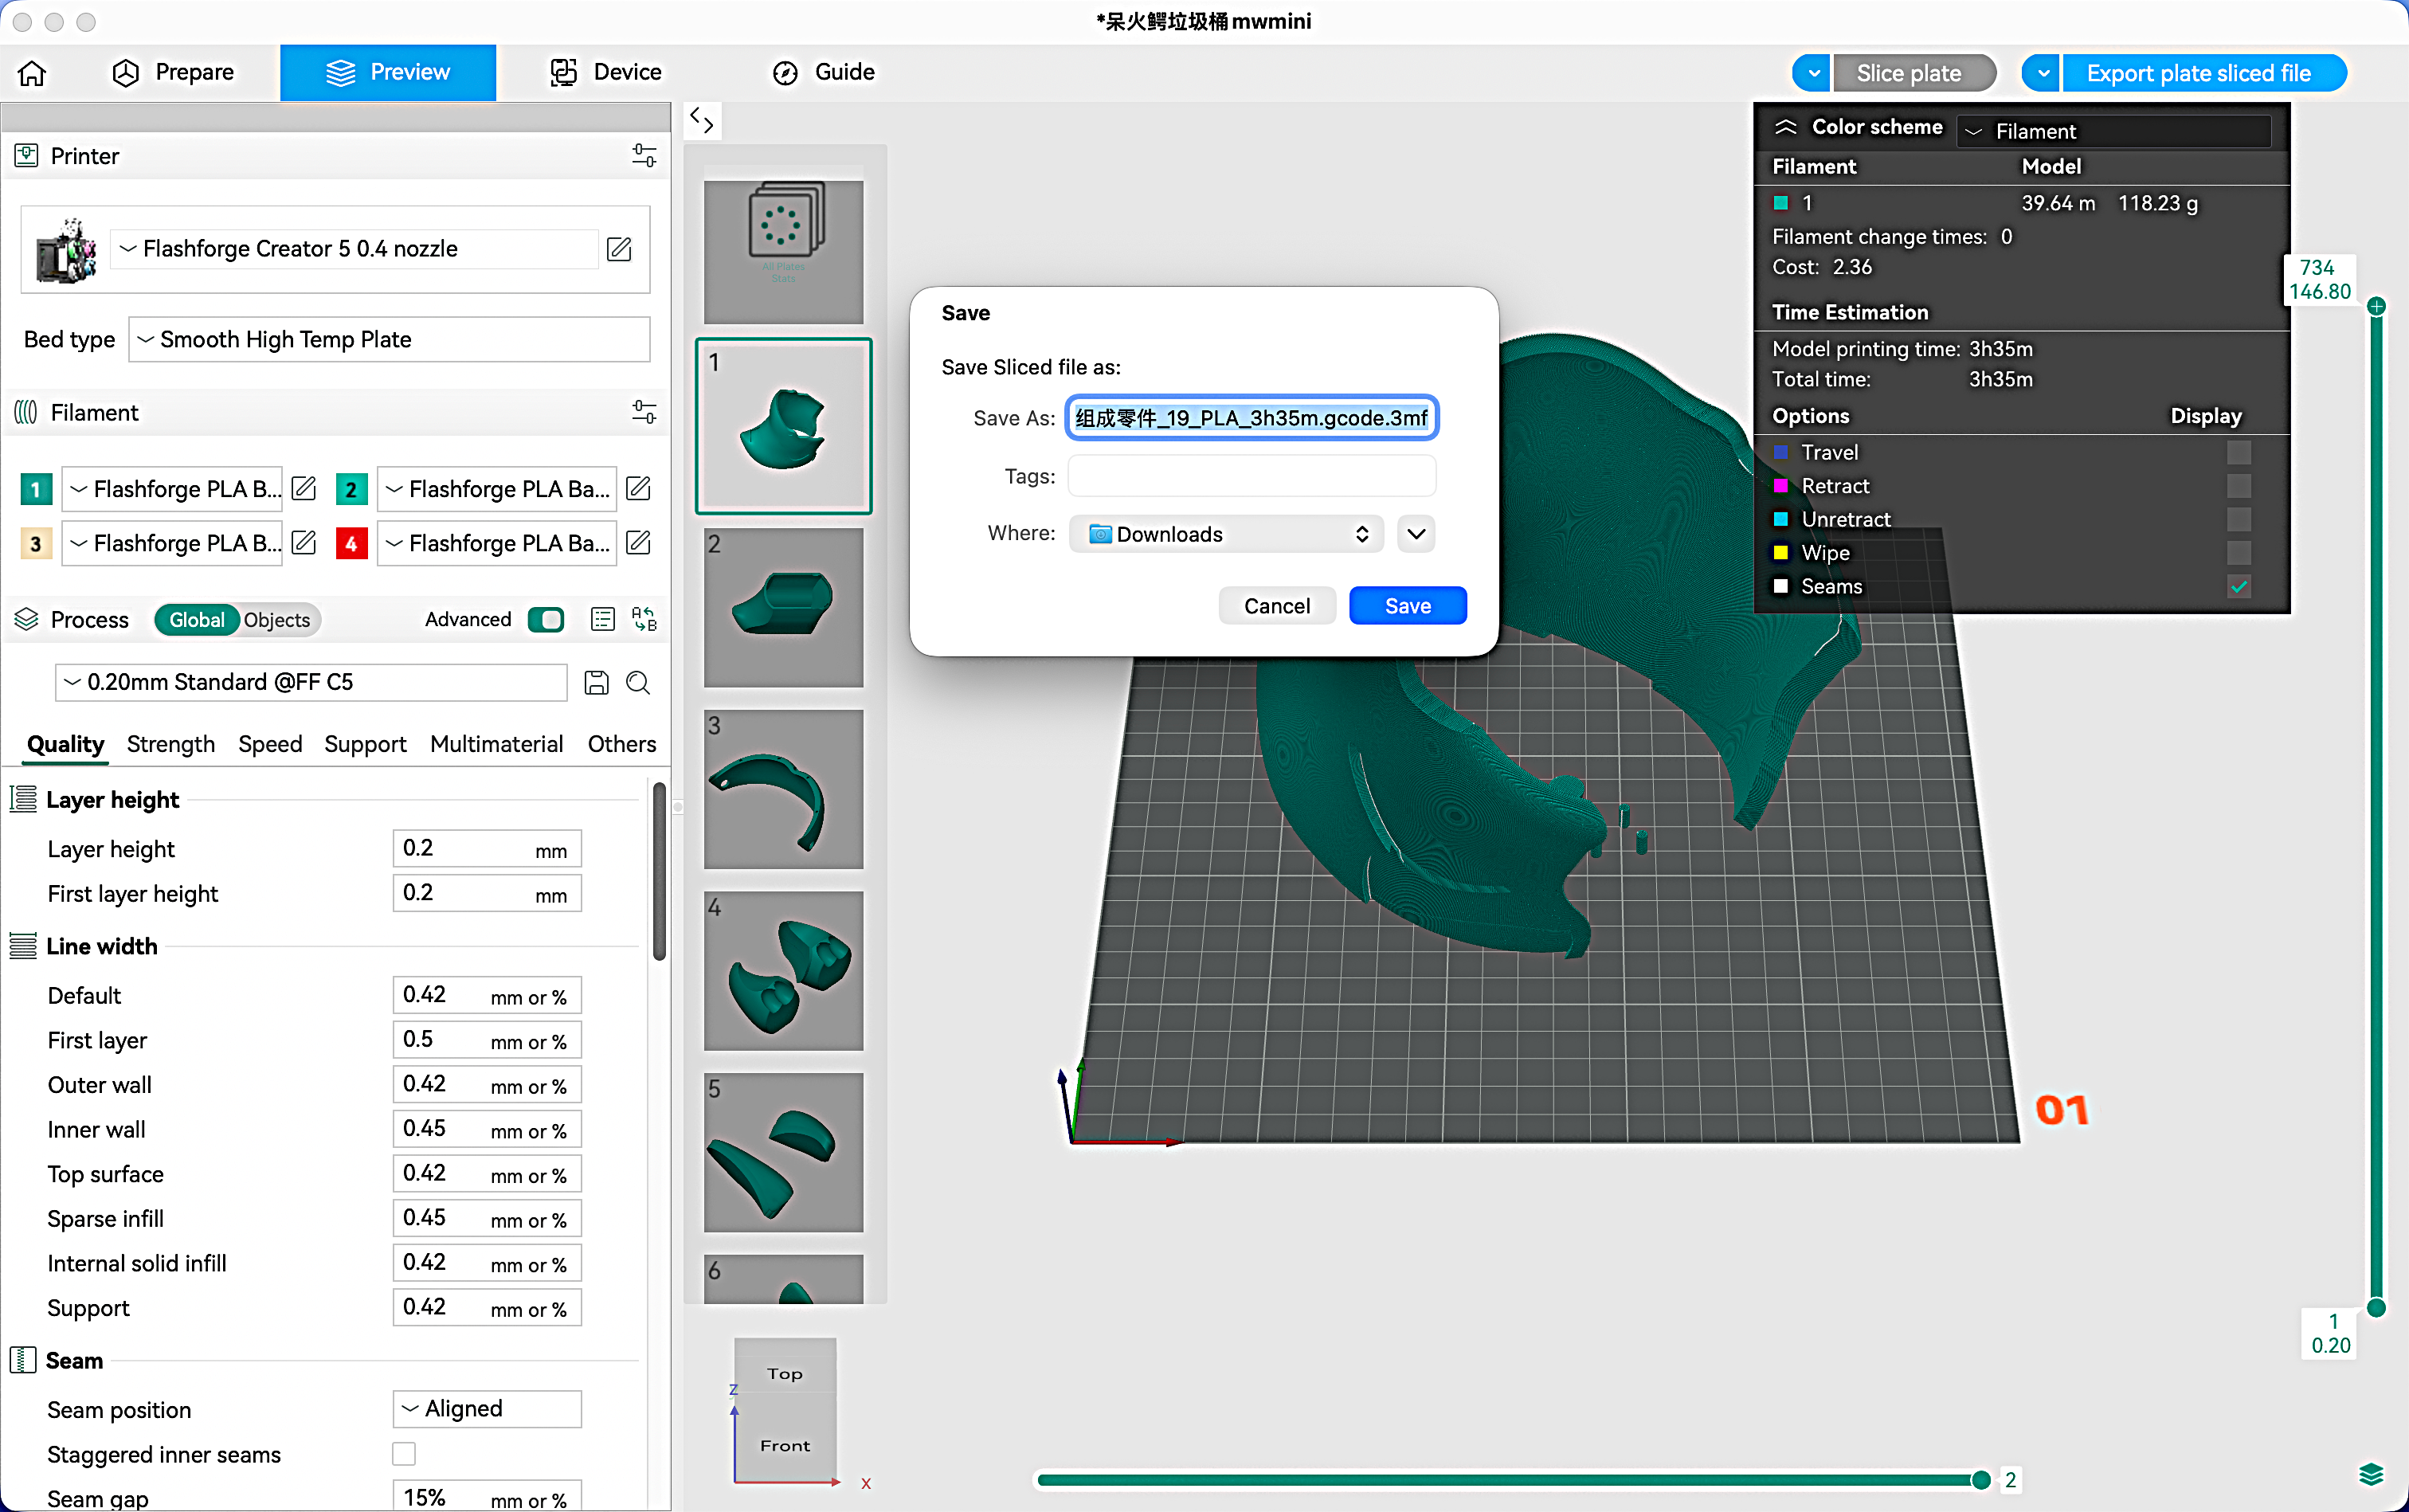
- After saving, insert the USB flash drive into the printer's USB port. On the printer's memory interface, select the USB icon and choose the corresponding model file to start printing.
¶ Slice Parameters
Good parameter configuration helps improve printing success rate and print quality.Click to learn more details!orca Official Website