To help users better see inside the printer's chamber and enhance lighting, this guide explains how to install the LED light and how to turn it on or off.
¶ Add an LED Light to Your AD5M
1. Download the 3D model file for the LED strip mounting plate from here.
2. Import the file into Orca-Flashforge. Position the model properly, select the printer type, filament type, and printing parameters, and then slice the model.
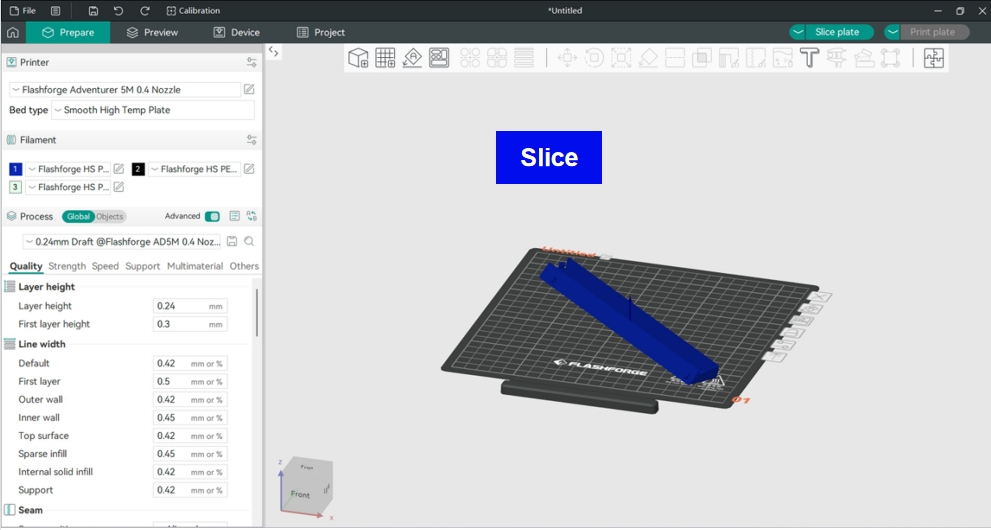
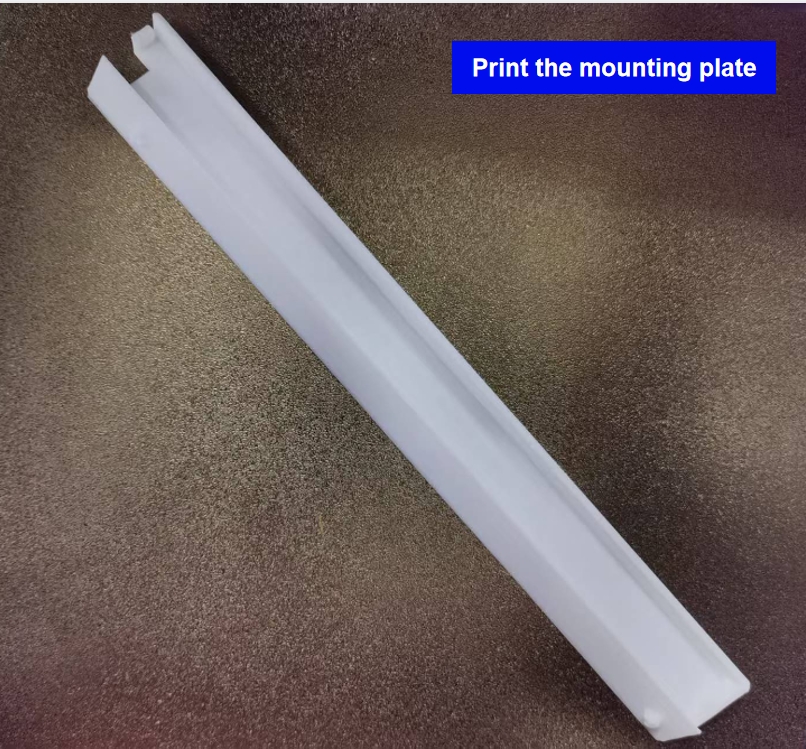
3. Once slicing is completed, send the file to the corresponding 3D printer to print the mounting plate.
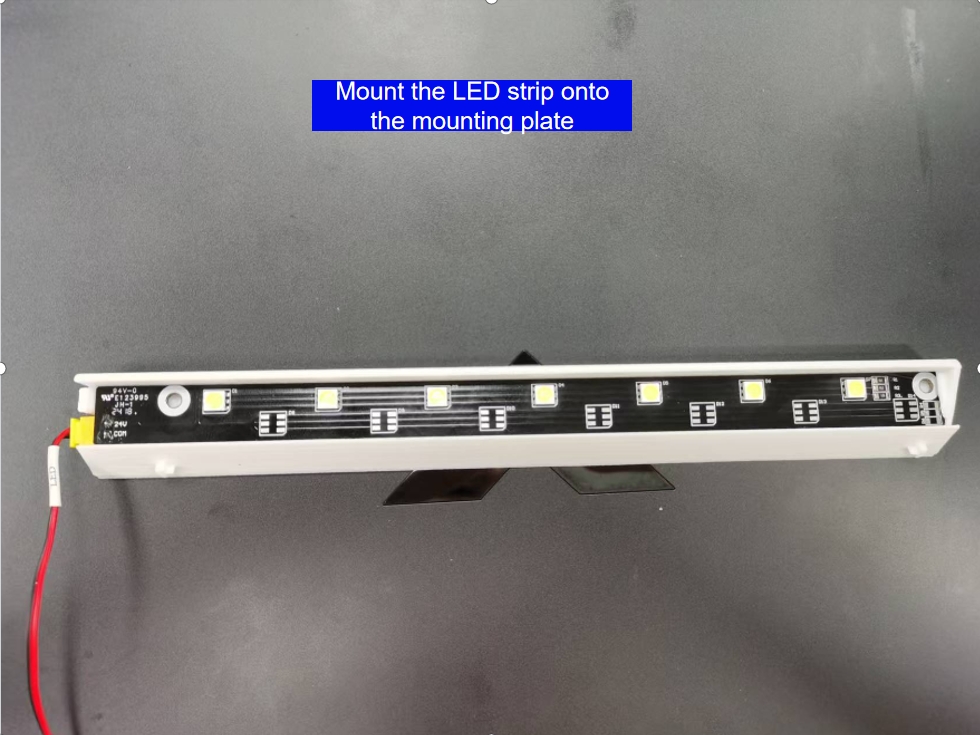
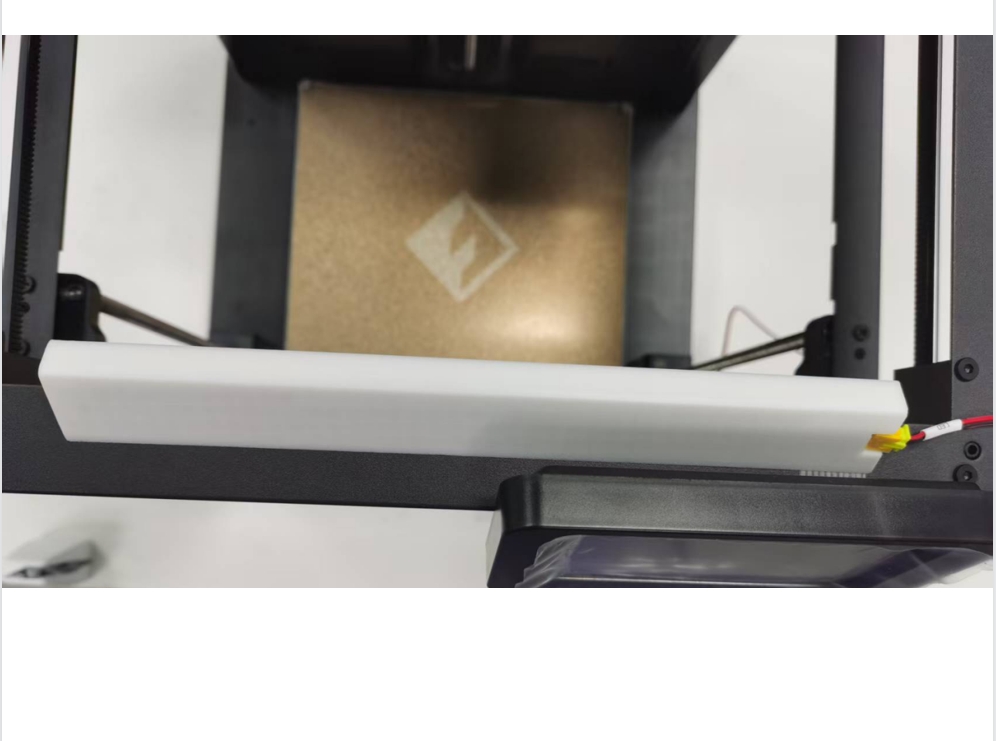
4. Assemble the LED strip into the printed mounting plate as shown below.
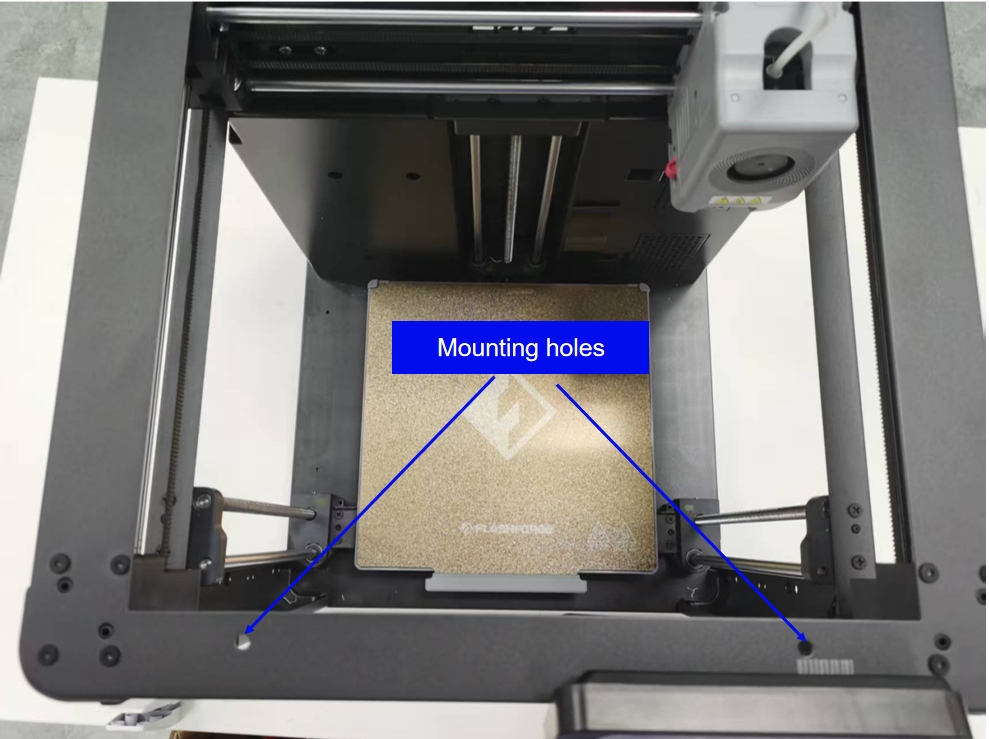
5. Insert the assembled LED module into the mounting holes on the printer as shown.
6. Power off the printer and remove the rear cover.
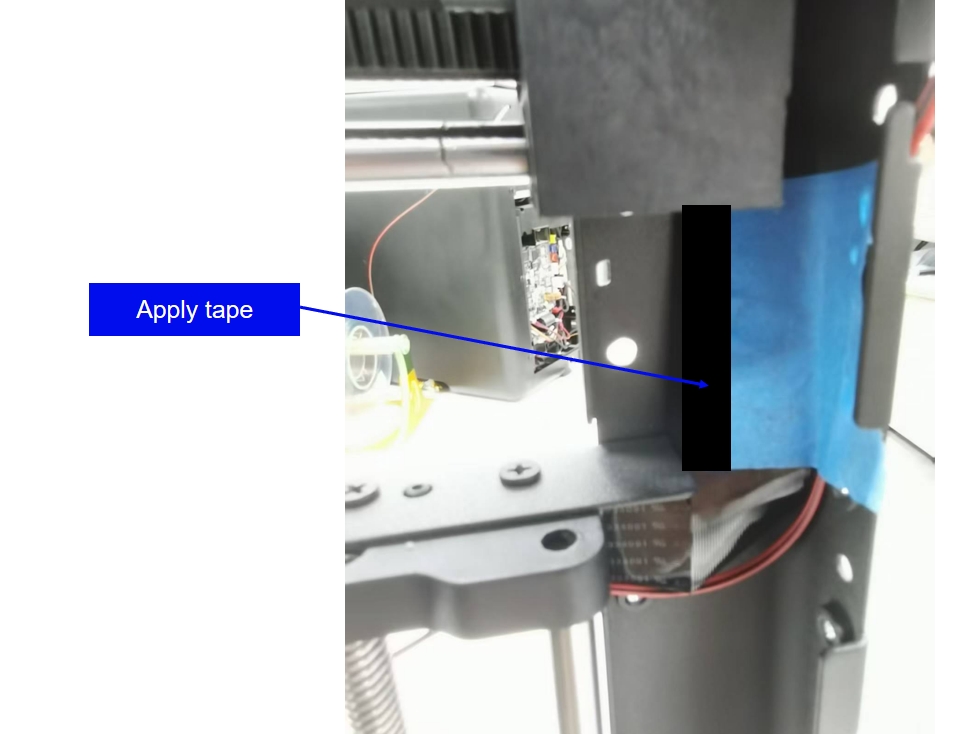
7. Thread the LED cable through the slot in the right front column as shown.

8. Secure the cable to the inside of the column's metal plate with tape, as shown below.
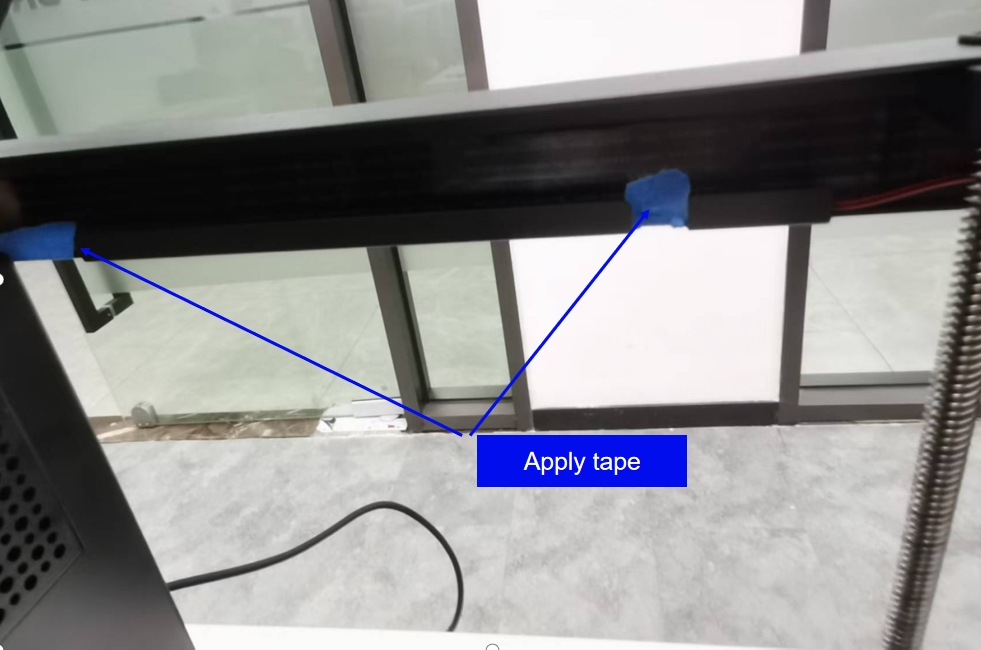
9. Thread the cable through the slot in the right beam's metal plate and secure it with tape, as shown in the figure.
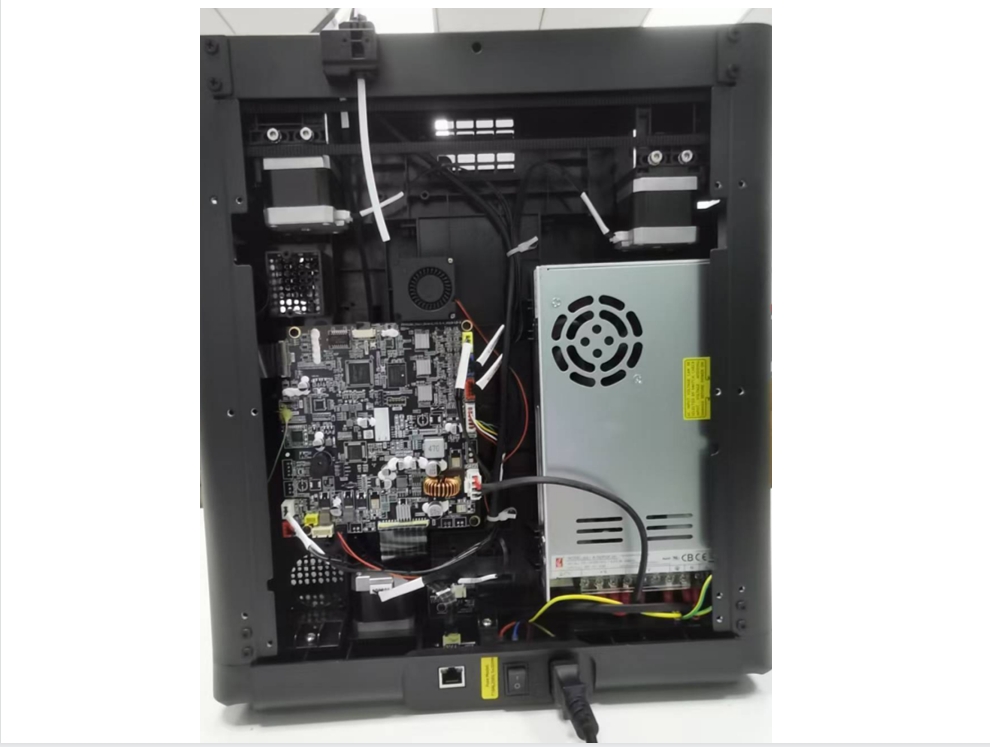
10. Pass the cable through the through-hole to the rear of the printer, as shown.
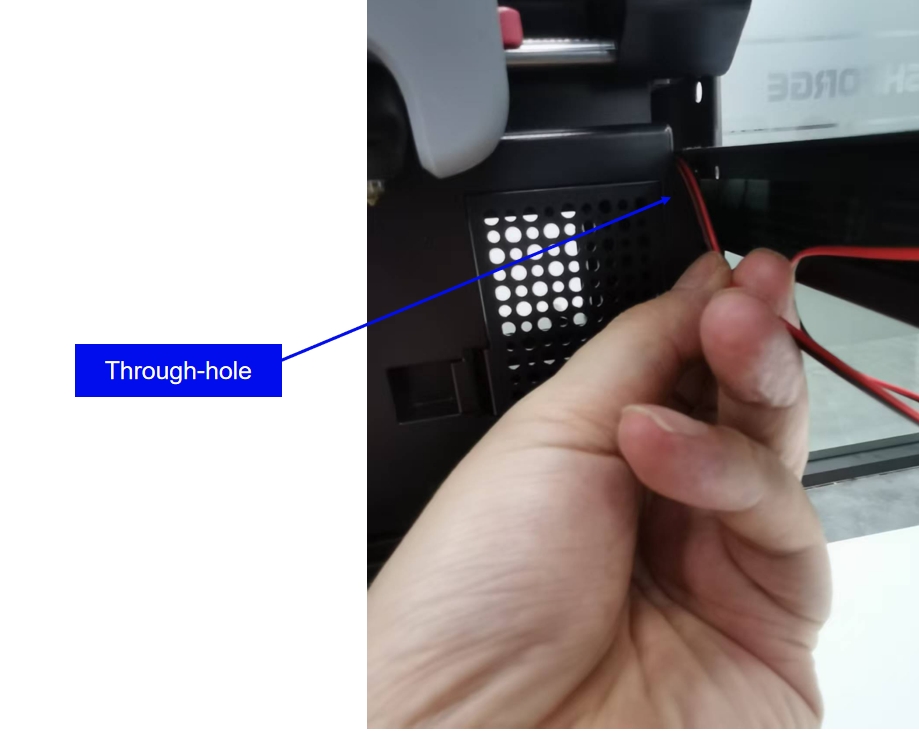
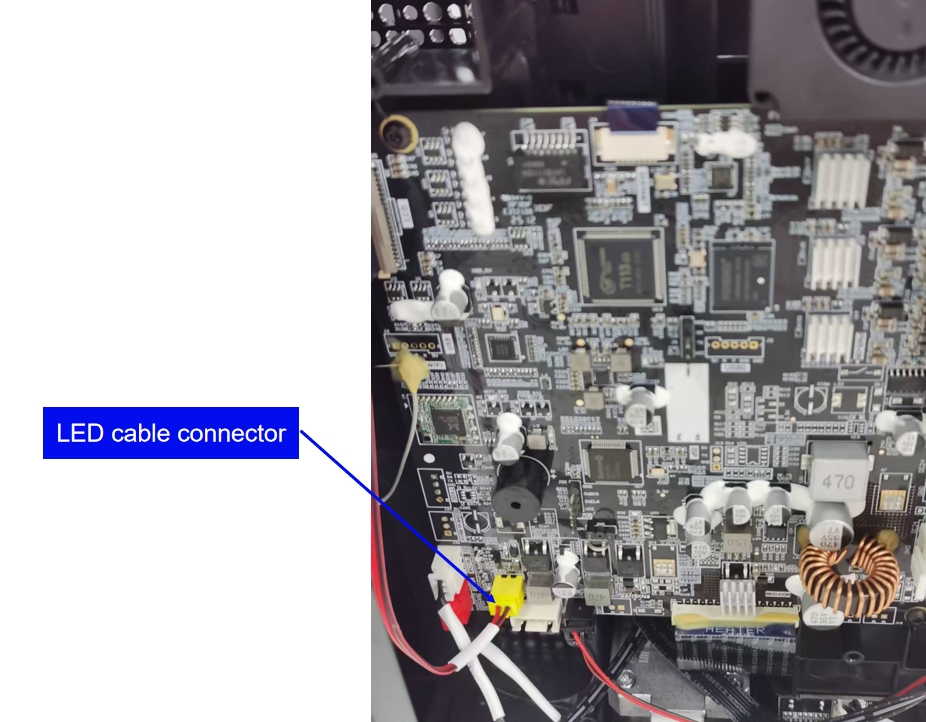
11. From the rear of the printer, pull the cable out until the connector can reach the motherboard. Plug the cable connector into the corresponding port on the motherboard as shown.
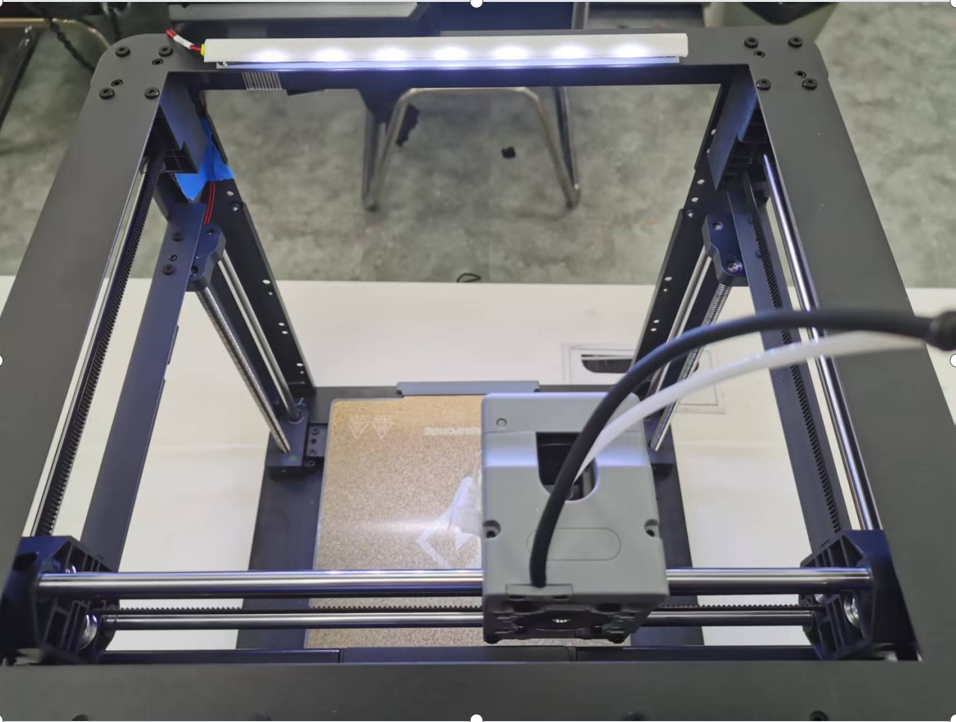
12. Reinstall the rear cover and power on the printer. Once the printer boots up, the LED light should turn on automatically, as shown in the figure.
Note: There's no physical button on the printer's control panel to turn the LED light on or off. To control the LED light, you must use Orca-Flashforge or Flash Maker.
¶ How to control the LED light
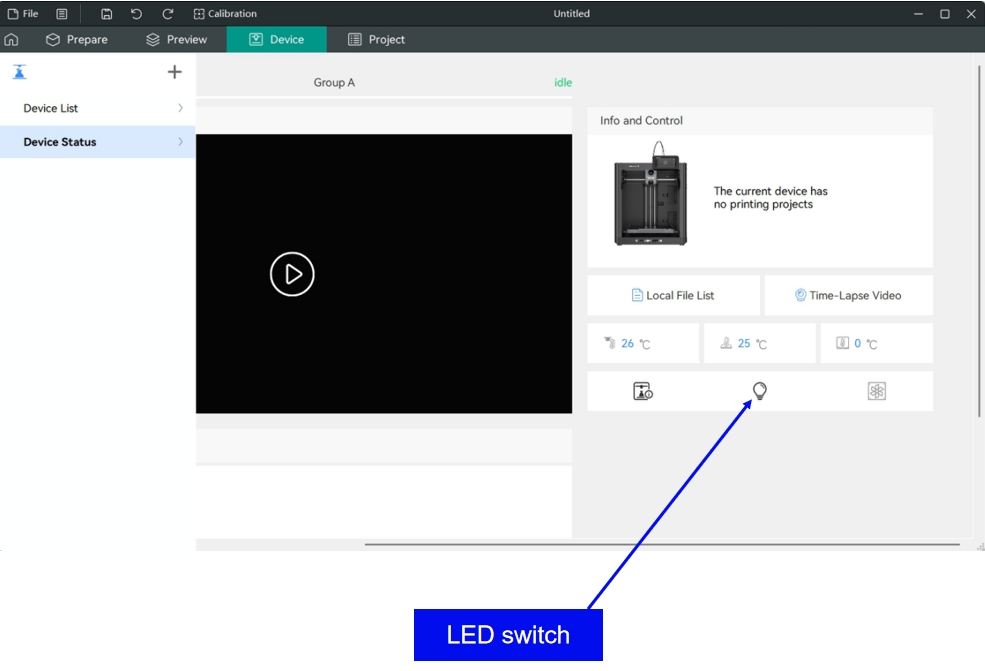
1. You can turn the LED light on or off via Orca-Flashforge, as shown below.
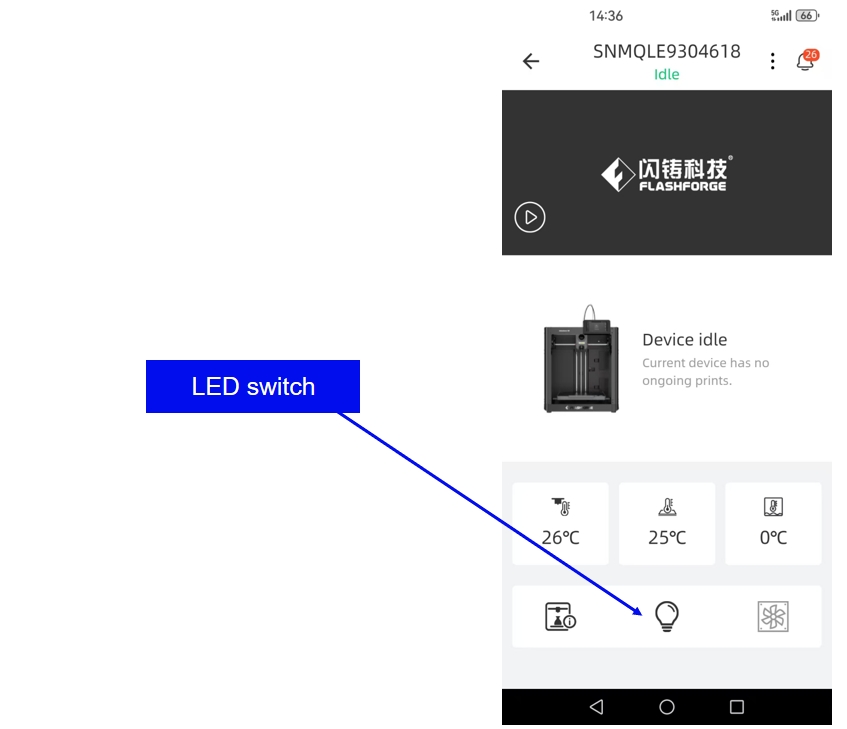
2. Alternatively, you can control the LED light using Flash Maker, as shown below.
Note: Before using Orca-Flashforge or Flash Maker to control the LED light, make sure the software is connected to the printer over the network.