Whether you print a model directly from a USB flash drive or remotely send it through Orca-Flashforge, it will be stored in the printer's memory.
¶ Print 3MF Files from Printer Memory
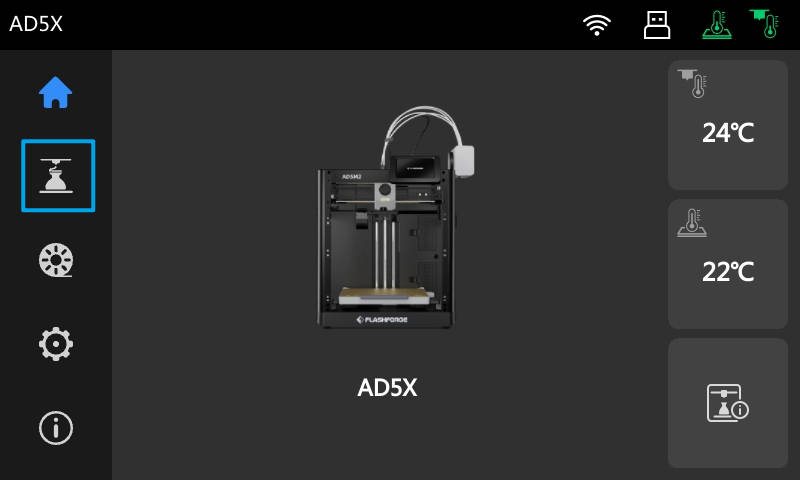
1. On the main interface, click [![]() ].
].
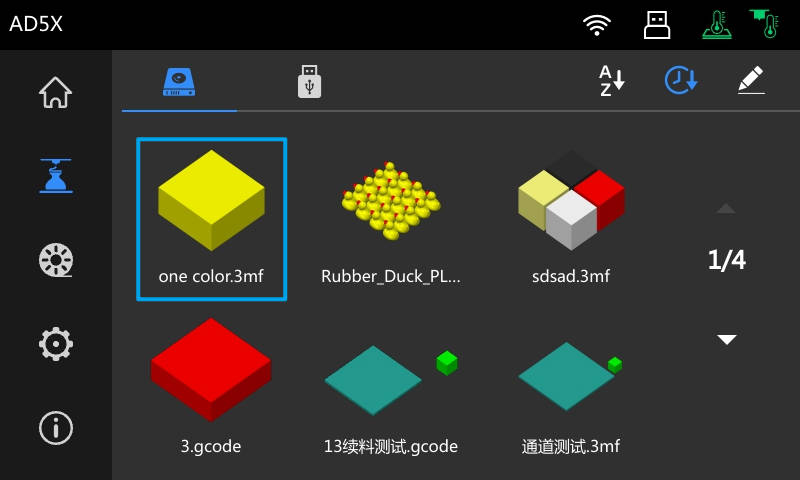
2. On the memory interface, select the model you want to print, such as "one color.3mf".
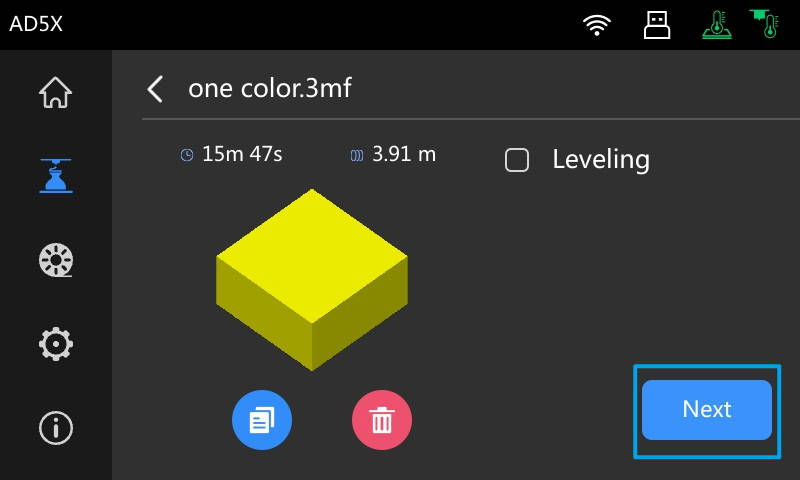
3. On the model information interface, you can choose whether to perform leveling before printing. Click [Next] to proceed to the IFS channel configuration interface.
4. On the IFS channel configuration interface, you need to set up the channels of the printer to match the filament type configured in the sliced file. Ensure the filament types match, but the colors can be different. Once all channels are configured, click [![]() ] to start printing.
] to start printing.

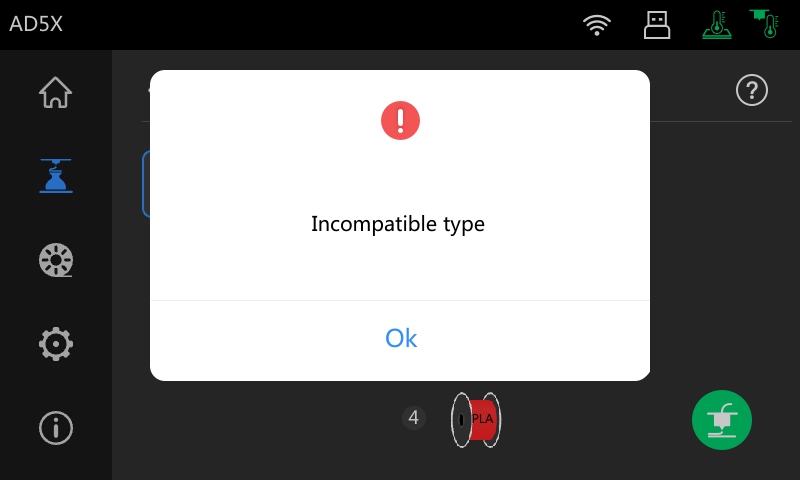
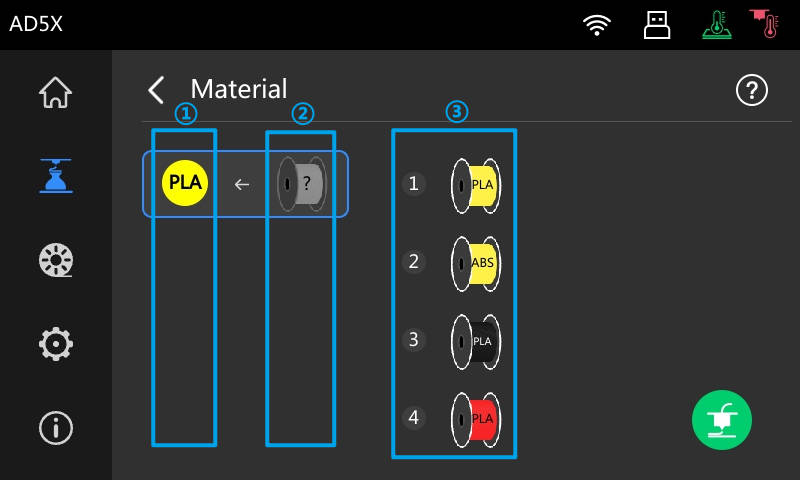
① The filament color and type configured in the sliced file
② The selected channel number and filament color
③ The filament color and type saved on the printer's filament interface
5. After entering the printing interface, the printer will automatically perform actions such as homing, preheating, filament loading, and printing.

6. During printing, you can adjust the extruder temperature and bed temperature.
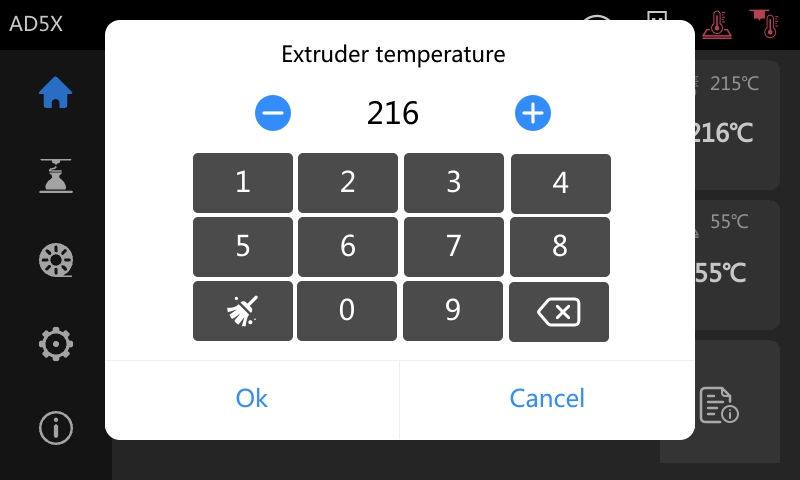

You can also enter the details interface to adjust the print speed, fan speed, and Z-axis height (note: adjustments to Z-axis height take effect immediately).

7. Once printing is completed, the actual print time will be displayed. You can also choose to print again if needed.

8. After the bed has cooled to room temperature, remove the PEI sheet along with the model from the printer. Bend the PEI sheet to easily remove the model.
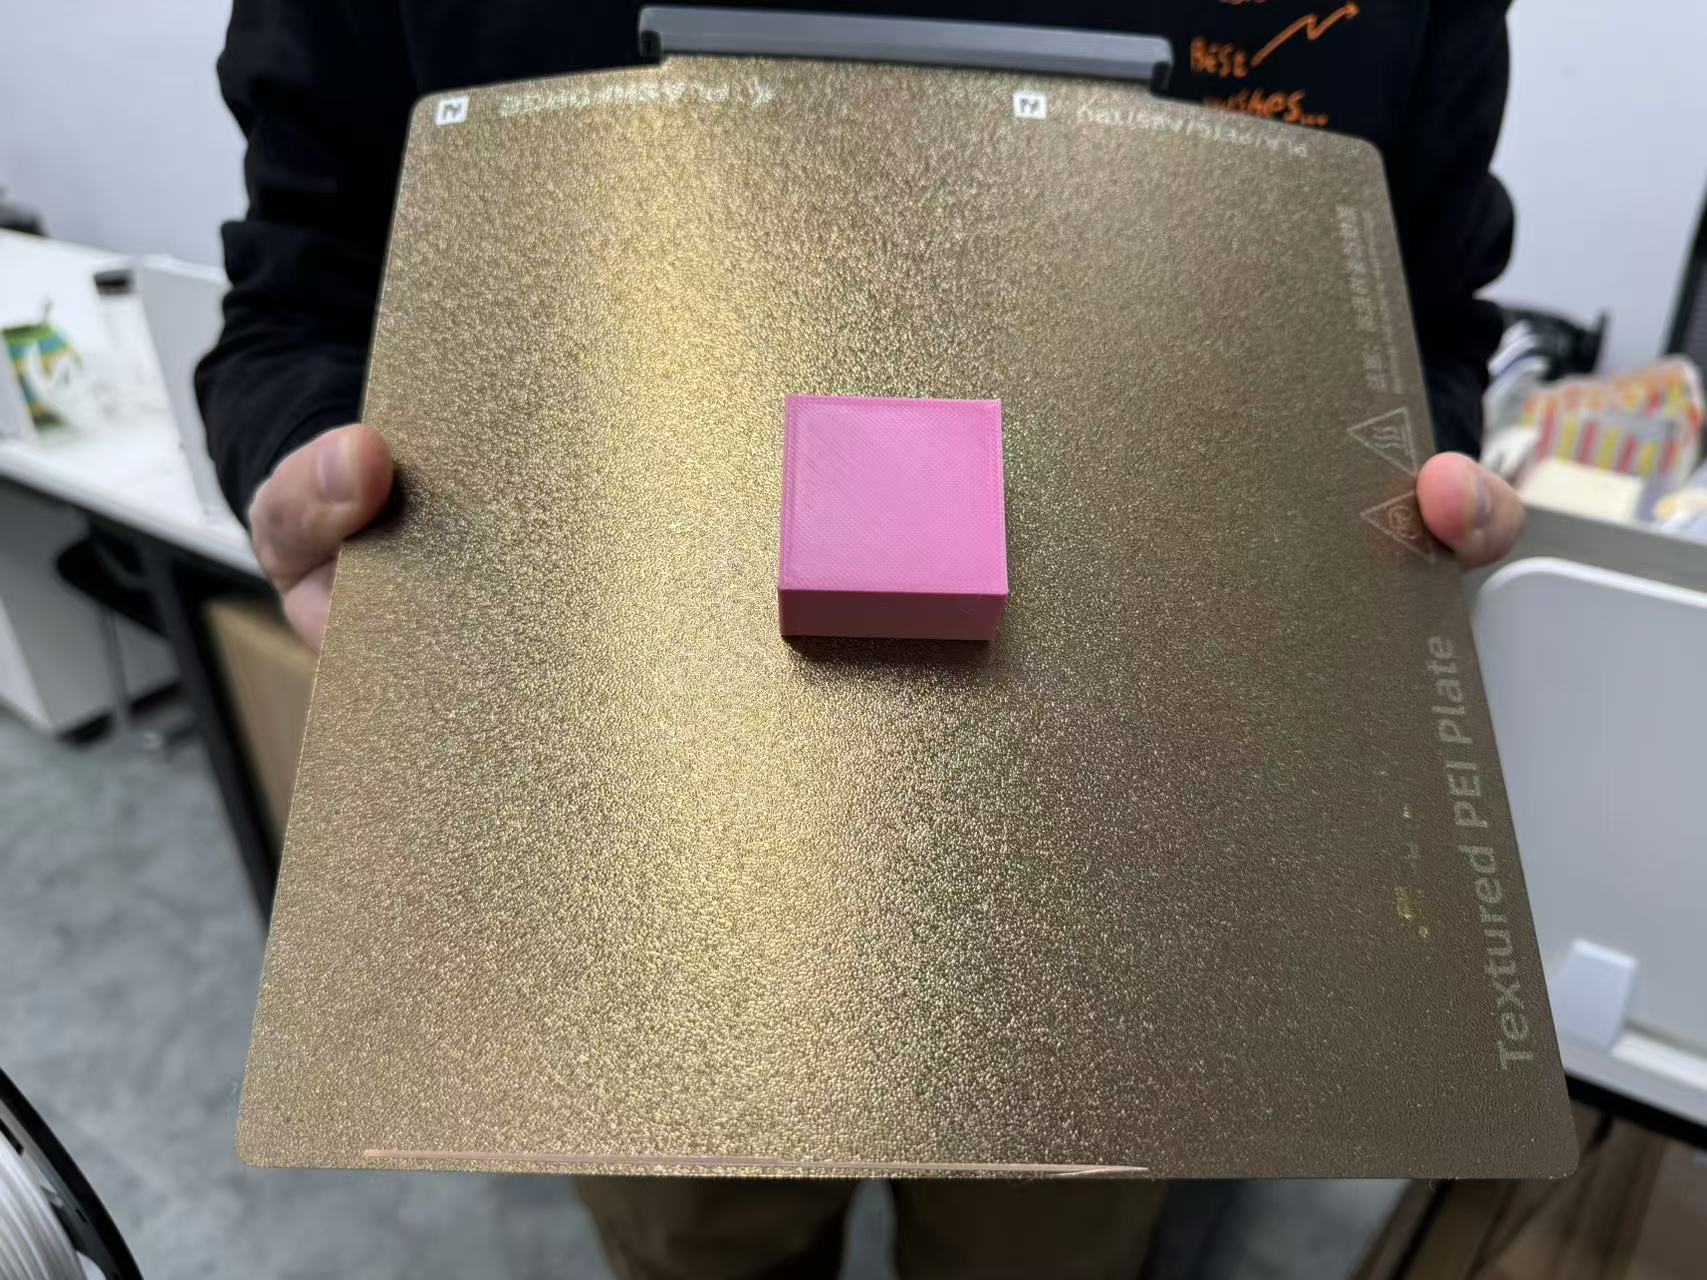
Note: If the model warps or shifts during printing, simply clean the surface of the PEI sheet with alcohol or a cleaner to remove any oil residue or dirt, which will restore its adhesion. If the PEI sheet is still unable to hold the model after cleaning, it is recommended to apply adhesive or replace the PEI sheet.
¶ Print G-code Files from Printer Memory
1. On the main interface, click [![]() ].
].

2. On the memory interface, select the model you want to print, such as "3.gcode".
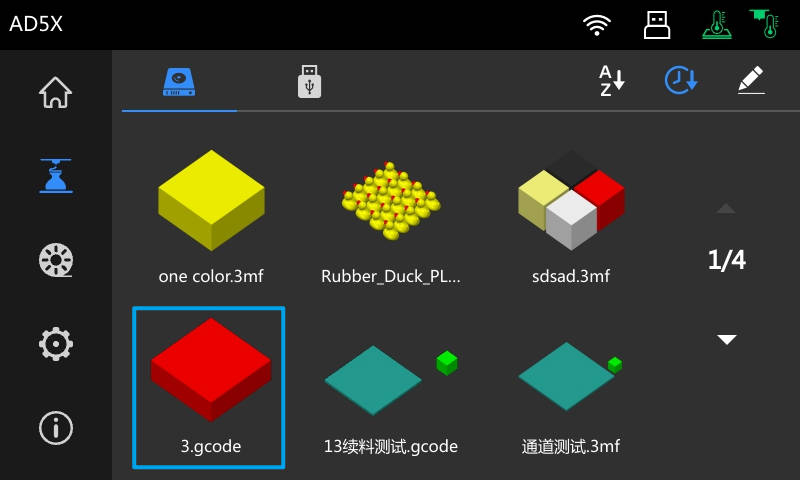
3. On the model information interface, you can choose whether to perform leveling before printing. Then, click [![]() ] to start printing.
] to start printing.

Note: G-code files are unavailable for channel configuration. The printer will automatically match the IFS channels to the filament numbers specified in the sliced file. For example, if the sliced file uses filaments 1 and 3, the printer will use IFS Channels 1 and 3 for printing.