¶ Color Painting Tool Guide
The color painting feature allows users to modify the colors of different parts of a model in a 3D scene. The painted model will be sliced into Gcode paths extruded by multiple filaments. It may finally be printed out as a colorful model.
¶ Add at least two different colored filaments
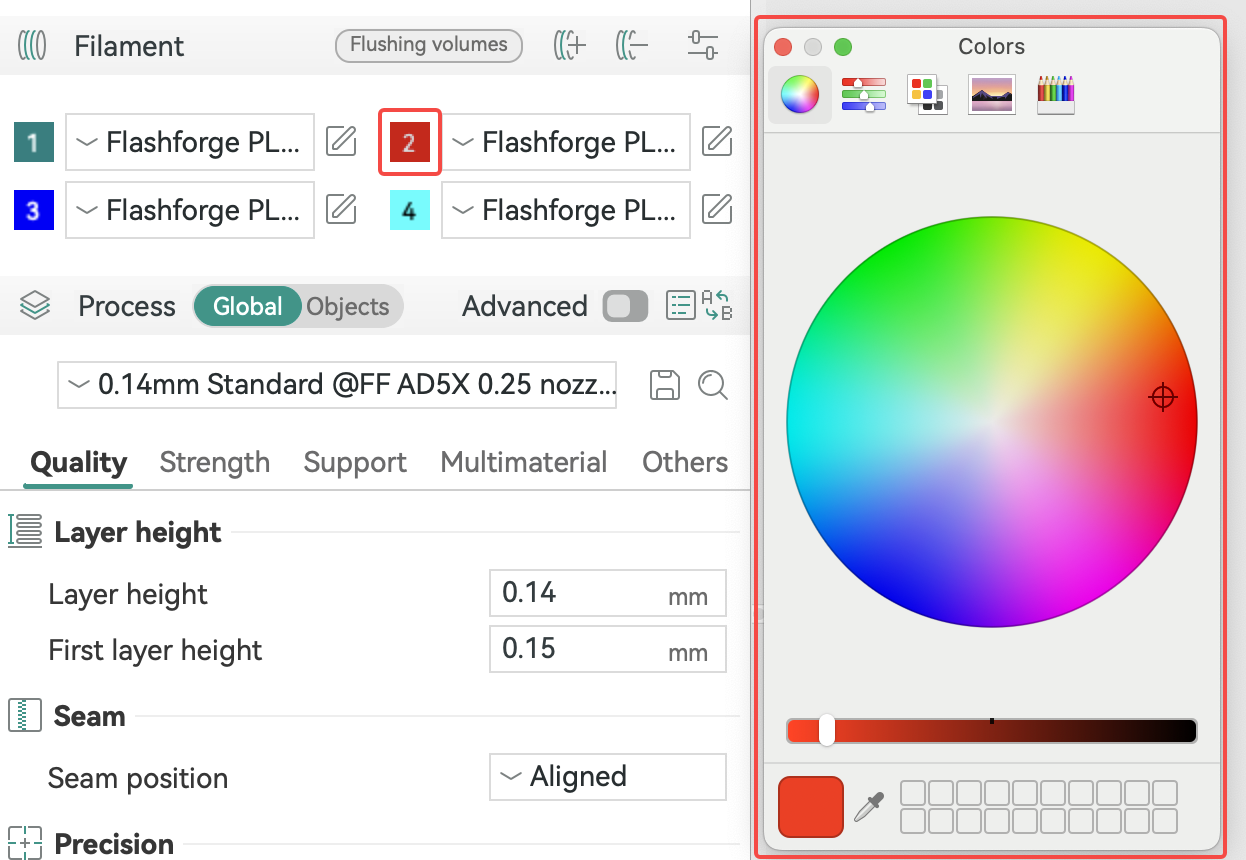
1.Click the button to add filament. Add a new color to the existing single-color setup (at least two colors are required to activate the color painting feature). If you need more colors, continue adding them.
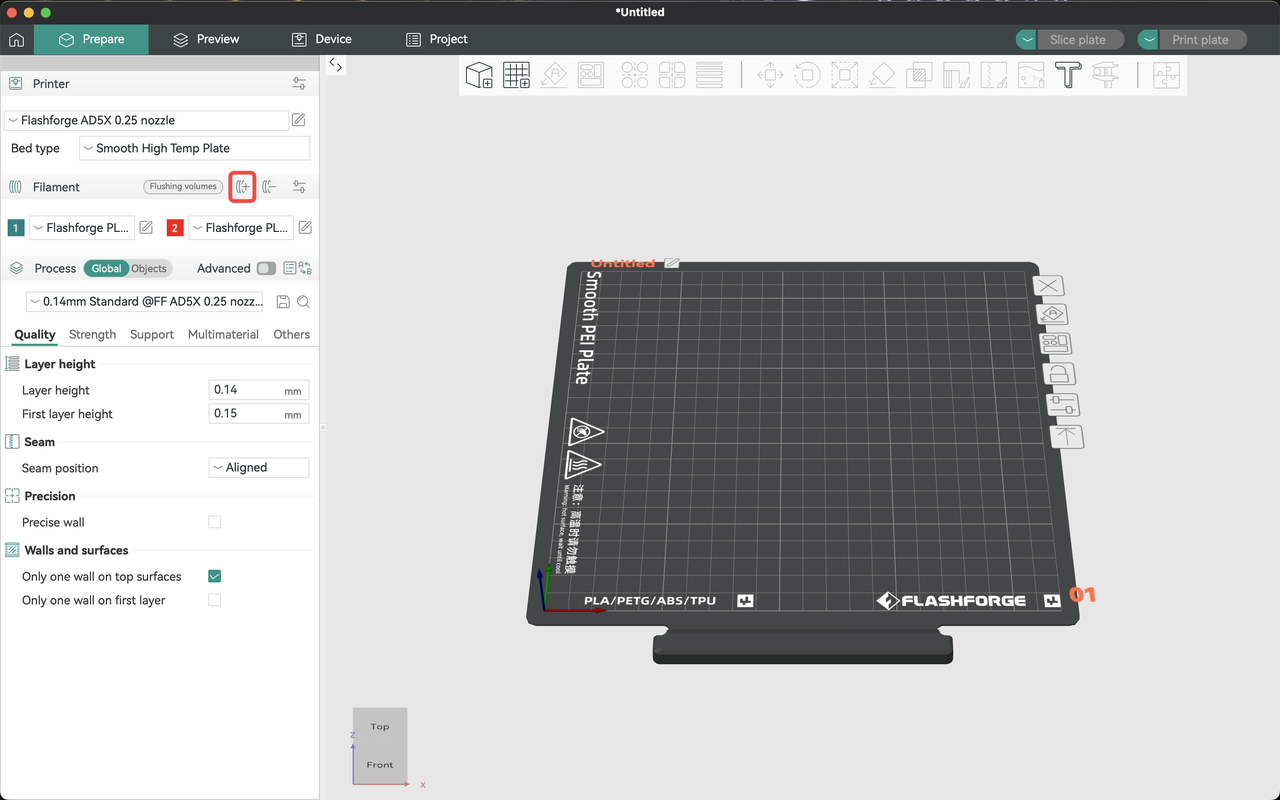
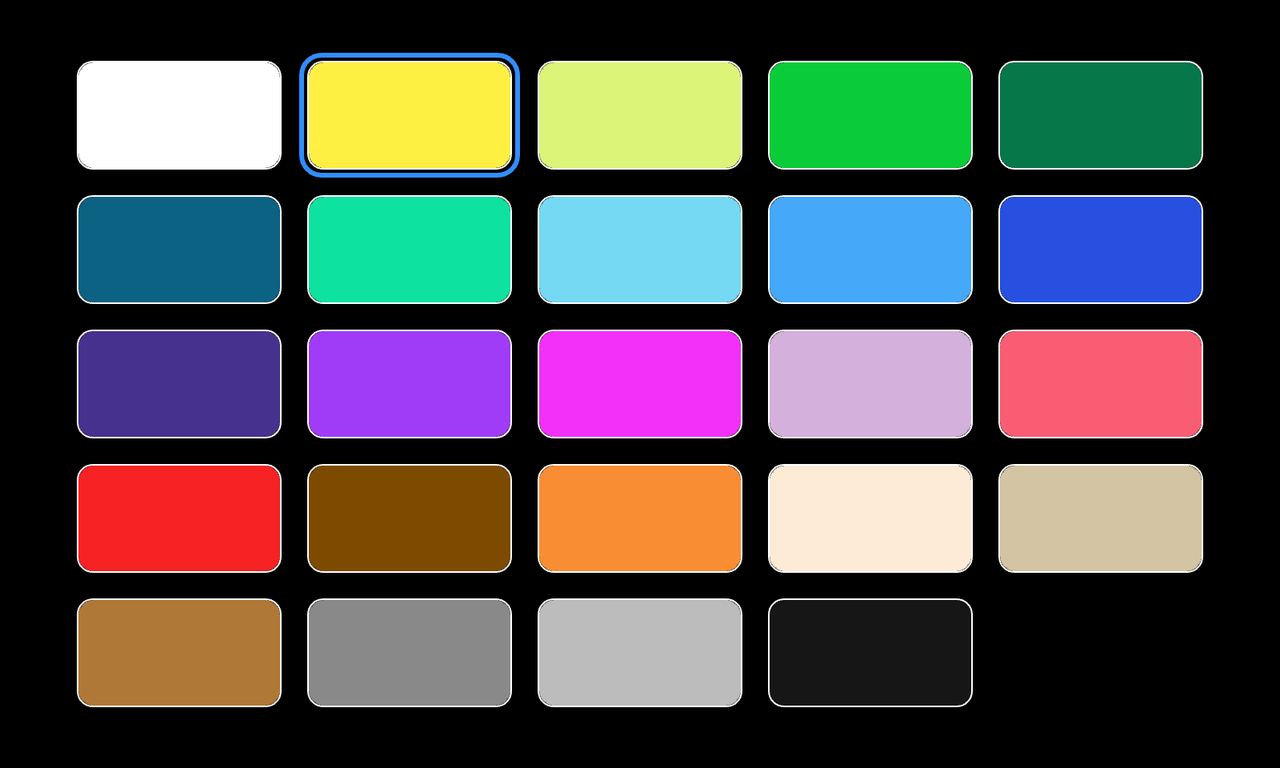
2.To change a filament color, click on the corresponding color box to freely choose a new one.
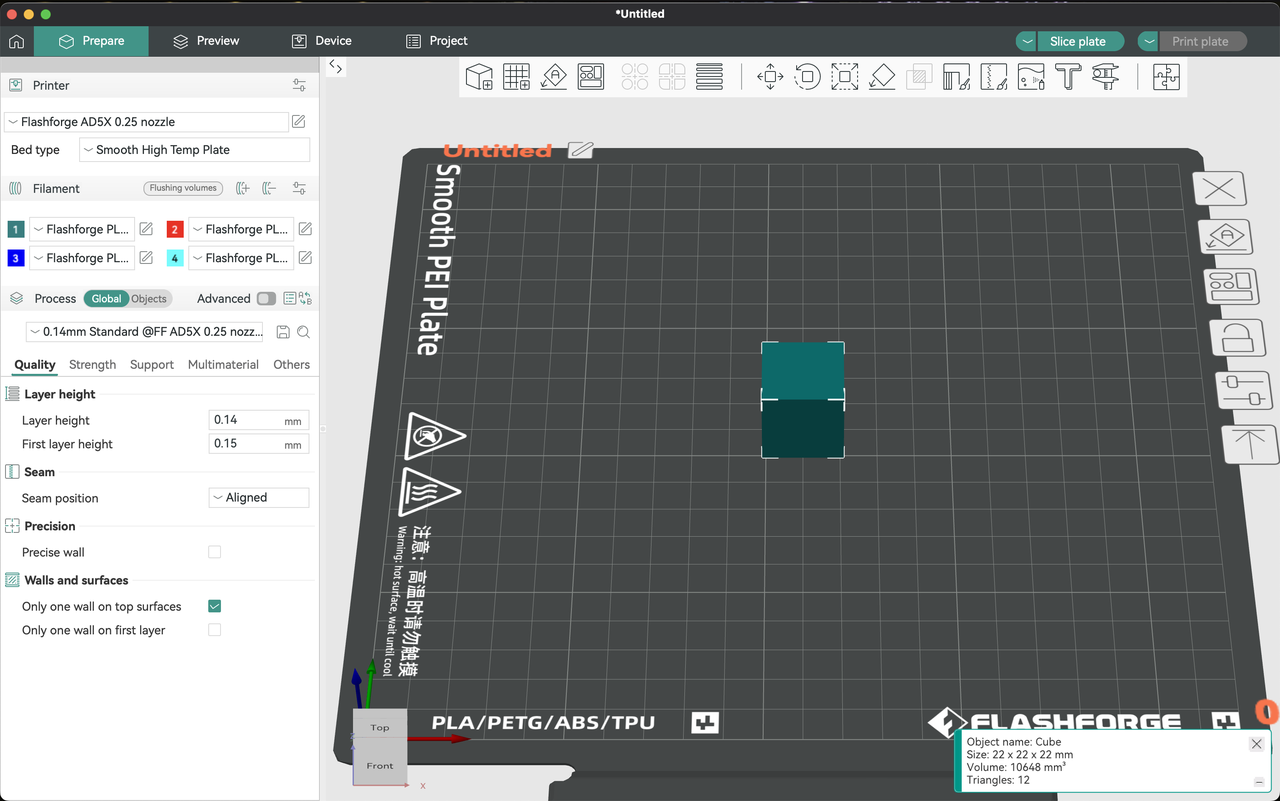
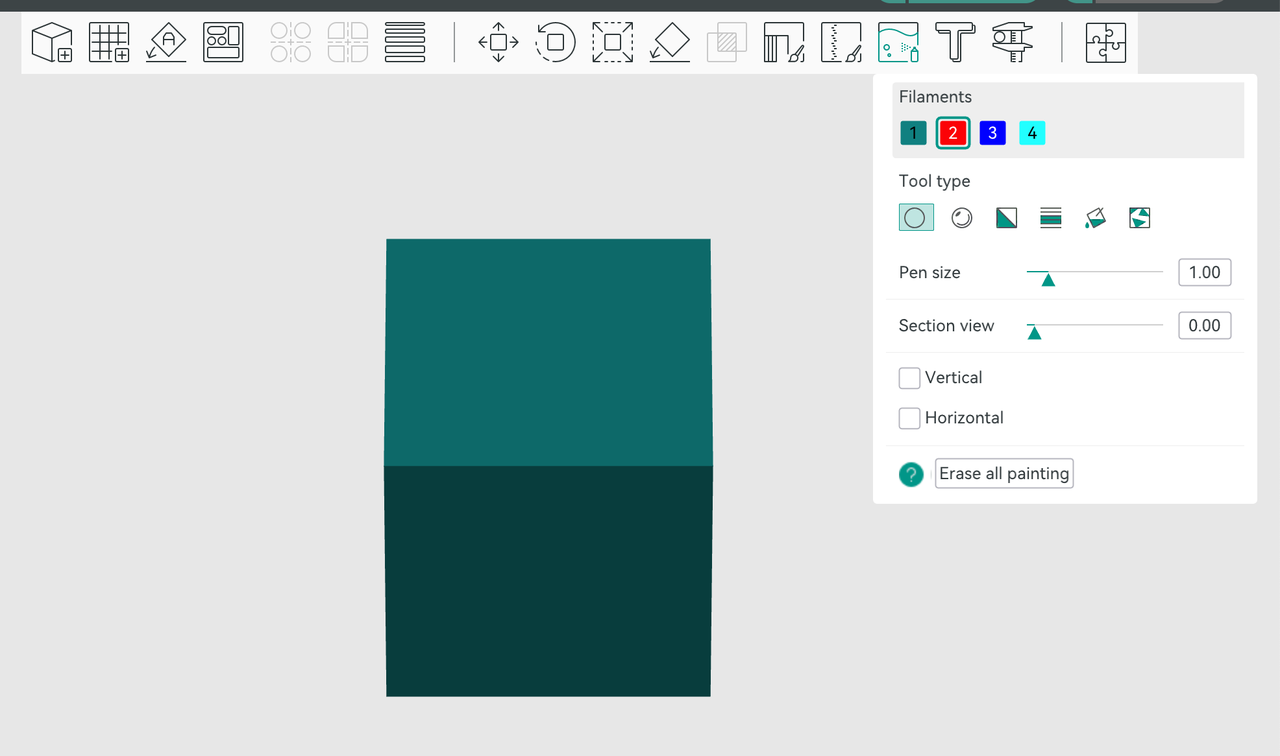
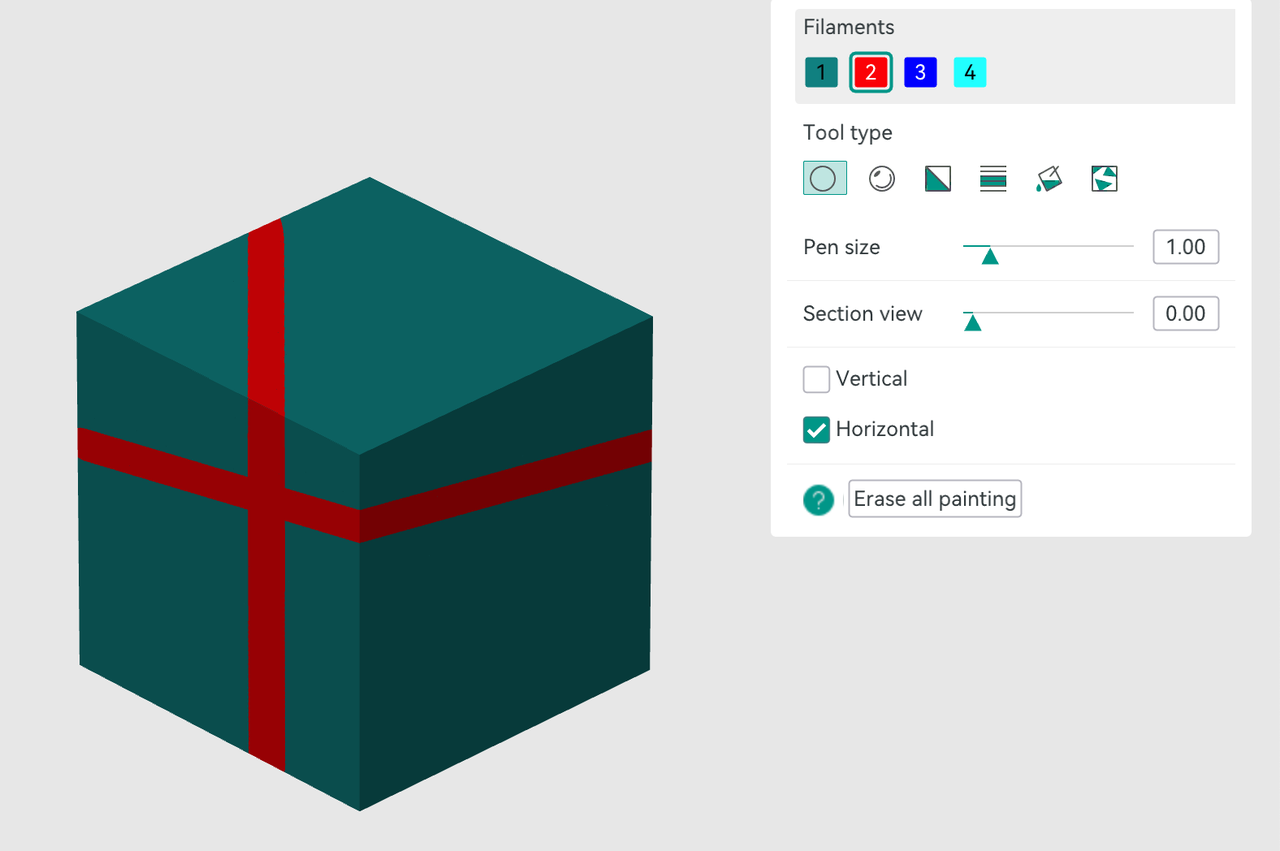
¶ Select the object to paint
Once selected, the object will appear as shown below.
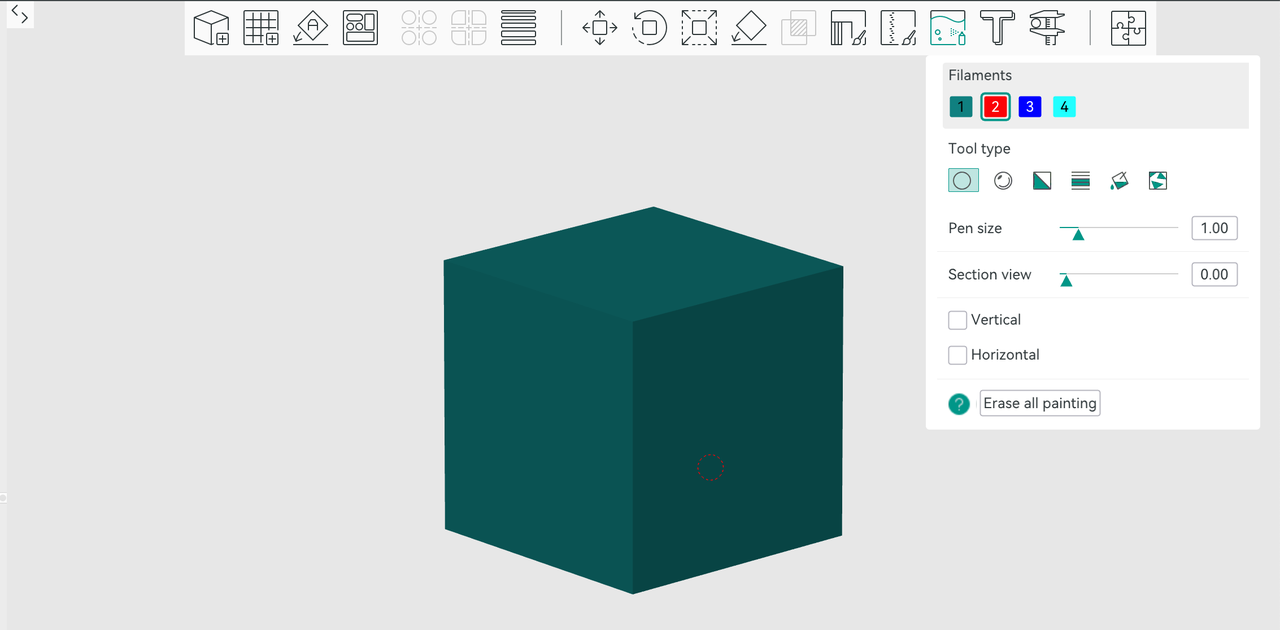
¶ Click [Color painting]
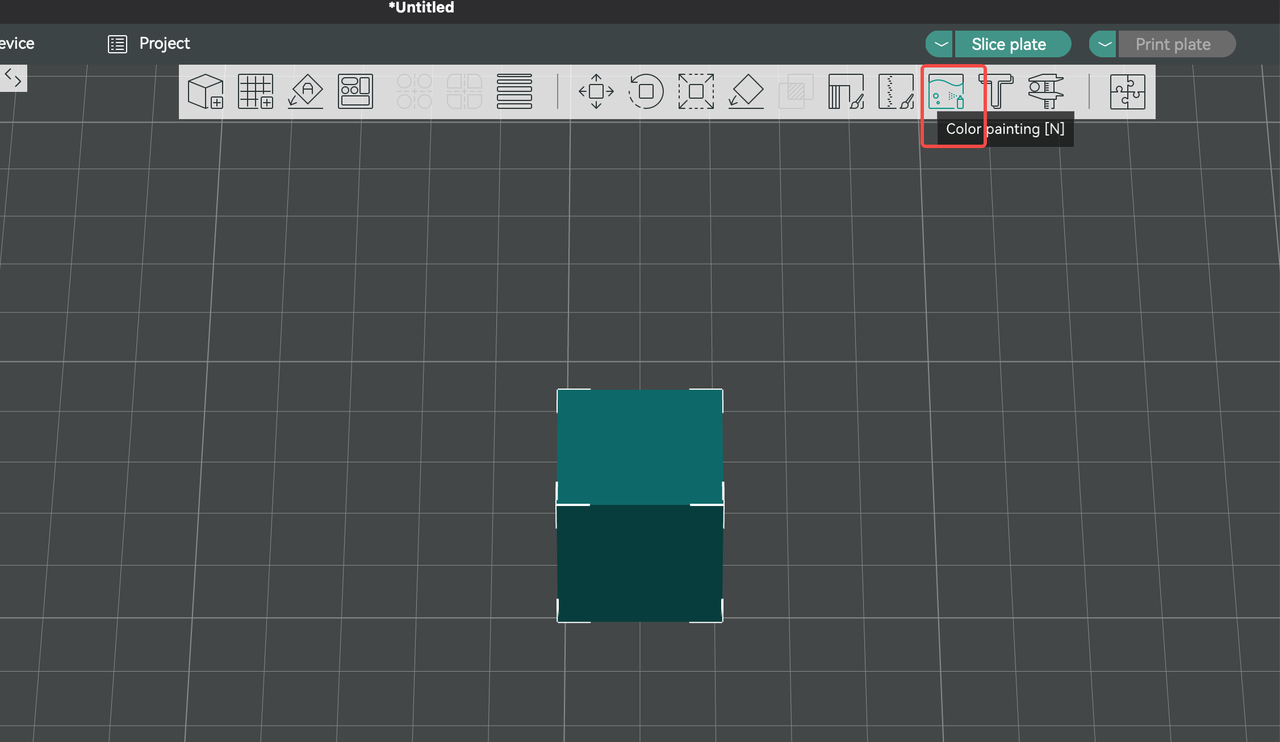
Clicking this button will take you to the custom color painting interface.
¶ Tool introduction
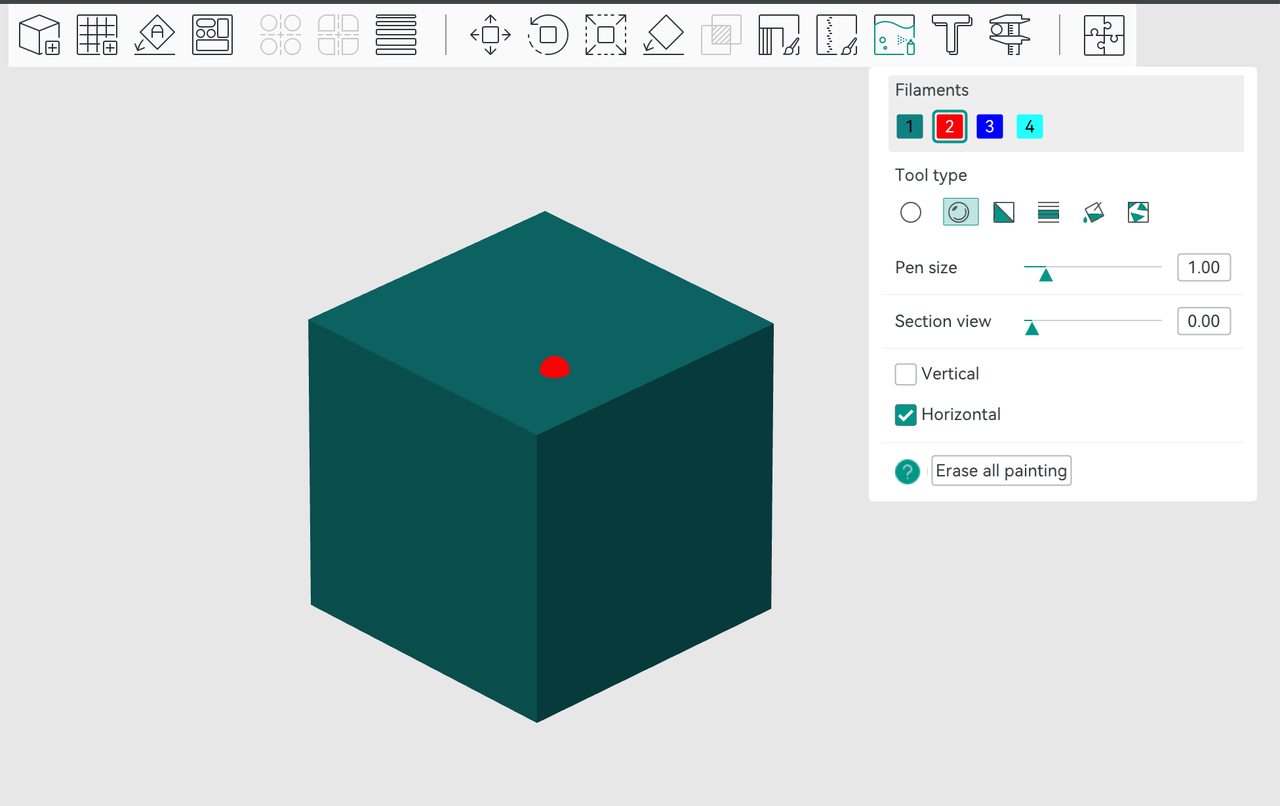
Tool types: Circle, Sphere, Triangle, Height Range, Fill, Gap Fill
1.Circle: This is a circle-shaped pen tool.
Pen size: The size of the circle pen tool.
Section view: This will hide parts of the model based on the direction you adjust the size, making it easier to paint areas not hidden by the section view. After painting, you can cancel the section view to achieve the desired effect.
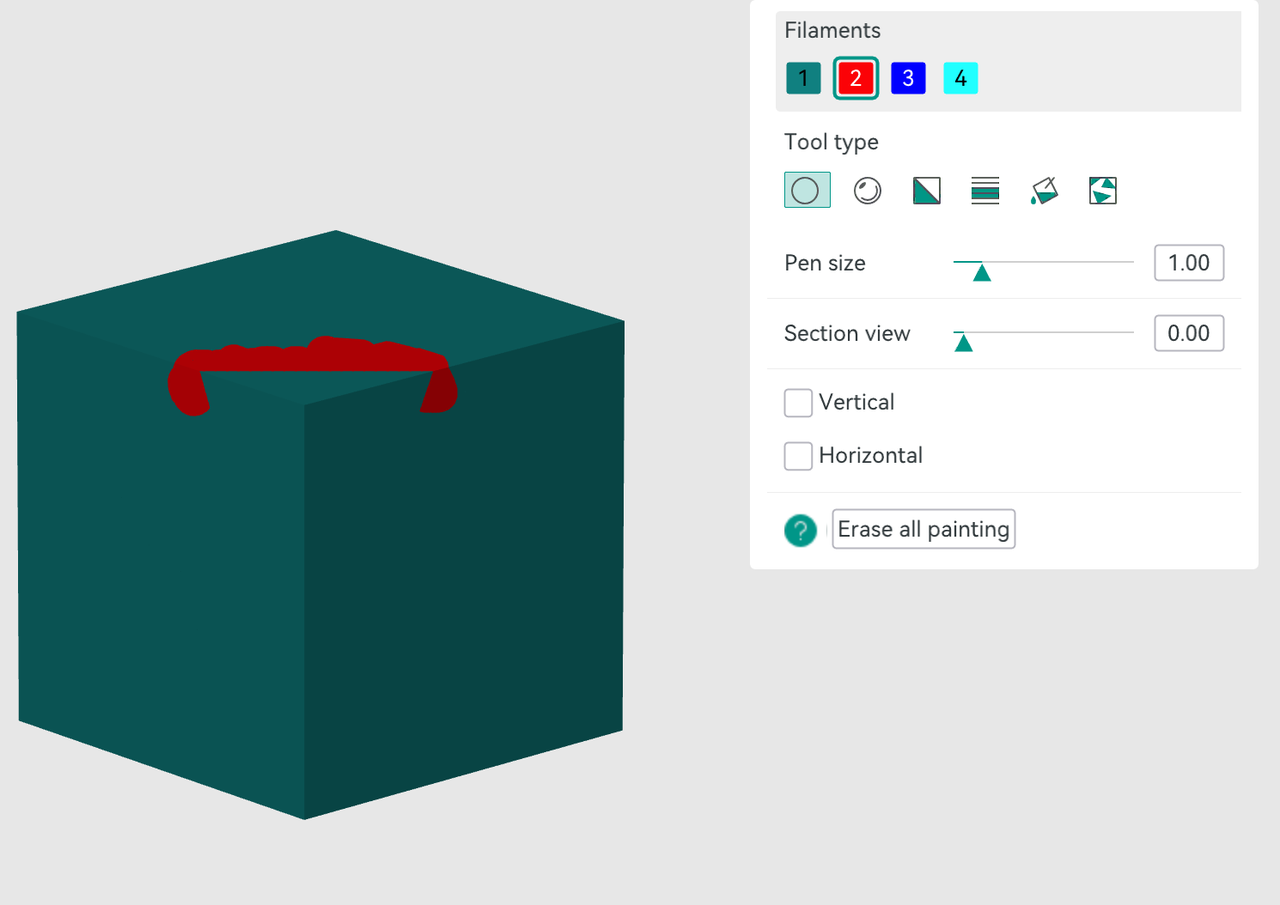
Vertical/Horizontal: When enabled, only vertical or horizontal lines can be drawn.
Erase all painting: Remove all painted colors in one click.
2.Sphere: This is a sphere-shaped pen tool.
Other options are the same as the circle pen tool, so we won't go into further detail here.
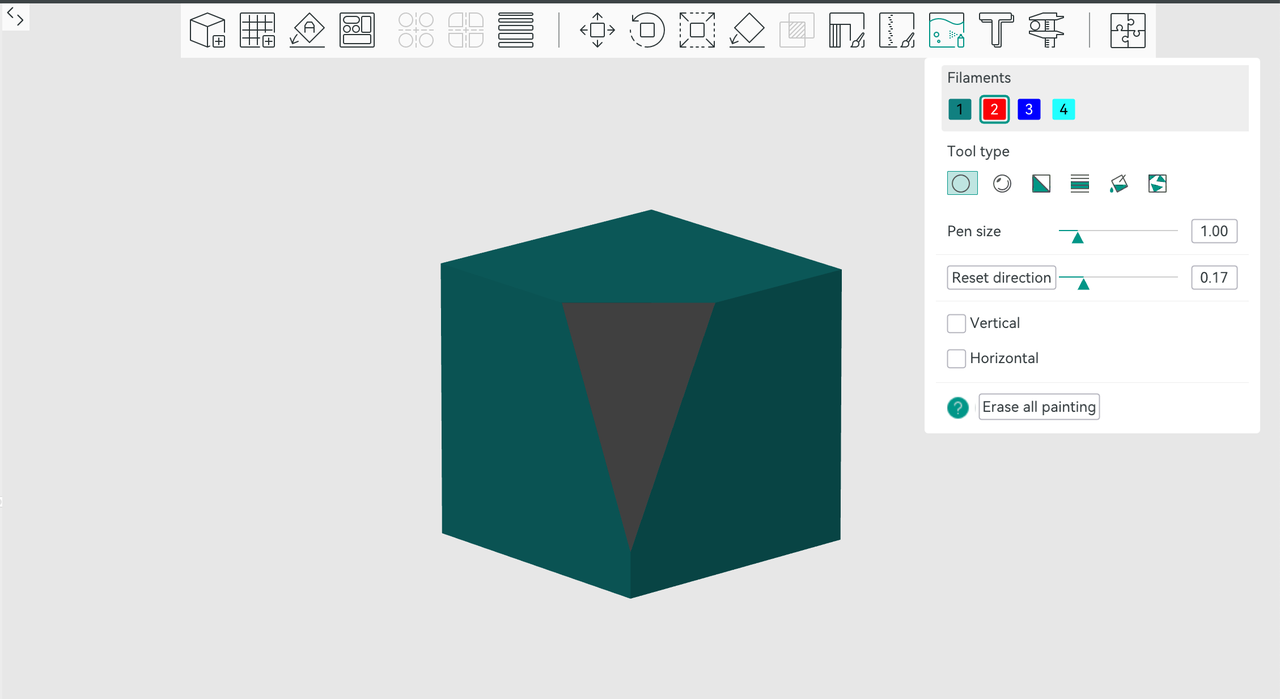
3.Triangle: This uses a triangle as the fill shape for the tool, as shown below.
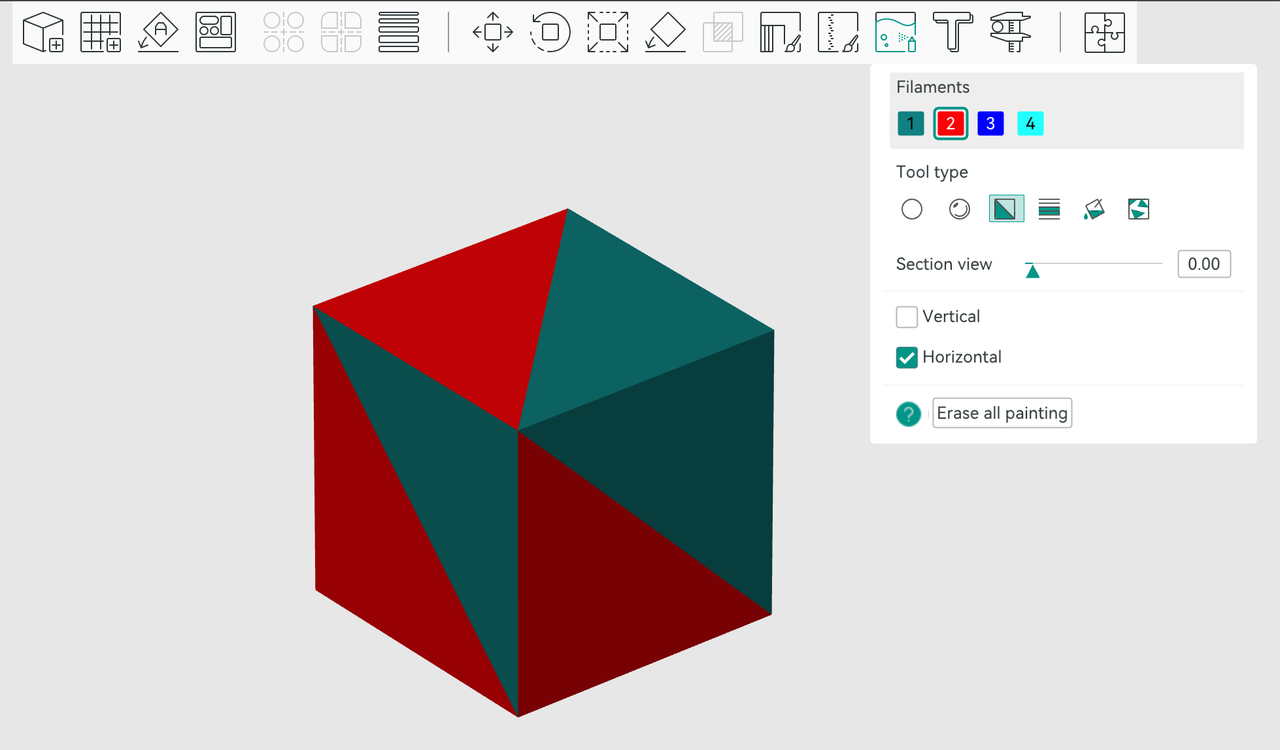
Other options are the same as the circle pen tool, so we won't go into further detail here.
4.Height Range: This tool colorizes all facets between a given height range.
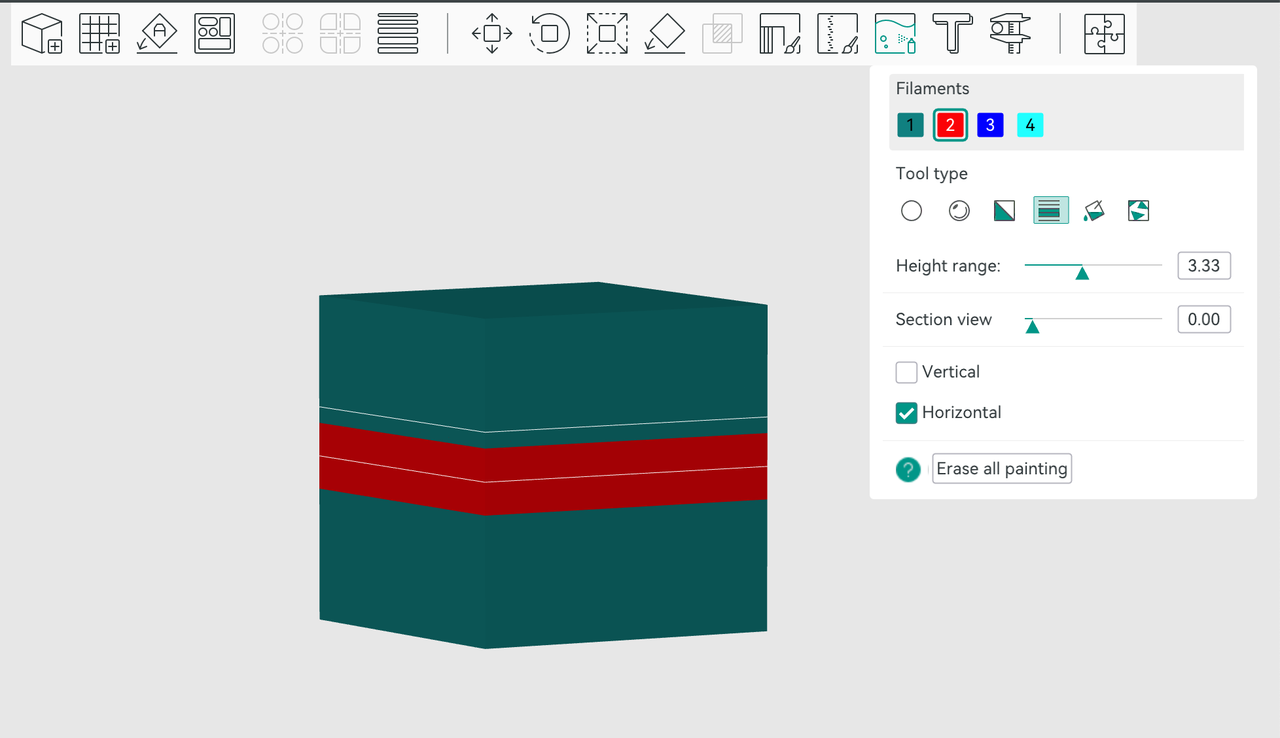
Height range: Adjust the width of the height range box used for color filling.
Other options are the same as the circle pen tool, so we won't go into further detail here.
5.Fill: Apply colors to parts of the model based on its edges and shape.
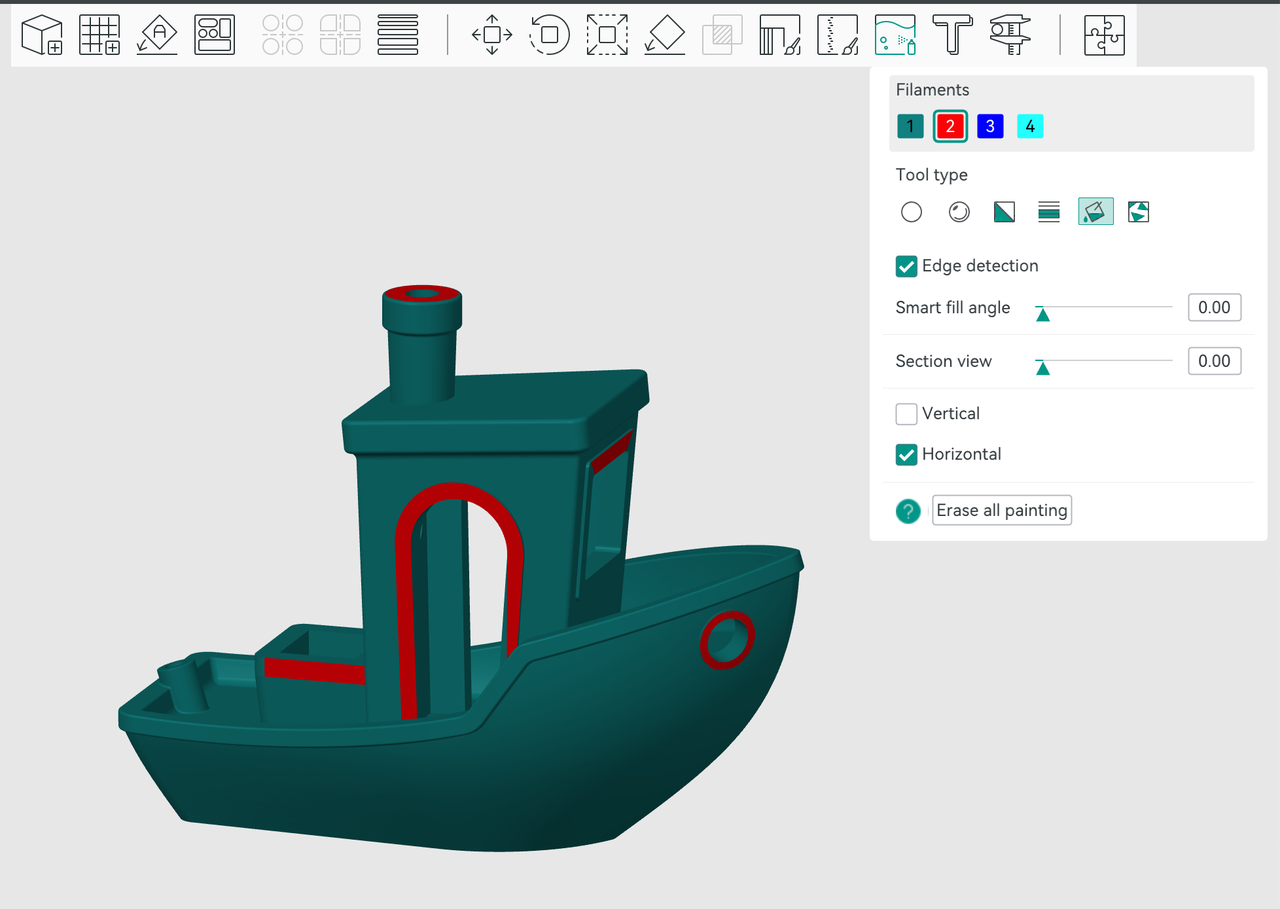
Edge detection: Enabled by default. If disabled, the smart fill angle feature will not be available and filling will change the entire model to the new color.
Smart fill angle: Freely adjust the angle. The angle sets the threshold for filling, meaning the fill will stop when it reaches a angle sharper than the threshold. Adjust the angle based on the actual model. This feature is commonly used for modifying the color of the model.
Other options are the same as the circle pen tool, so we won't go into further detail here.
6.Gap Fill: Painting with the above tools often generates gaps. They may look ugly and increase the number of filament changes. This gap fill tool will detect small gaps and auto-fill them with the color from a neighbor facet group.
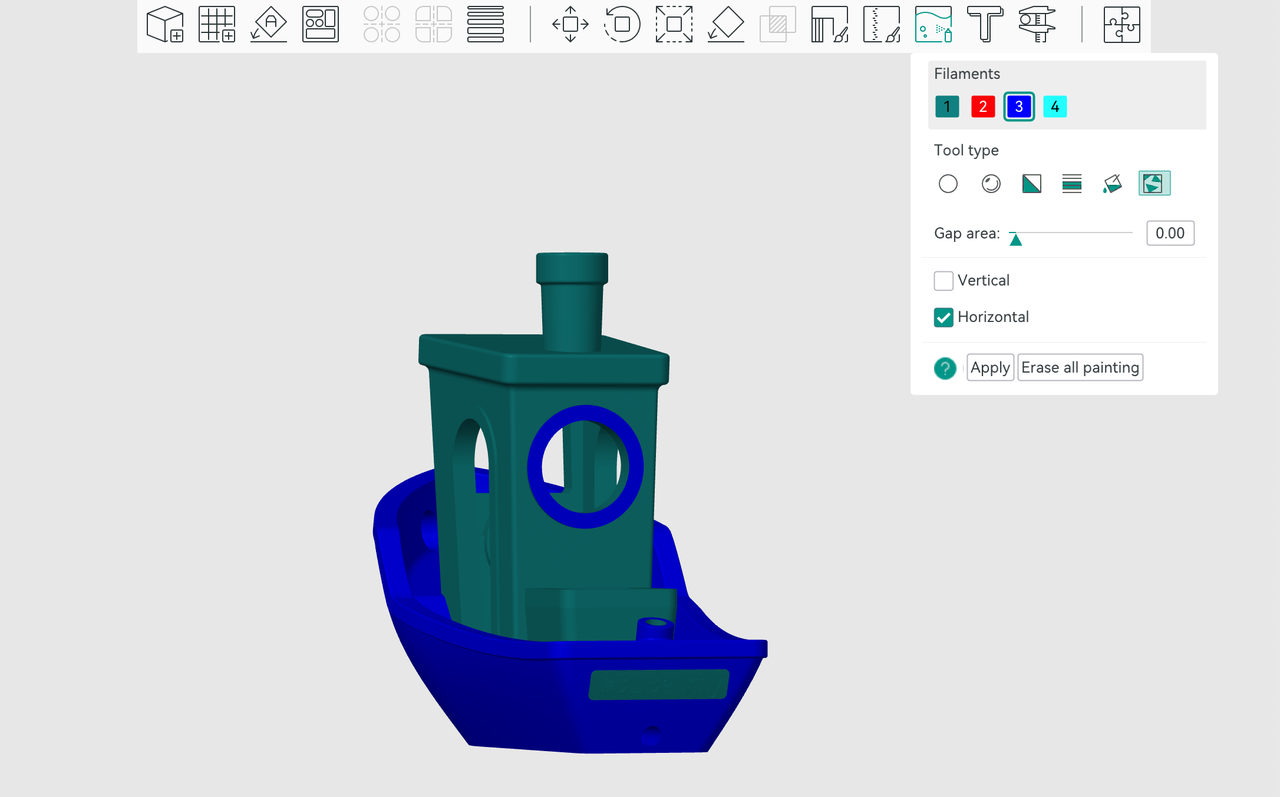
Gap area: Control the size of the area that will be filled.
Other options are the same as the circle pen tool, so we won't go into further detail here.
¶ Slice the model
Once color painting is completed, click [Color painting] again to return to the preparation interface. The model is now ready.
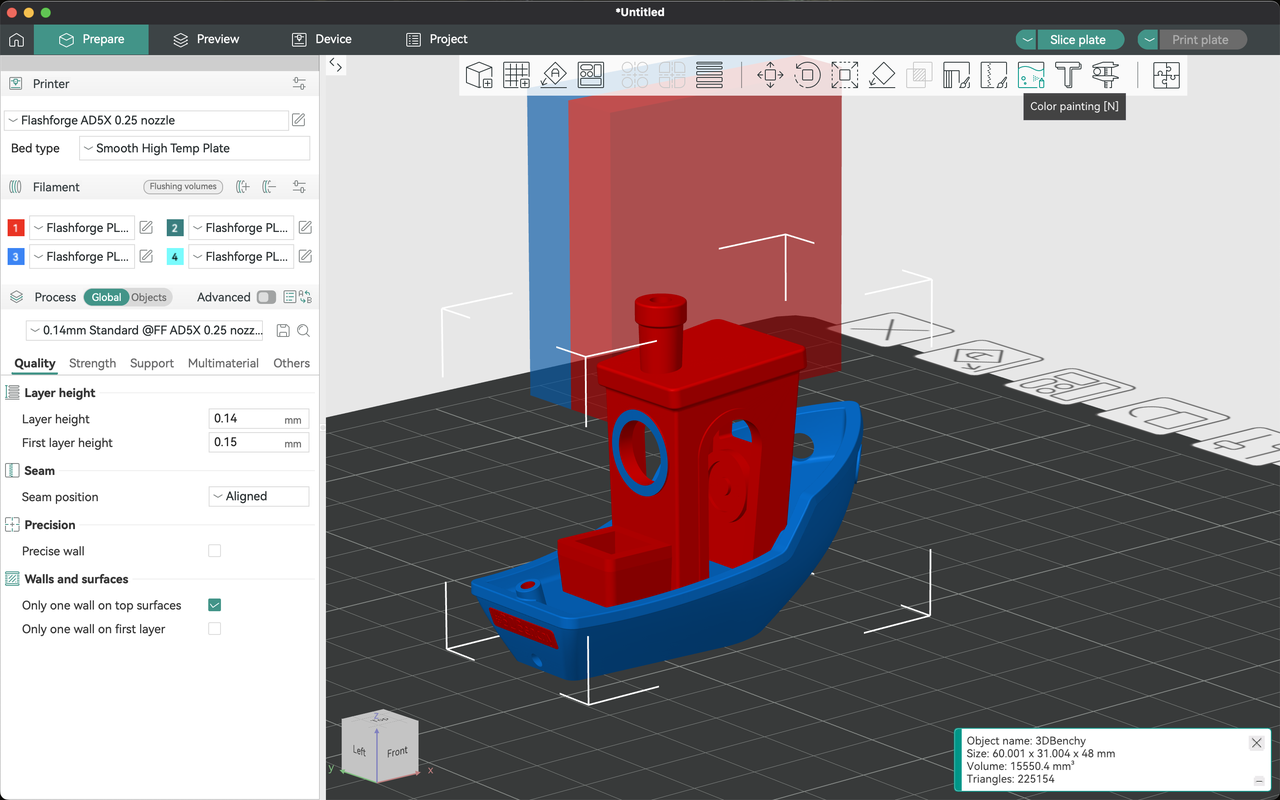
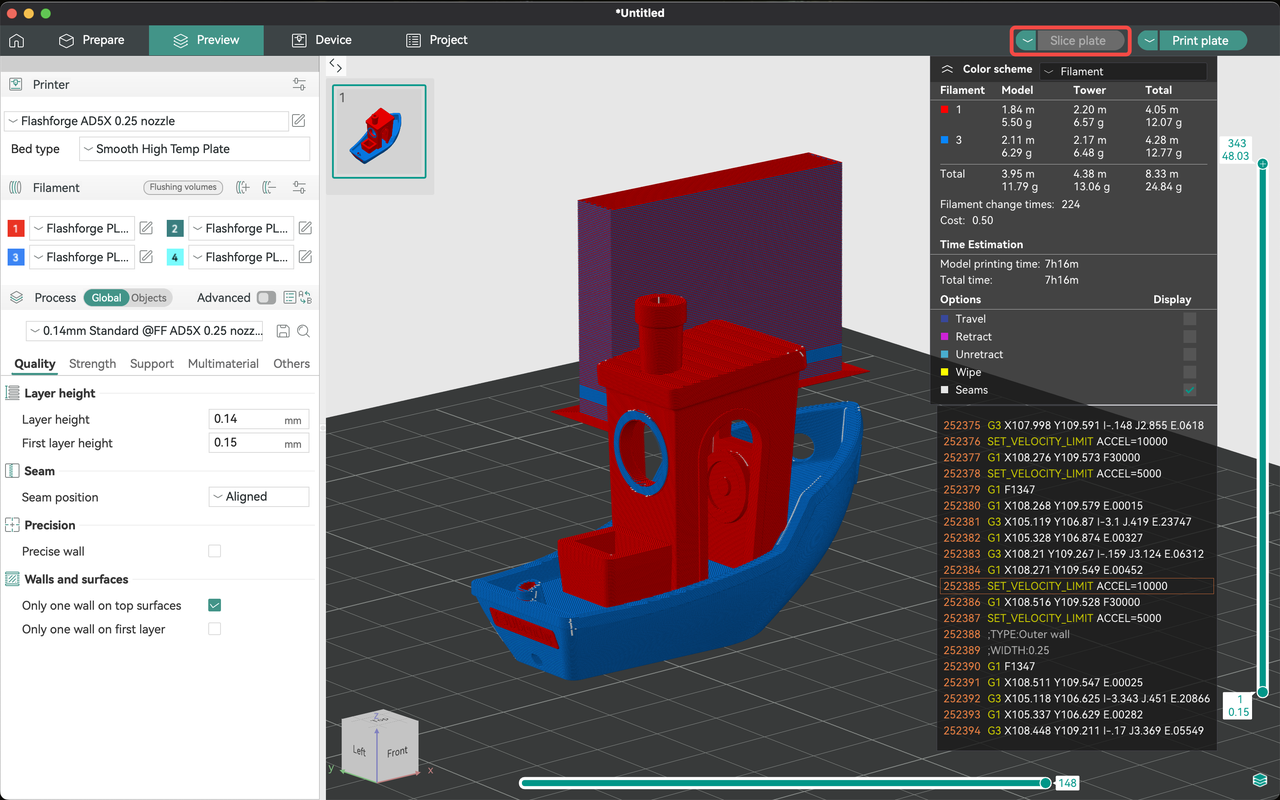
Click [Slice plate], and it will slice the current painted model. At this point, you can see the required weight and length of each filament color, as well as the total print time for the model.
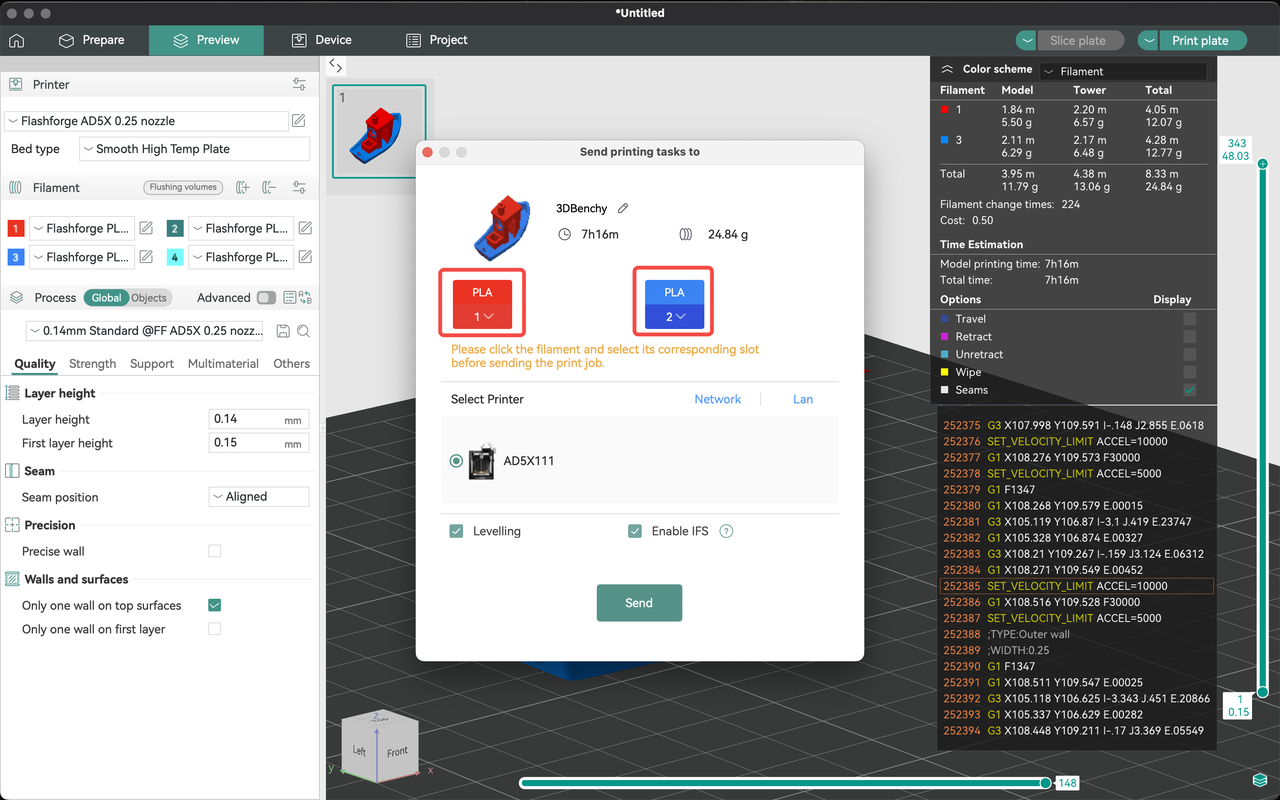
Click [Print plate], select the desired colors, and send the job to the printer to start printing the multi-color model.
¶ Filament Color Settings
¶ Filament Type and Color Settings (Printer)
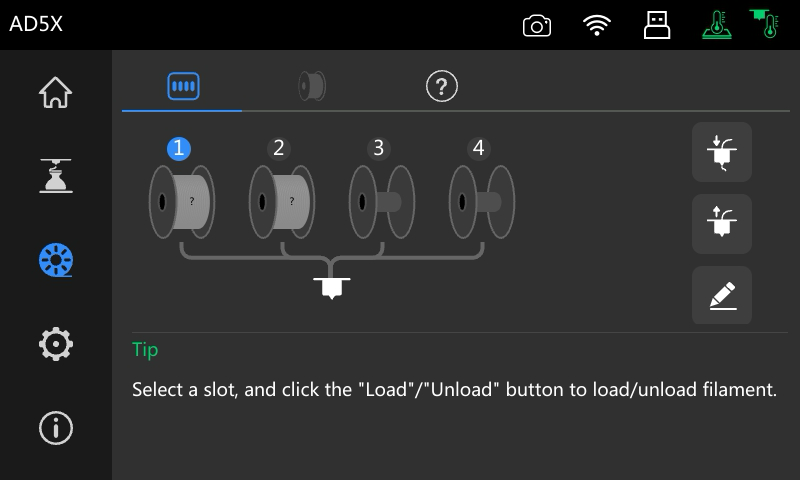
1.Follow these steps to configure the multi-color module for your AD5X:
On the main interface, click [

] to enter the filament interface.
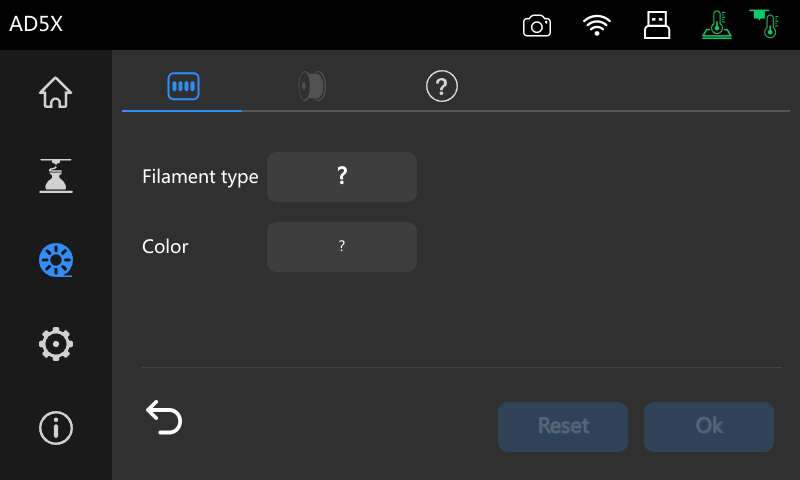
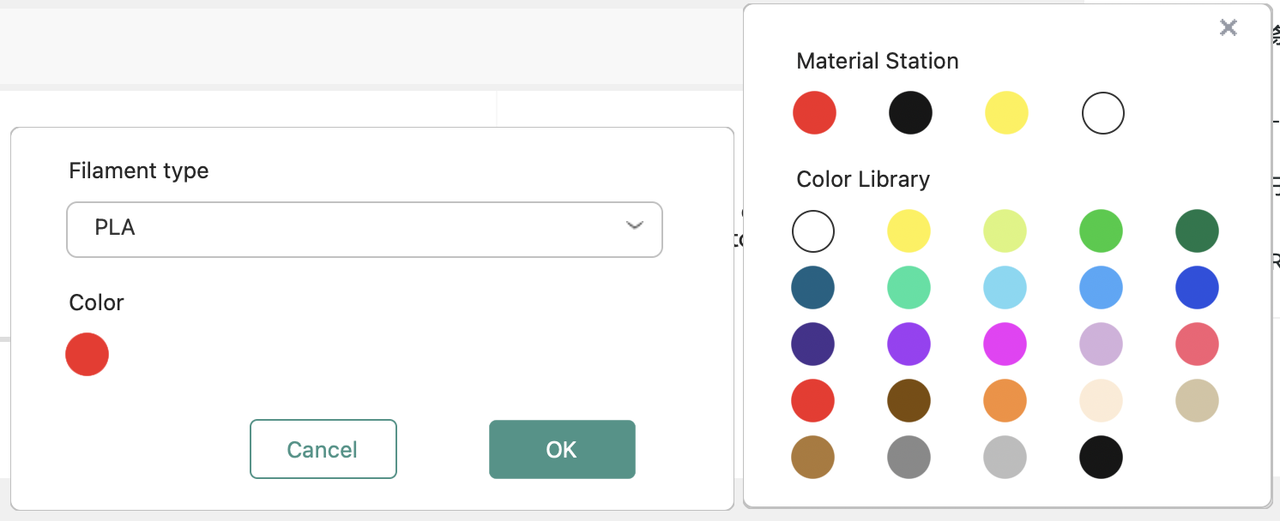
2.Click [
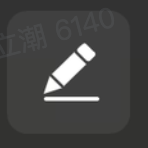
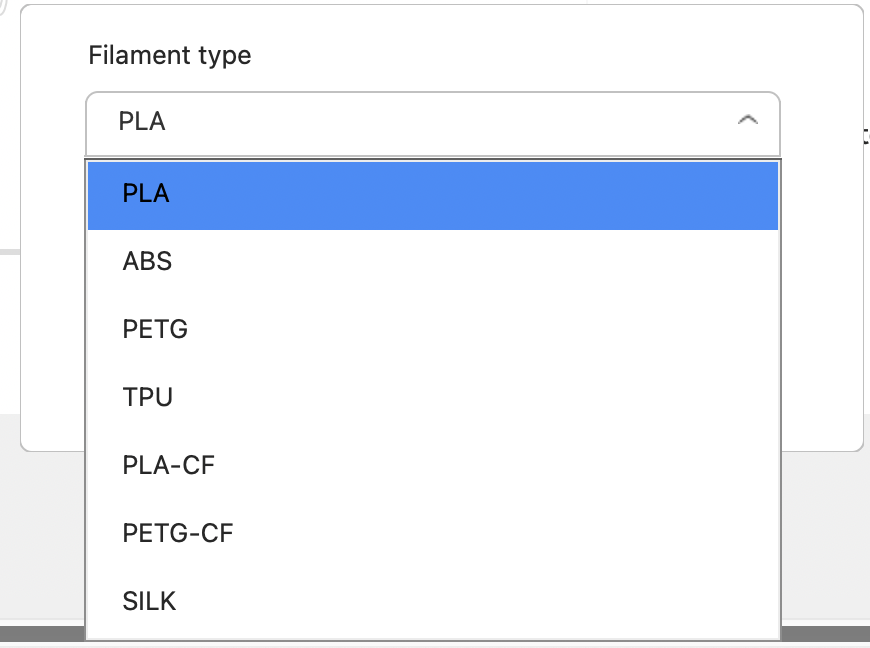
] to set the filaments that have been added to the material station. On this interface, you can configure the filament types (PLA, ABS, PETG, TPU, PLA-CF, PETG-CF, SILK) and colors.

¶ Filament Type and Color Settings (Slicing Software)
Follow these steps to configure the multi-color module for your AD5X:
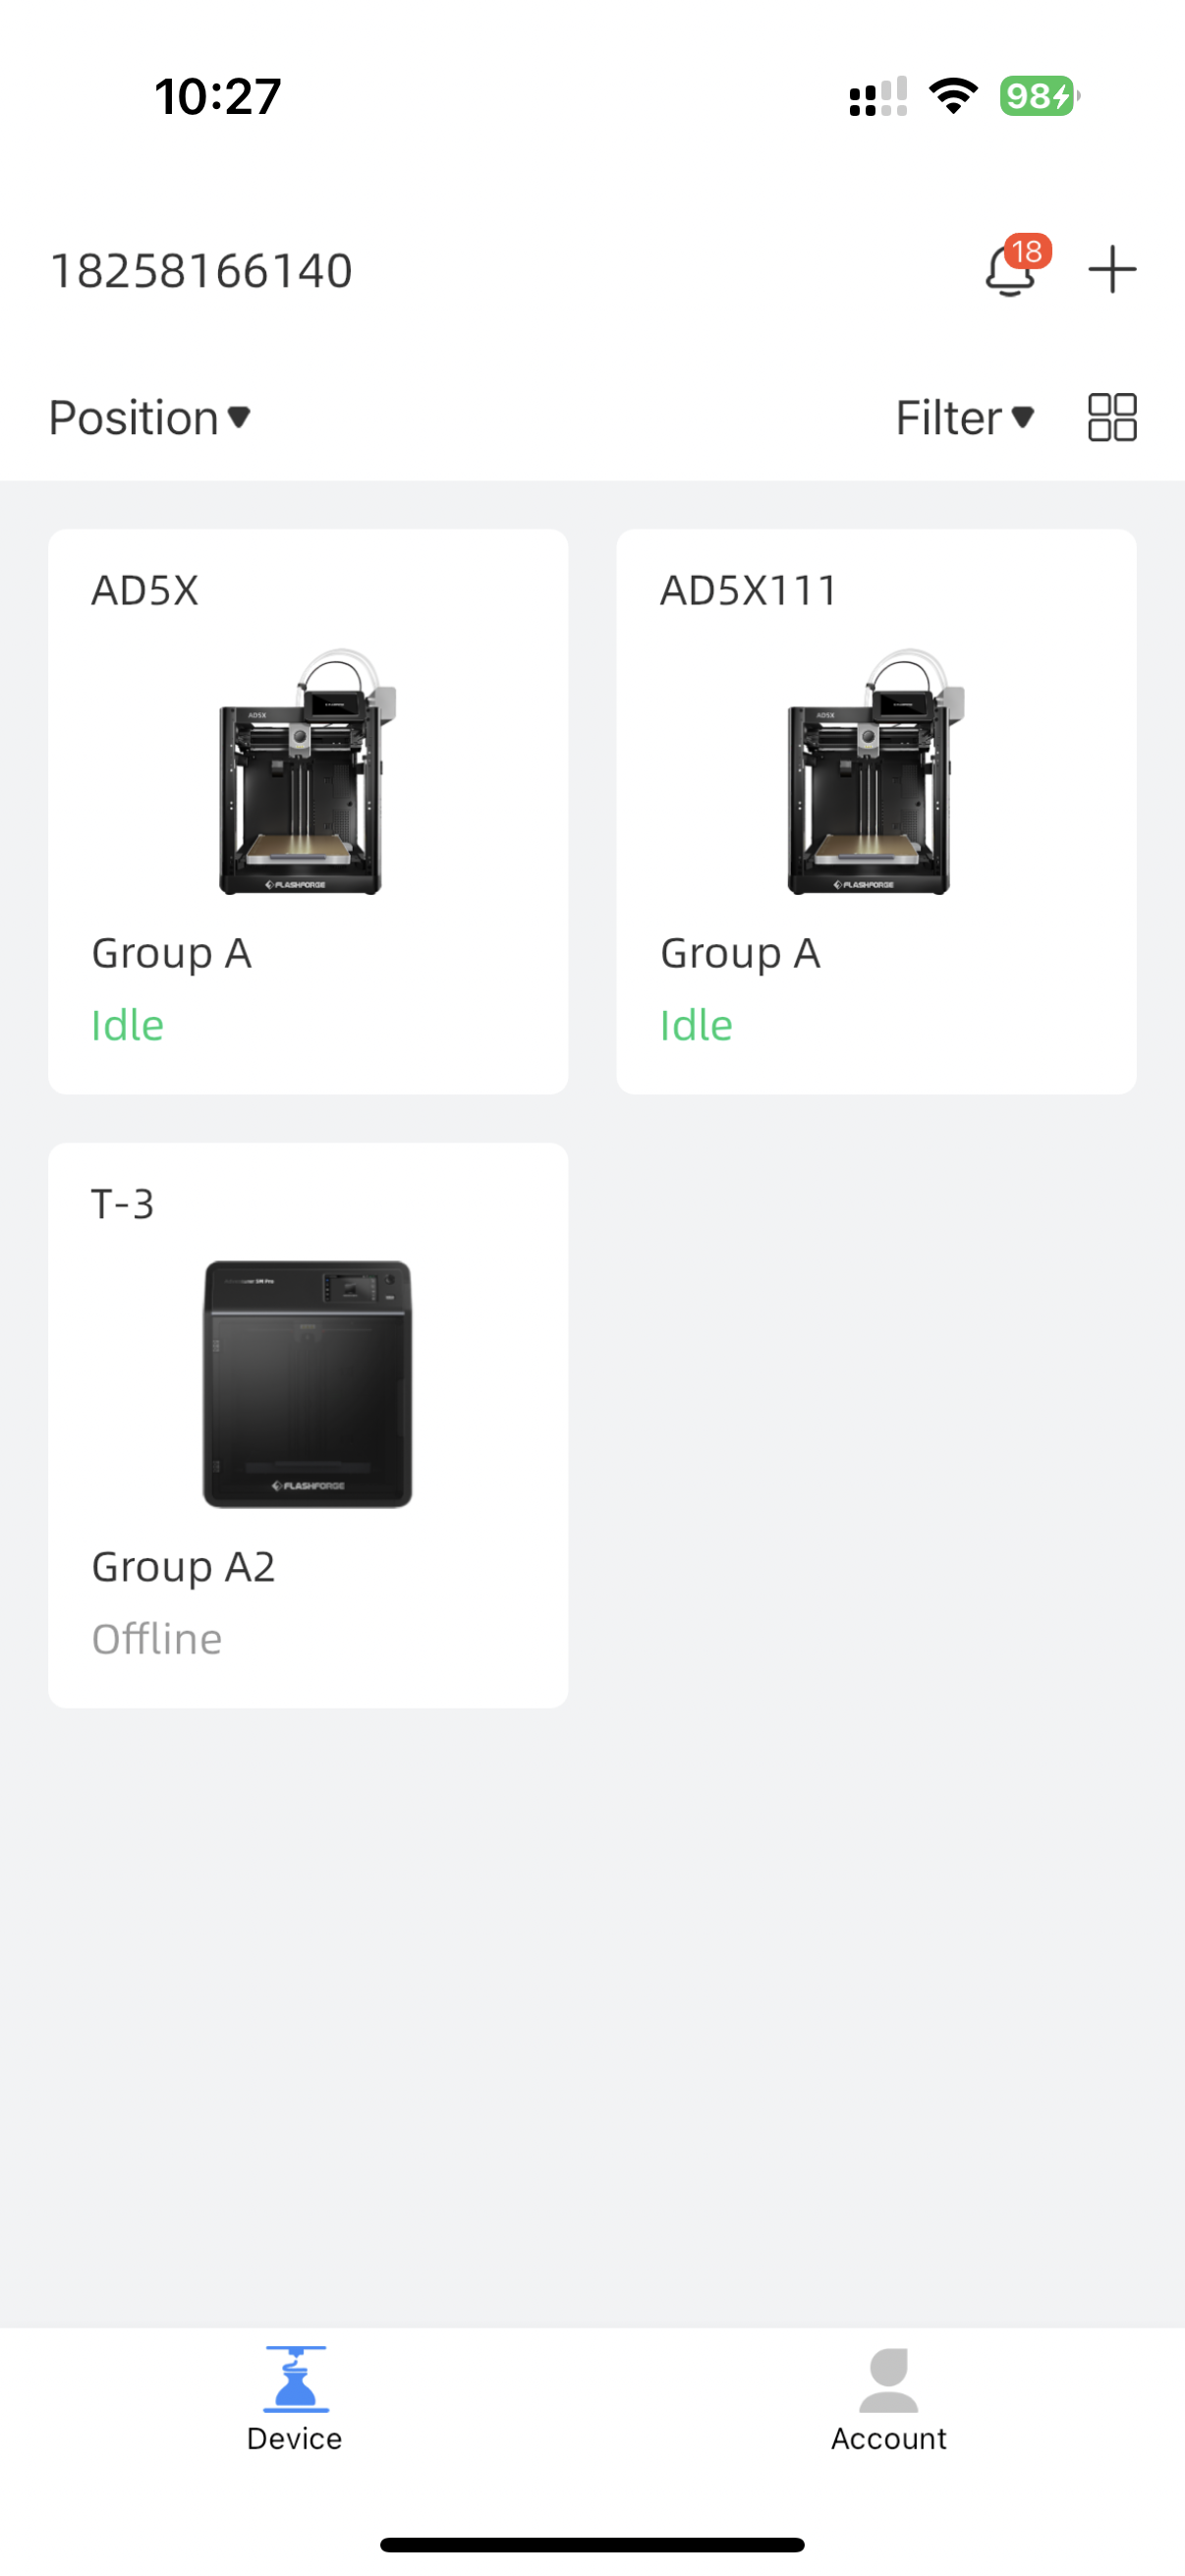
1.On the device list interface, select the device you want to use for multi-color printing.
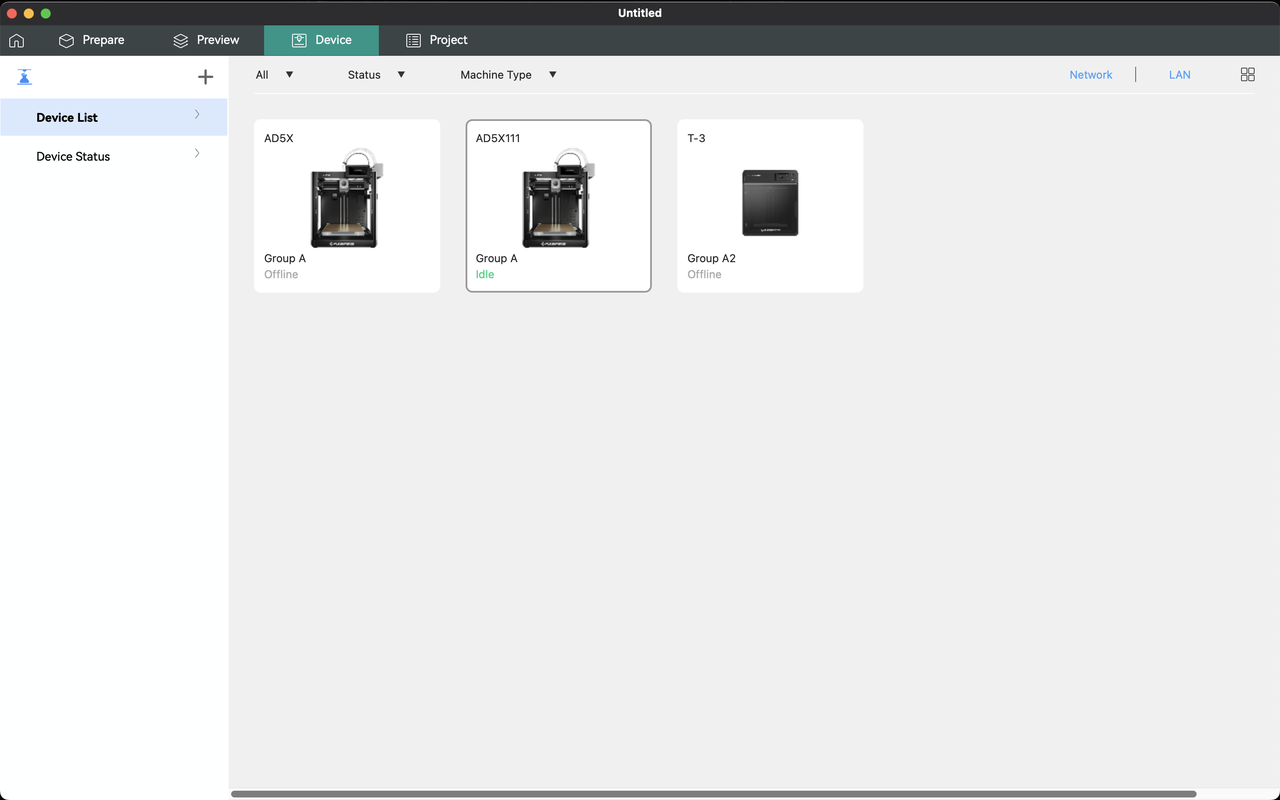
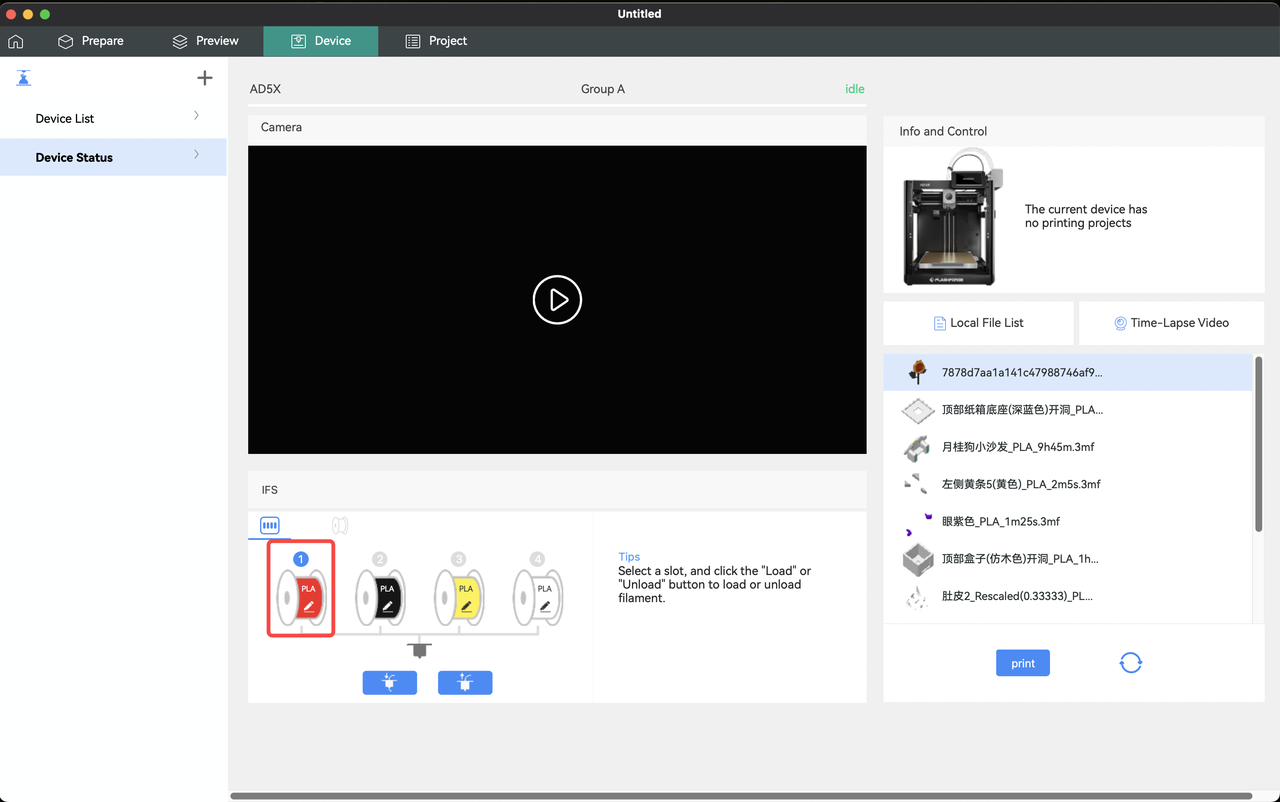
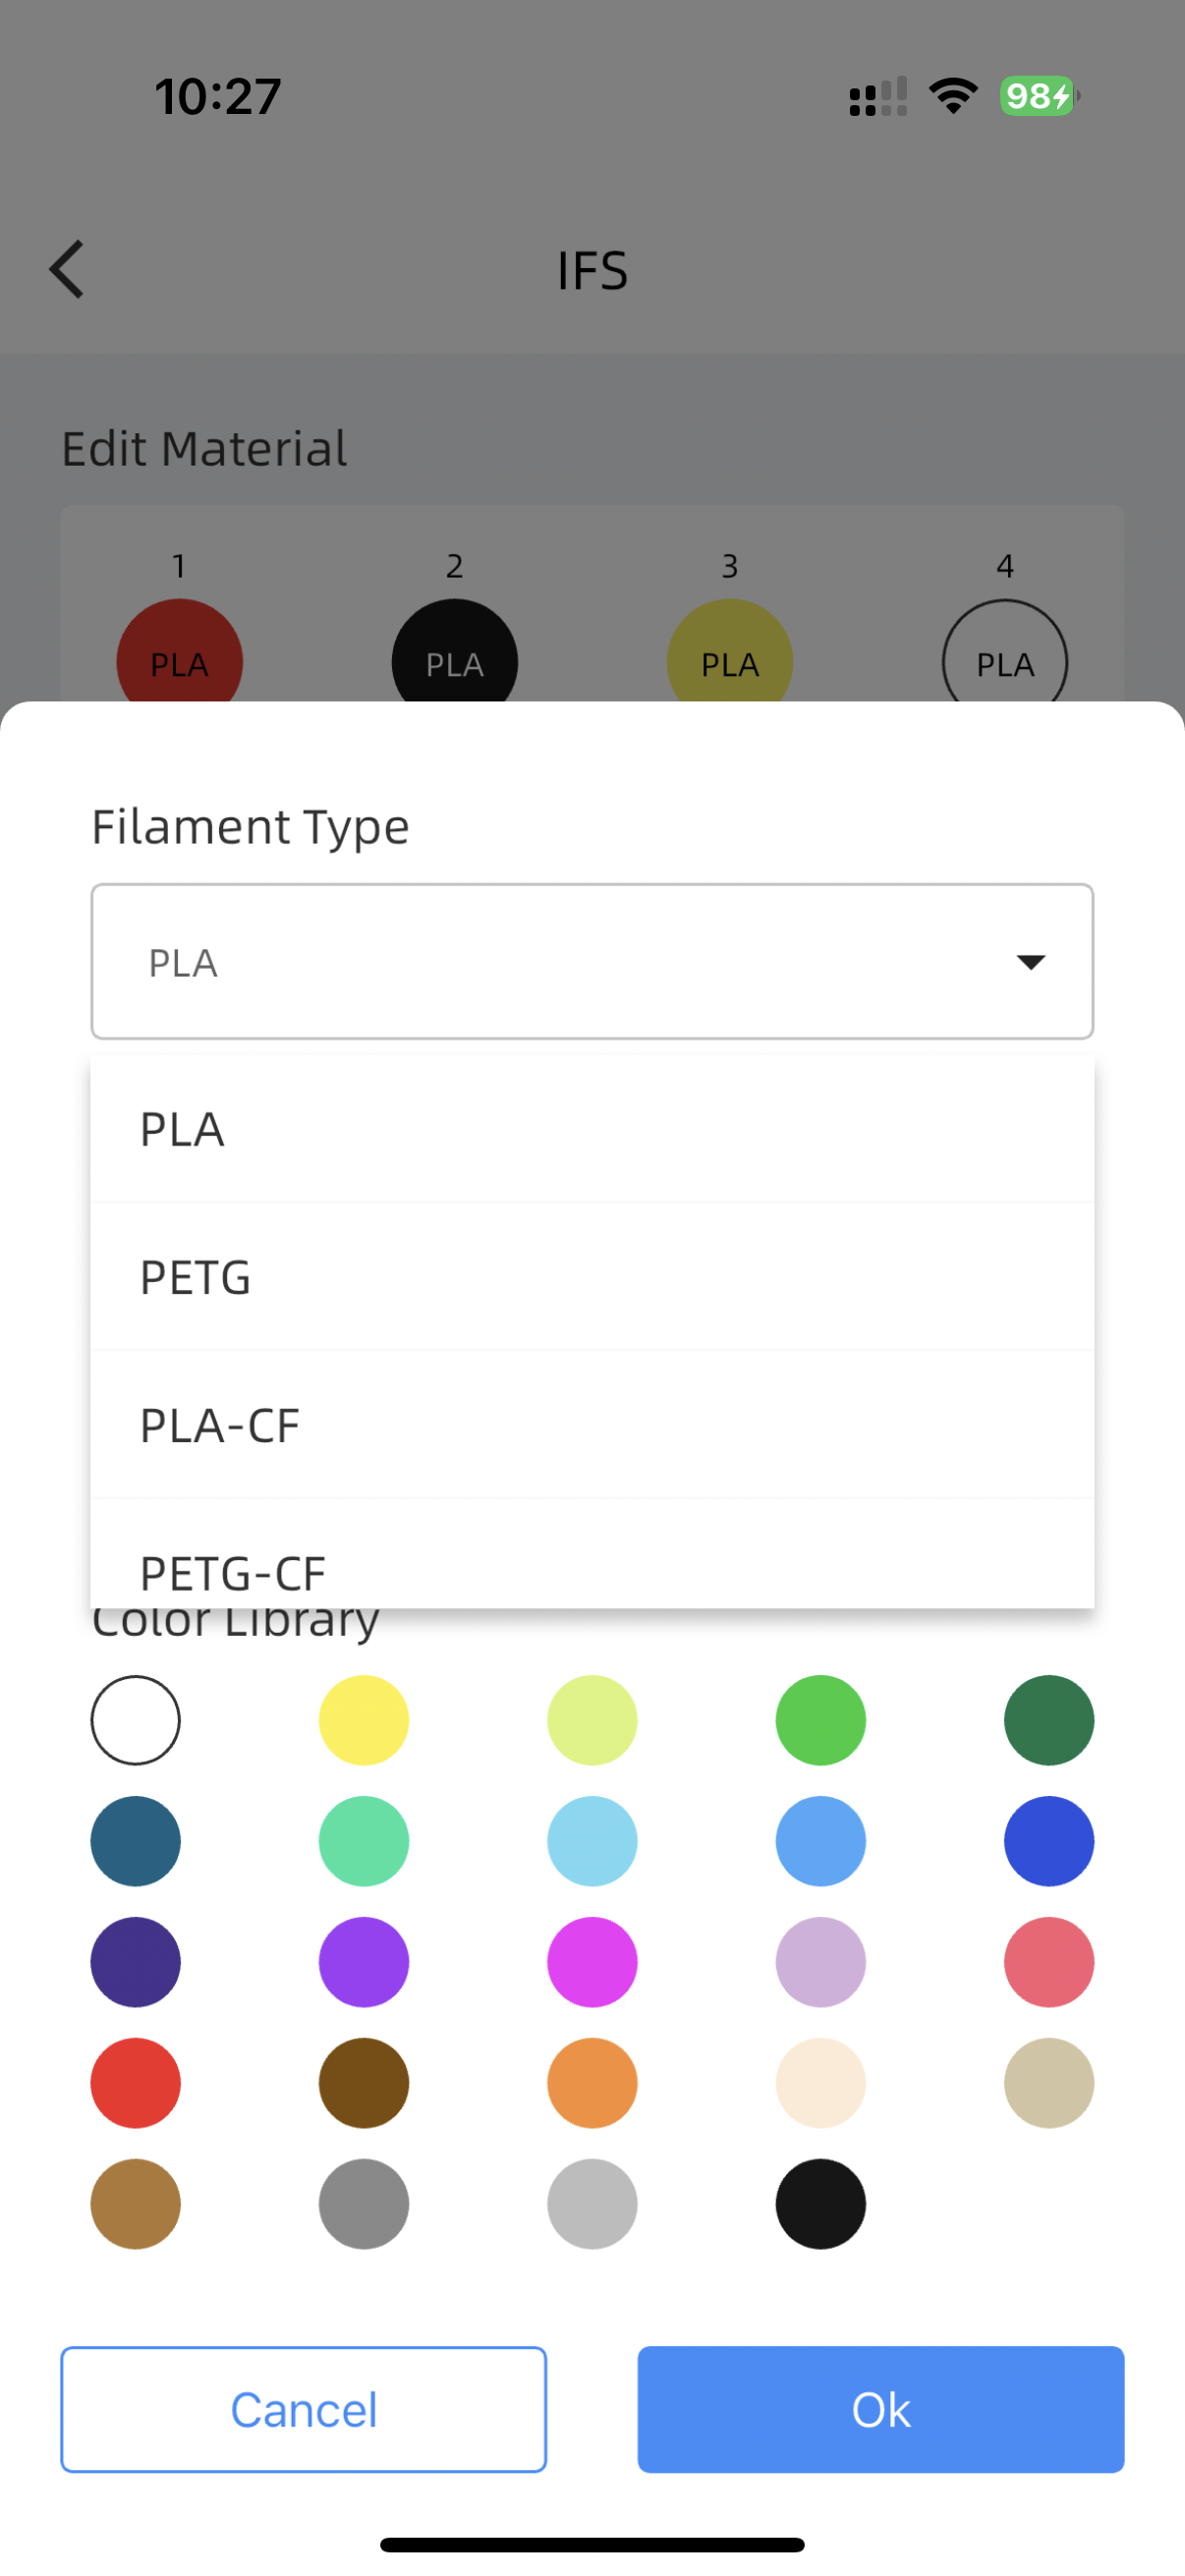
2.On the device status interface, configure the filament colors and types in the IFS section.

¶ Filament Type and Color Settings (App)
Follow these steps to configure the multi-color module for your AD5X:
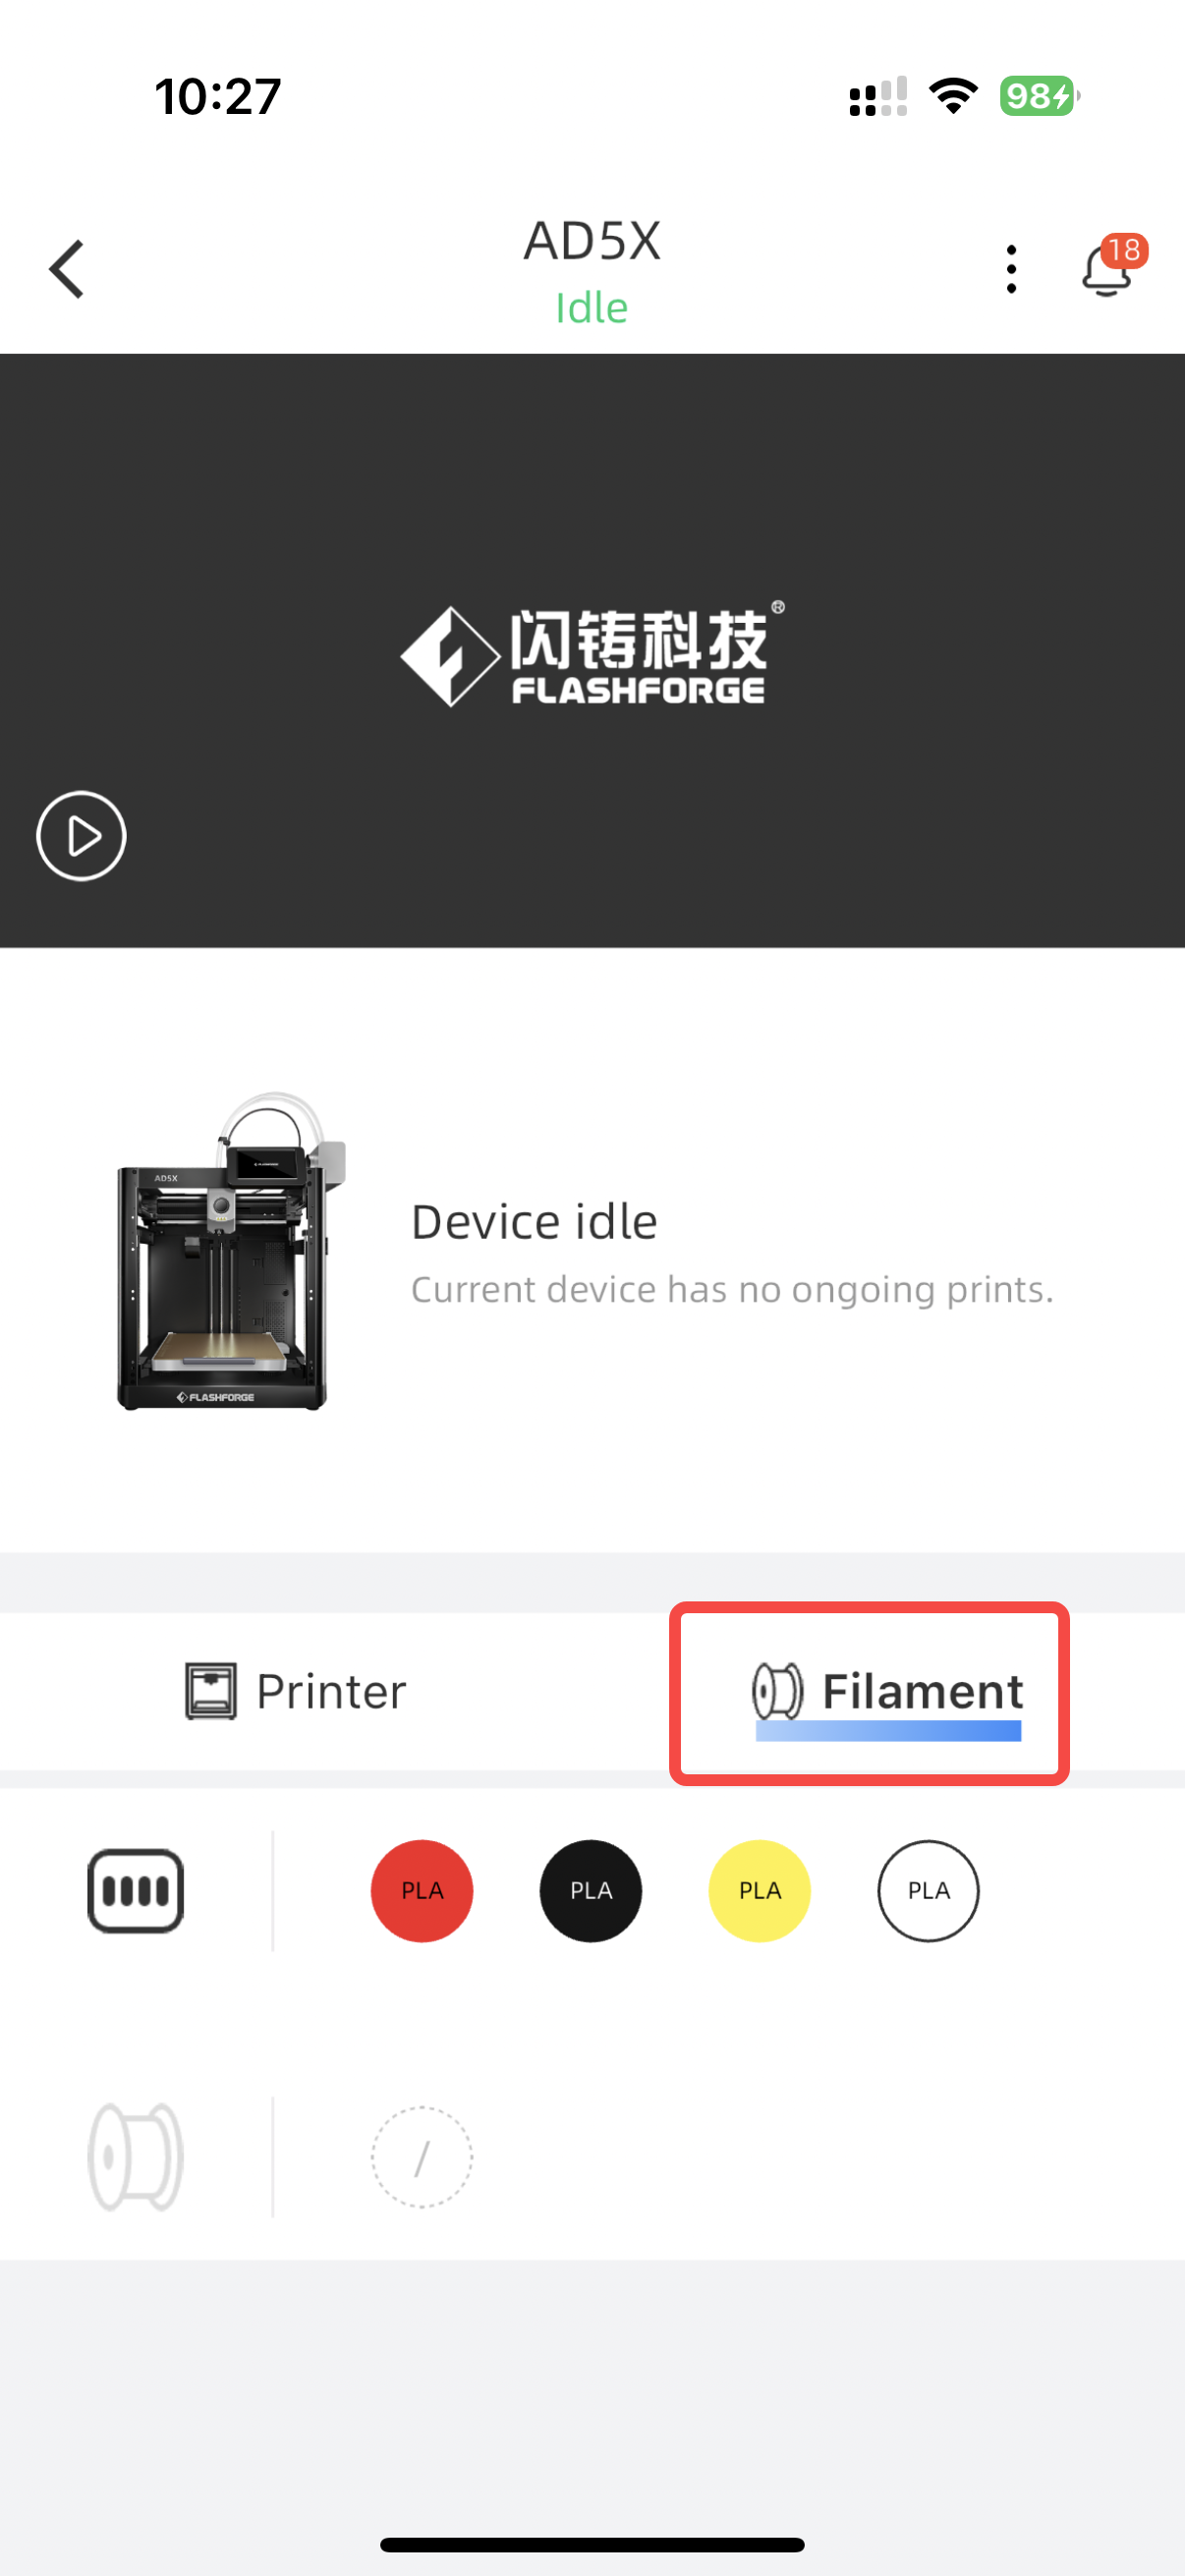
1.On the device interface, select the device you want to use for multi-color printing.
2.On the device interface, configure the filament colors and types in the IFS section.
¶ Send to Print Send Directly from Slicing Software
After slicing is completed, click [Print plate], select the desired colors, and send the print job to your printer to begin printing your multi-color model.

¶ Export Plate Sliced File to USB for Printing
1.Click [

] to expand more options, and then select [Export plate sliced file].
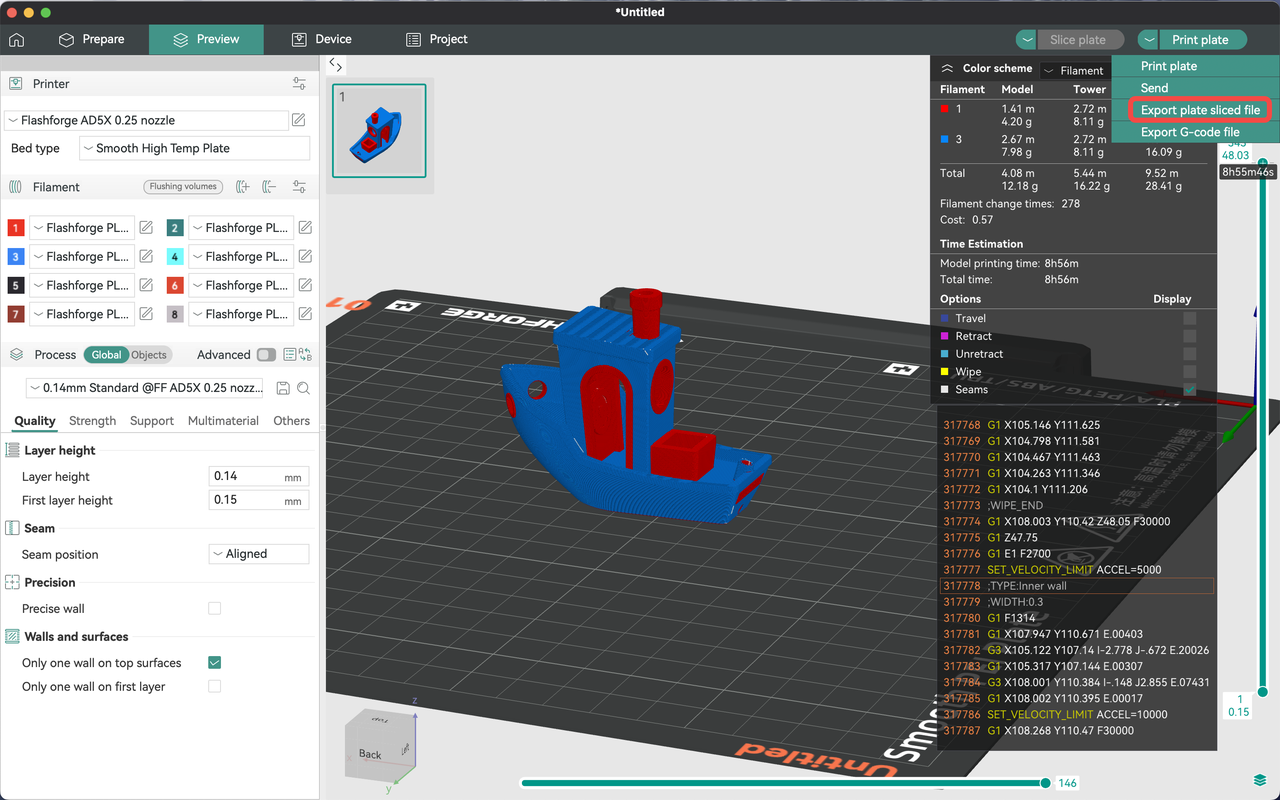
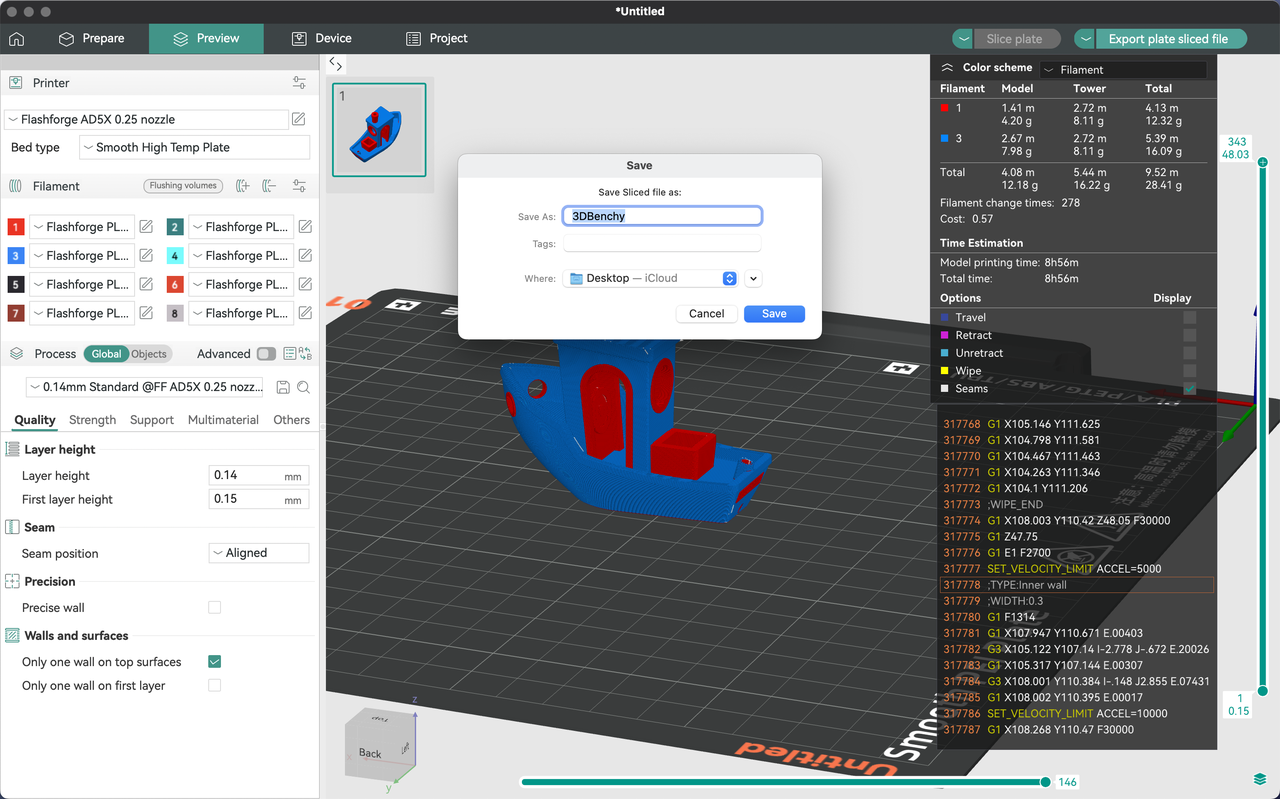
2.Click [Export plate sliced file] and choose an appropriate file path (it is recommended to save directly to your USB flash drive).
3.Insert your USB flash drive into the USB port on the right side of your printer's screen. Click [

] to enter the print file interface, and then click [

] to access the files on the USB flash drive.

4.Click on the .3mf file to go to the model details interface.
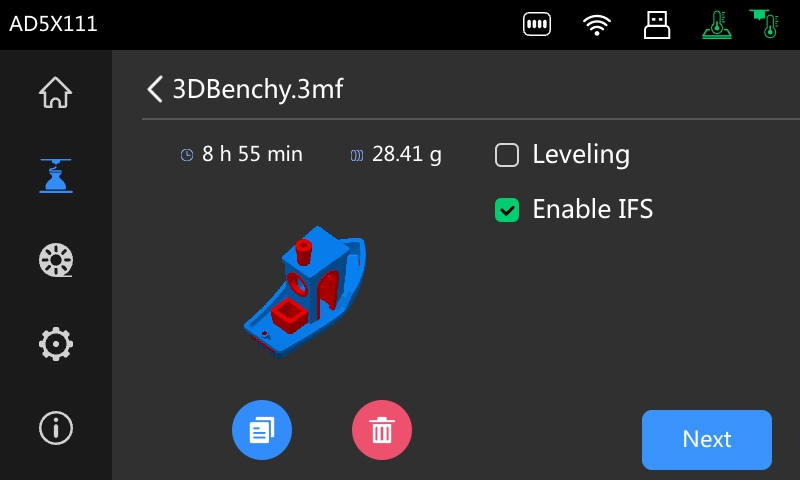
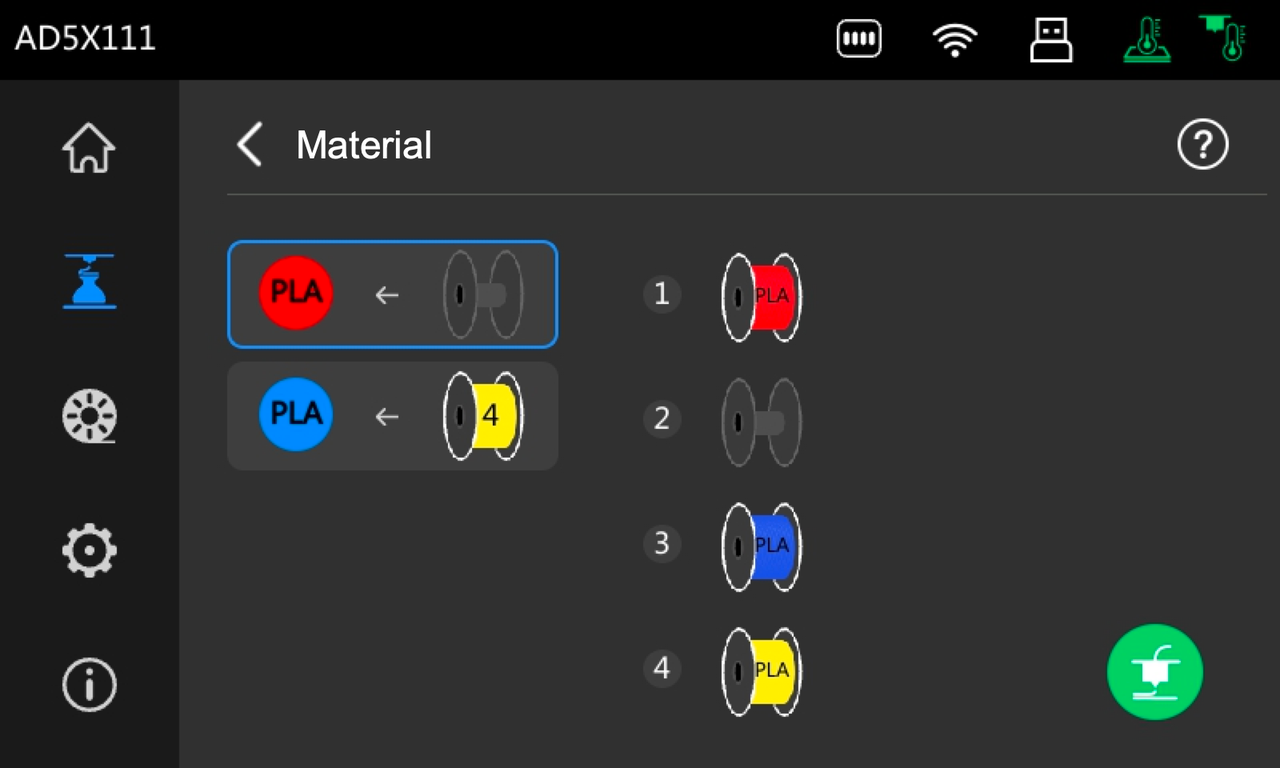
5.Click [Next] in the bottom right corner to enter the filament matching interface. Select the appropriate filaments and click the print button in the bottom right corner to begin printing.
¶ Export G-code File to USB for Printing
1.Click [
] to expand more options, and then select [Export G-code file].
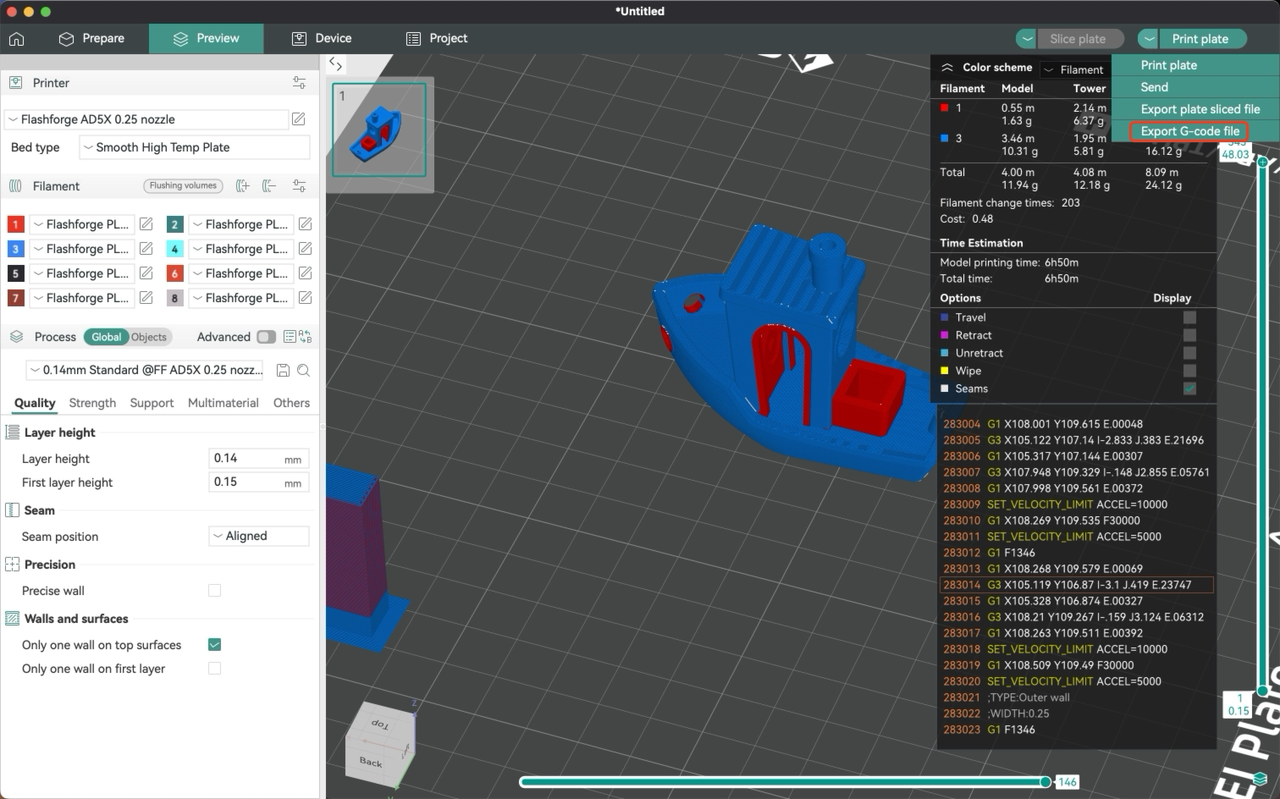
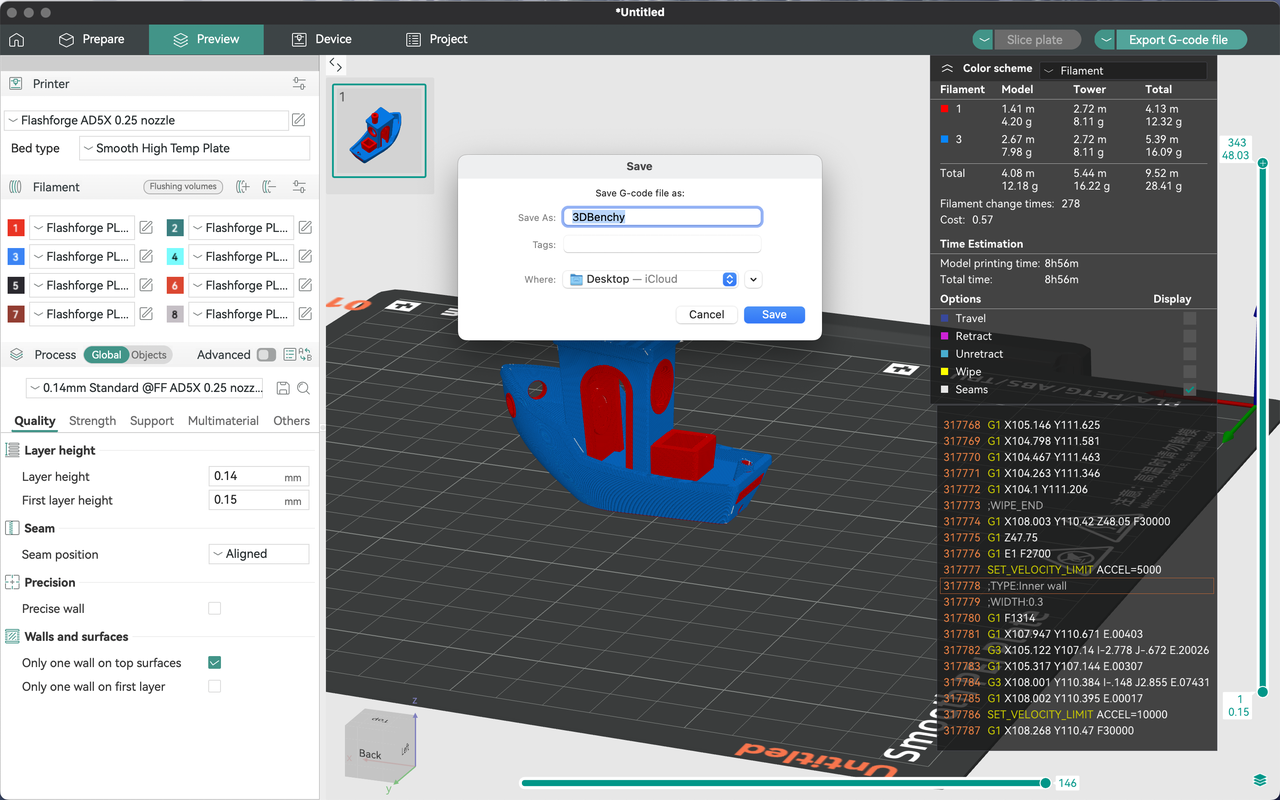
2.Click [Export G-code file] and choose an appropriate file path (it is recommended to save directly to your USB flash drive).
3.Insert your USB flash drive into the USB port on the right side of your printer's screen. Click [

] to enter the print file interface, and then click [

] to access the files on the USB flash drive.
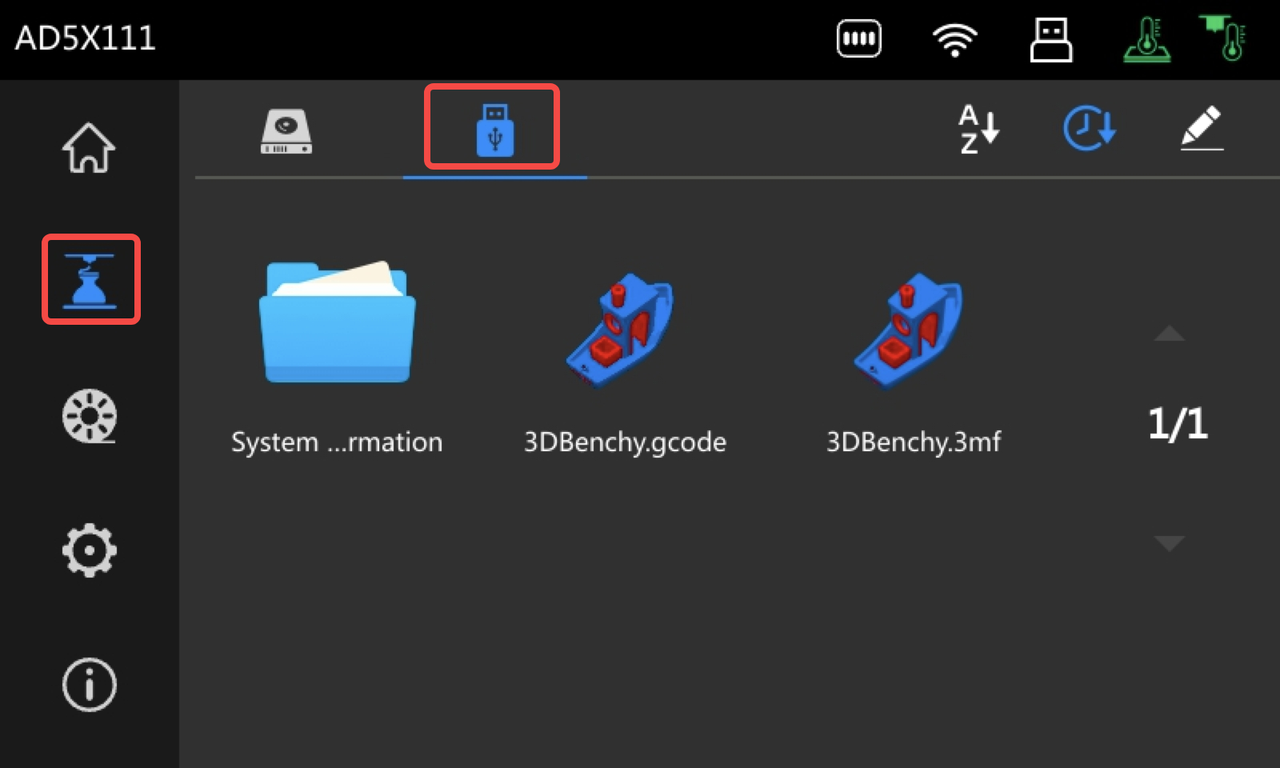
4.Click on the .gcode file to go to the model details interface.

5.Click the print button in the bottom right corner to begin printing, with filaments matched based on the printer's current configured channel orders and colors by default.
Note: Please promptly remove the waste filament from the trash can. Otherwise, the waste filamment overflows, it will cause the printer to fail to discharge the filamment properly. When the amount of waste filament reaches the position shown in the following picture, the trash bin should be emptied.
