¶ What is Flash Maker?
A mobile app tailored for Flashforge 3D printers with features like remote monitoring, group control, and quick printing of history files.
¶ Download and Install
Flash Maker can be downloaded from Flashforge official website.
For Android users
Download link: https://assets.flashforge.com/app/maker/android-release-us.apk
Scan to download: 
For iOS users
Download link: https://apps.apple.com/cn/app/flash-maker/id6475712393
Scan to download: 
¶ First Use
When using Flash Maker for the first time, please register/log in to your Flashforge account.
¶ Log in / Register
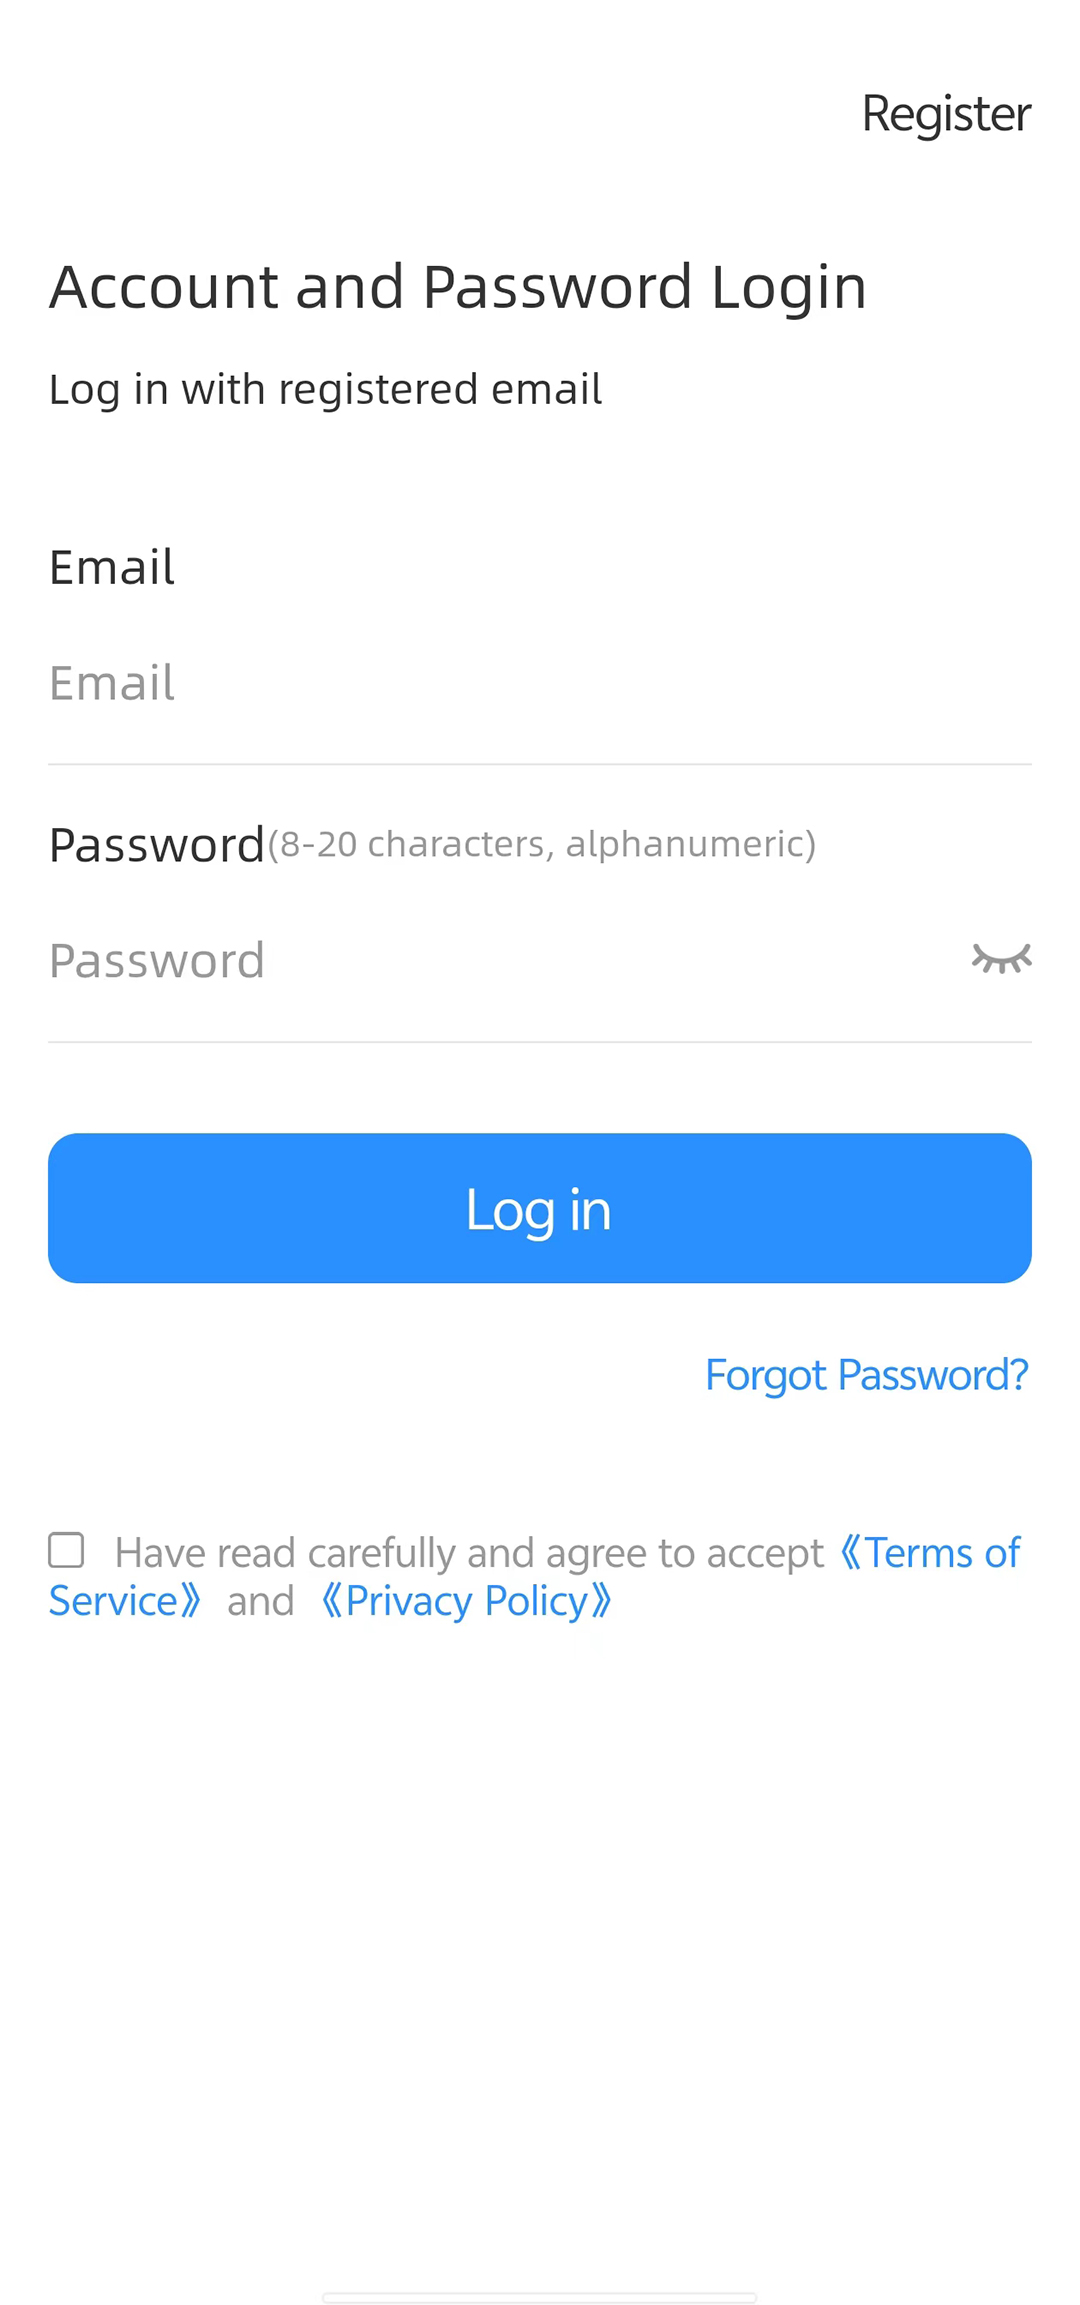
Upon initial use of Flash Maker, you'll be directed to the account login page. Register using your email and log in with your account credentials.
¶ Add Printer
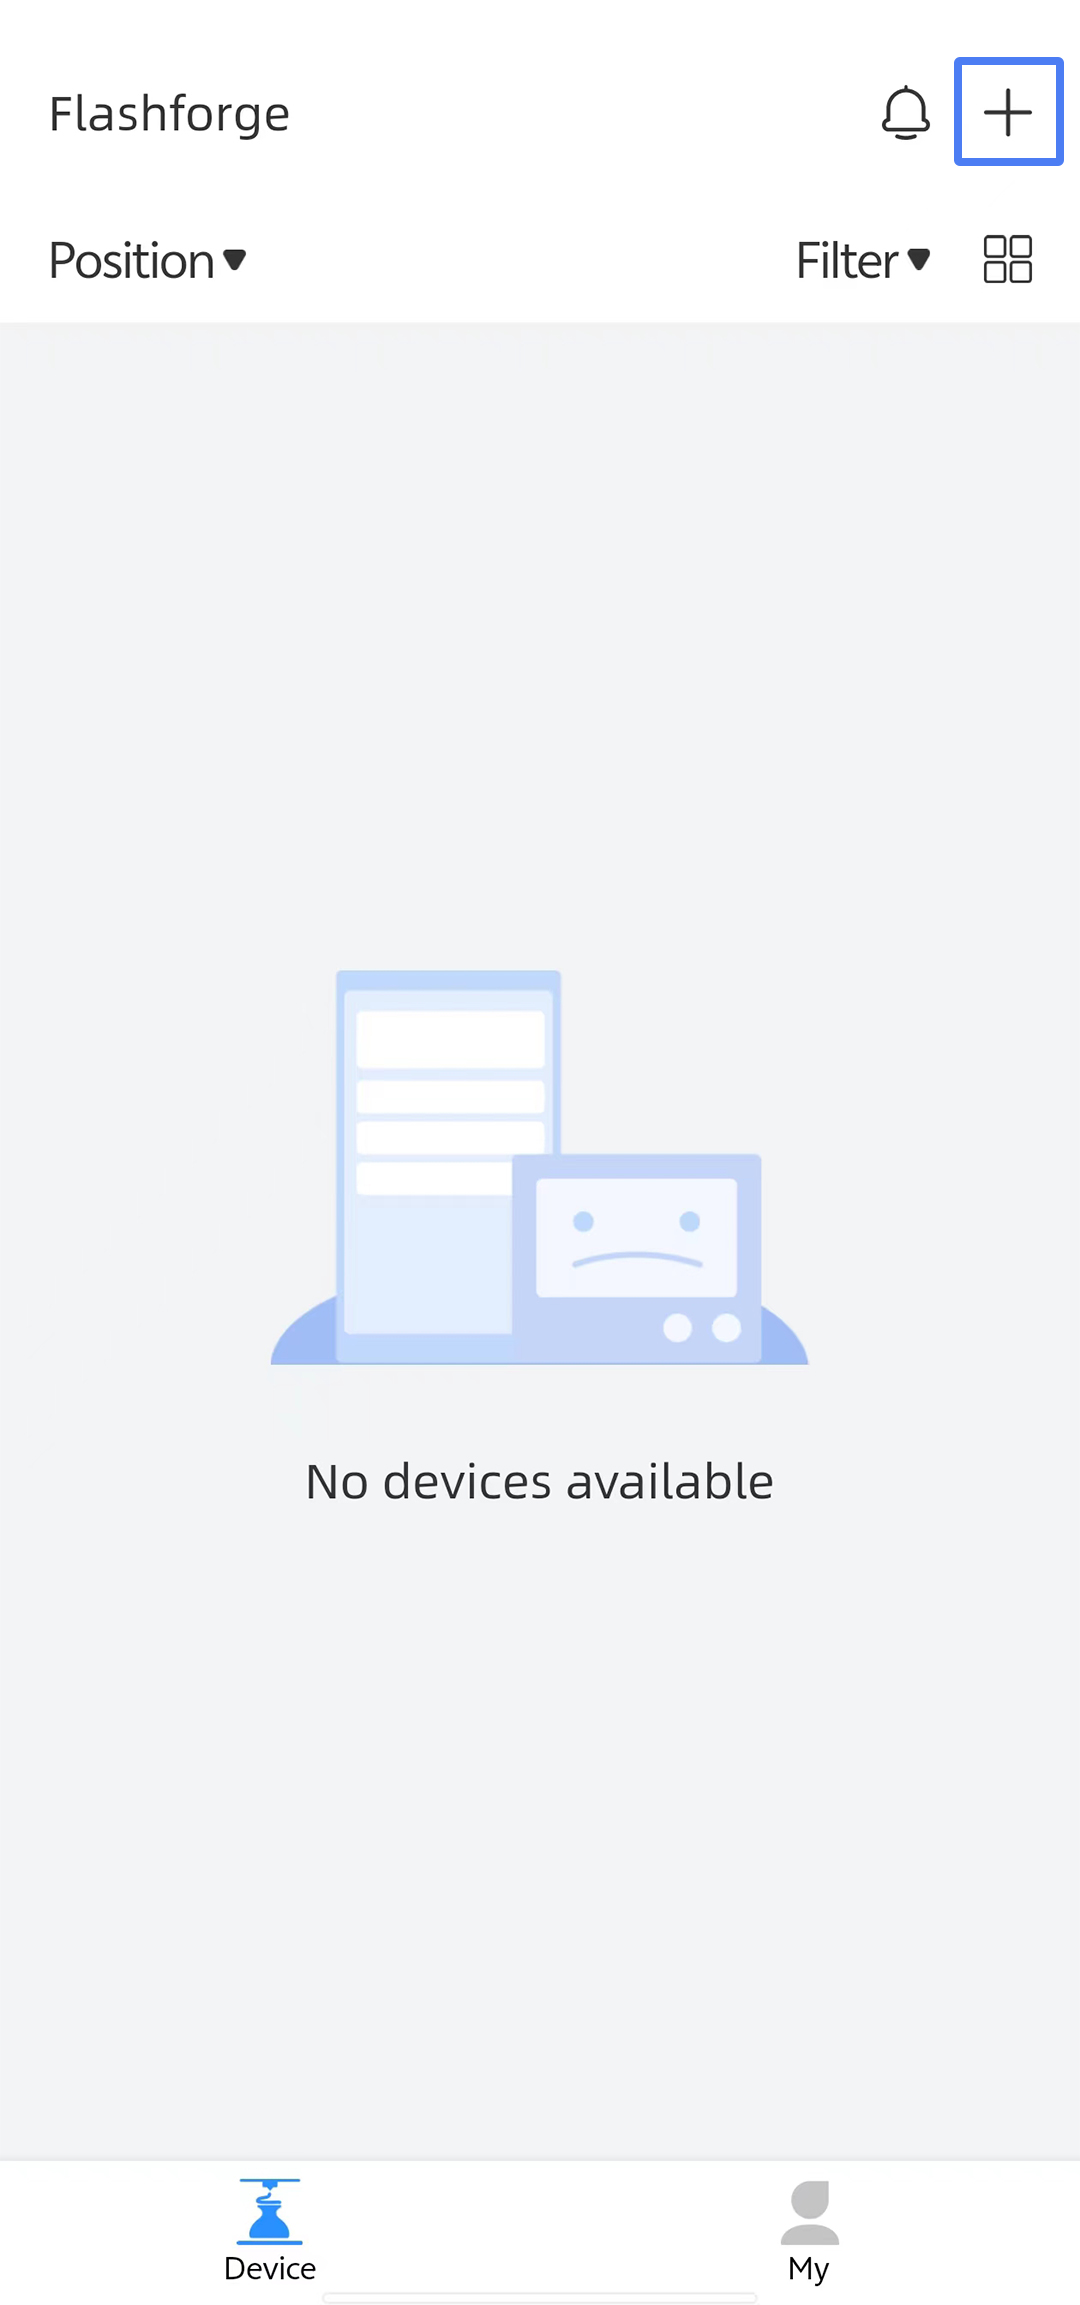
After logging in, click [+] in the upper right corner of the [Device] page to scan the QR code on the printer screen for printer adding.
If using Adventurer 5M series 3D printers (currently, the app only supports Adventurer 5M series), please connect it to the network first. Then, click [i] at the bottom left corner to access the device information page. Find the QR code needed for adding the printer via [My account].
Note: For Adventurer 5M series, this feature is only available in firmware versions later than 2.6.5-2.2.3 (including 2.6.5-2.2.3).
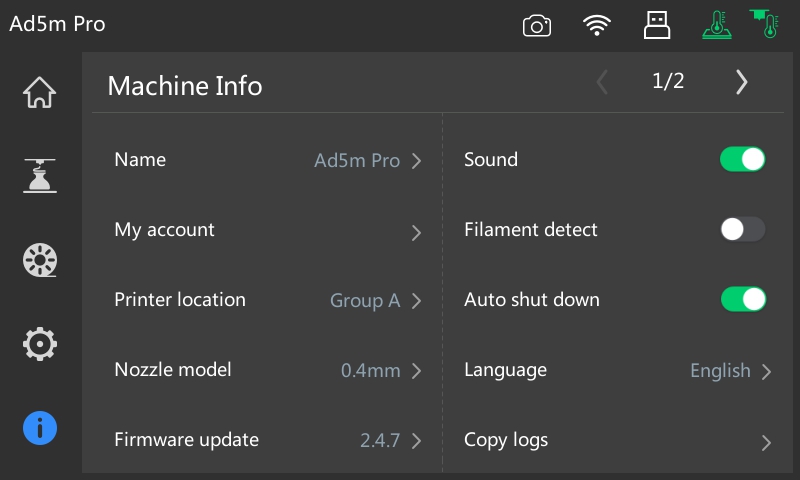
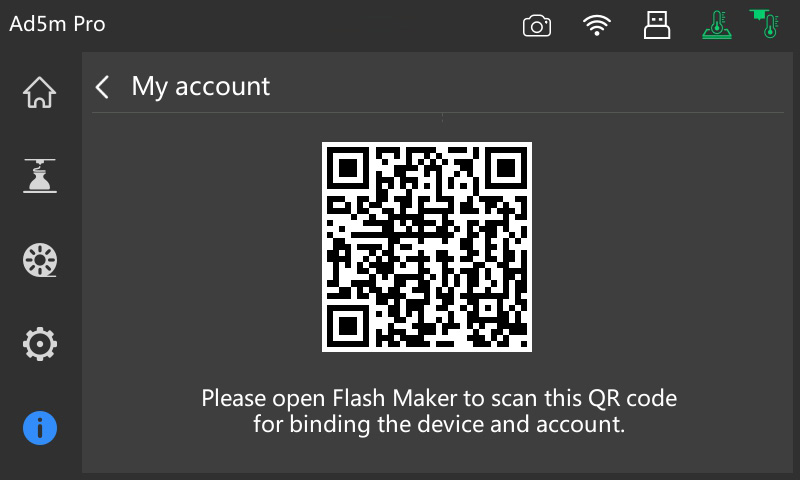
After successfully scanning the QR code, a device binding page will pop up. Click [Confirm binding] at the bottom to complete printer adding.
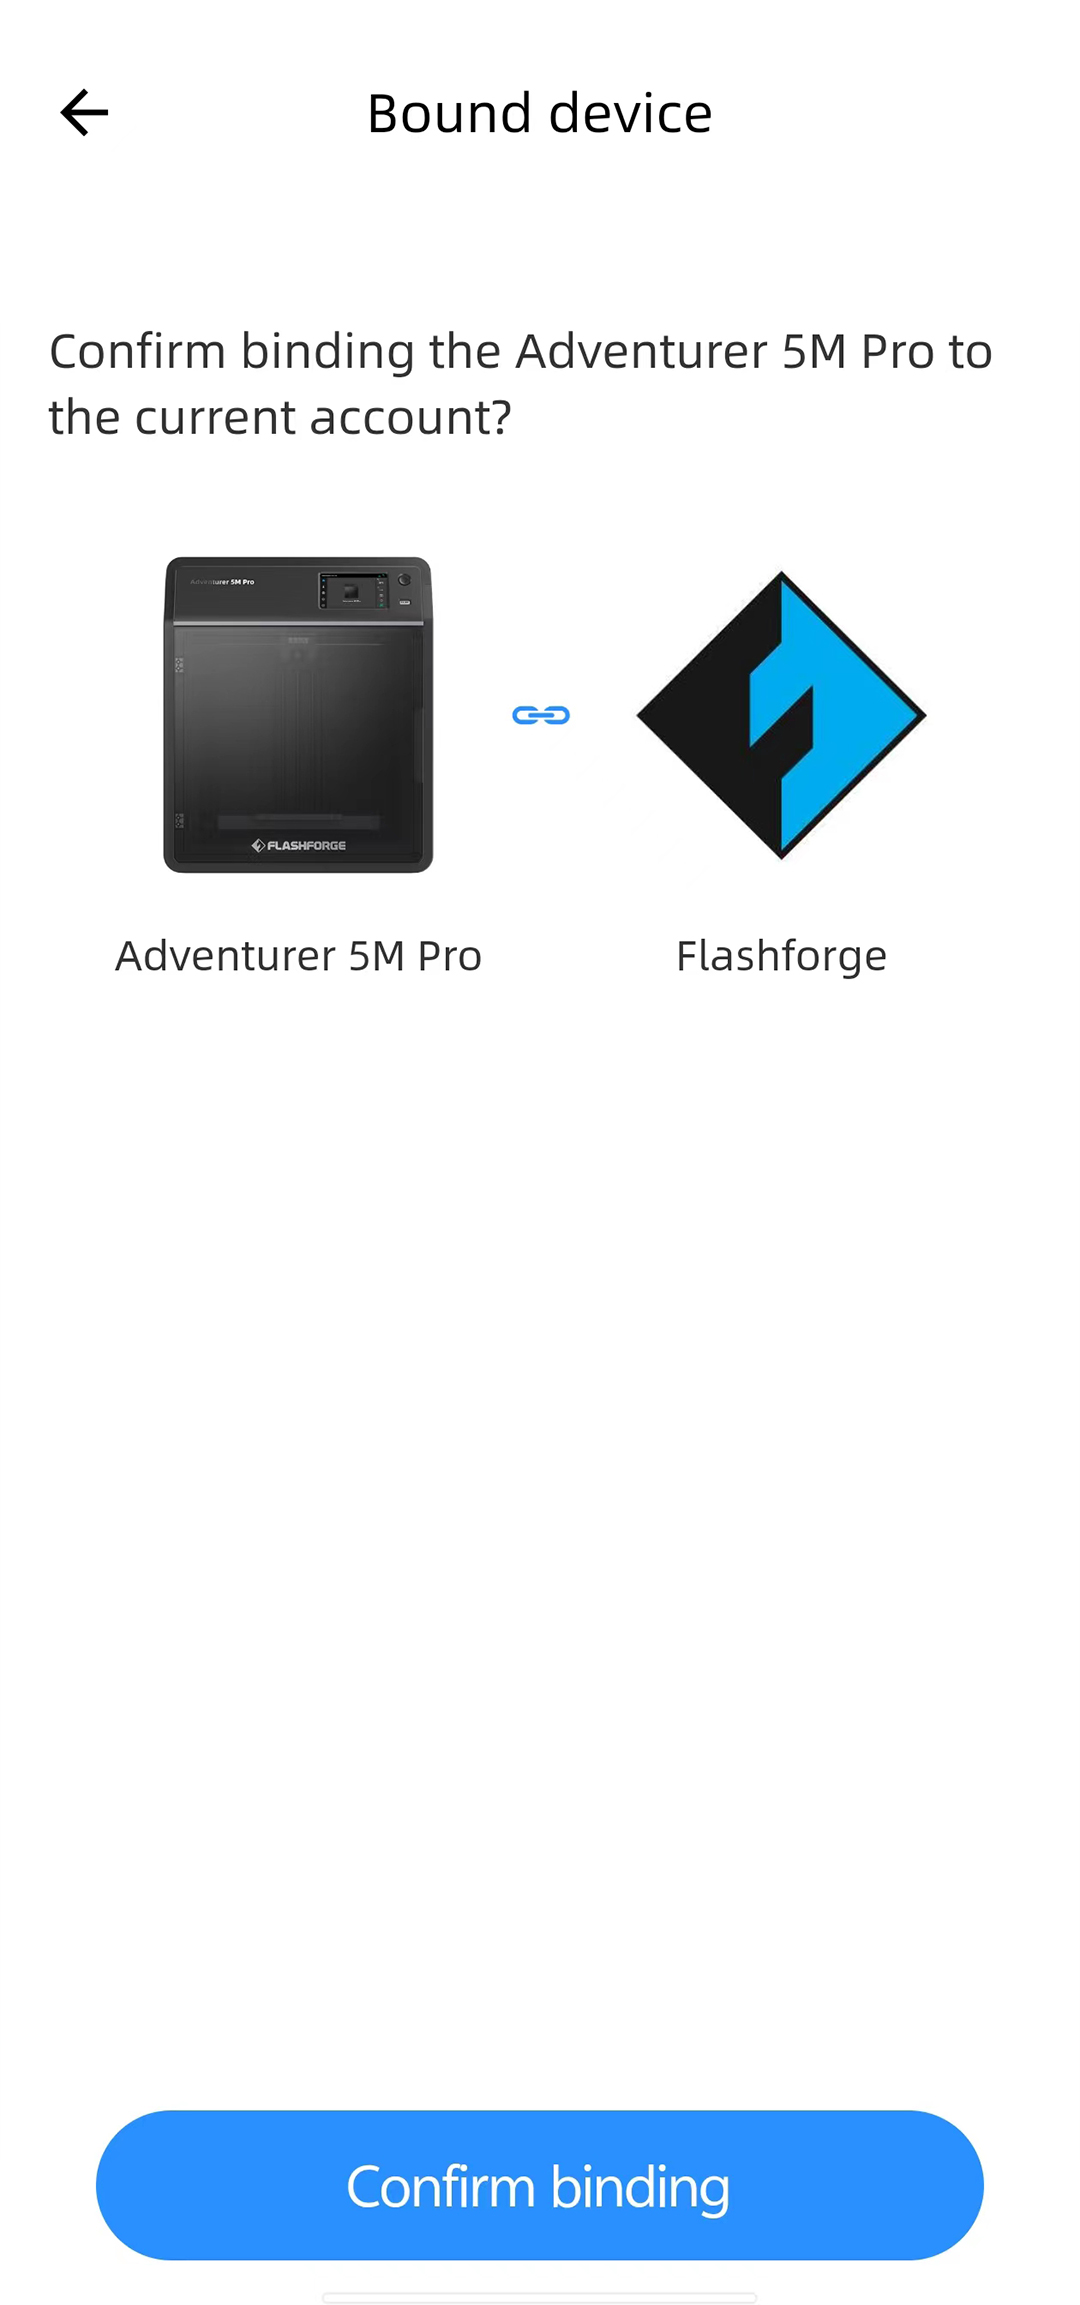
Note: Flash Maker currently does not support printer connection when in LAN mode; internet connection is required for printer connection.
¶ Bind New Device
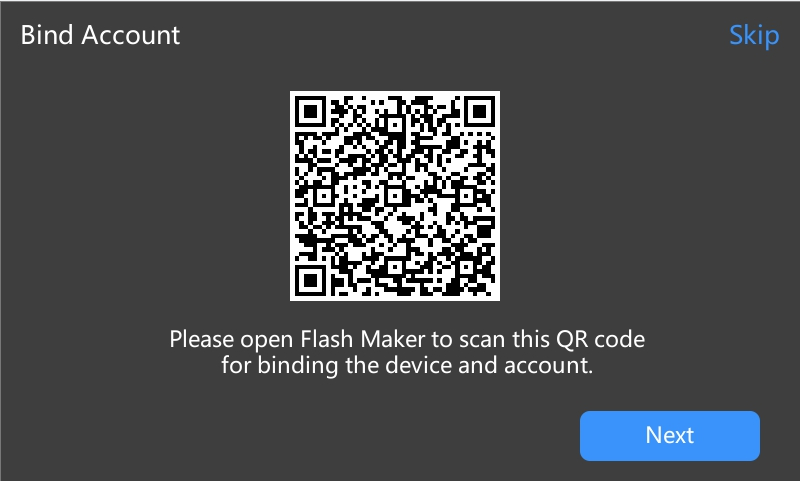
Upon receiving the printer, for the first boot, follow the setup process to connect to Wi-Fi, and then scan the QR code to bind.
1. Connect to Wi-Fi
Select Wi-Fi and input the password. Once connected, the IP address will be displayed. Click [Ok] to proceed.
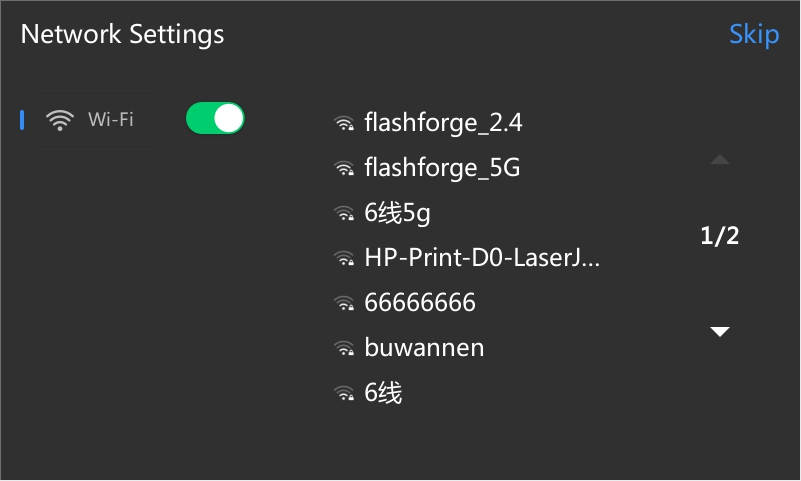
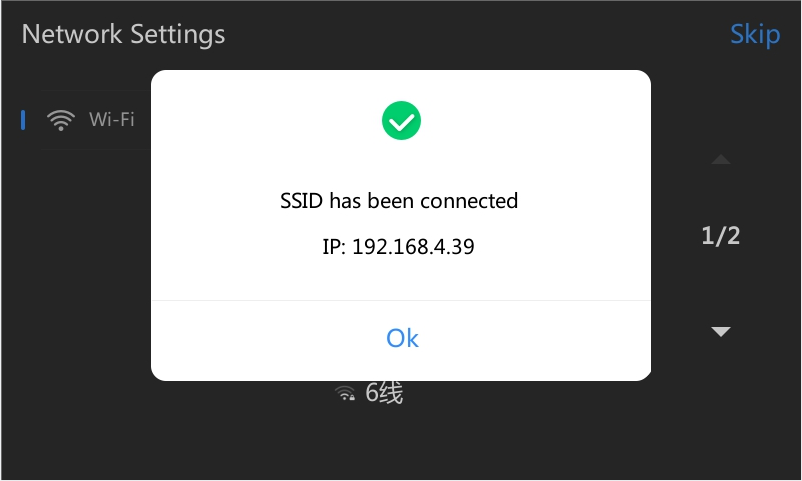
2. Use Flash Maker to Scan the QR Code
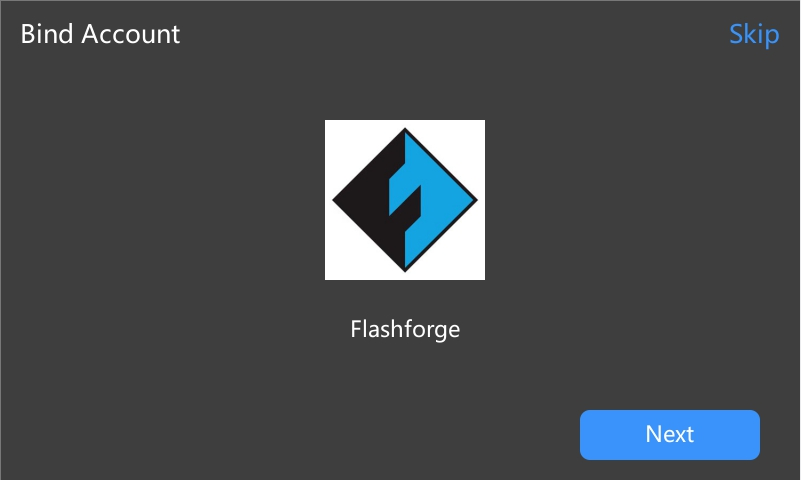
After successful binding, it will display the connected account. You can skip binding on this page or bind later by accessing the information page after completing the setup process.
¶ [Device] Page Overview
The [Device] page displays all added printers.
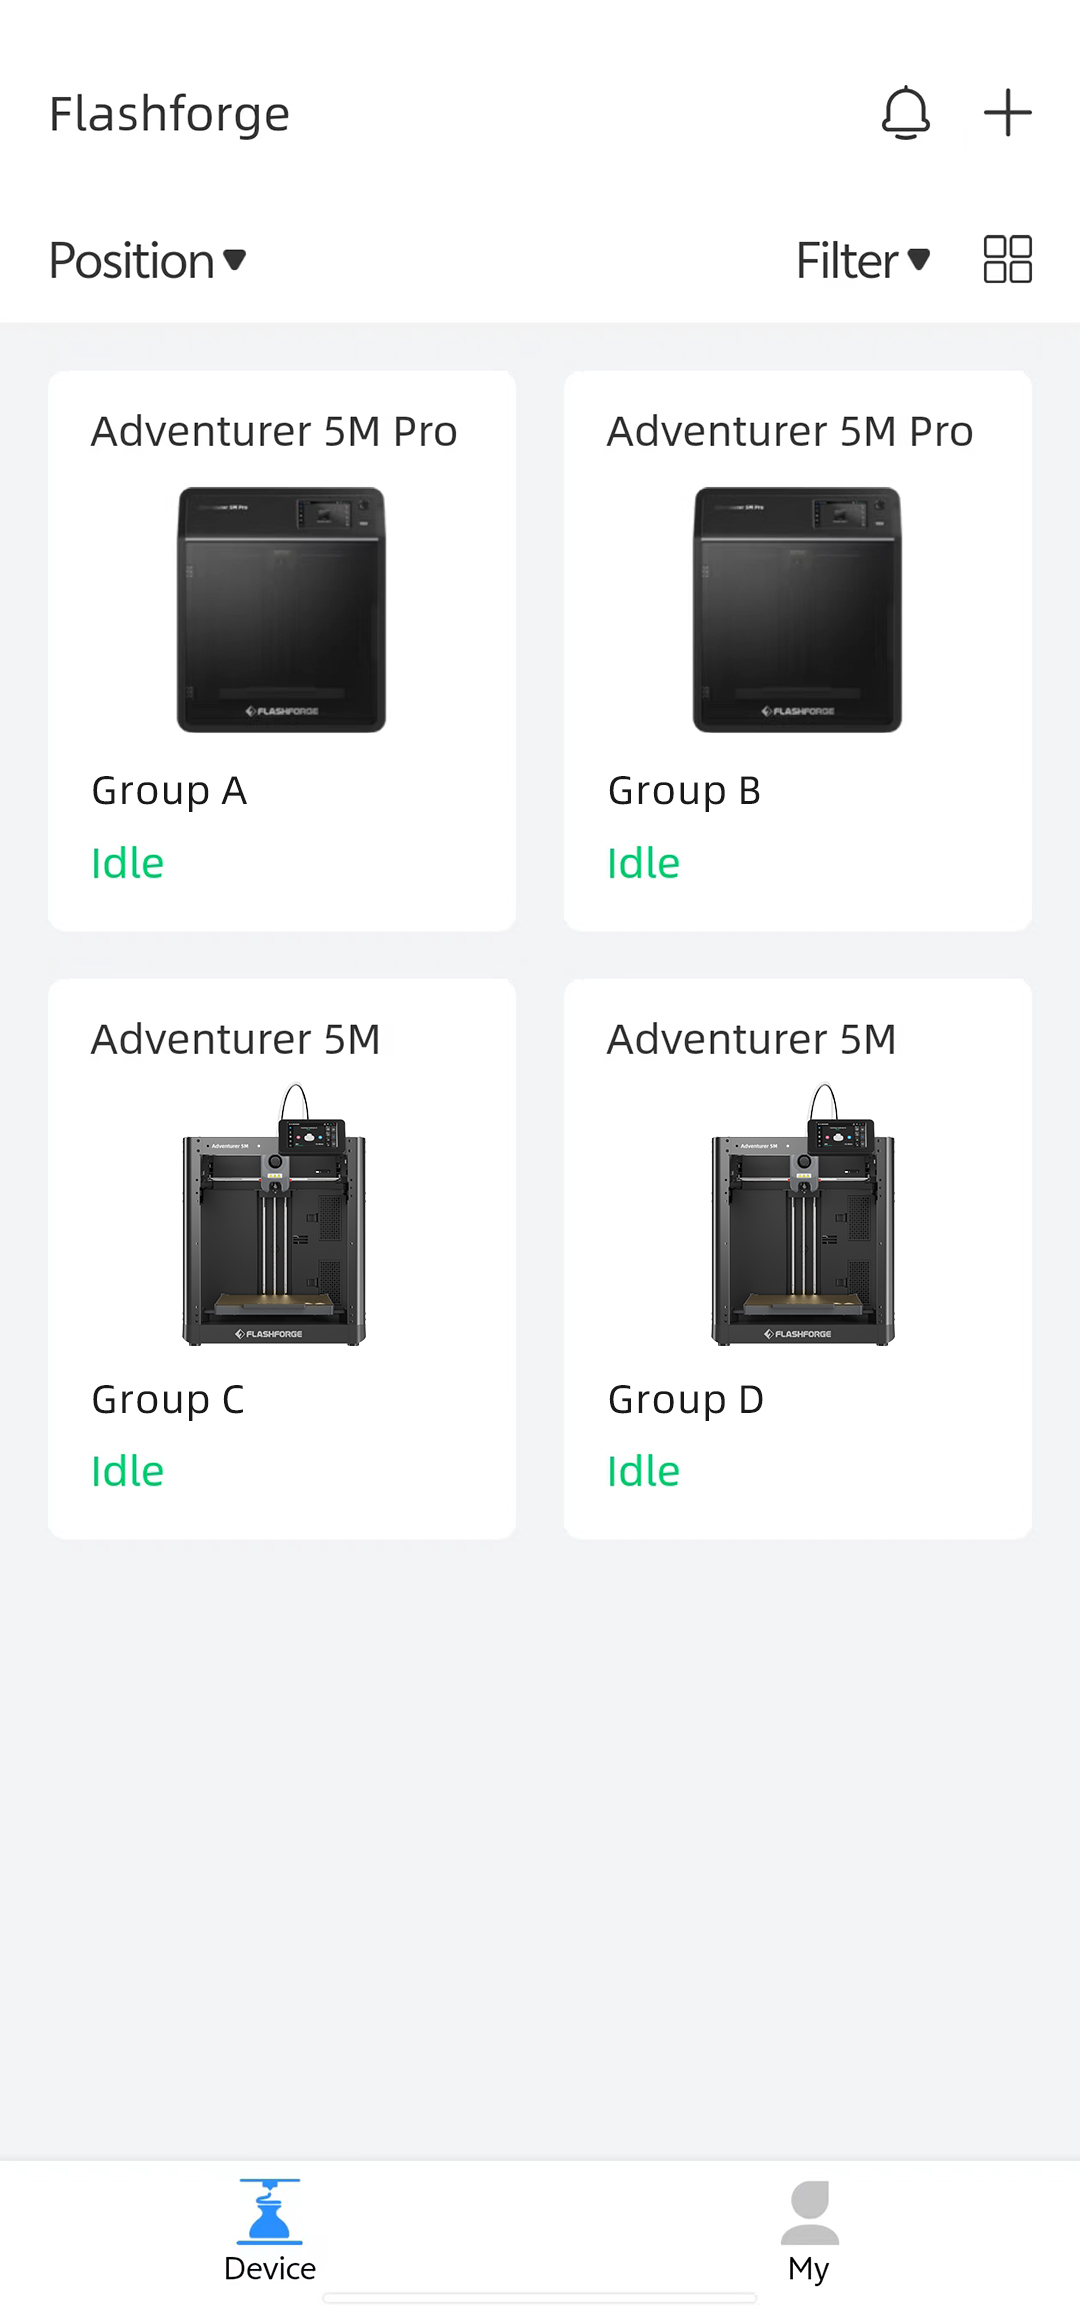
Clicking a printer allows access to the printer control page.
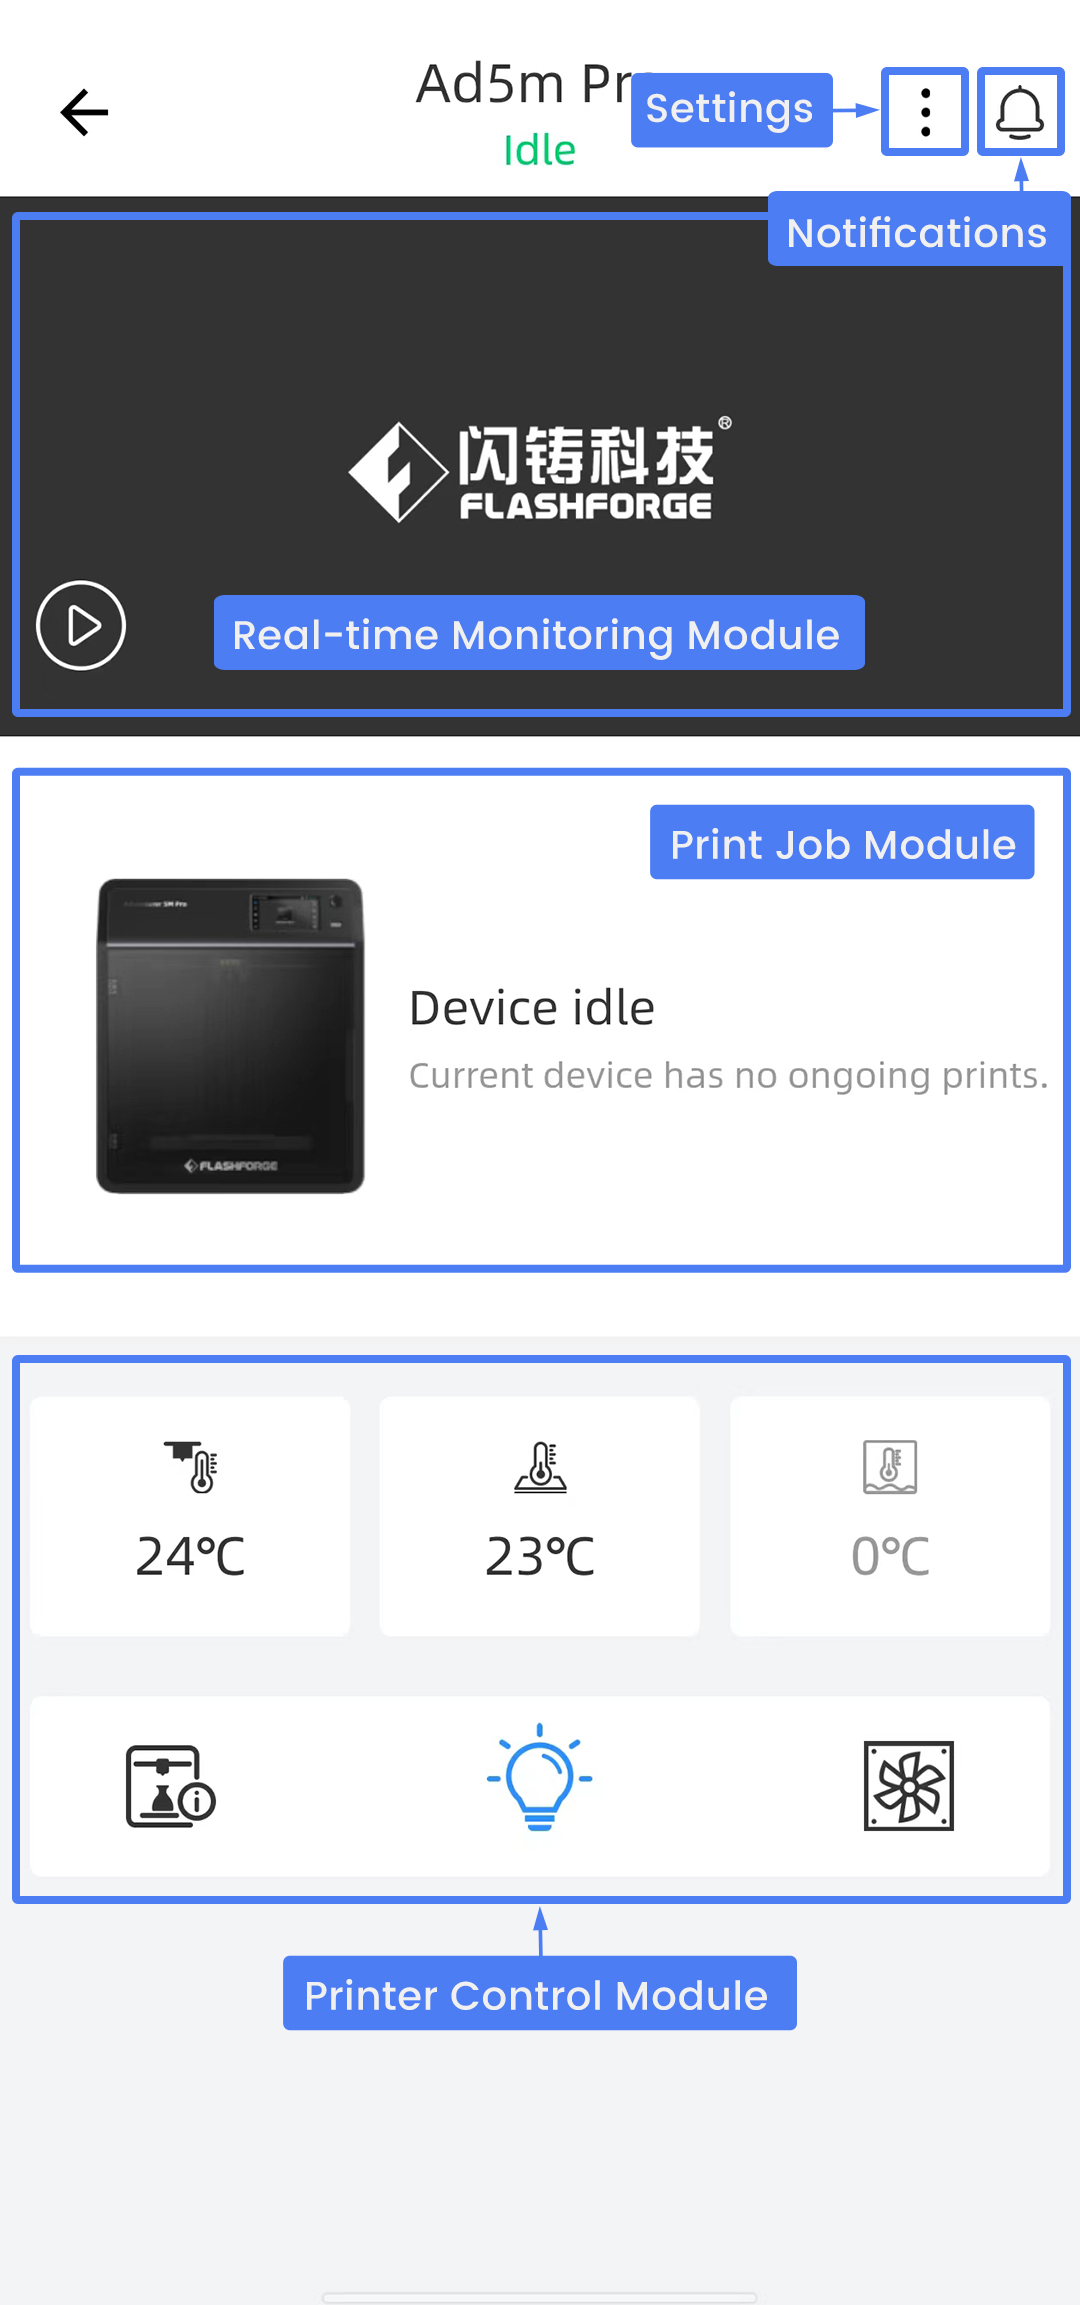
¶ Real-time Monitoring Module
Watch live video by clicking the Play button, available whether the printer is idle or printing. You can also maximize the monitoring screen for a closer look. (Note: This feature requires a printer equipped with a camera; Adventurer 5M does not have a built-in camera but you can purchase one and install it on your Adventurer 5M. Click here for the installation guide.)
¶ Print Job Module
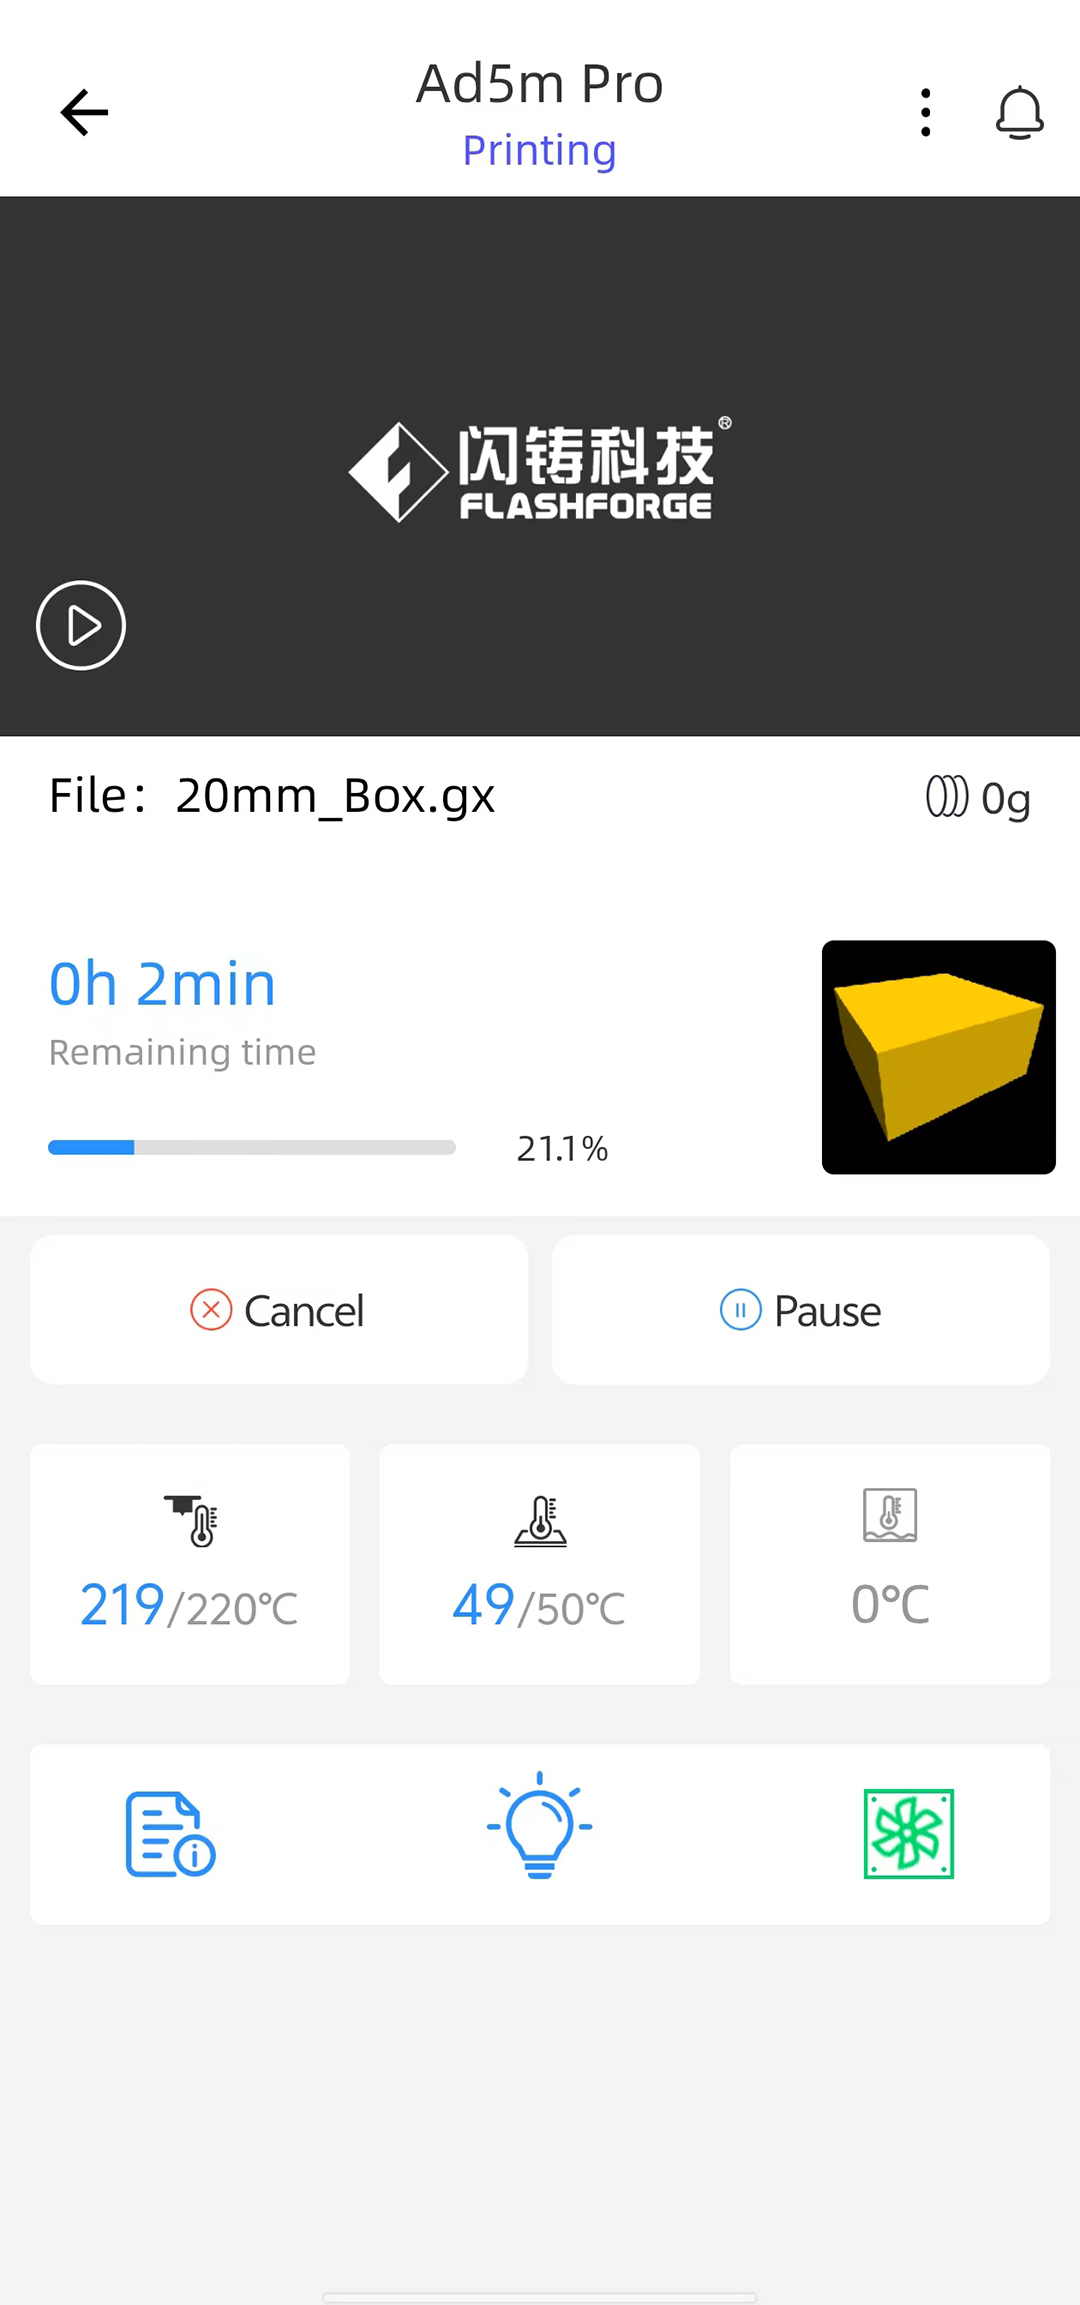
Display the model name, model image, total filament usage (depends on whether the sliced file contains this information), print progress, and buttons for pausing or canceling printing when the printer is printing.
¶ Printer Control Module

Display and control the temperature; click to modify the printer temperature in real-time.

Chamber light control button; Blue indicates light on, gray indicates light off.

Internal/External circulation air filtration fan control button; Click to enable internal or external circulation filtration.

It displays the device icon when idle - click to view basic printer information; It displays the file icon when printing - click to view and modify detailed parameters of the print file.
¶ Settings
Access the [Settings] page by clicking [![]() ].
].
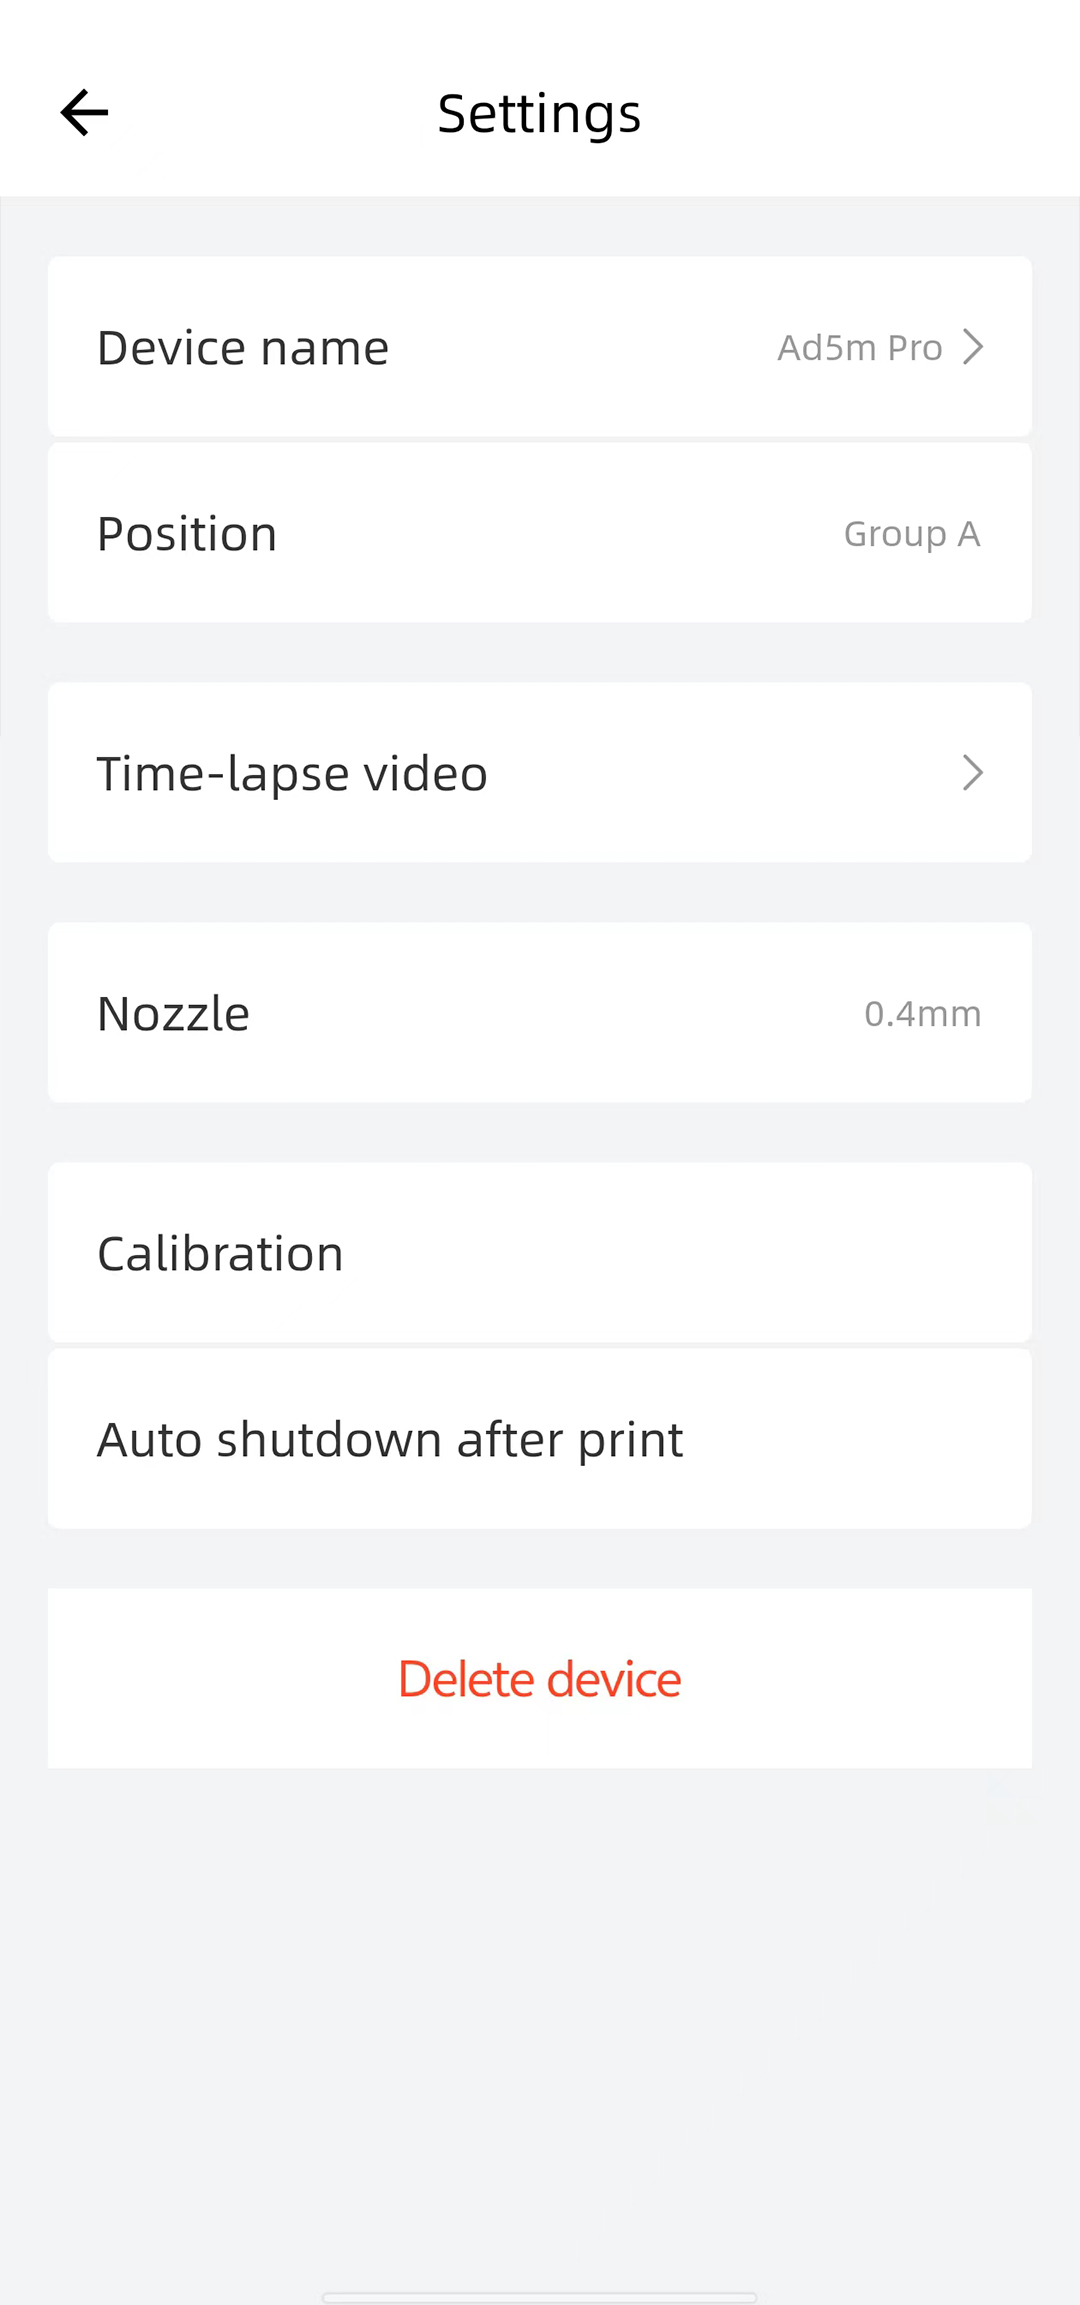
[Device name]: Modify the displayed device name in Flash Maker and on the printer simultaneously.
[Position]: View which group the device is in.
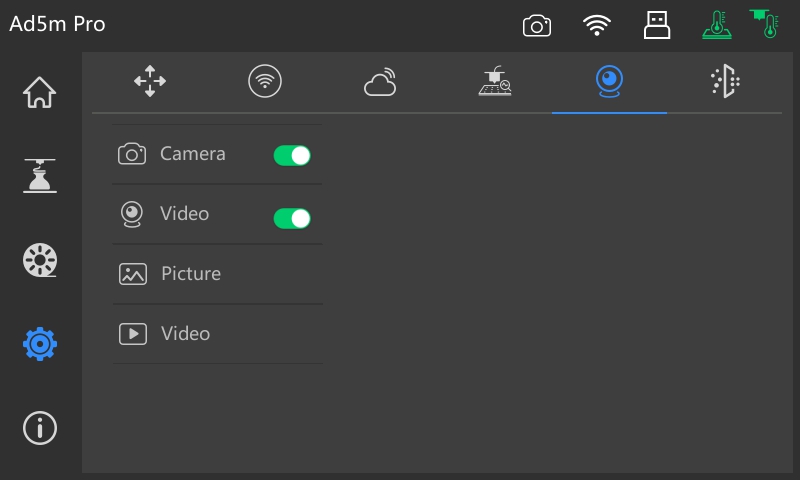
[Time-lapse video]: View the time-lapse video created after printing is completed. (Ensure the [Camera] and [Video] switches are enabled on the printer before printing; time-lapse video won't be created if the print is canceled).
[Nozzle]: Manually select the nozzle diameter. It displays the factory-installed nozzle diameter by default (please ensure the chosen nozzle diameter matches the actual one installed).
[Calibration]: Conduct leveling tests and vibration compensation when the printer is idle; unavailable during printing.
[Auto shutdown after print]: Adjust the switch status and duration of the auto shutdown feature.
[Delete device]: Unbind the device from this account.
¶ Notifications
View notifications about the print status and error alerts here.
¶ [My] Page Overview
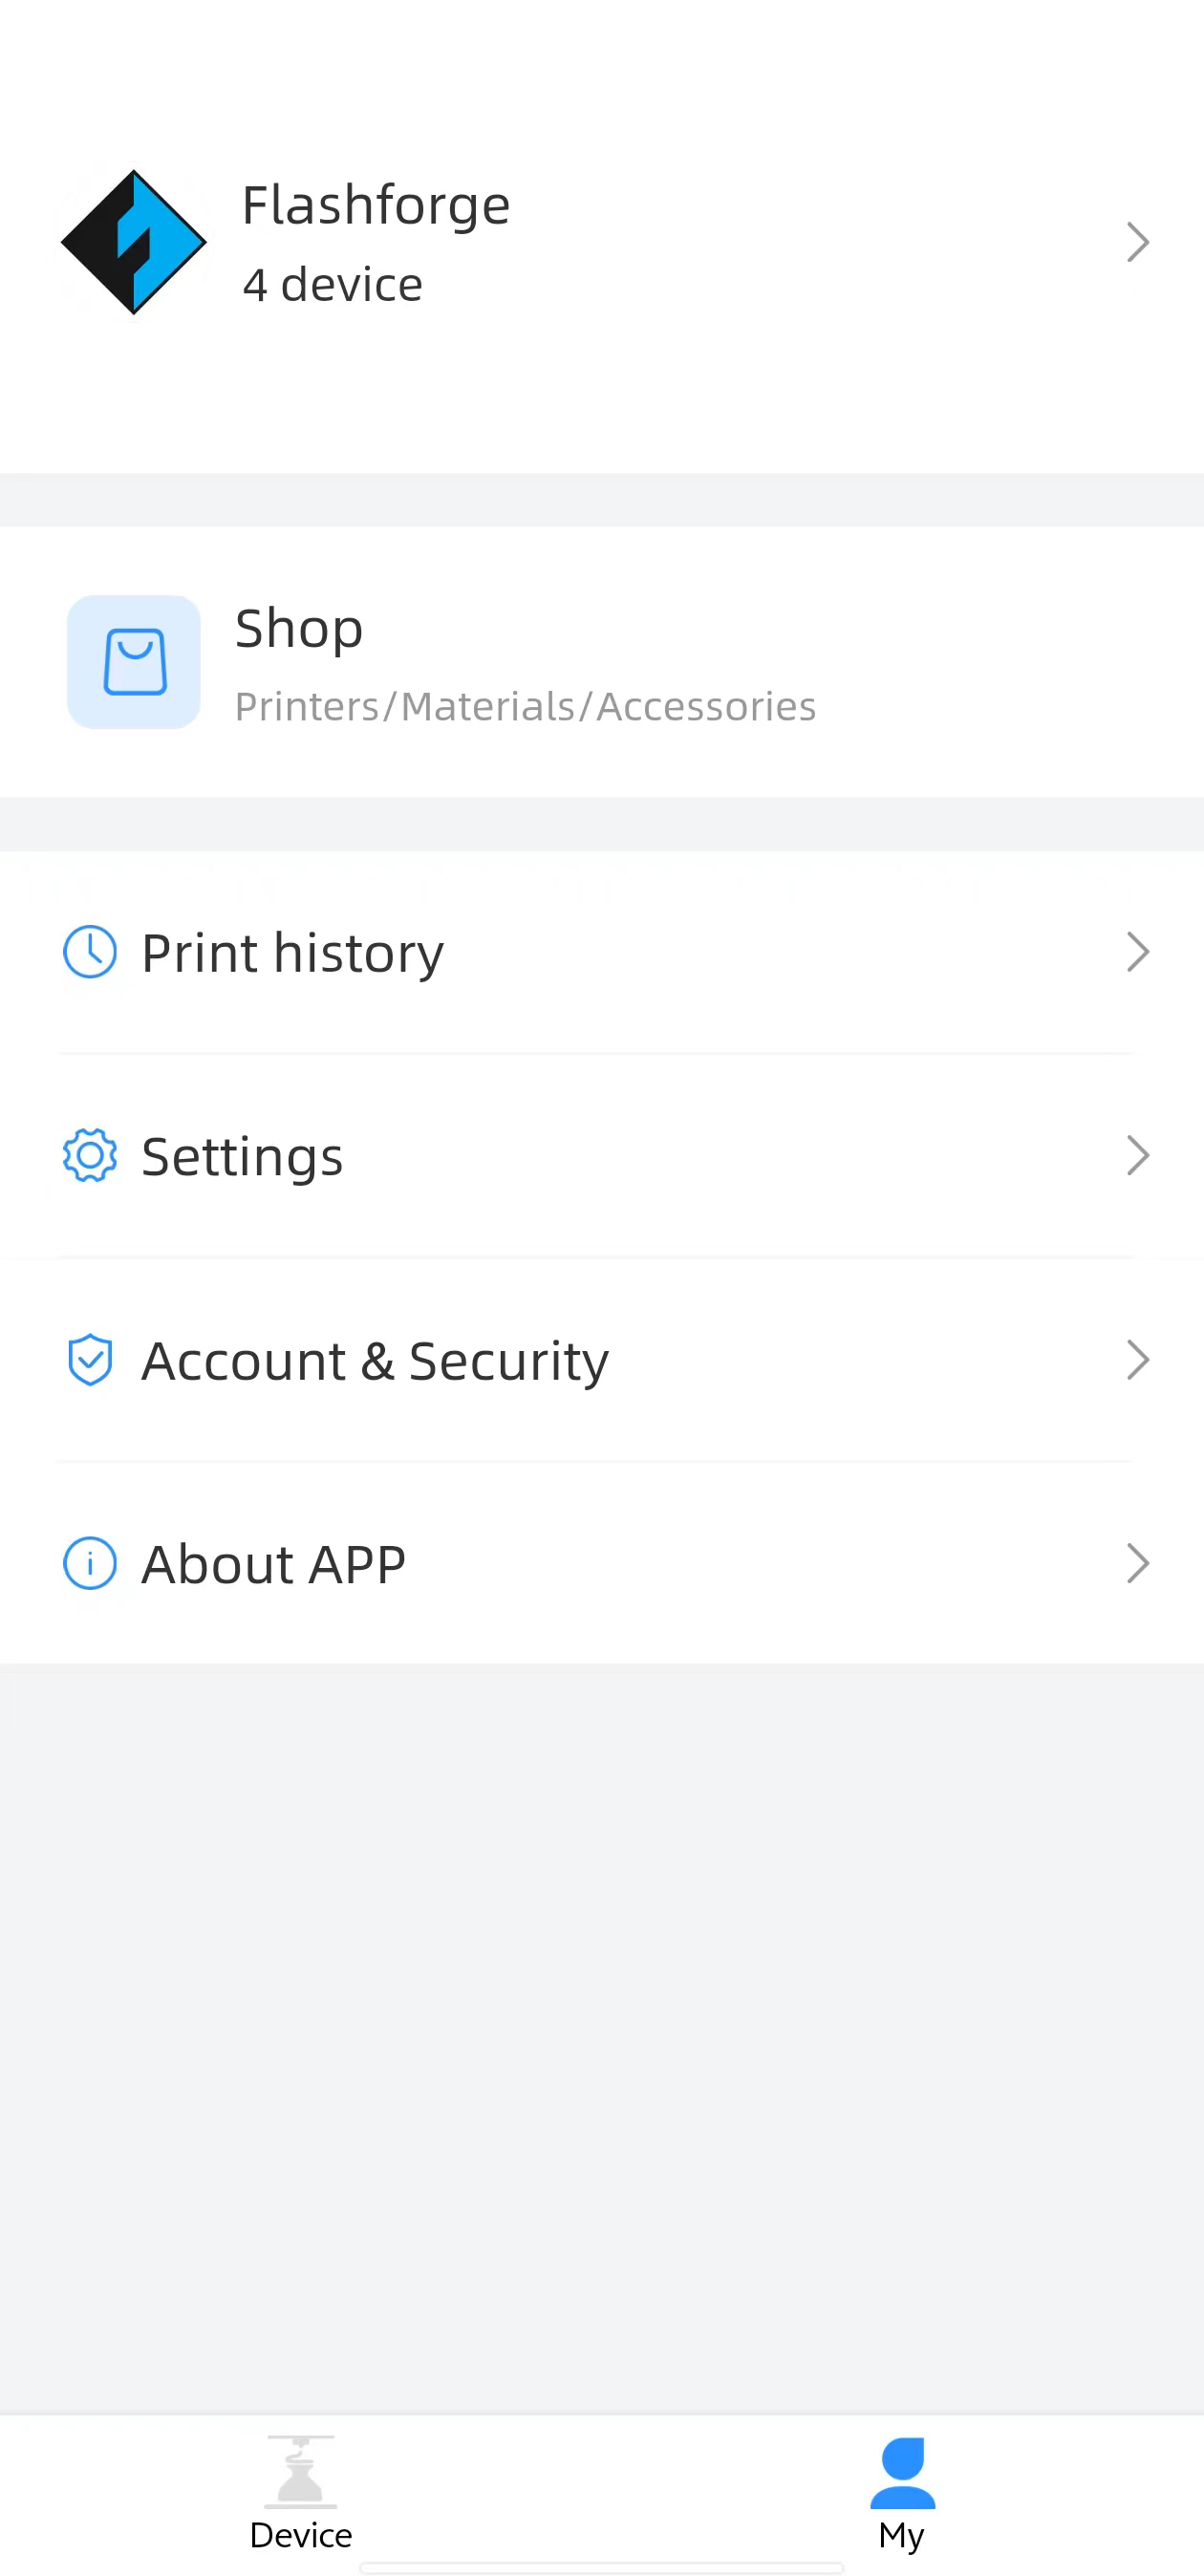
Username and Avatar: Modify your username and avatar.
[Shop]: Click to visit the Flashforge Tmall flagship store for printer and material purchases.
[Print history]: Display the print history of jobs sent through the cloud for the past month on your current account. Jobs printed via local, USB, and LAN mode won't be saved in the history. Click any file in the print history to enter the print preparation page. After selecting the target printer, click [Send to print] to print the model again. It only supports printing on the device of the same type as in the history. It supports sending one file to multiple devices of the same type simultaneously.
[Settings]: Modify the language, enable notifications, activate incognito printing, and sign out of your account.
[Account & Security]: Change the password and delete the account.
[About APP]: Here displays the version number, feature introduction, User Agreement, Privacy Policy, and contact information.