¶ Welcome to Flash Studio Mobile
¶ Download and Installation
Official download page: https://www.flashforge.com/pages/flash-studio-mobile?utm_source=flashstudio
Scan the QR code with your phone:
Android Users
iOS Users

¶ First-Time Setup
¶ Register / Log In
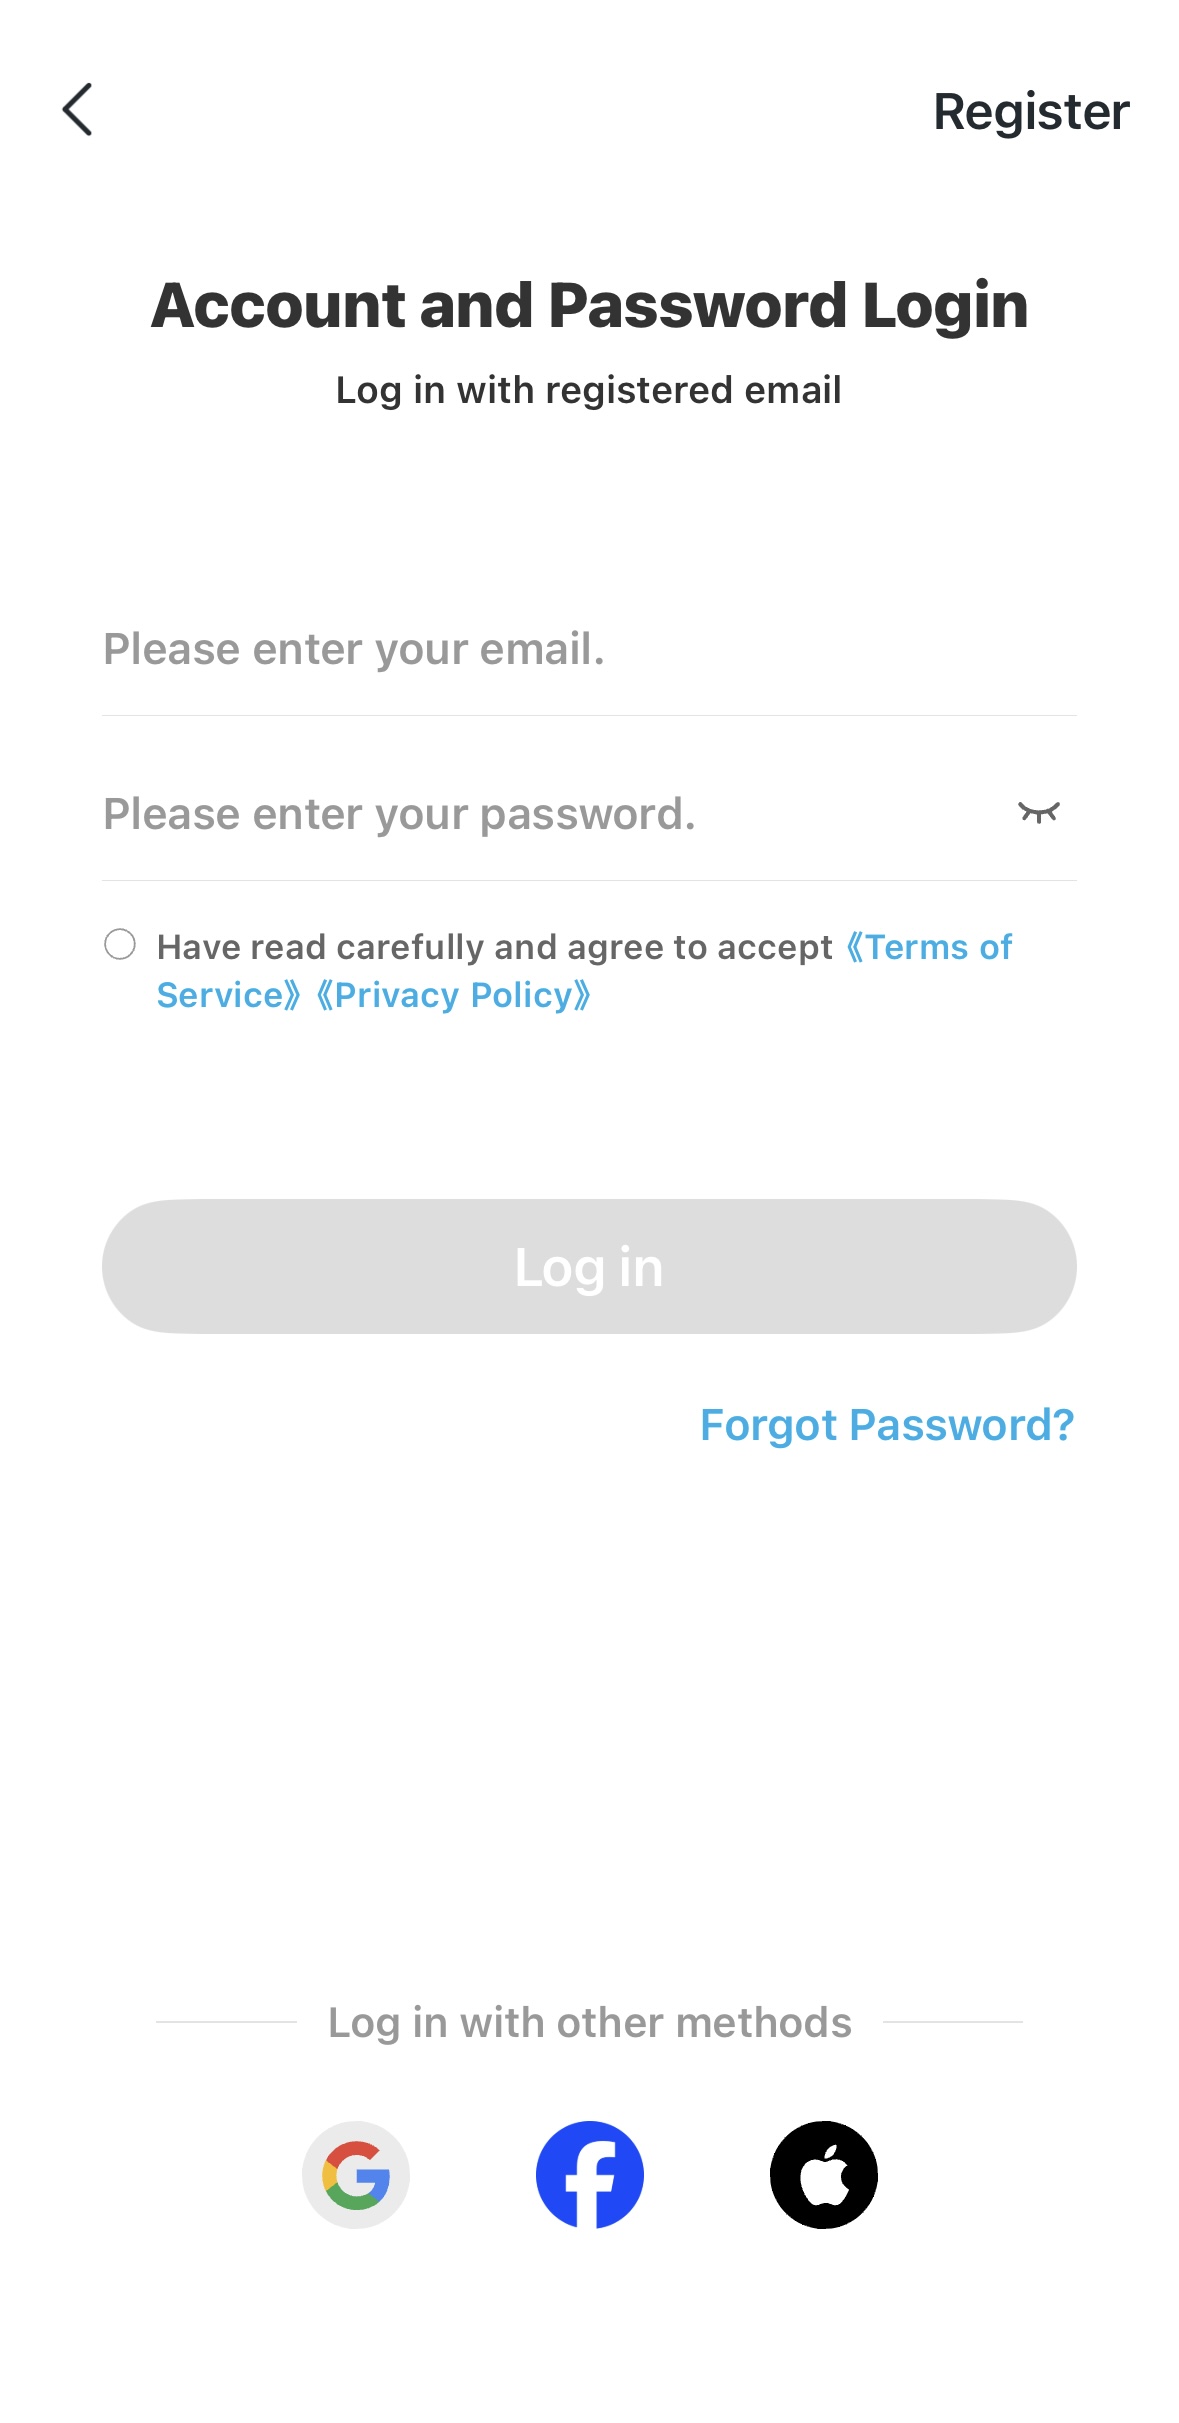
First, you need to register and log in to your Flashforge account. We support multiple registration methods.
¶ Bind Device
¶ Connect to WiFi
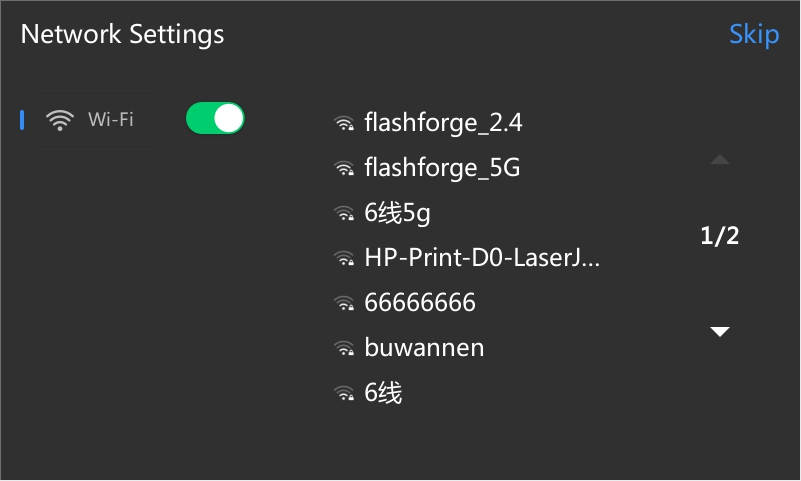
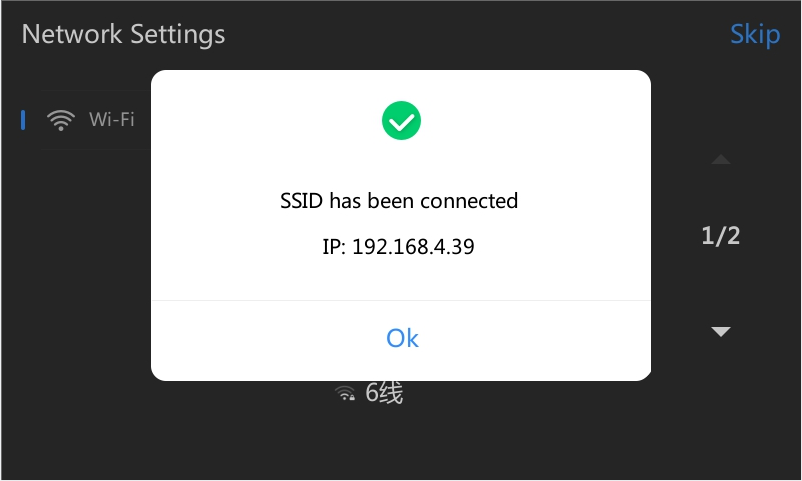
First, you need to connect the printer and the mobile app to the same WiFi network. After a successful connection, the IP address will be displayed. Tap "OK" to continue.
¶ Scan the Device QR Code
Use the Flash Studio Mobile app to scan the QR code displayed on the printer screen to bind the printer to your account.
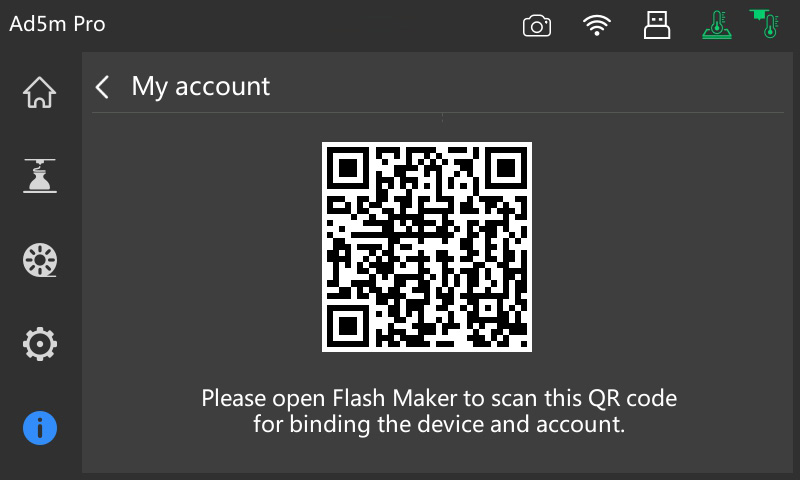
Flash Studio Mobile supports binding multiple devices. Simply scan the QR code following the steps above.
¶ Features
¶ Home Page Overview
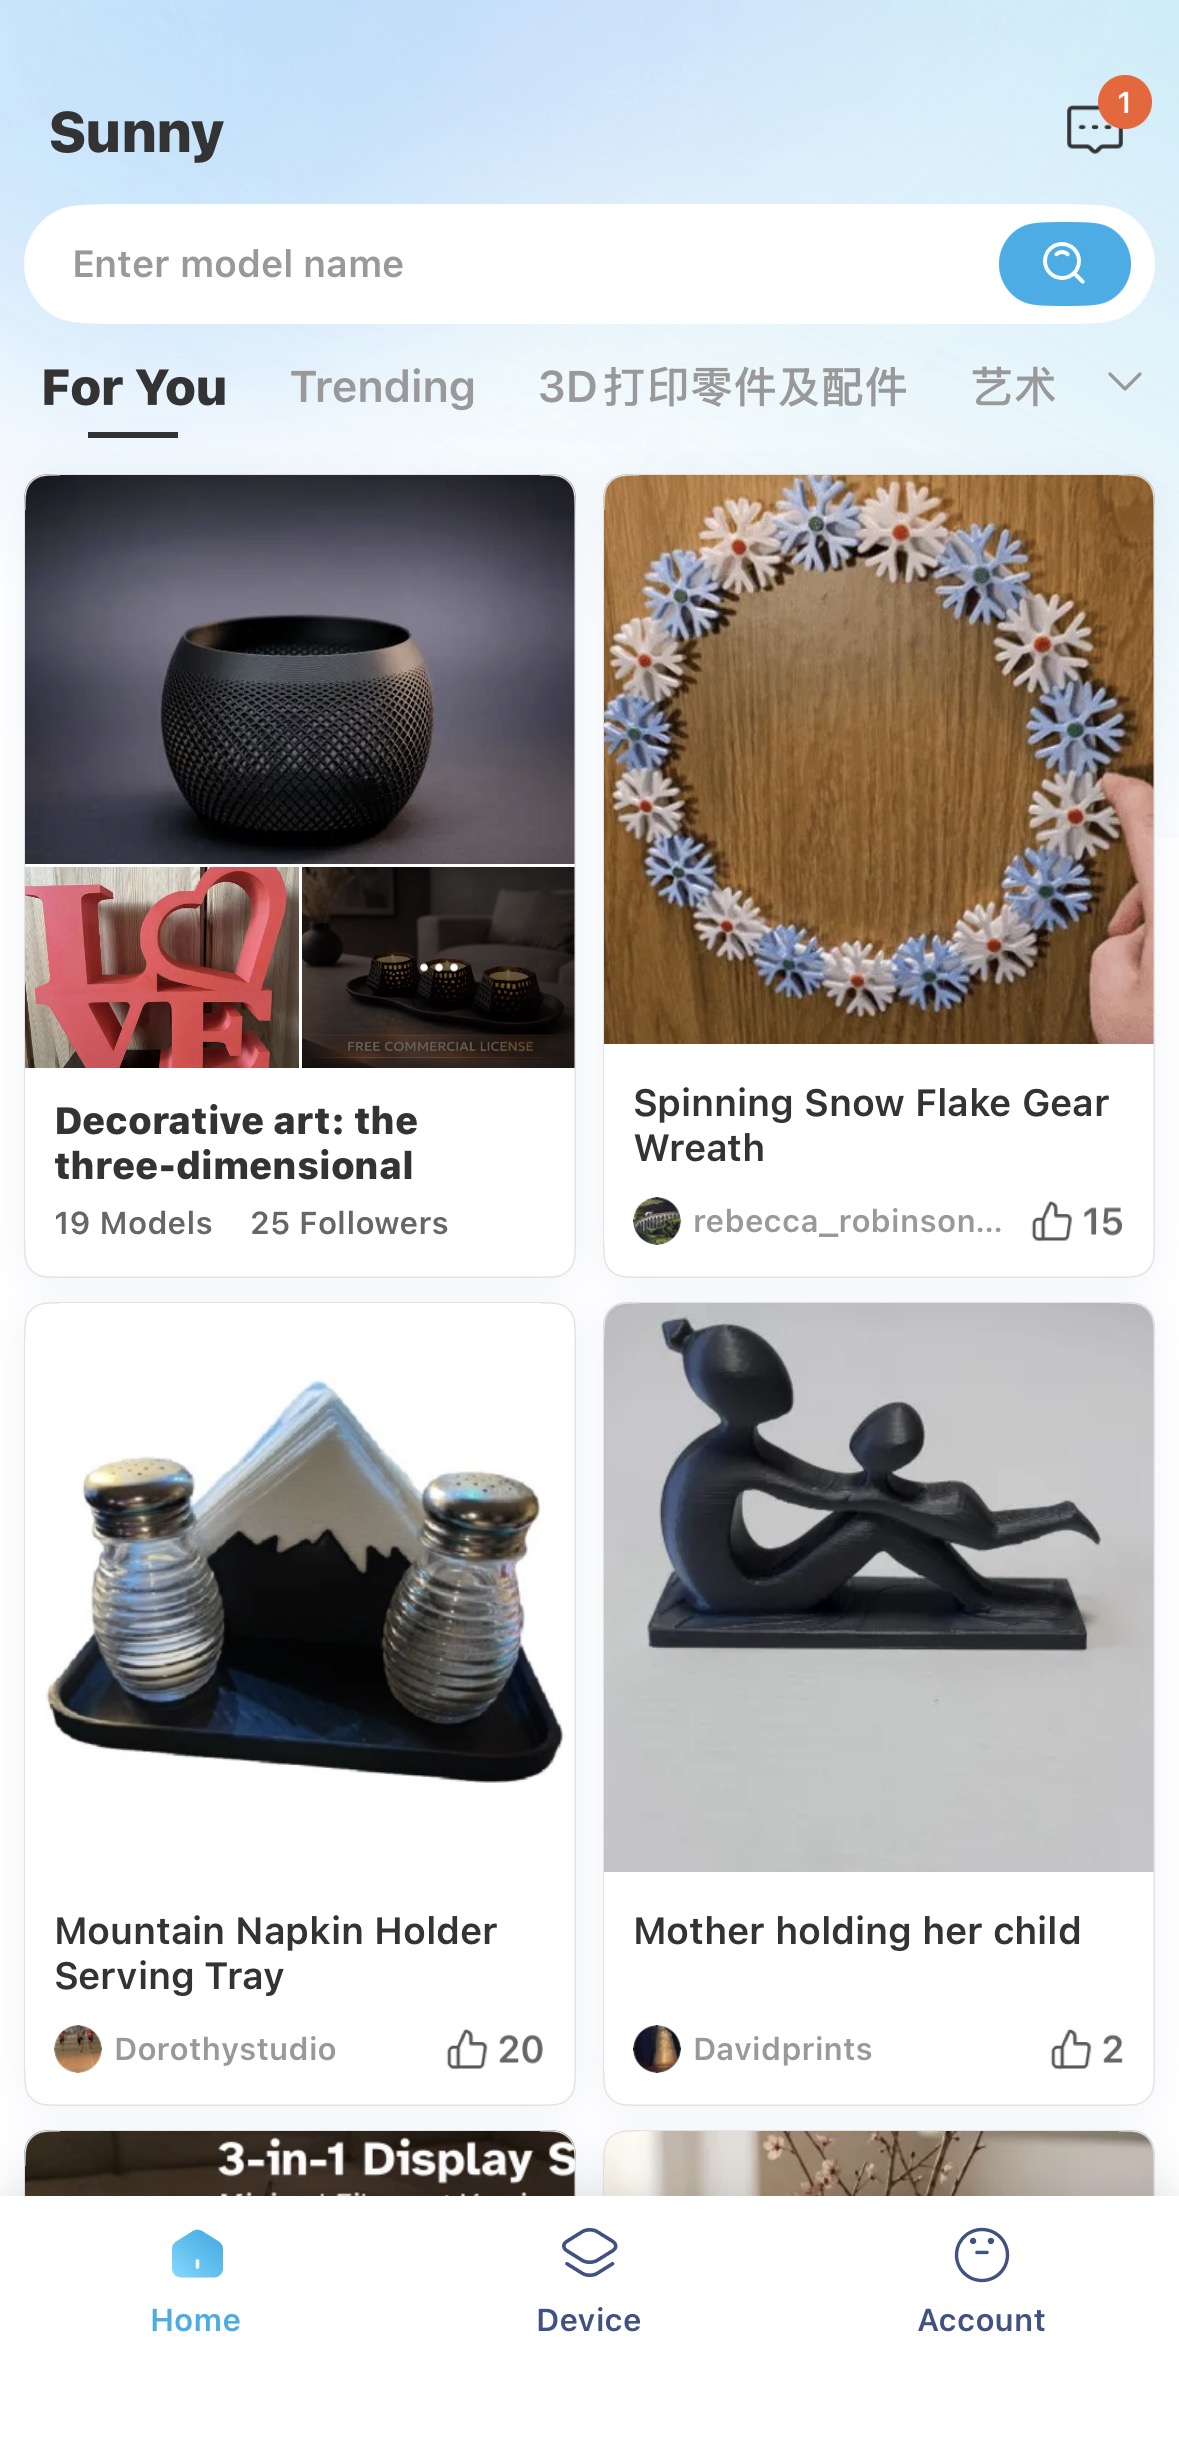
The home page is the model recommendation page. You can browse models on this page and select your desired model to print.
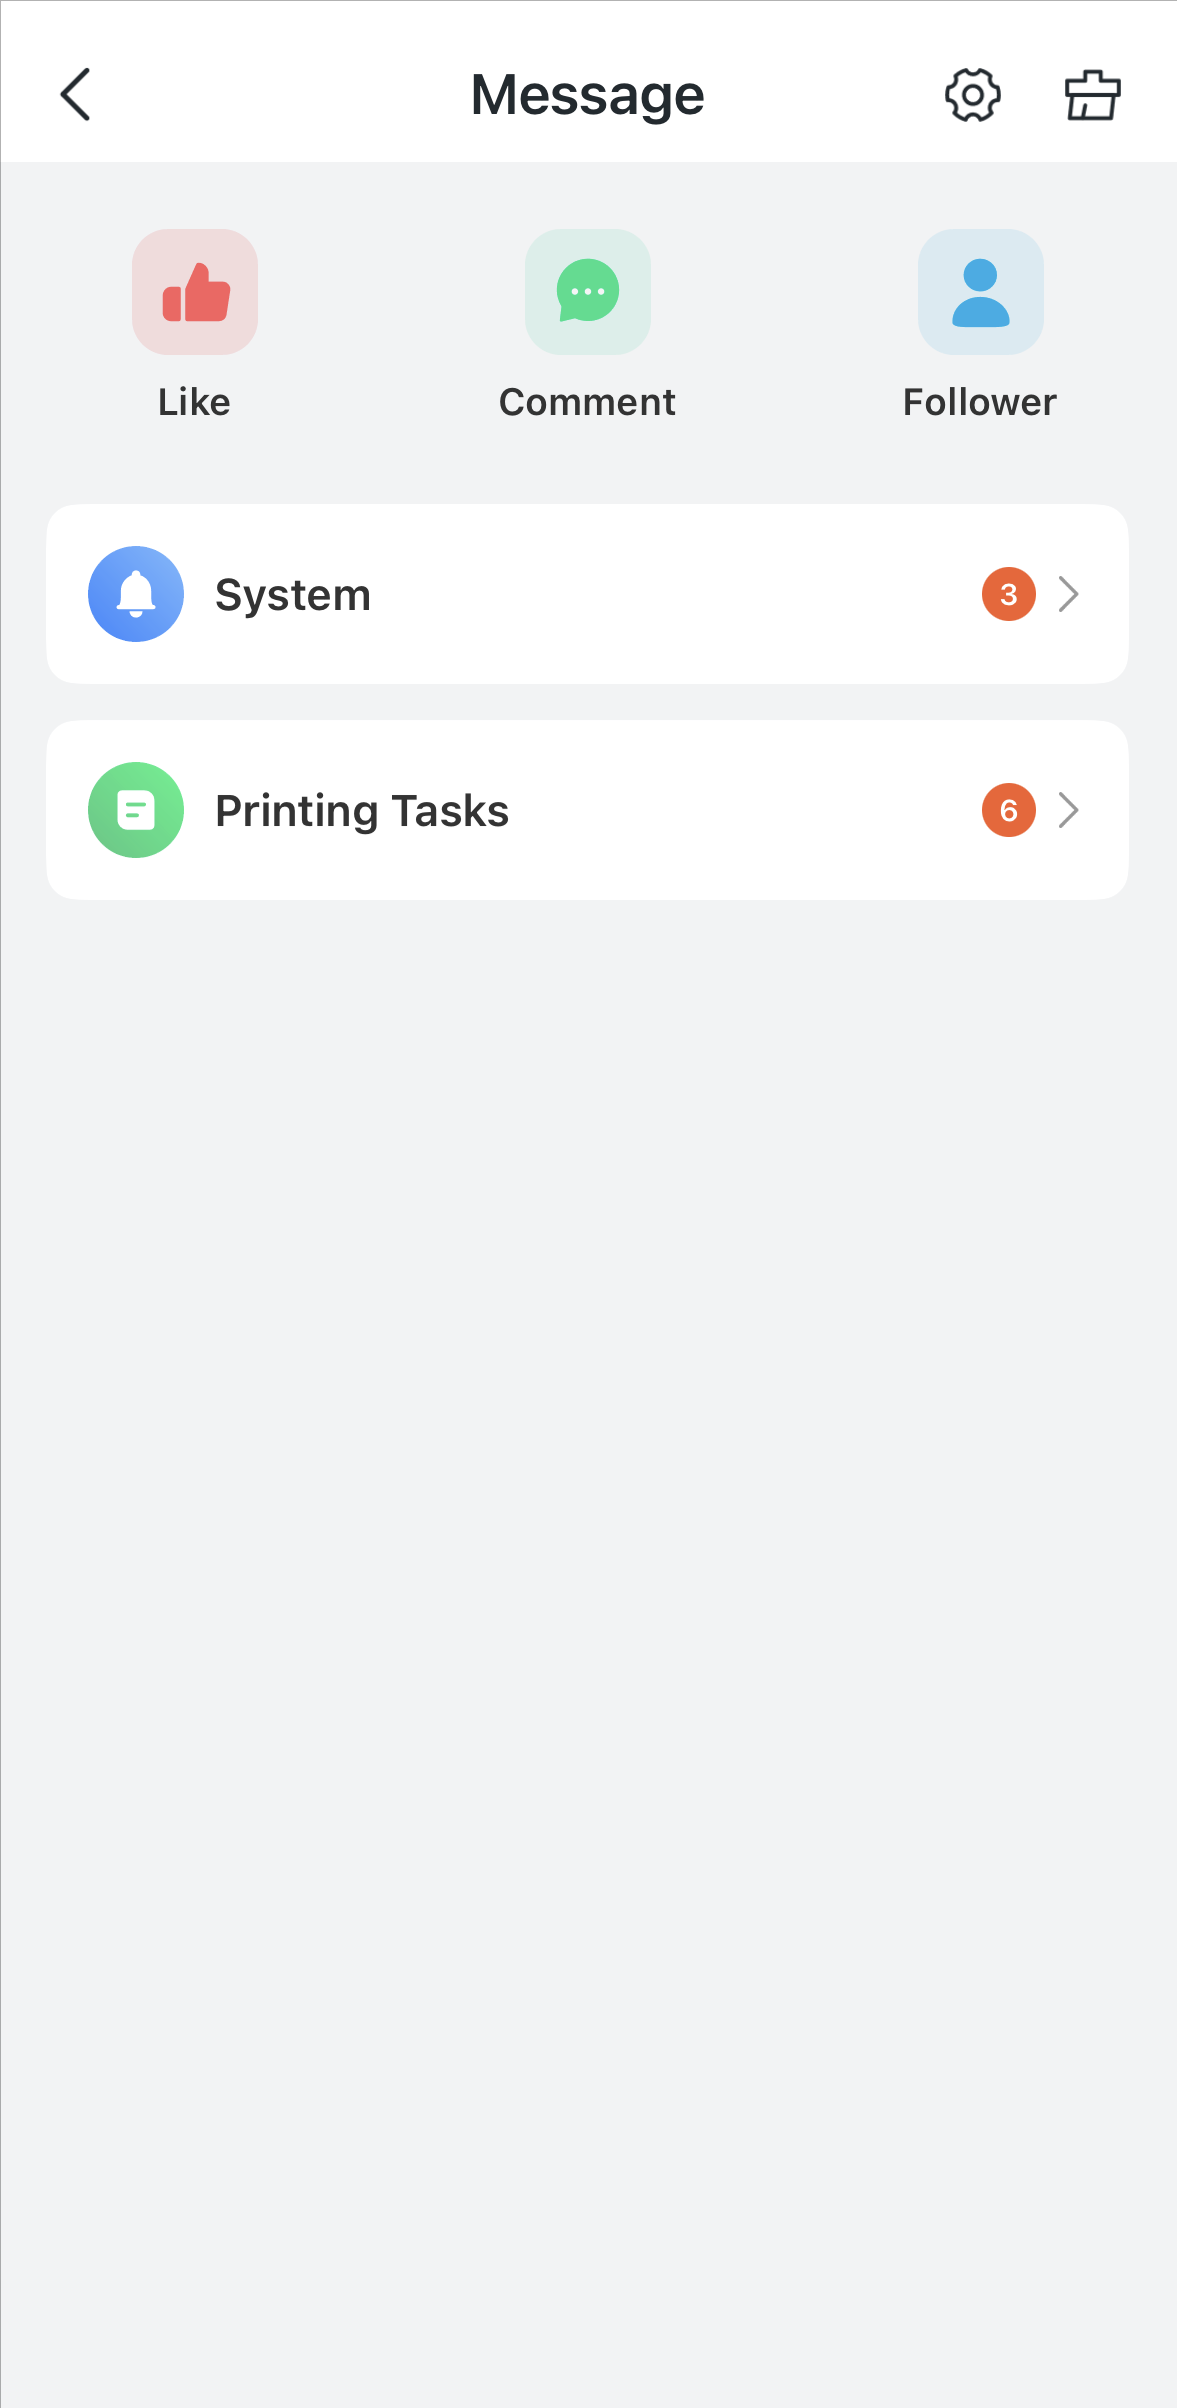
Tap "Messages" to view interaction notifications, system messages, and print tasks.
 |
 |
¶ How to Print Directly from the Model Page
- After selecting your desired model, tap "Prepare to Print" in the bottom right corner.
- Select the print configuration.
- After confirming the printer, build plate, filament, and other information are correct, tap "Print Now" at the bottom.
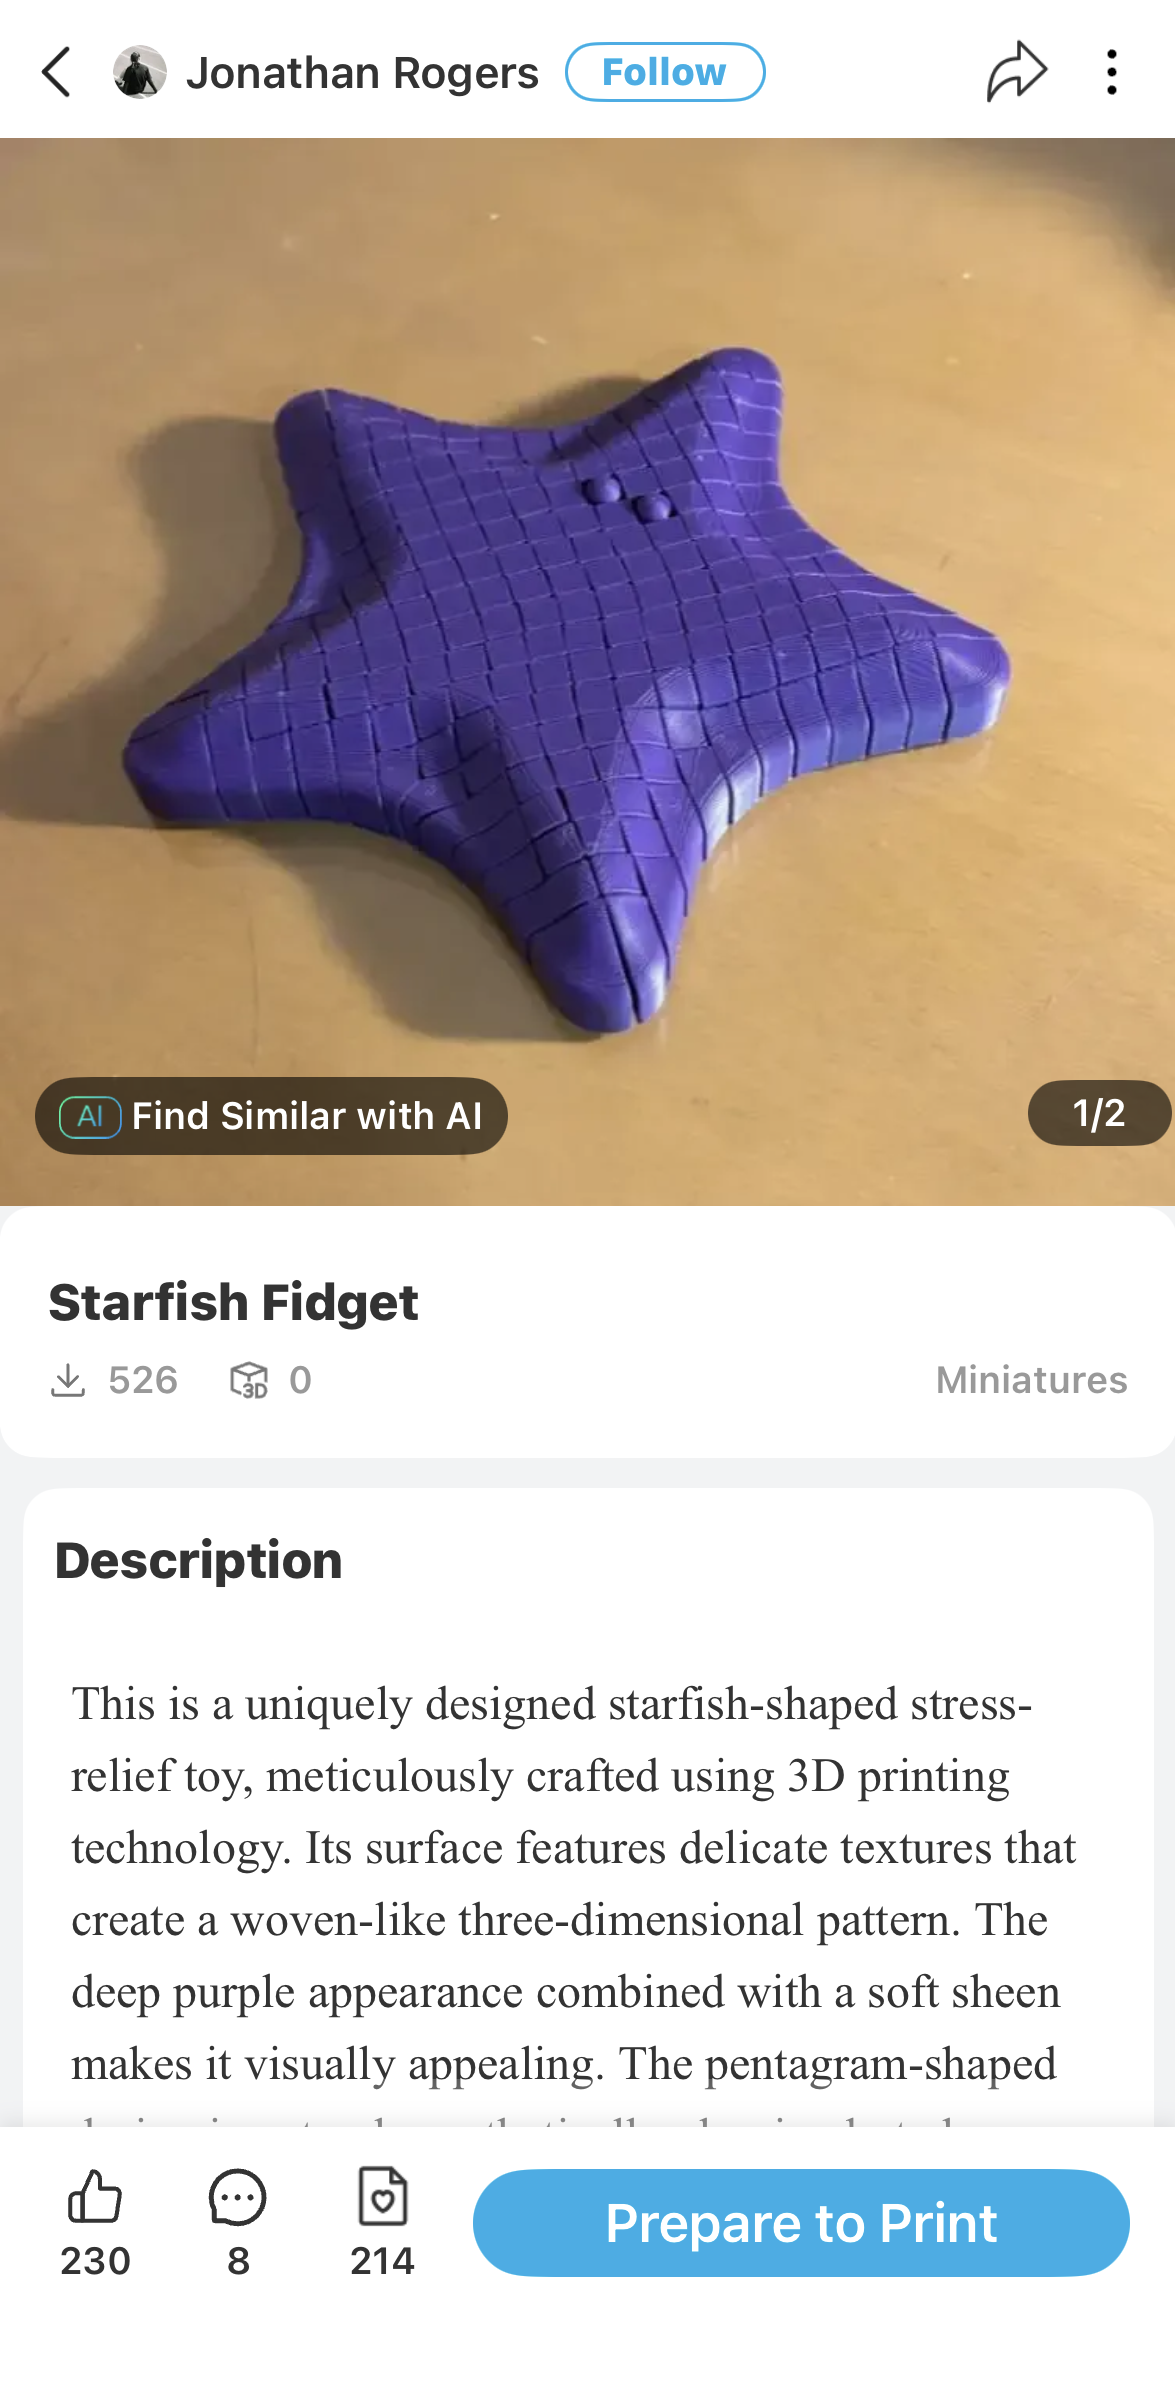 Go to the model details page |
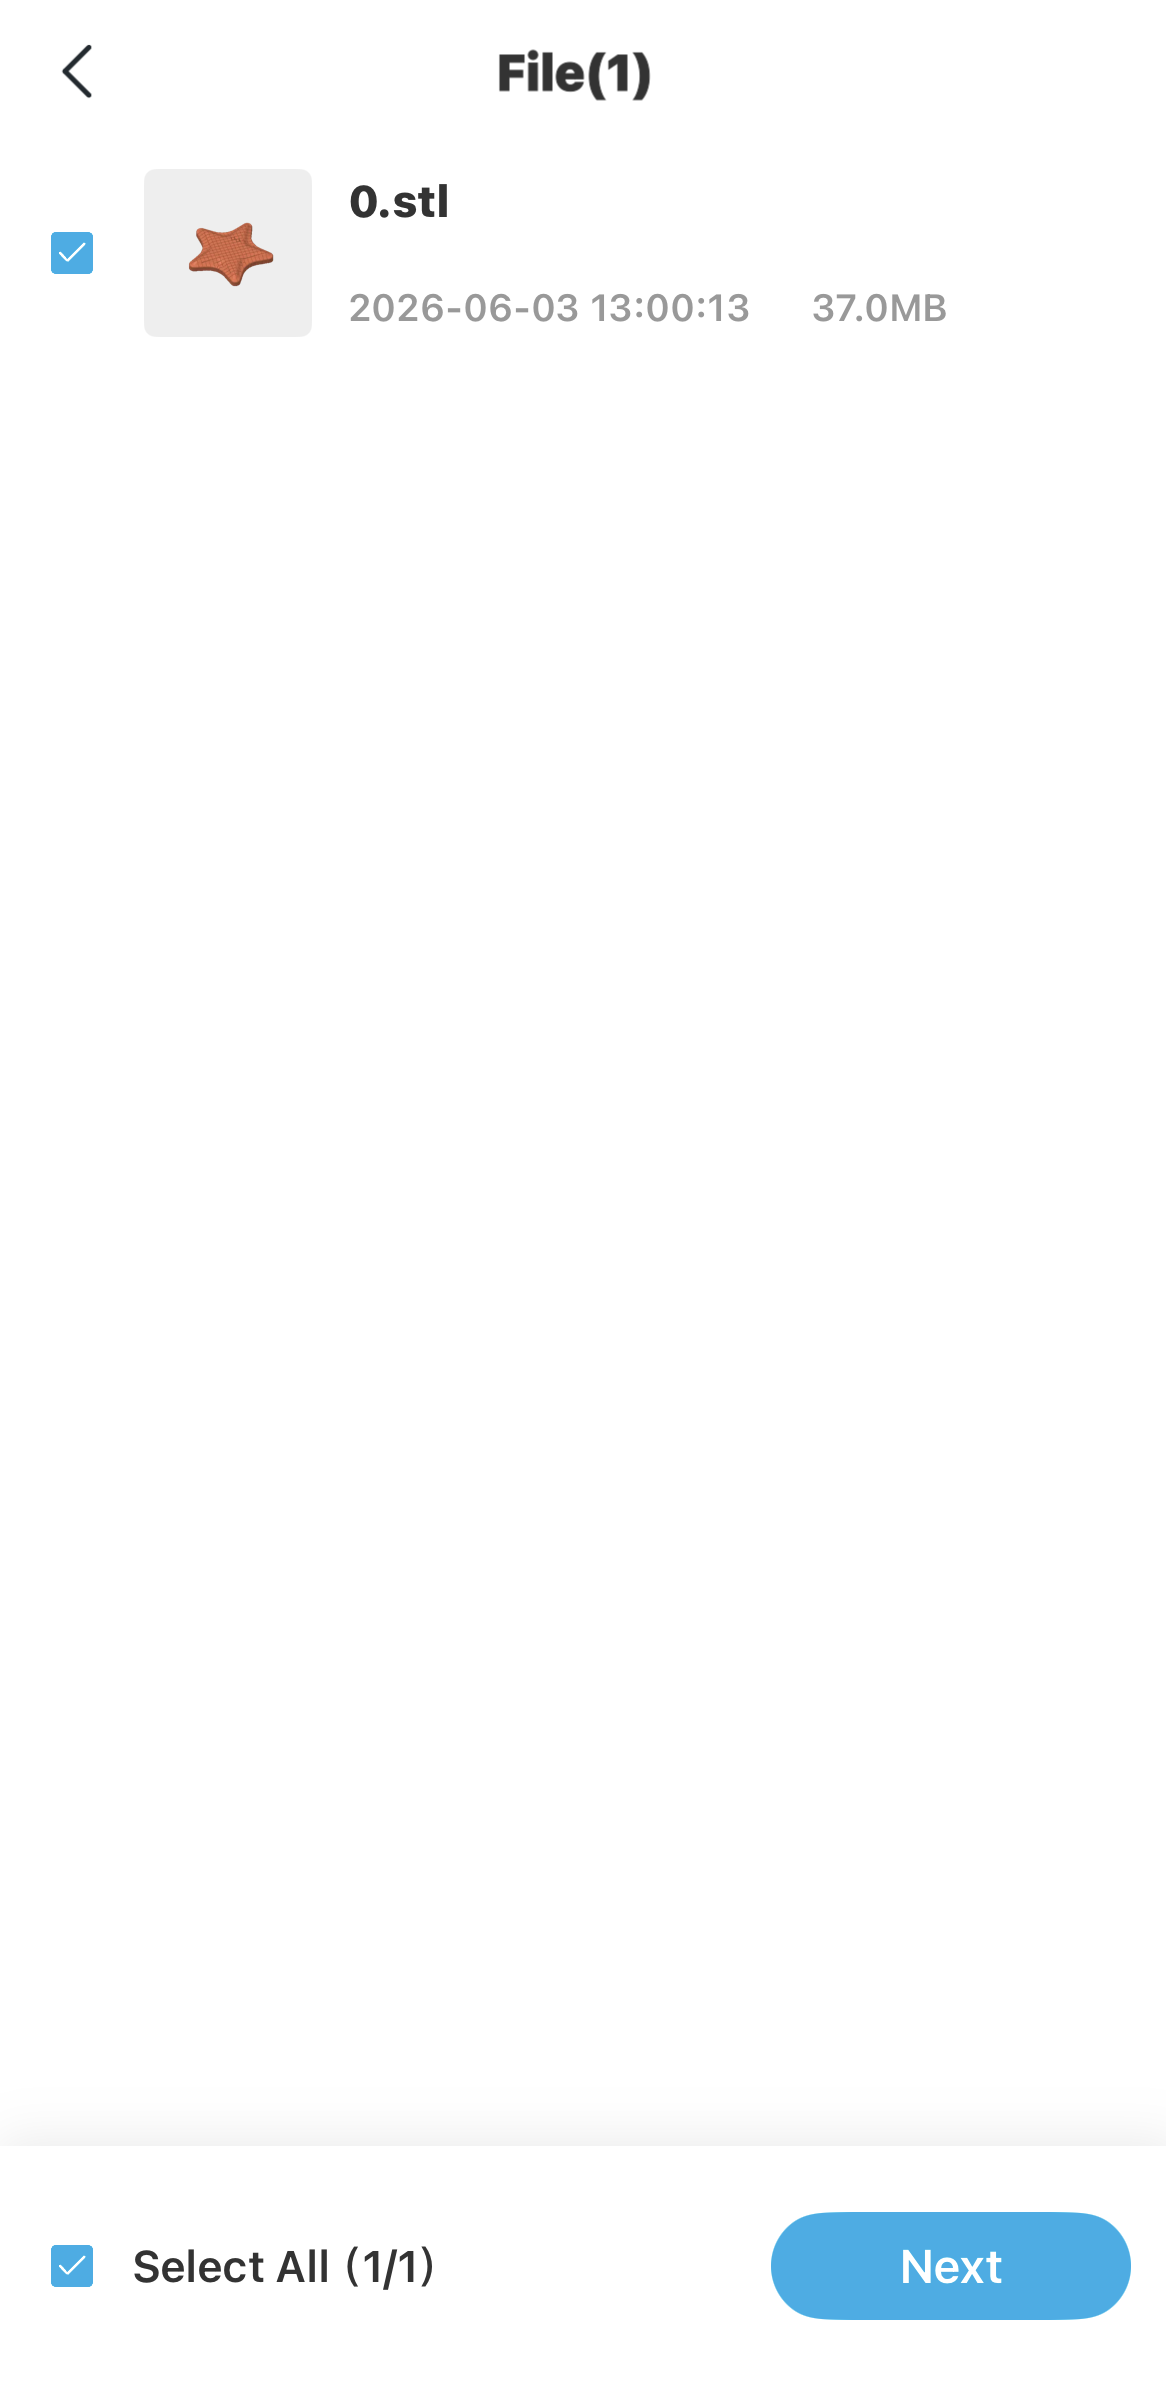 Choose model file |
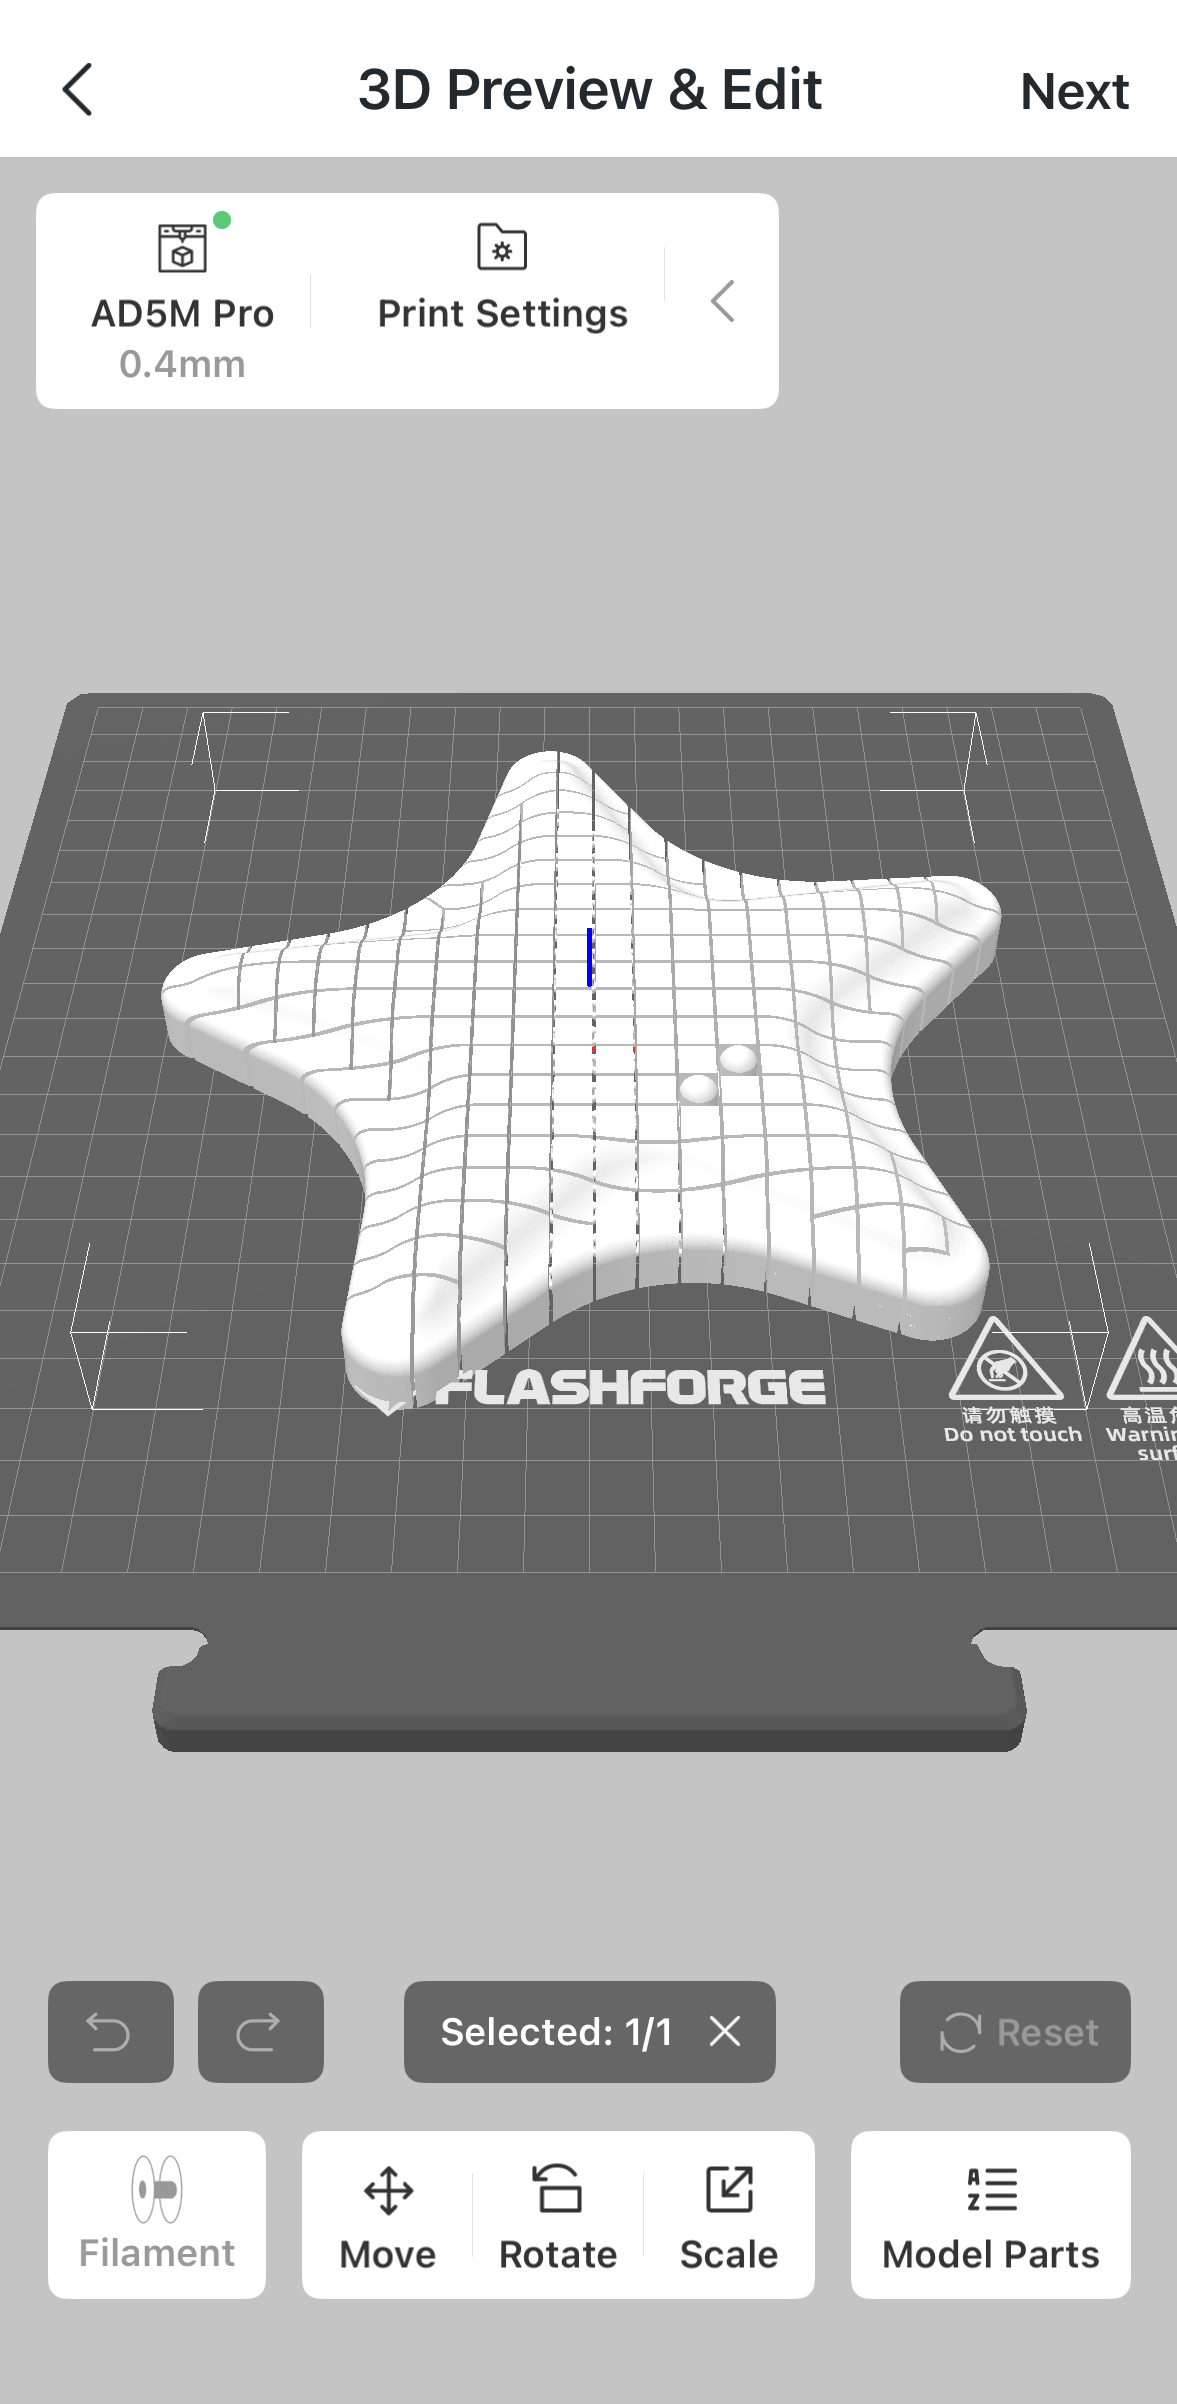 Edit your model |
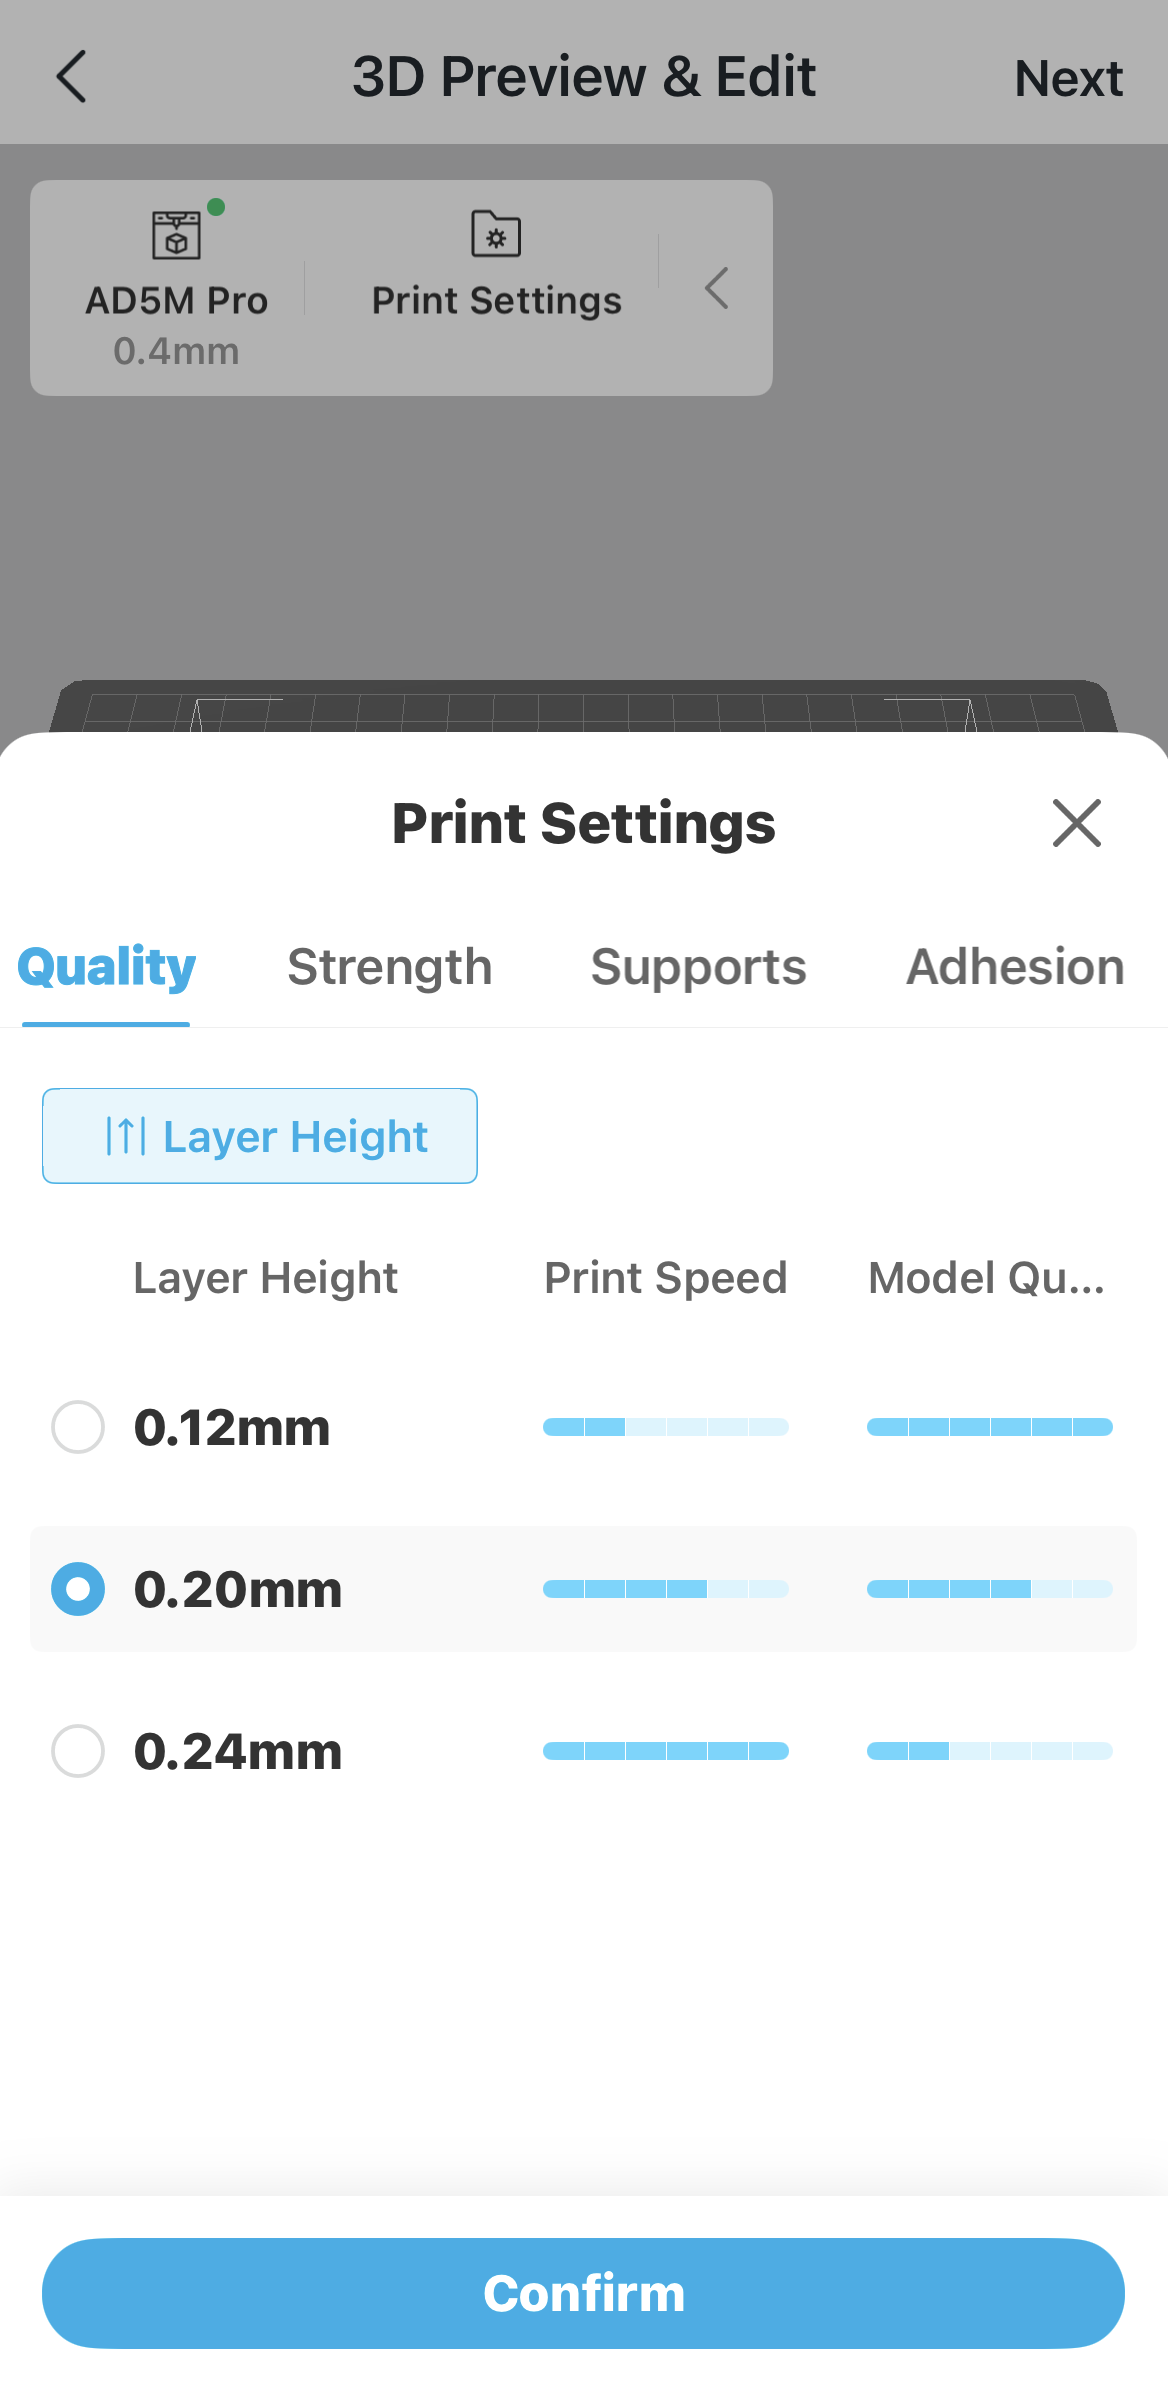 Set print settings |
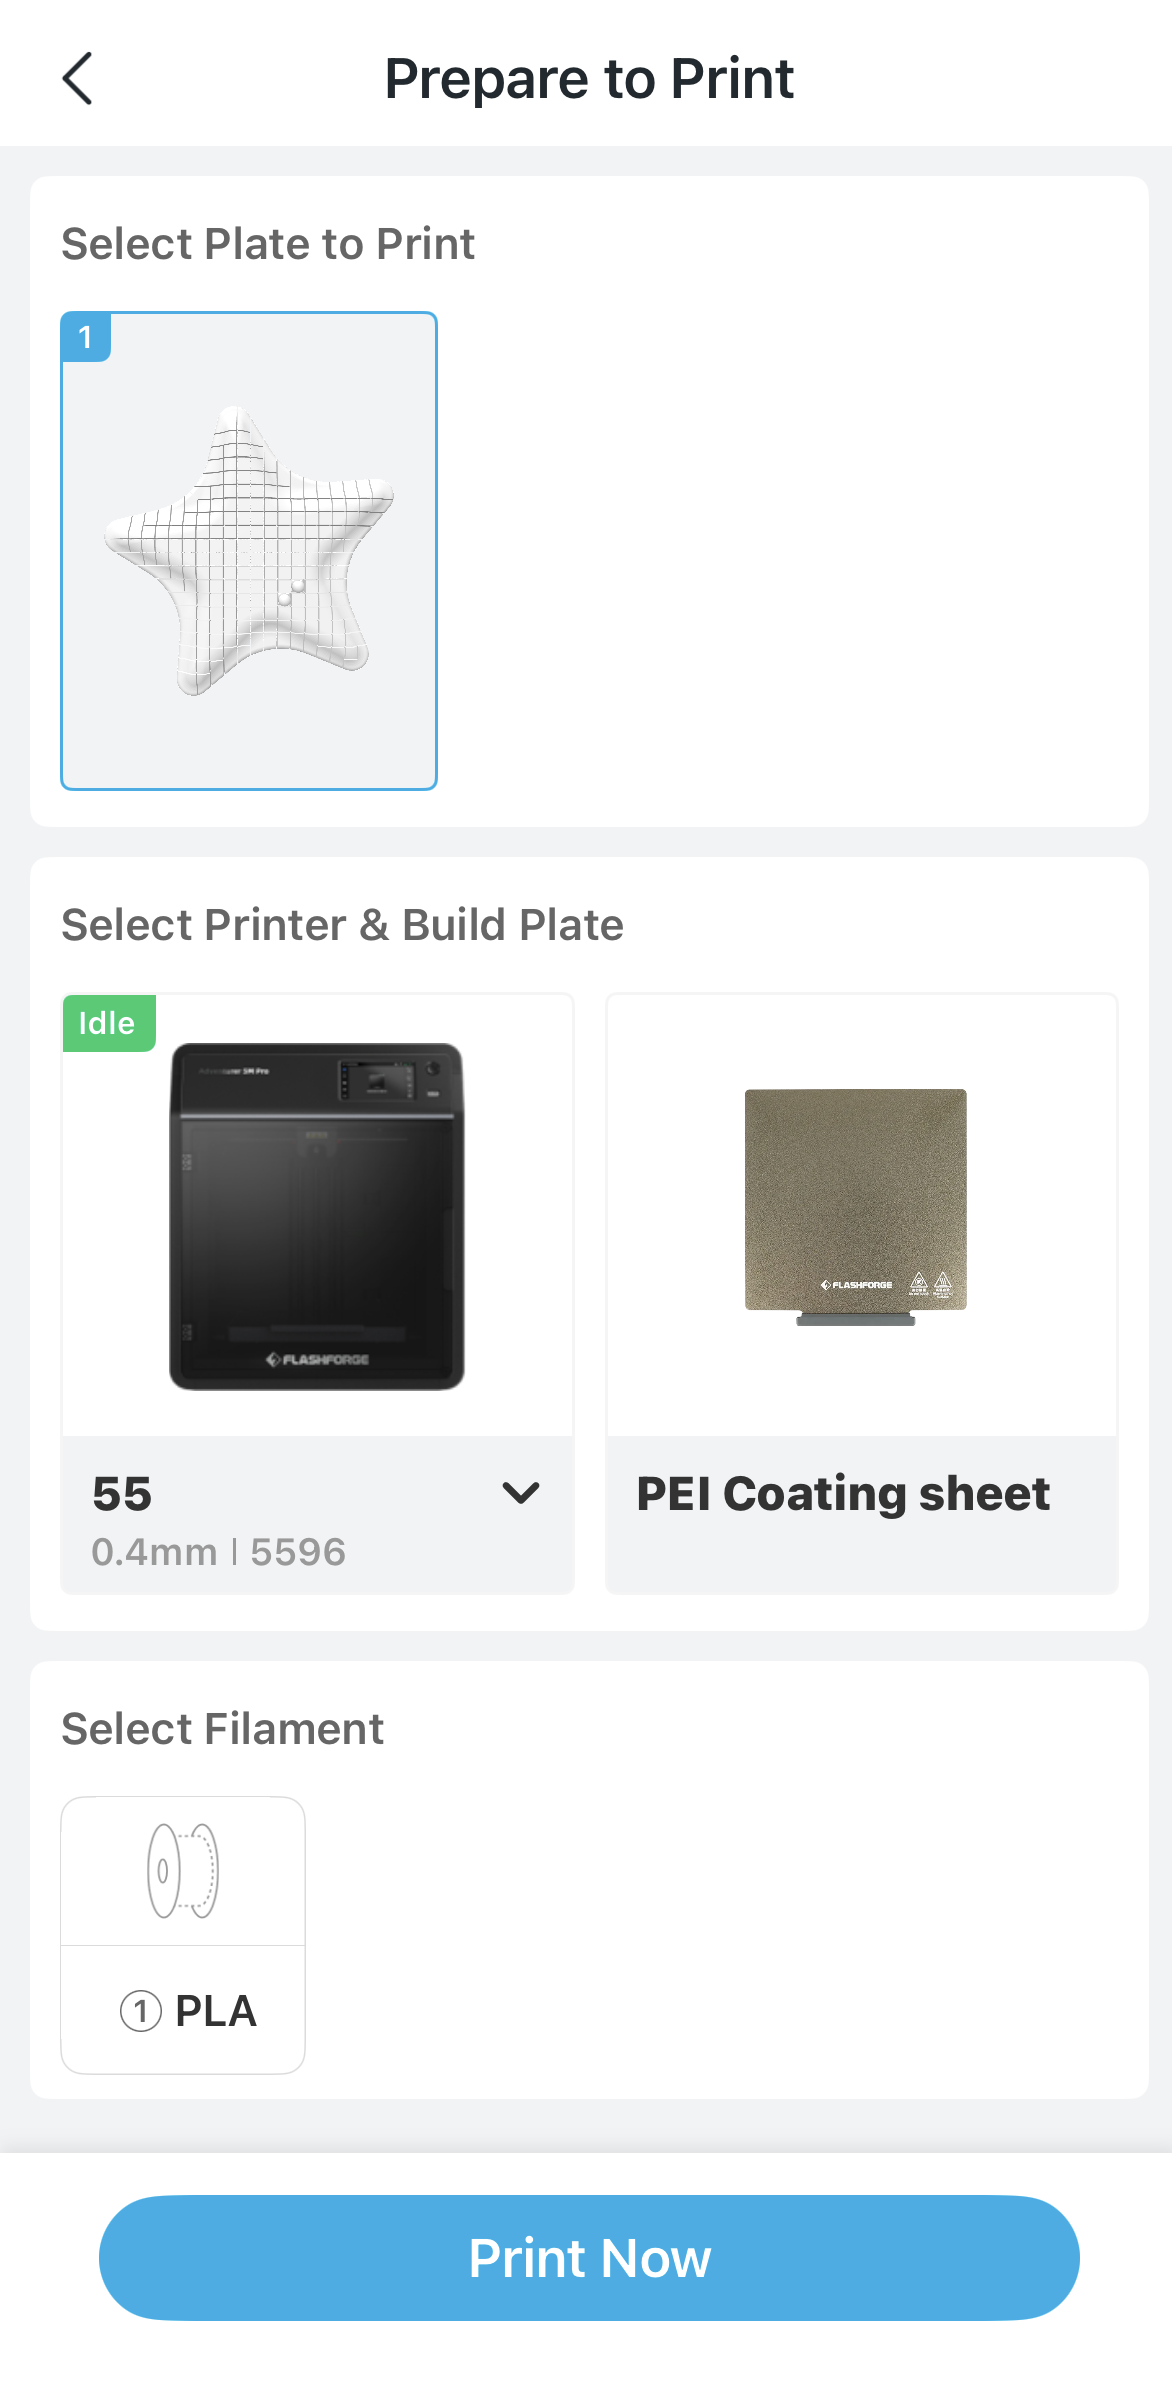 Choose a printer, supplies, and print board |
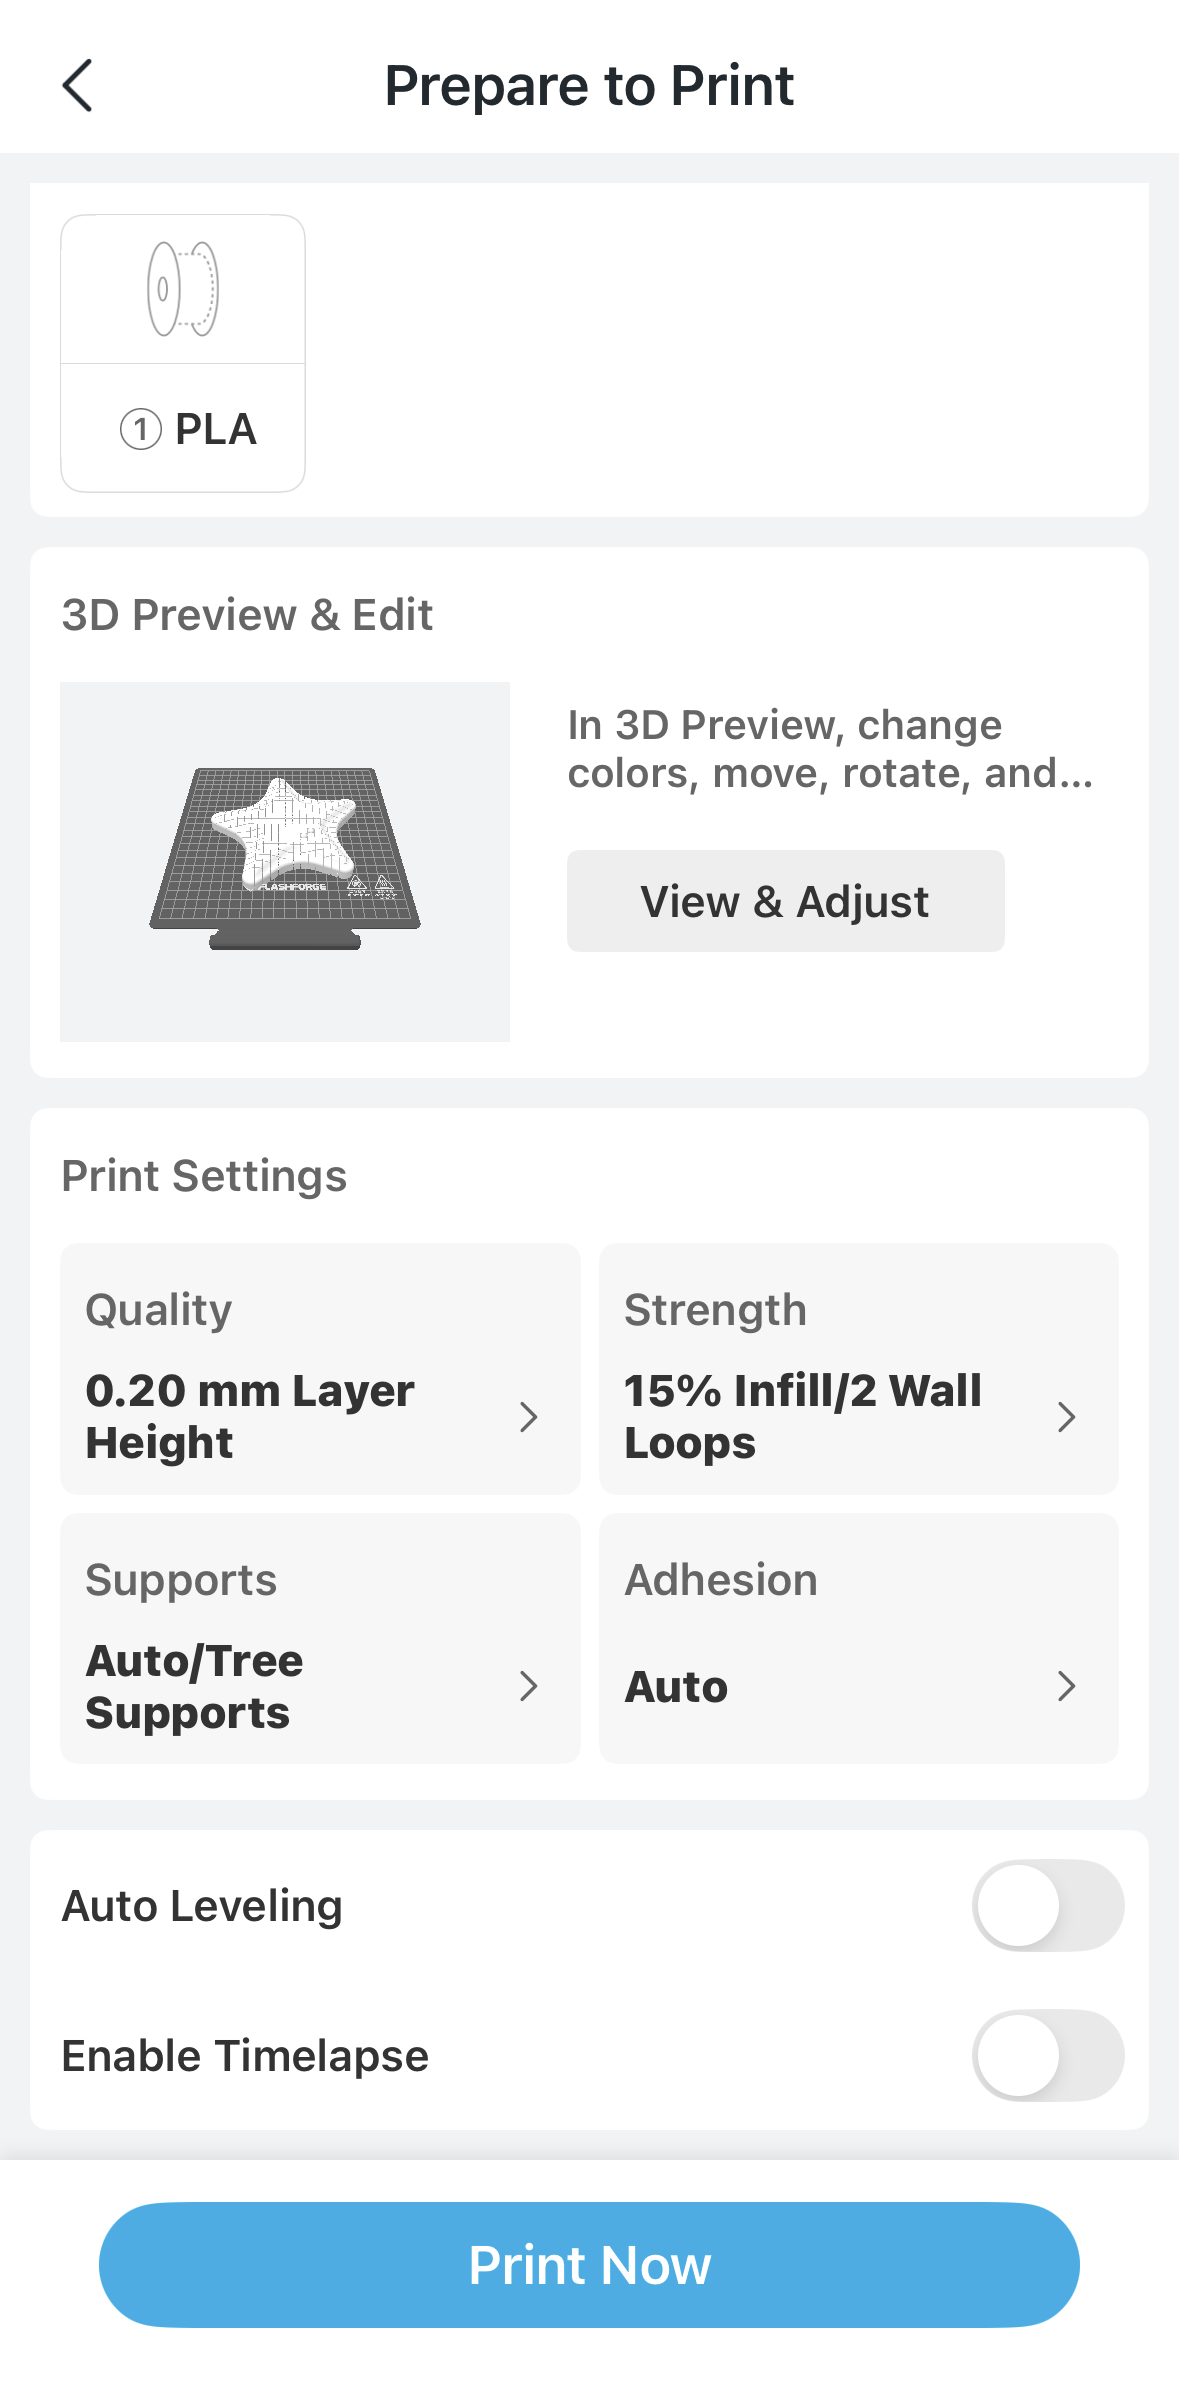 Print Now |
¶ How to Import a Local STL File for Direct Printing
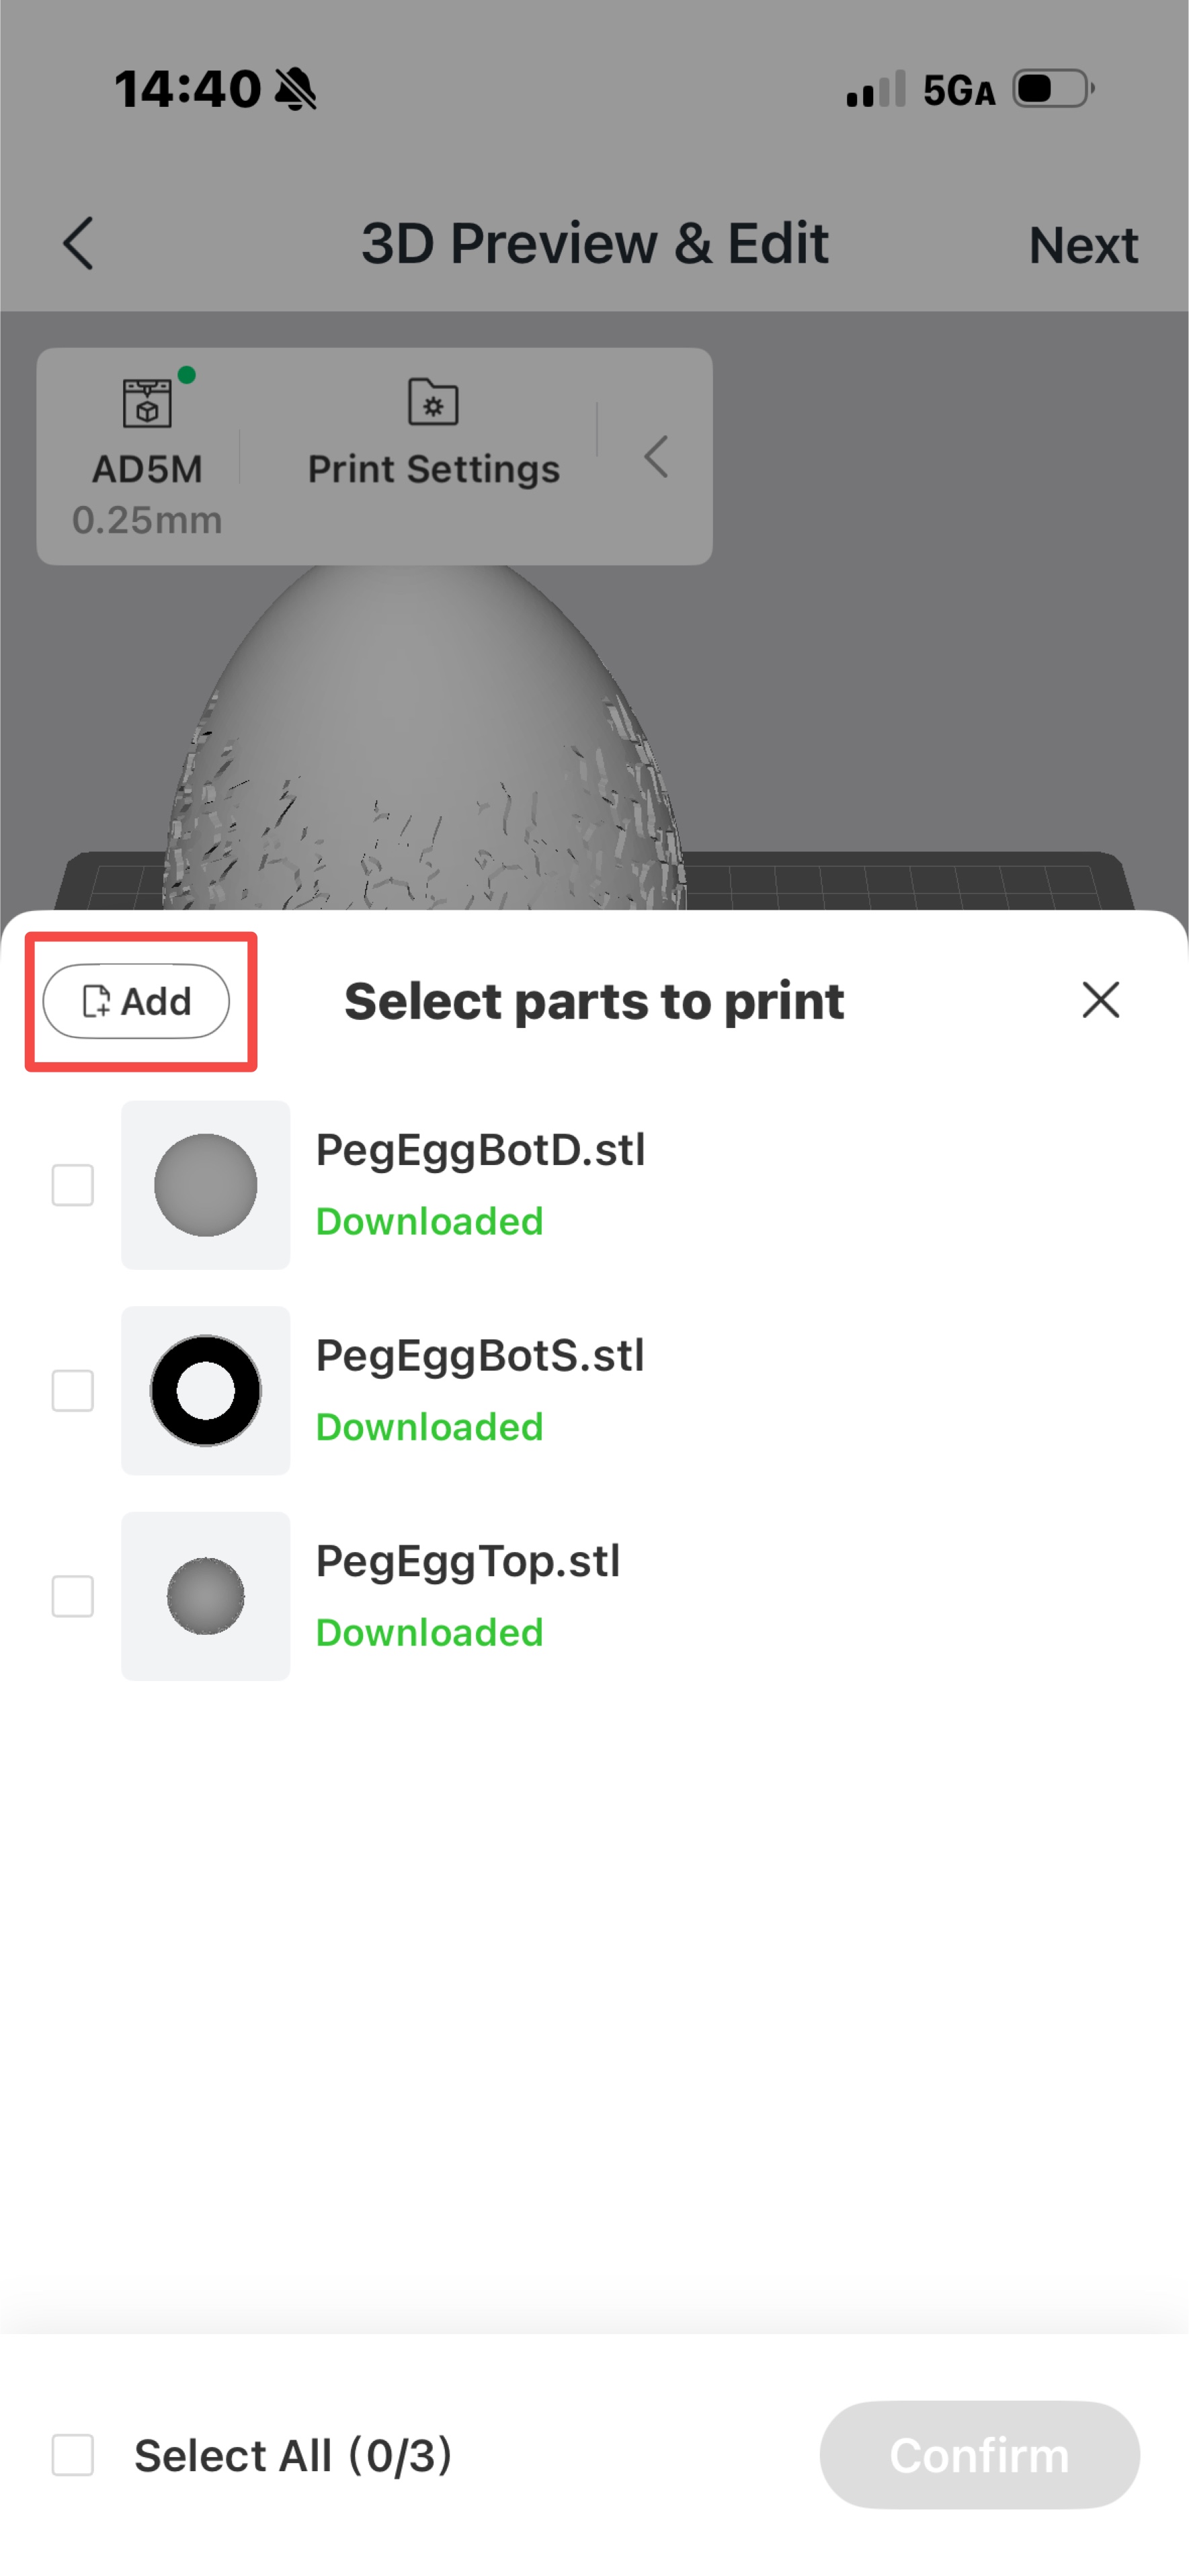
Flash Studio Mobile supports directly importing local STL files from your phone for one-click printing.
- Tap any model on the home page
- Enter the 3D preview screen
- On the [Model Object] screen, add a local STL file to start printing directly
Currently, only STL file import is supported.
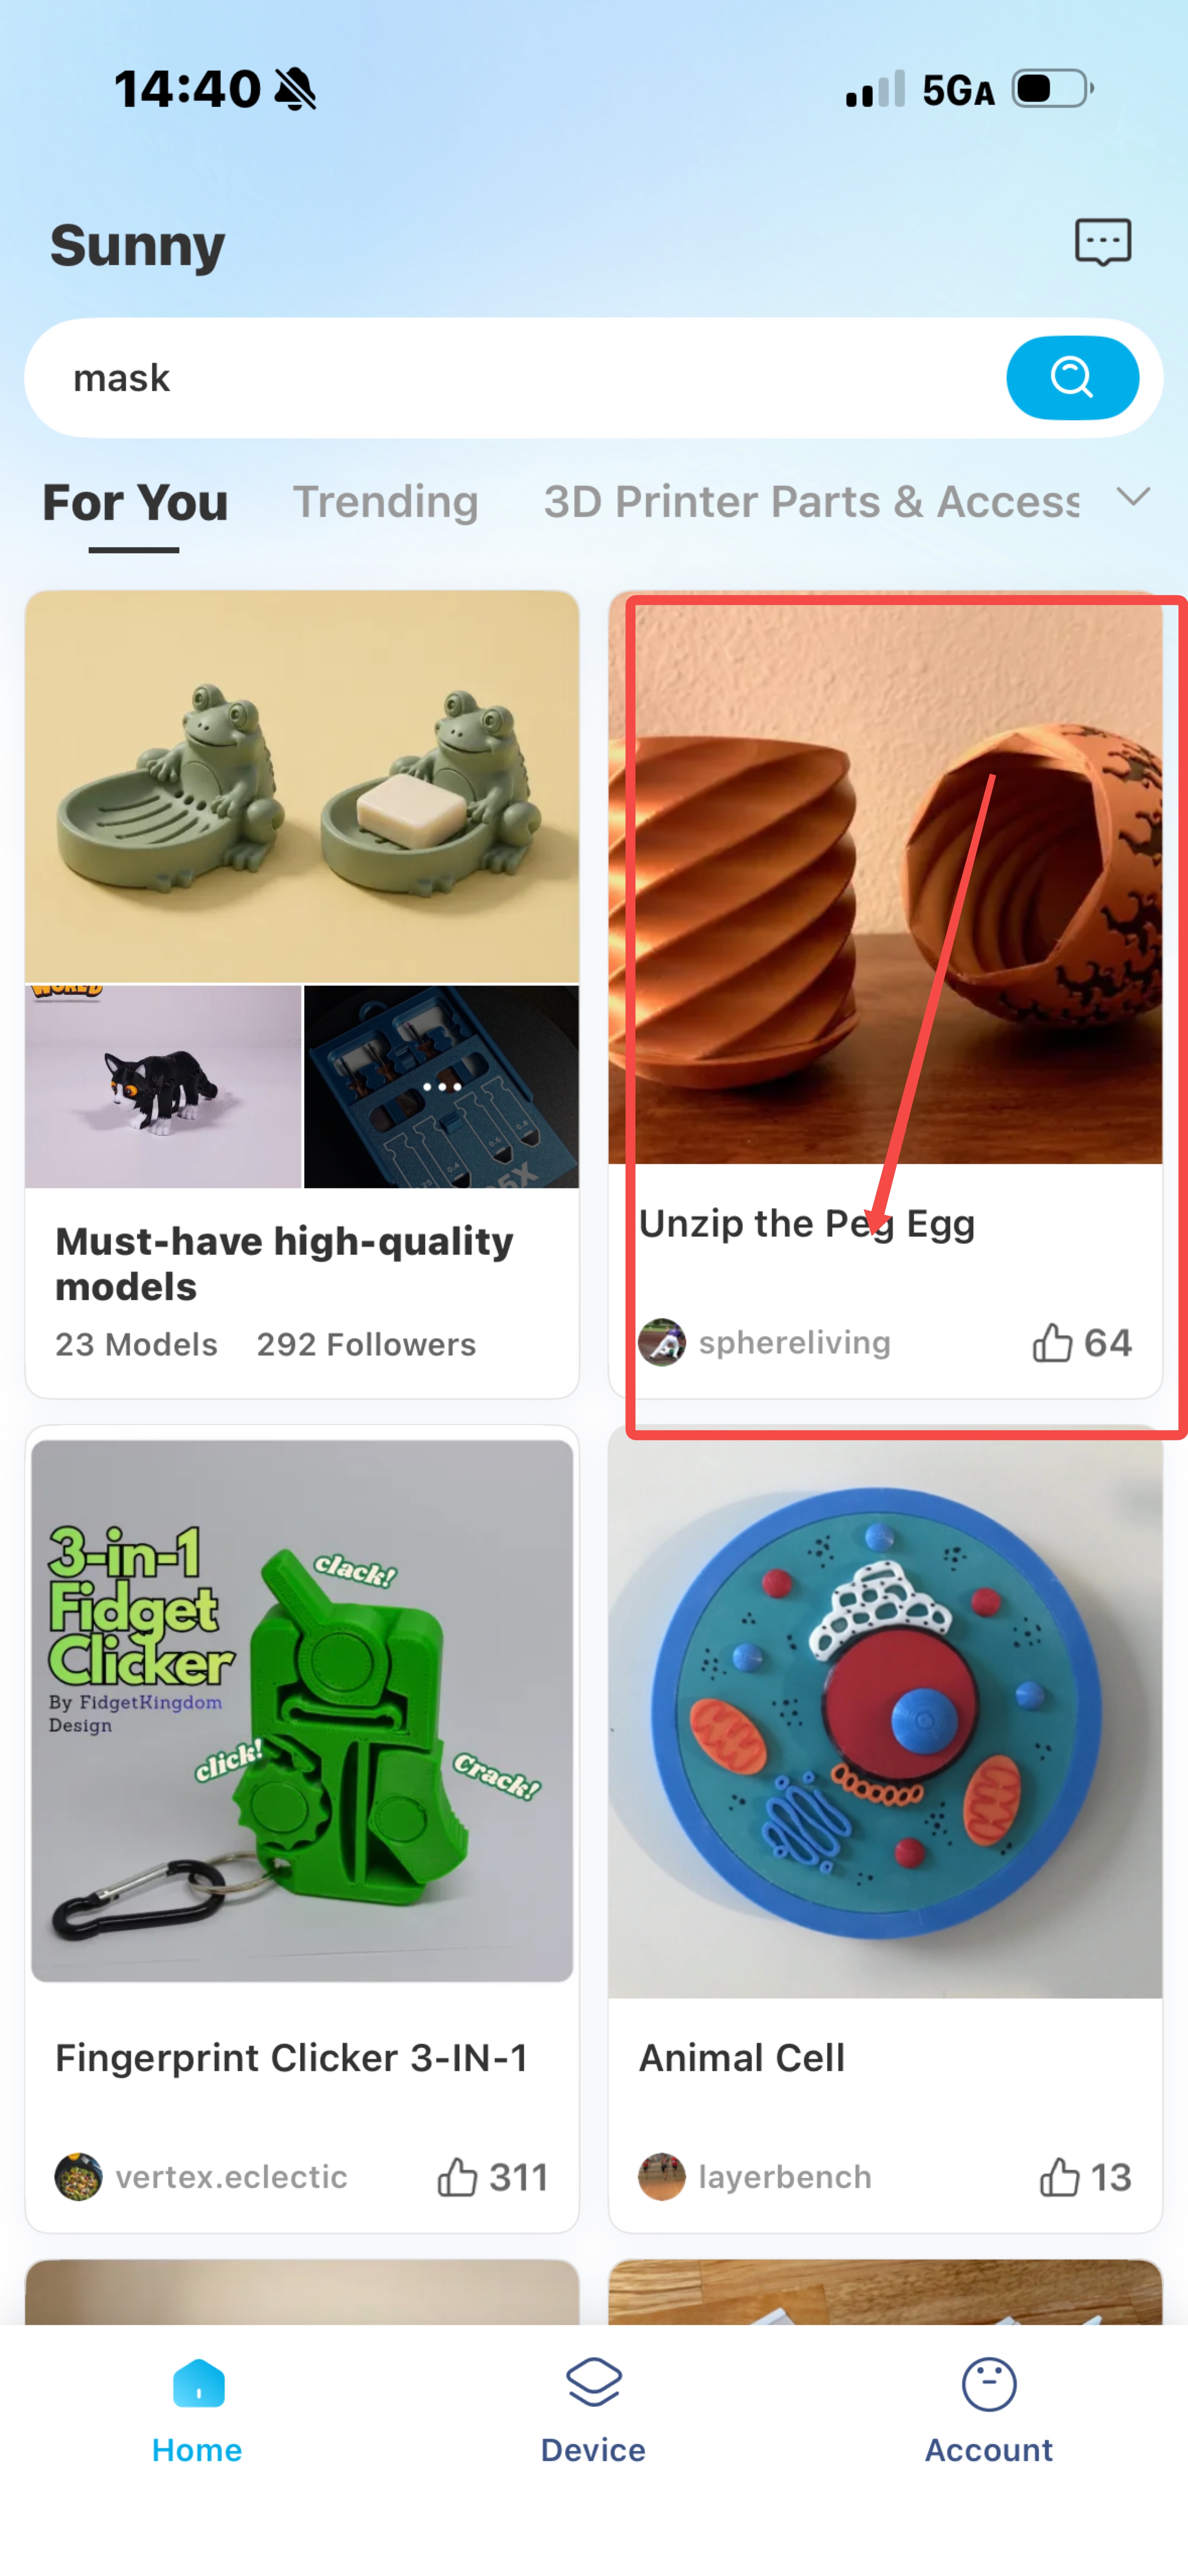 |
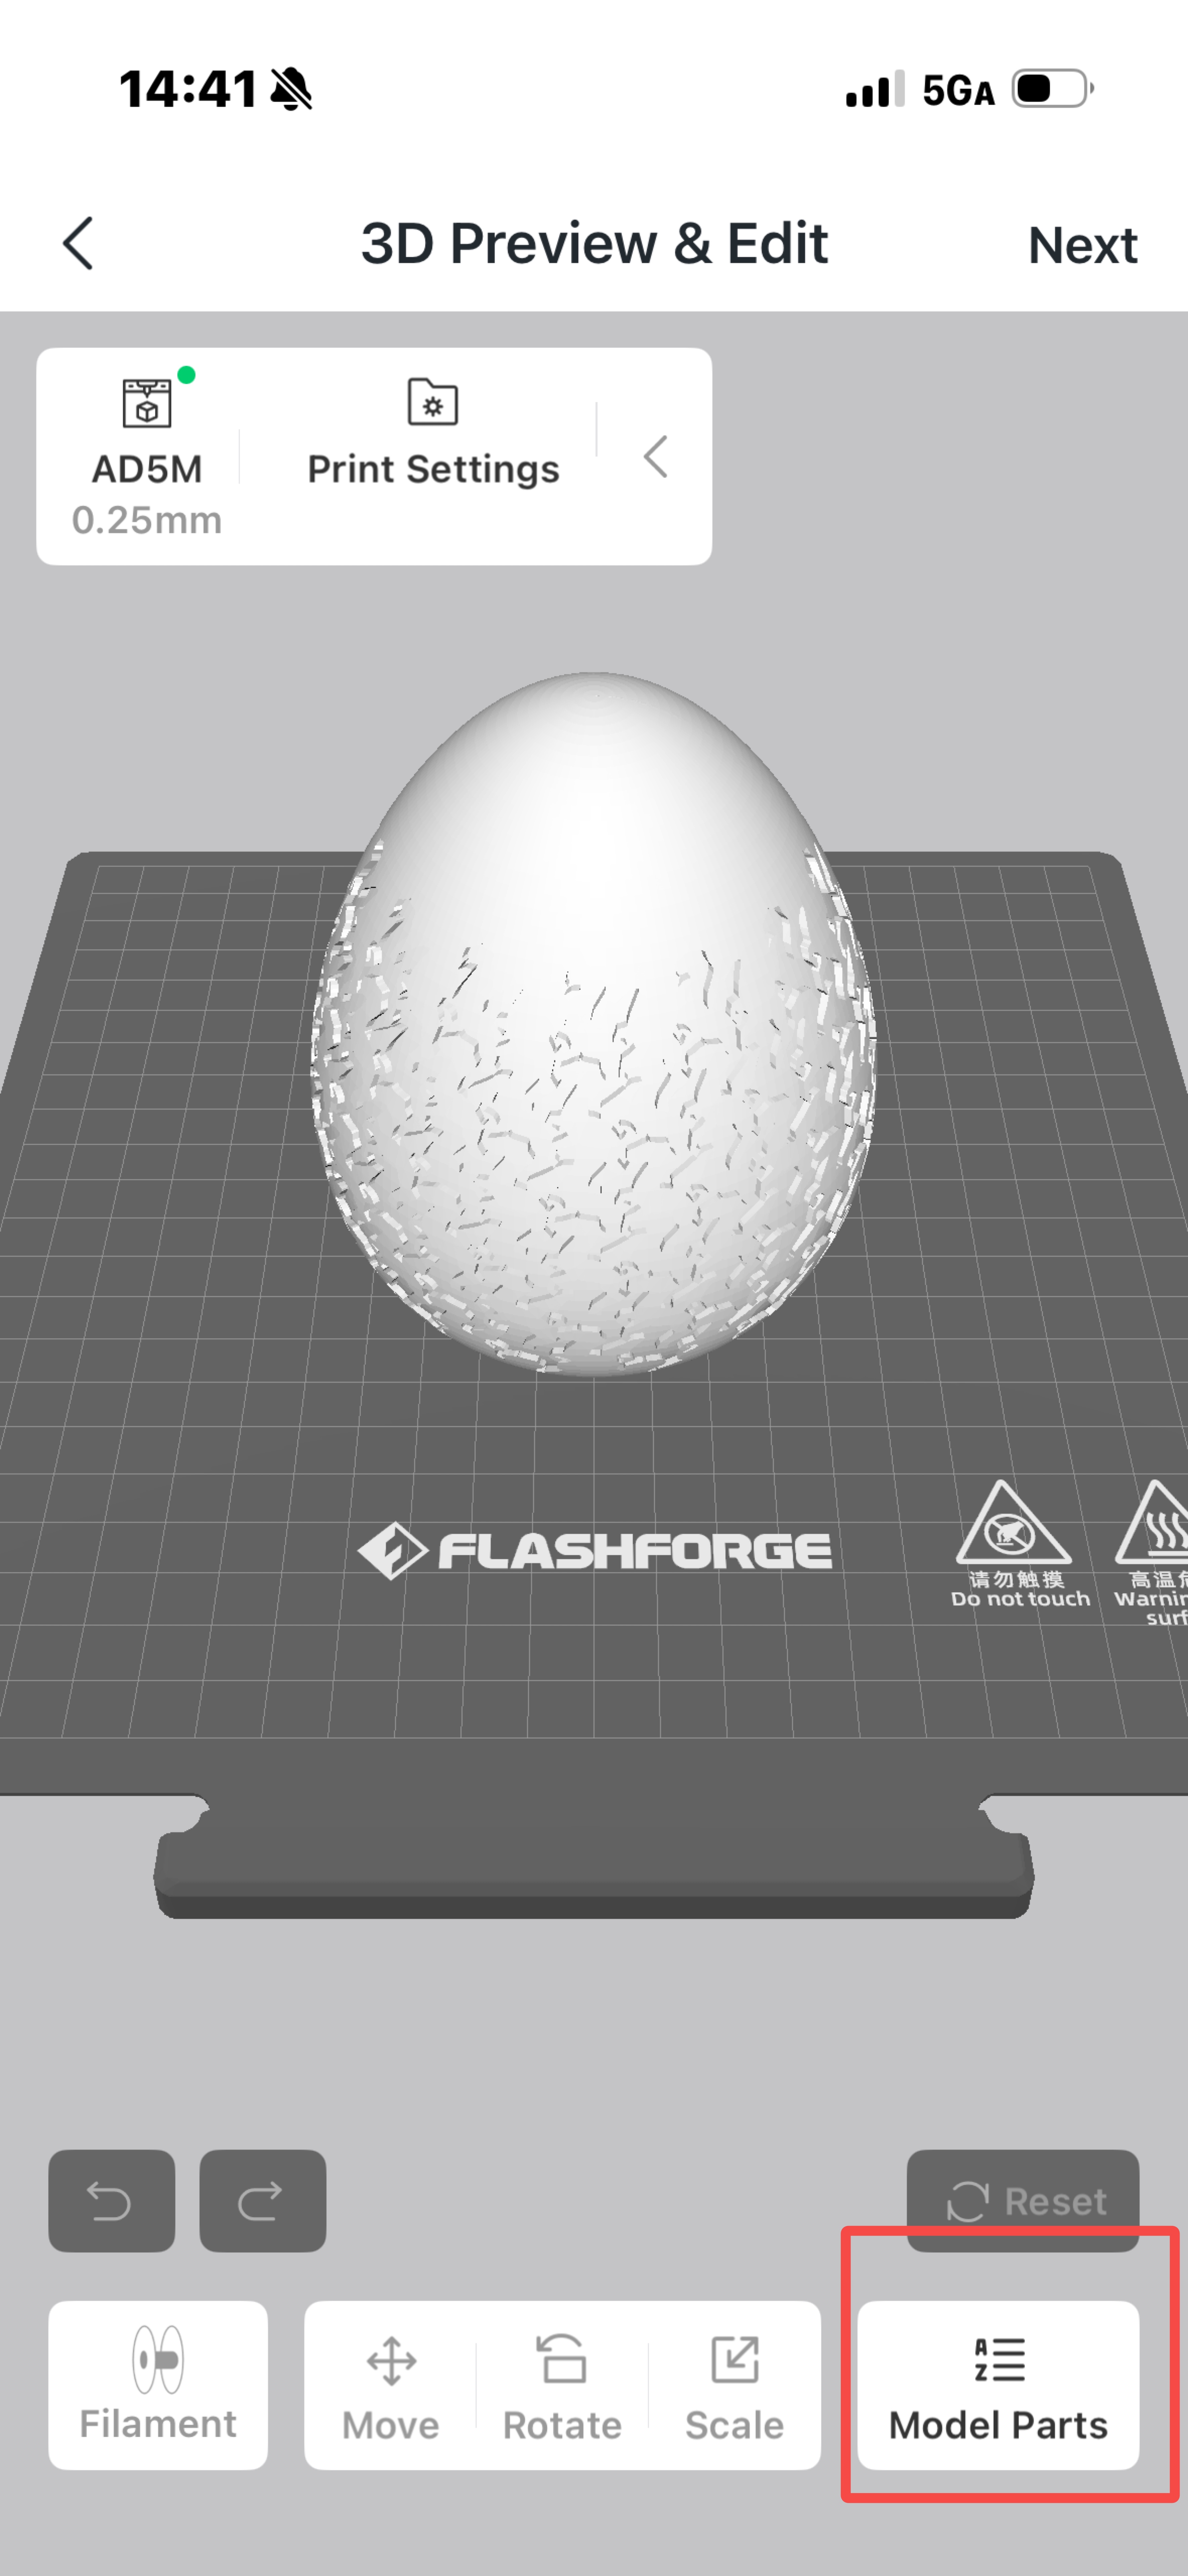 |
|
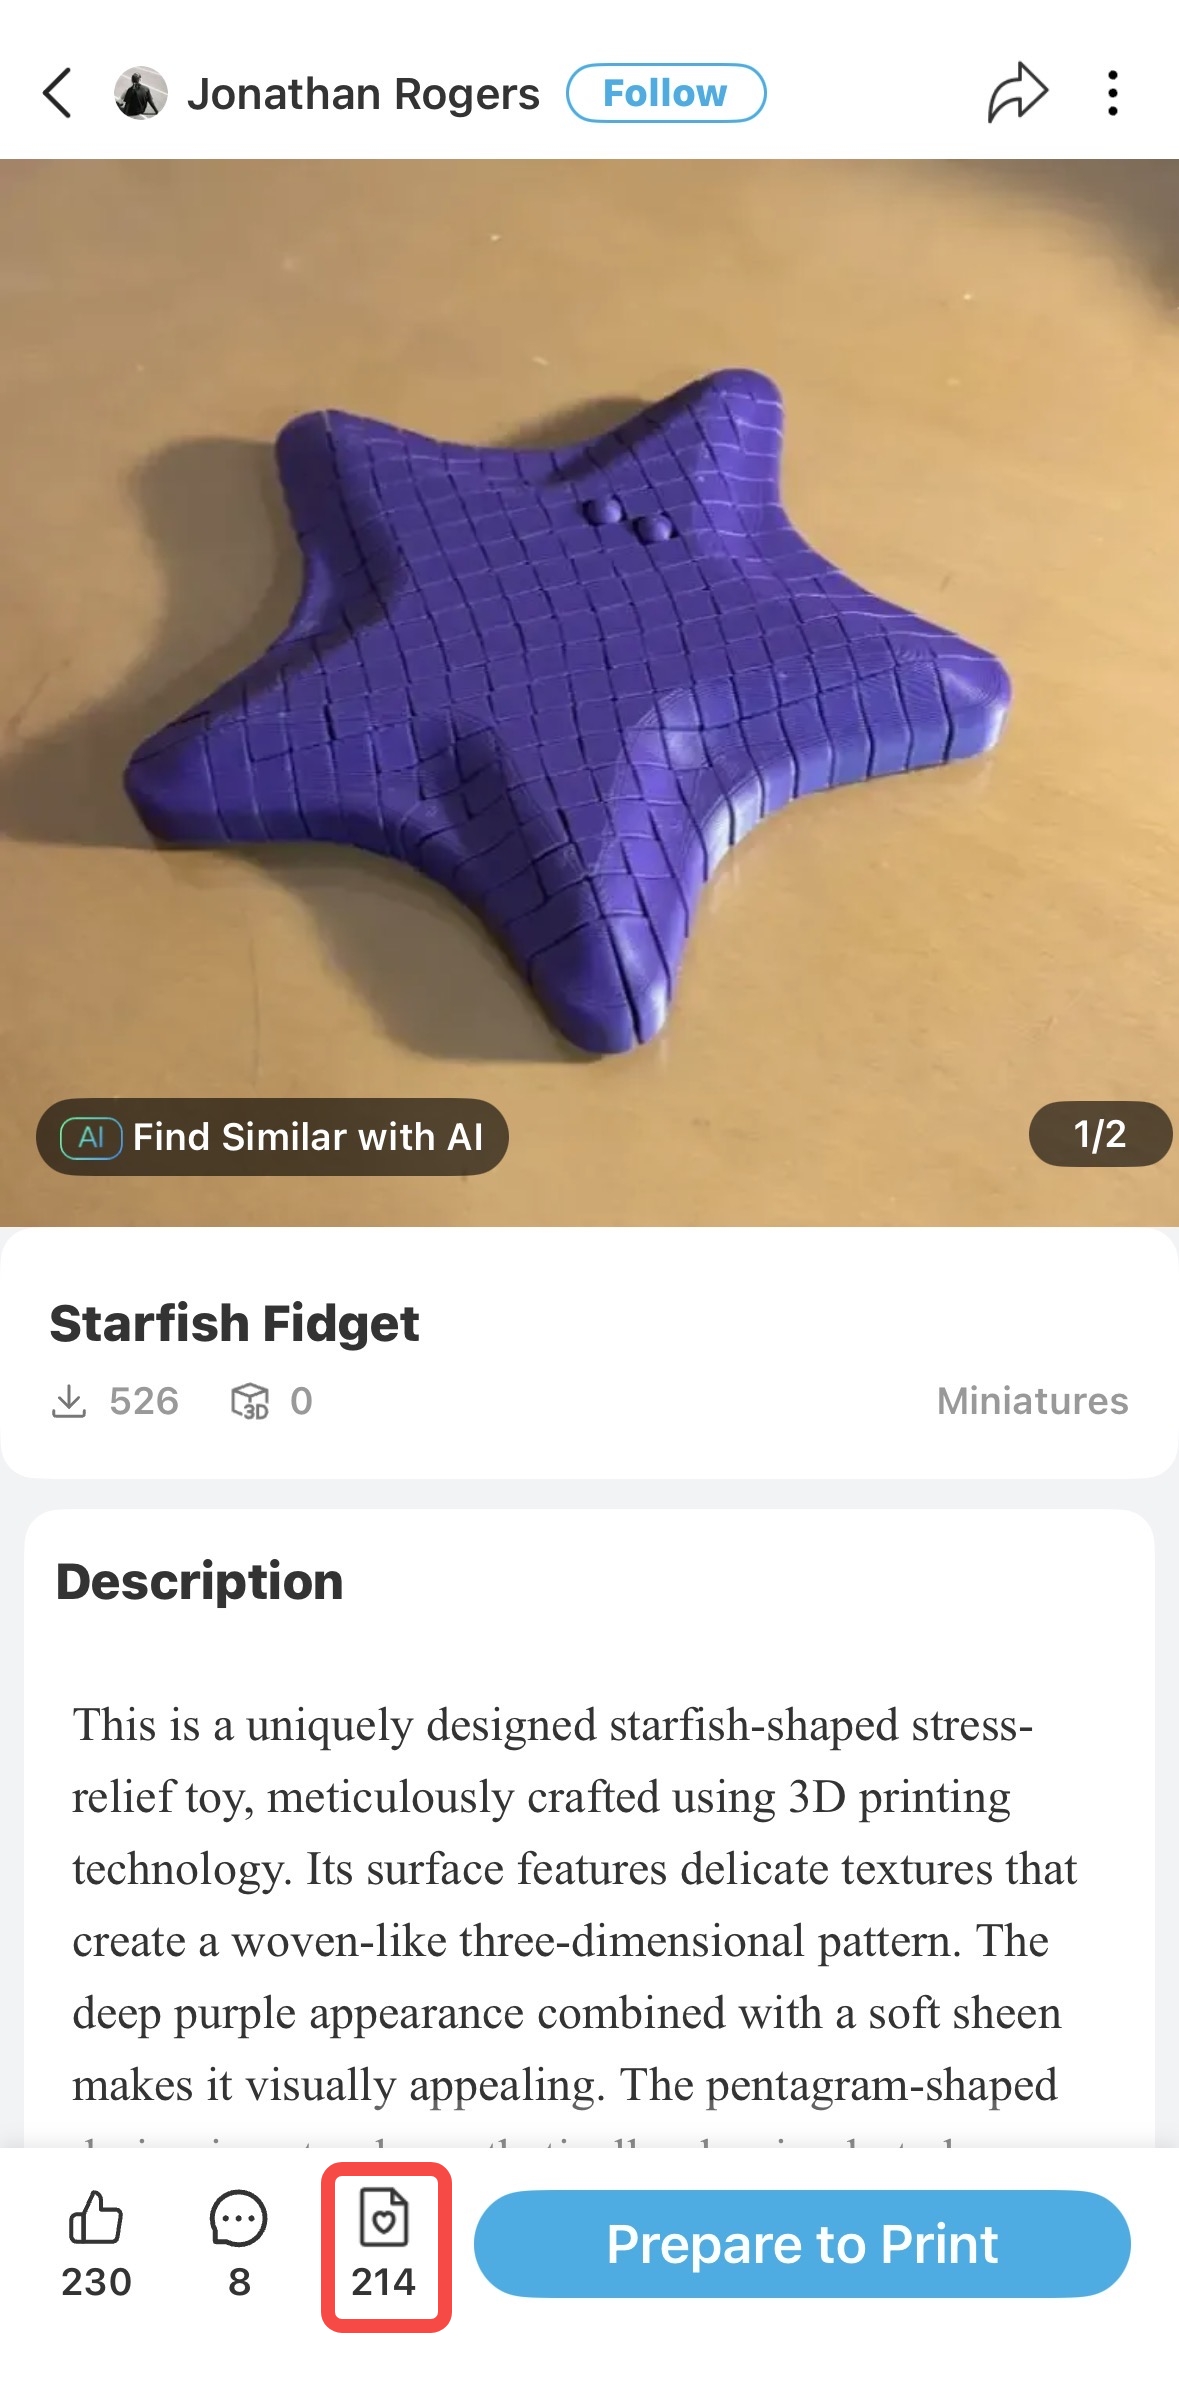
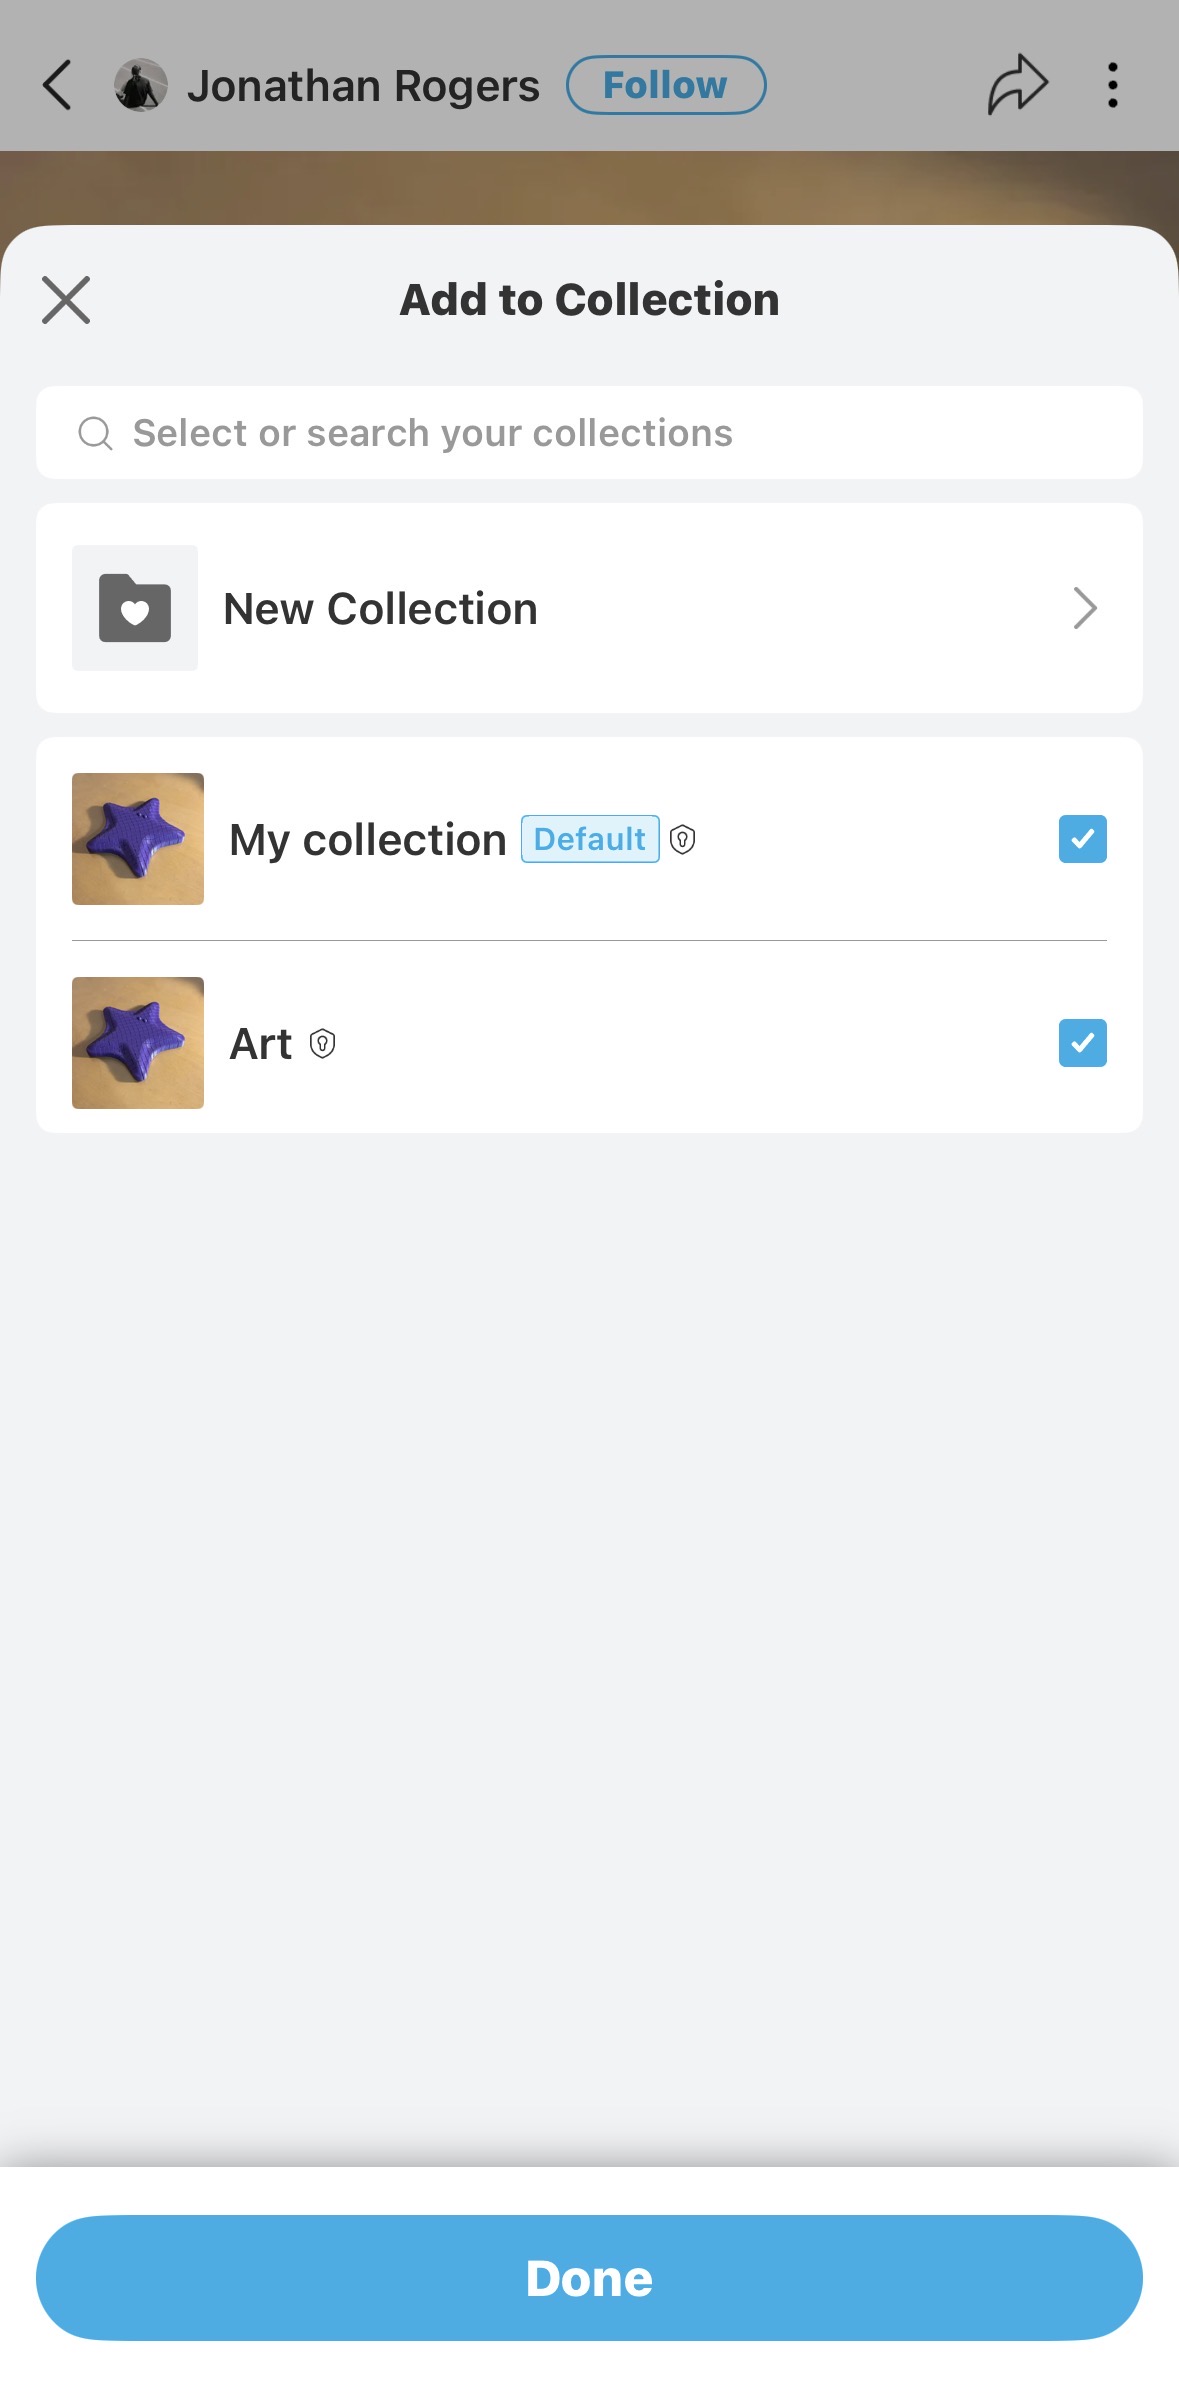
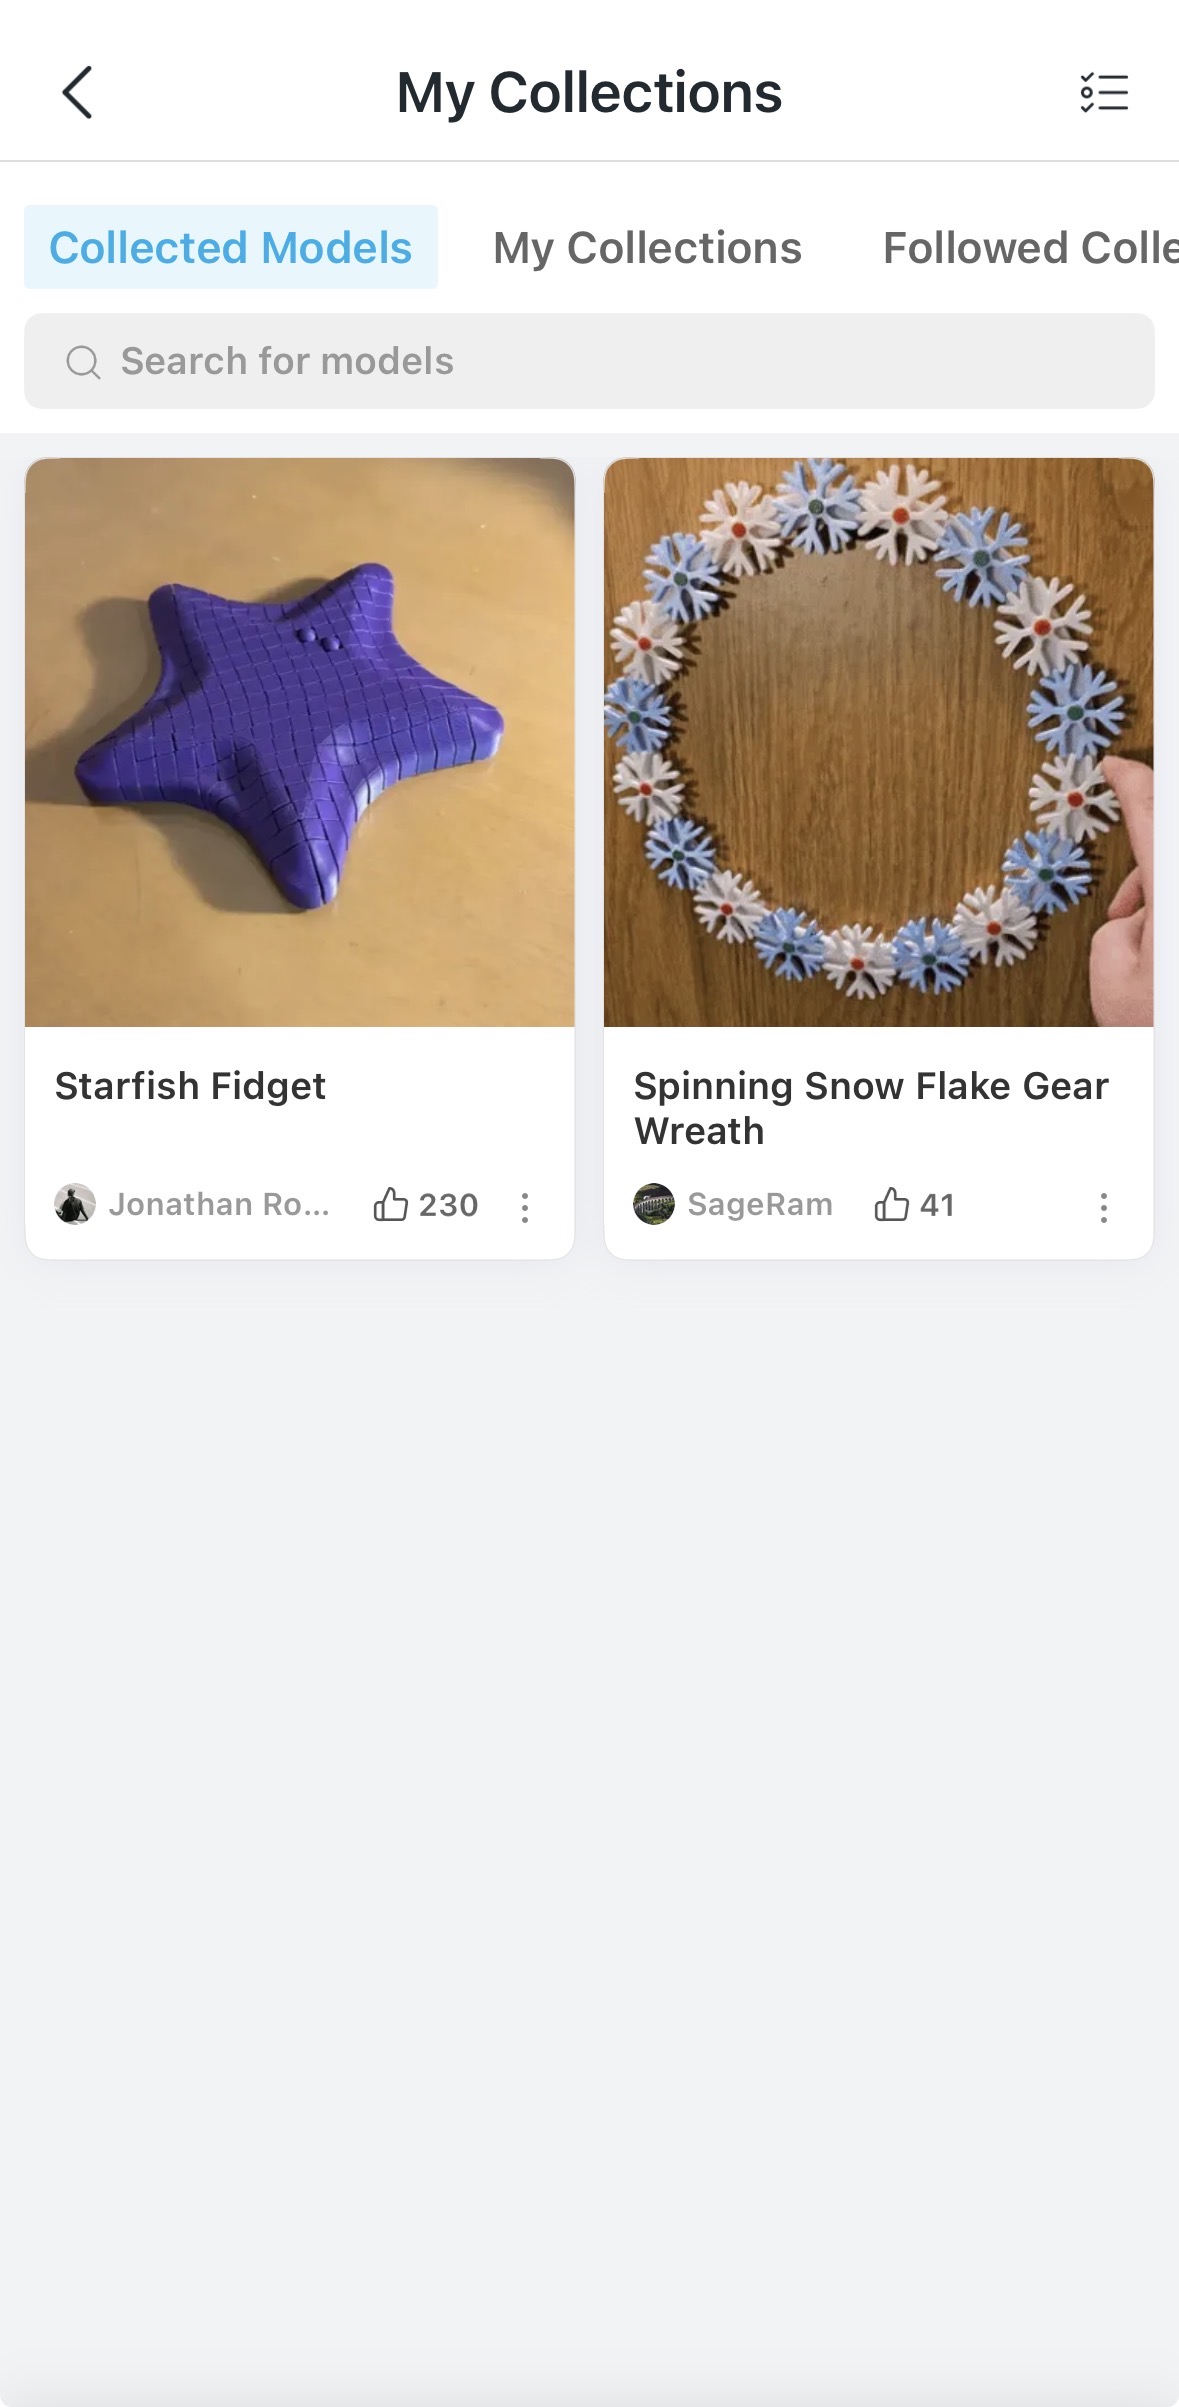
You can also add your favorite models to your Collections for easy access later.
 |
 |
 |
¶ Device Page Overview
After successfully binding the printer, you can view all bound devices on the "Device" page. Tap a specific device to enter the printer control page.
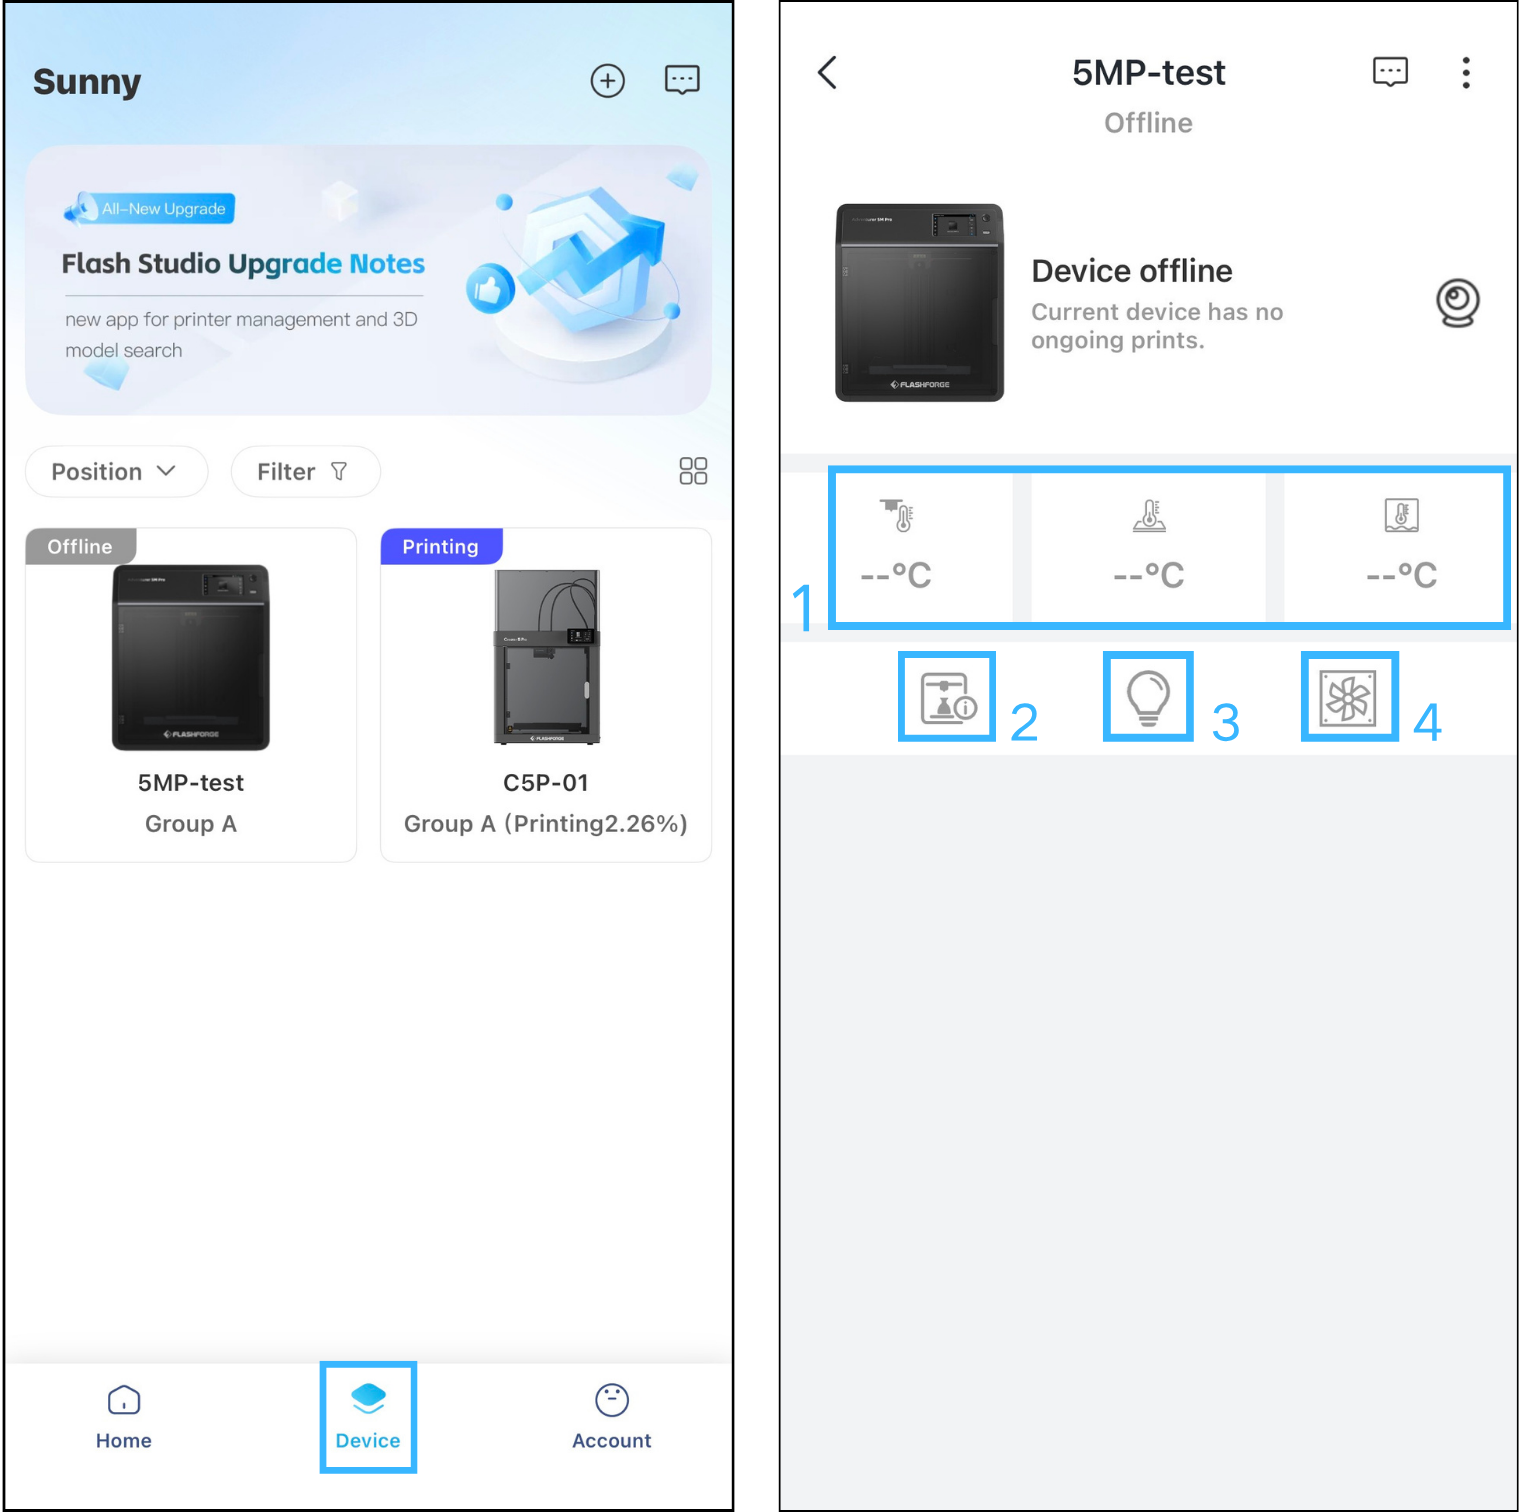
Parameter Overview
- 1: Displays and controls temperature — tap to view the printer's bed and chamber temperatures in real time
- 2: Displays the parameters of this printer
- 3: Light control button — blue indicates the light is on; gray indicates the light is off
- 4: Air circulation filter fan control button — tap to enable internal or external circulation filtration.
¶ Viewing Print Status
When the device is printing, the "Device" page will display print status information. You can check it at any time, as well as pause or cancel the print.
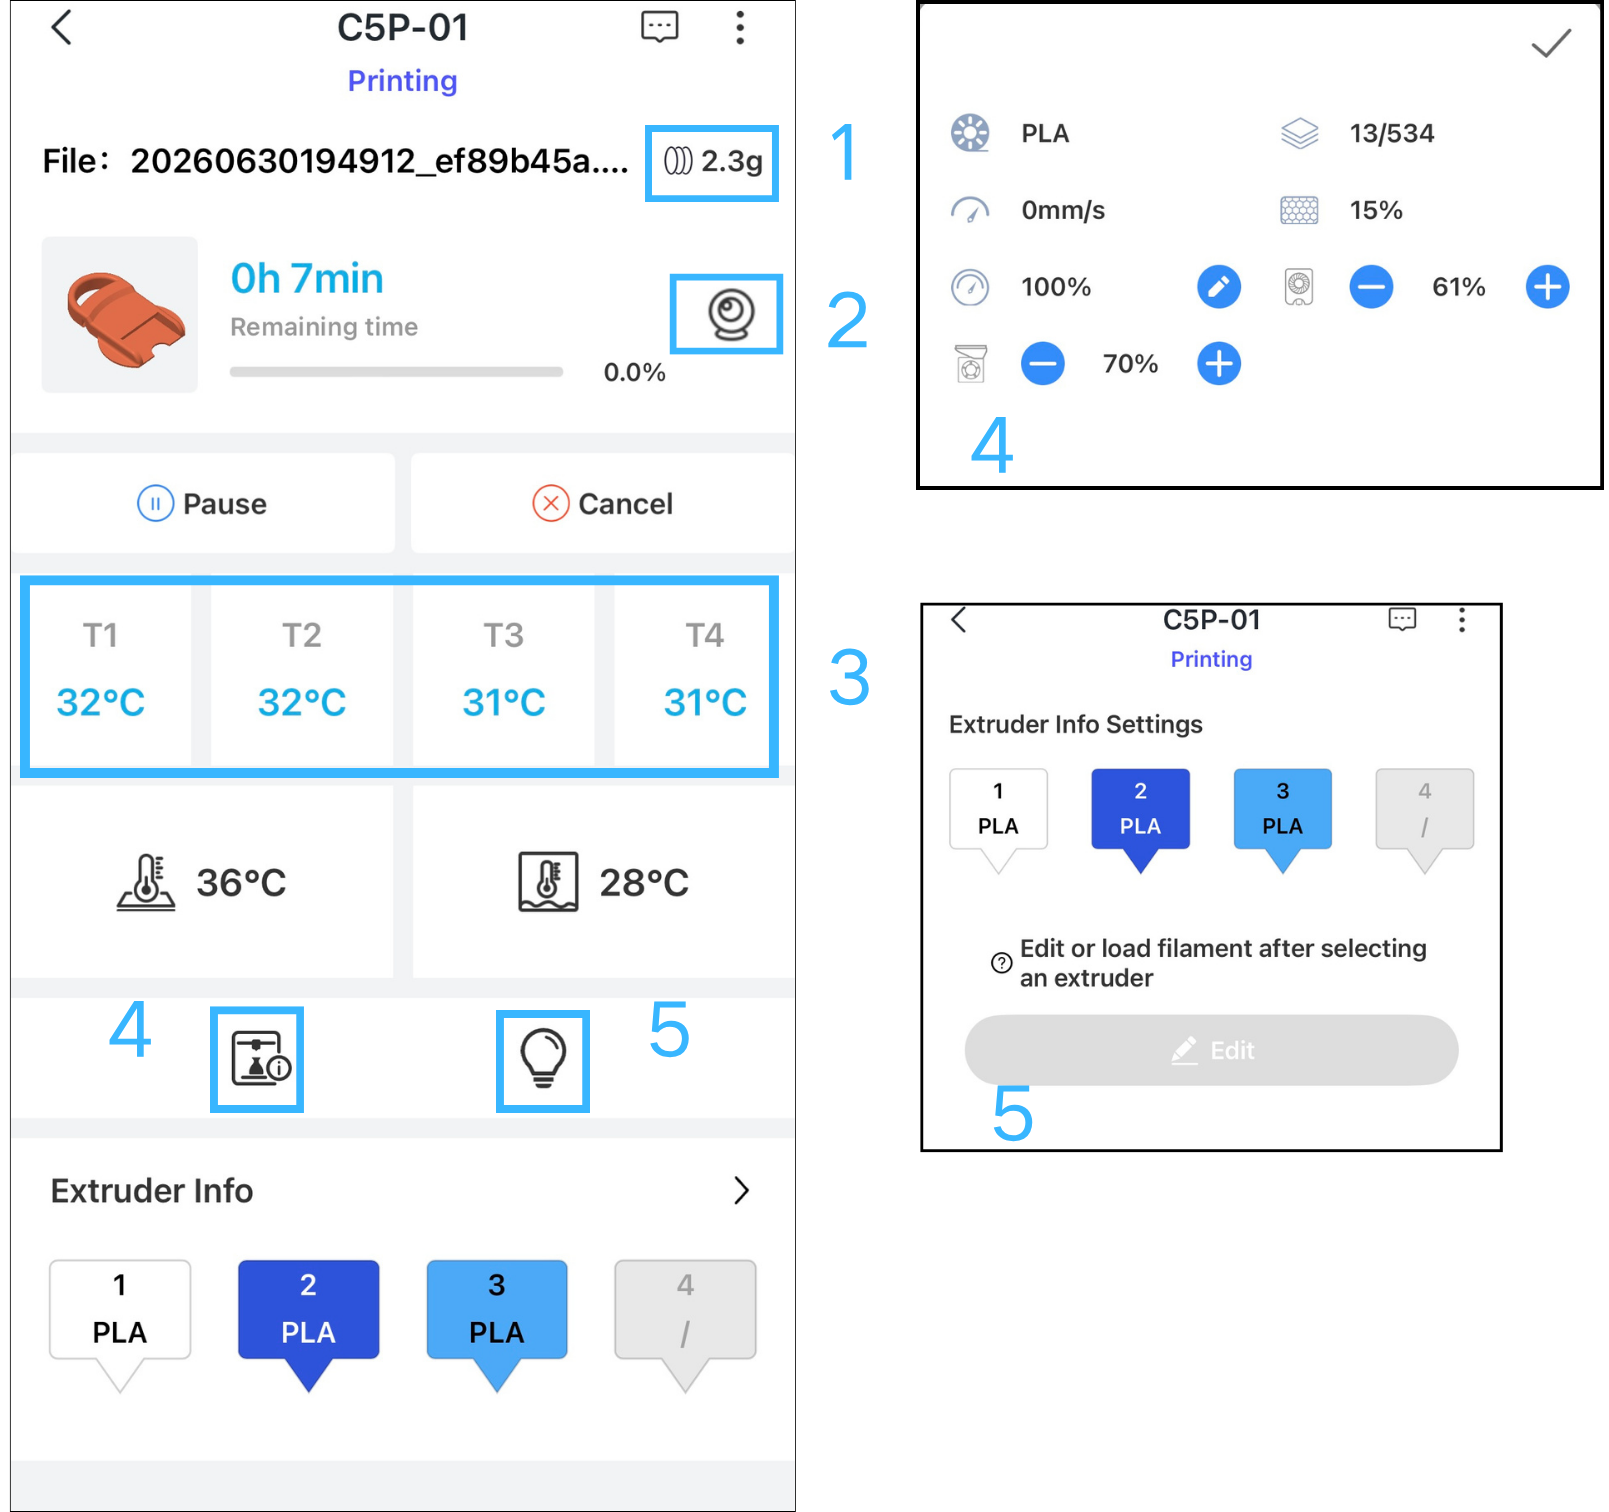
-
- Show the filaments used for this print
-
- View time-lapse
-
- Nozzle temperature
-
- Printer chamber status
-
- Filaments details
¶ My Page Overview
On the "My" page, you can view your account information, followed list, model favorites, and browsing history. You can also create your own favorites folders here, or navigate to the store to purchase printers or filaments.